Creating an Inferno Dragon 3D Model: Workflow and Best Practices
скачать 3d модель для chicken gun
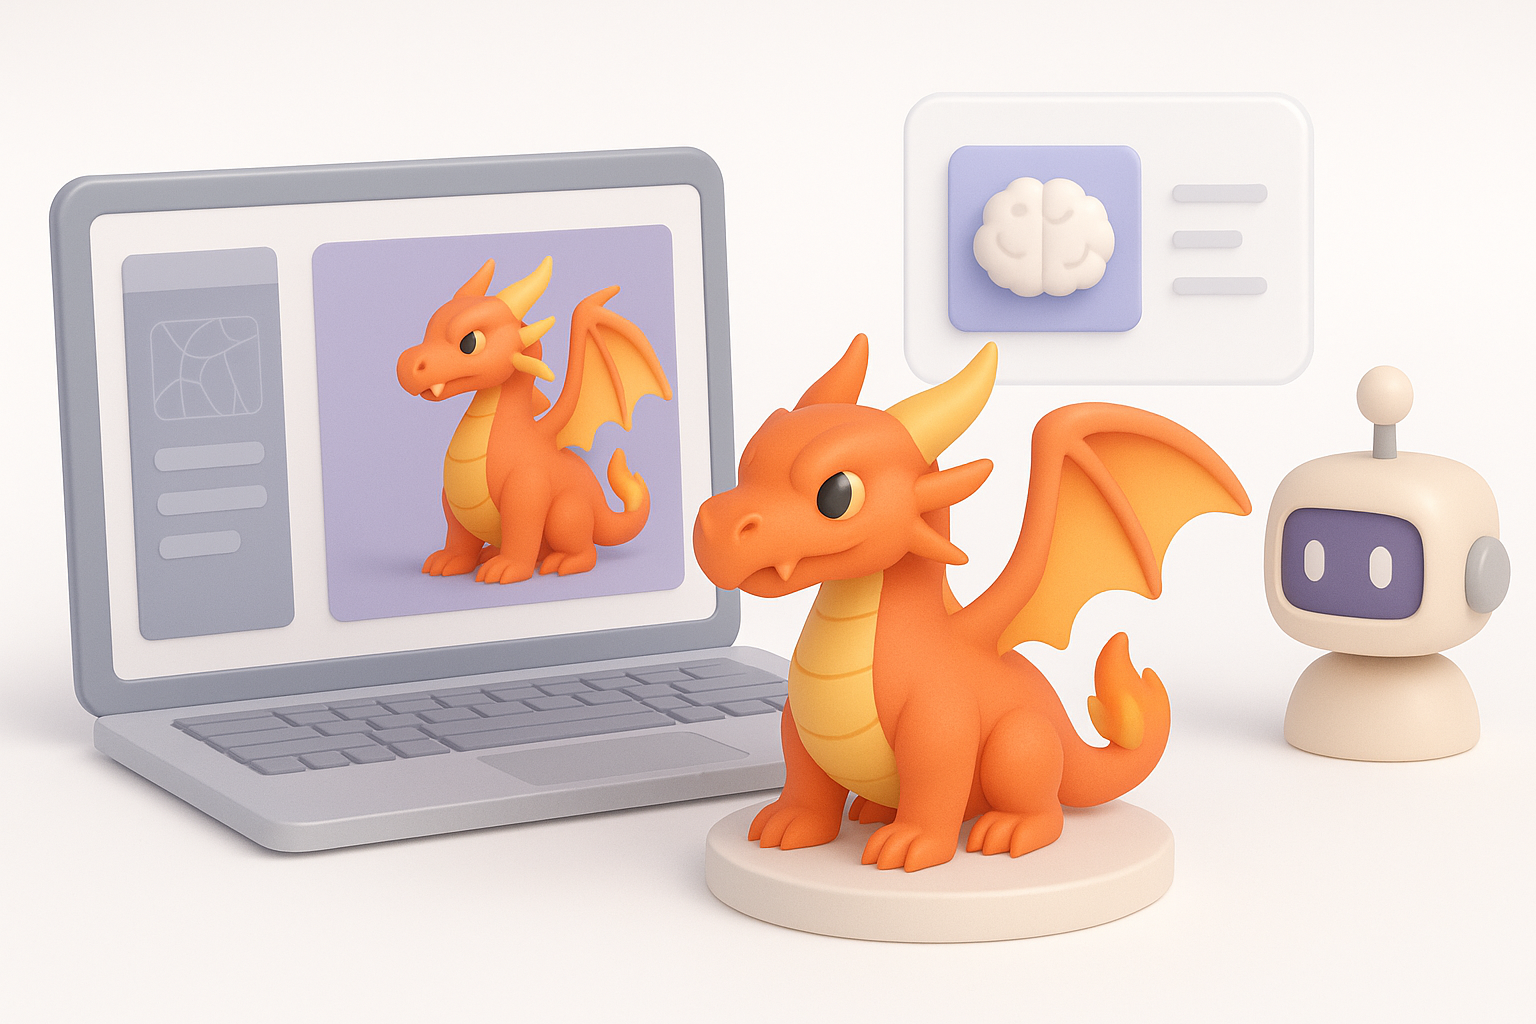
Creating a production-ready Inferno Dragon 3D model is a challenging but rewarding process, especially with the right workflow and tools. In my experience, leveraging AI-powered platforms alongside traditional 3D modeling techniques dramatically accelerates the process—without sacrificing quality. This guide is for artists, game developers, and designers who want to bring a dynamic, fiery dragon to life, while avoiding common pitfalls and maximizing efficiency. Below, I’ll walk through my proven workflow, best practices, and practical tips for both manual and AI-assisted approaches.
Key takeaways
- Reference gathering and concepting are crucial for a unique, believable inferno dragon.
- Blocking out the base mesh sets the foundation—don’t rush this step.
- Detailing and texturing require a mix of sculpting skill and smart material choices.
- AI-powered tools can automate tedious steps like retopology and texturing.
- Always optimize your model for animation and production before exporting.
- Avoid common mistakes by checking scale, topology, and texture alignment early.
Overview of Inferno Dragon 3D Modeling
What Makes an Inferno Dragon Unique in 3D
Inferno dragons stand out due to their elemental fire motifs—flaming wings, glowing scales, and dynamic poses. In 3D, capturing these details requires careful attention to silhouette, material effects, and visual storytelling. From my experience, the interplay between organic anatomy and supernatural fire effects is what sells the fantasy.
Checklist:
- Strong, dynamic silhouette
- Layered scales and horns
- Integrated fire or lava elements (wings, breath, tail tip)
- Emissive materials for glowing areas
Key Considerations Before Starting
Before jumping in, I always clarify the model’s purpose: Is it for games, film, or AR? This impacts polycount, texture resolution, and rigging complexity. I also consider the target platform’s technical constraints, as well as the intended visual style (realistic vs. stylized).
Pitfalls to avoid:
- Overcomplicating the model for low-poly needs
- Ignoring animation requirements (joint placement, topology flow)
- Underestimating time needed for fire effects
Step-by-Step Inferno Dragon 3D Model Creation
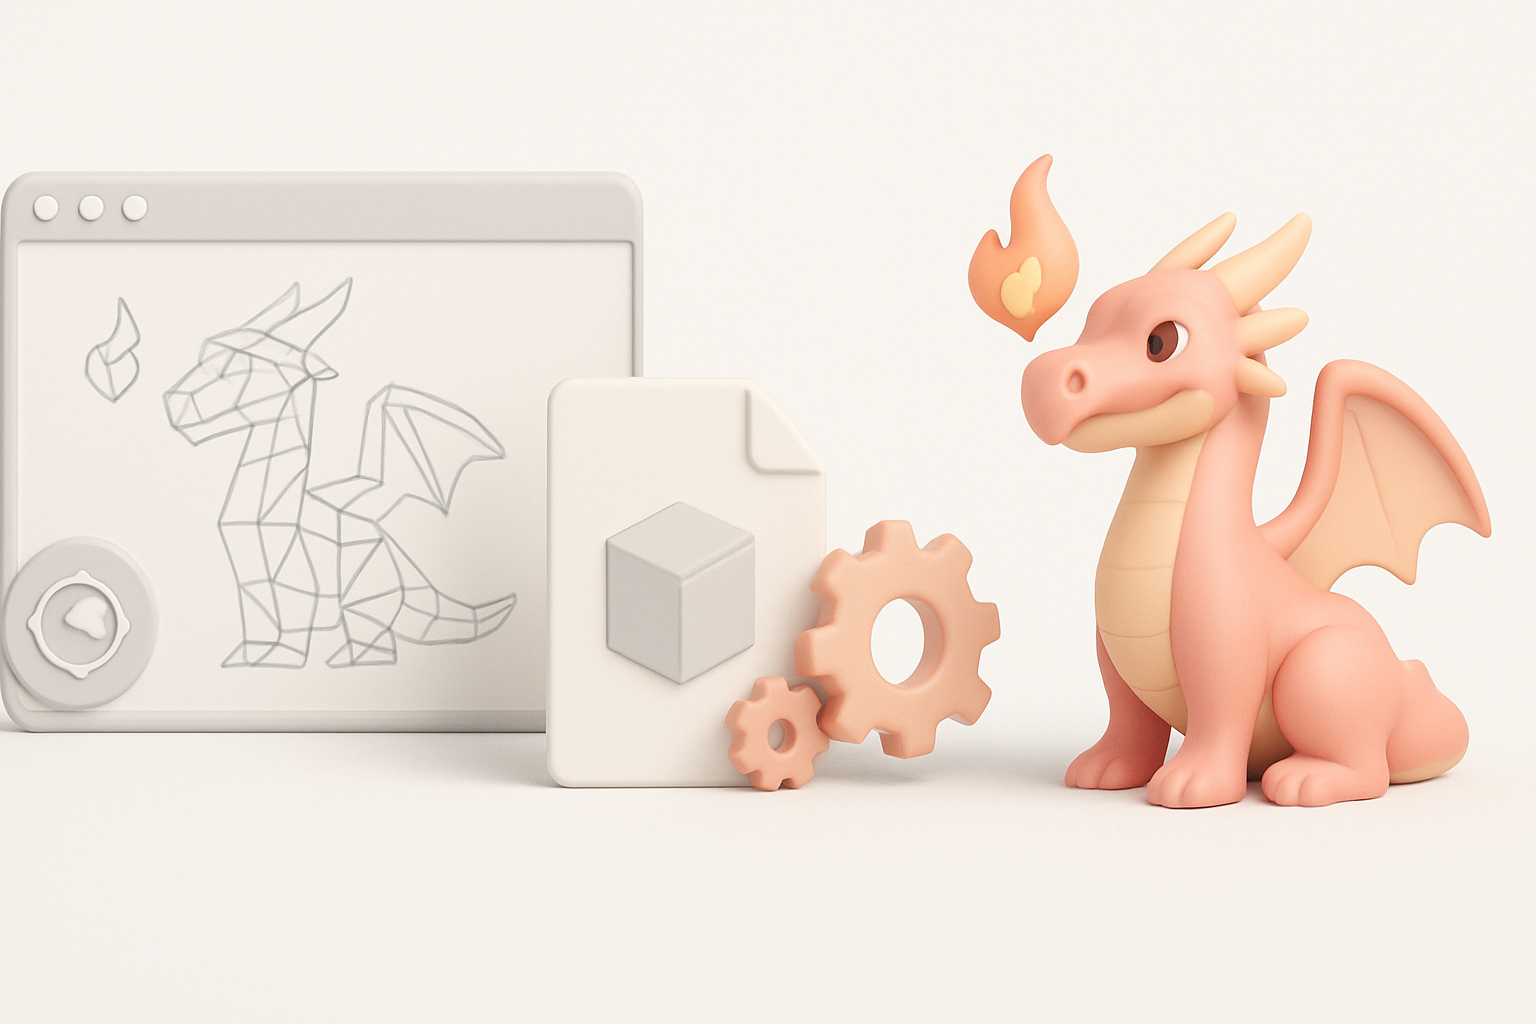
Concepting and Reference Gathering
I start by collecting references: dragons from mythology, fire effects, lizard anatomy, and existing fantasy art. Moodboards help me define the dragon’s personality and unique features. Sketching or using AI to generate concept variations helps lock in the design fast.
Steps:
- Gather anatomical and elemental references
- Sketch thumbnails or use AI concept tools
- Define key features: head shape, wing style, fire placement
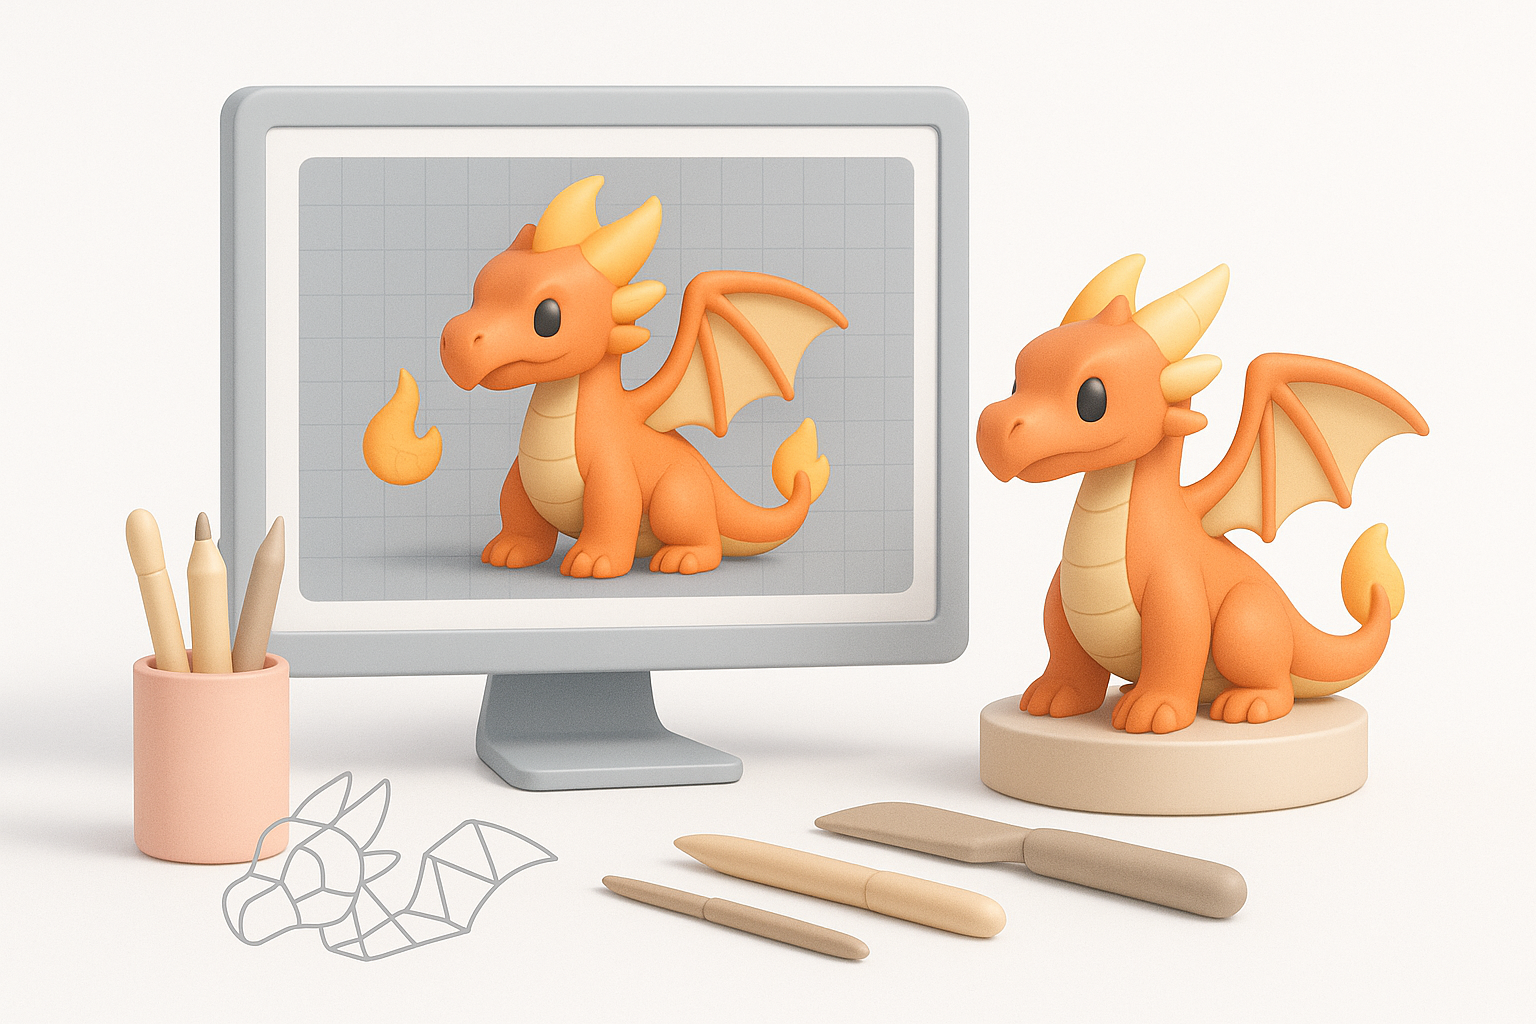
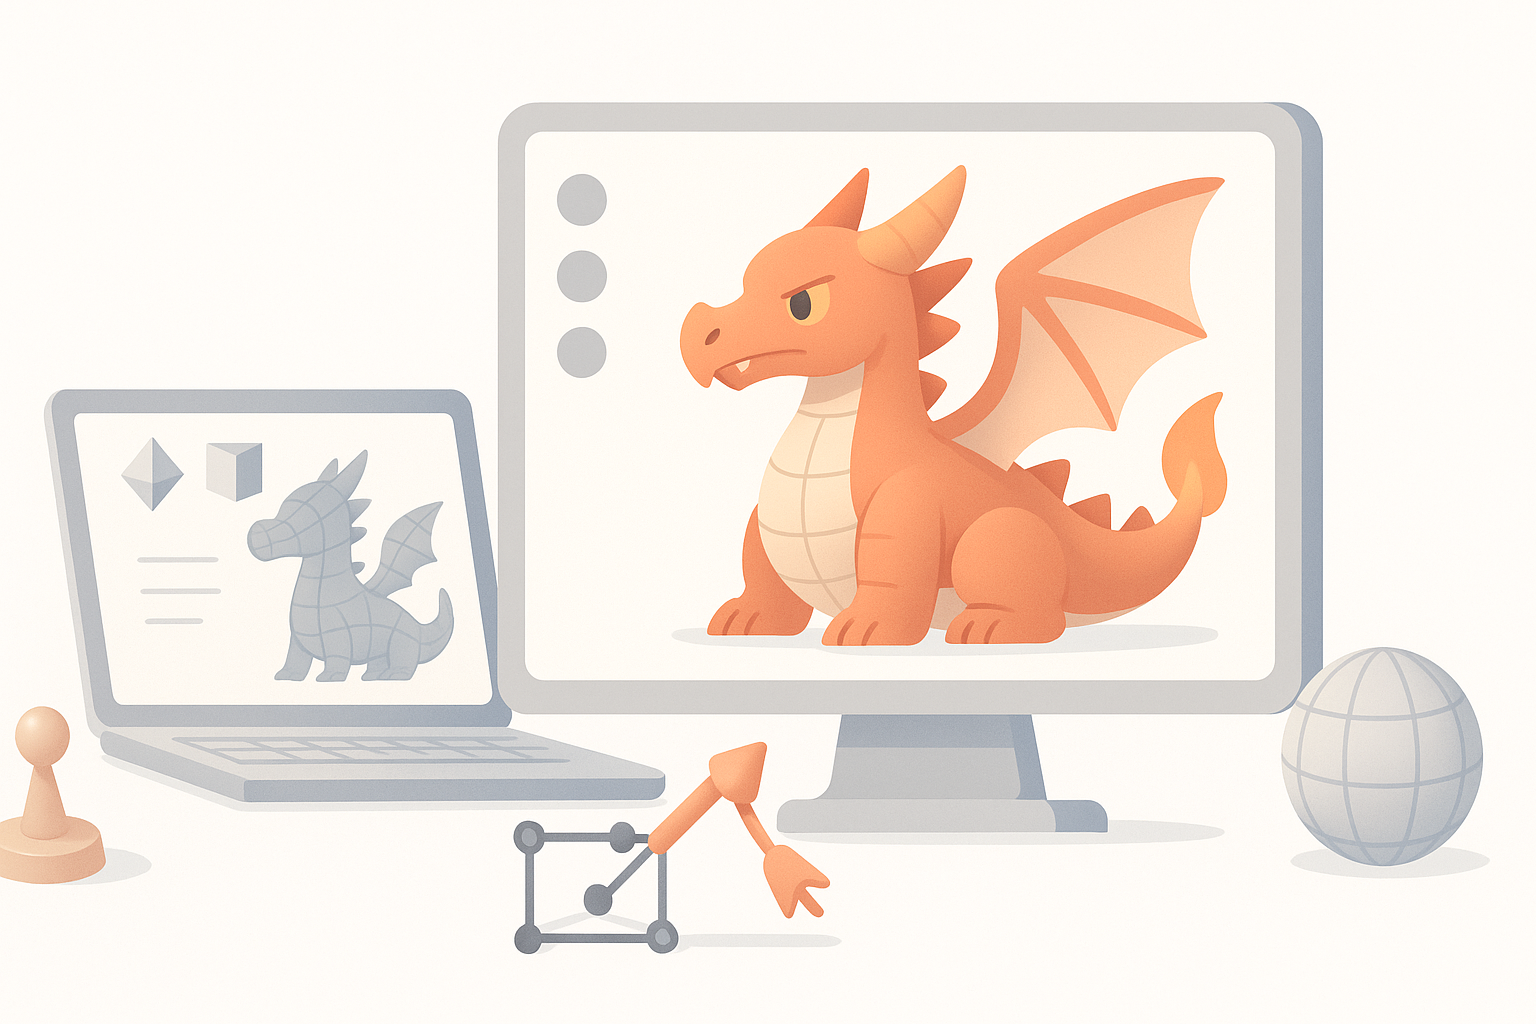
Blocking Out the Base Mesh
The base mesh is where form and proportion are established. I usually block out major masses—head, body, limbs, wings—using simple shapes. At this stage, I focus on silhouette and pose, not details.
Tips:
- Use symmetry tools for efficiency, but break symmetry early for realism
- Keep geometry clean for easy sculpting later
- If using AI platforms, input clear reference images or sketches for better initial meshes
Advanced Techniques for Detailing and Texturing
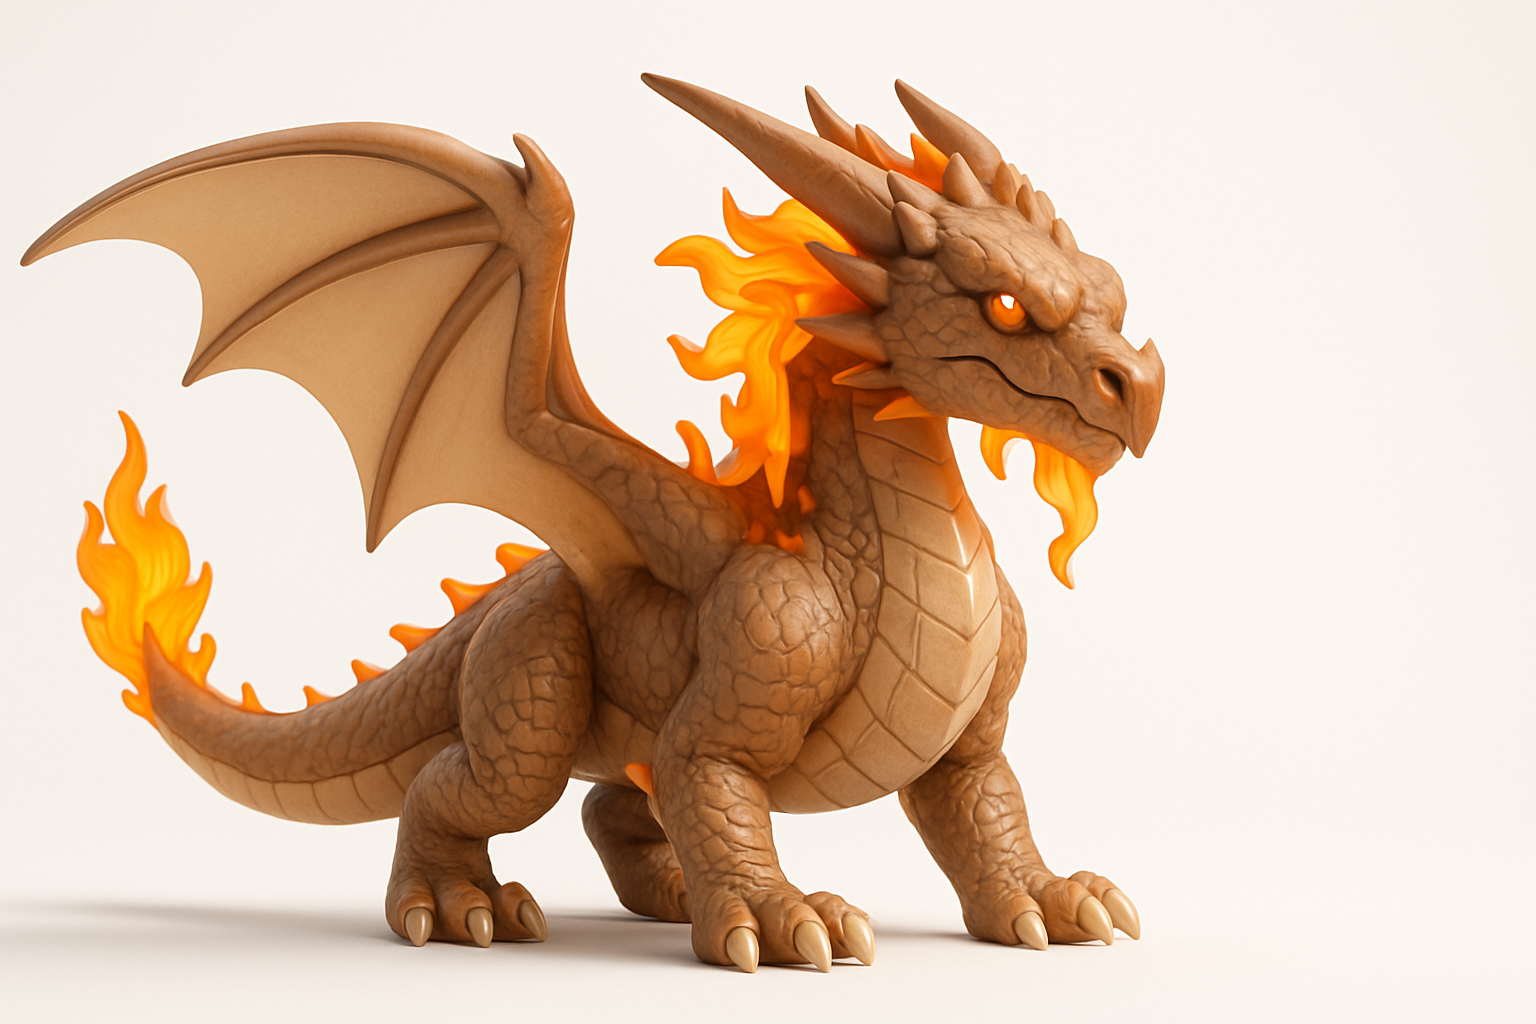
Sculpting Scales, Horns, and Fire Effects
Once the base mesh is solid, I move to sculpting. I use brushes for scales, horns, and muscle definition. For fire effects, I sculpt flowing shapes or use mesh add-ons for flames.
What works best:
- Layering scale patterns for realism
- Varying horn thickness and curvature
- Sculpting fire as separate geometry for easier texturing
Applying Realistic Textures and Materials
Texturing an inferno dragon is all about contrast: rough scales, glossy horns, and emissive fire. I bake normal and ambient occlusion maps, then paint textures in a dedicated tool or use AI-assisted texturing for speed.
Checklist:
- Hand-paint or generate scale patterns
- Use emissive maps for glowing fire areas
- Test materials in your target renderer for accurate lighting
Optimizing and Preparing for Production
Retopology and UV Unwrapping
Clean topology is essential for animation and efficient rendering. I use retopology tools (manual or AI-powered) to create a low-poly mesh that preserves detail. UV unwrapping comes next—seams are placed along less visible areas.
Tips:
- Prioritize edge flow around joints (shoulders, wings, jaw)
- Use AI platforms to automate retopology when time is tight
- Check for overlapping UVs and wasted texture space
Rigging and Animation Readiness
I rig the dragon with a flexible skeleton—spine, wings, tail, jaw, and facial controls. Weight painting is critical for smooth deformations, especially around wings and shoulders.
Pitfalls:
- Forgetting secondary bones for wing membranes or tail tip
- Skipping deformation tests before finalizing the rig
AI-Powered Tools and Workflow Enhancements
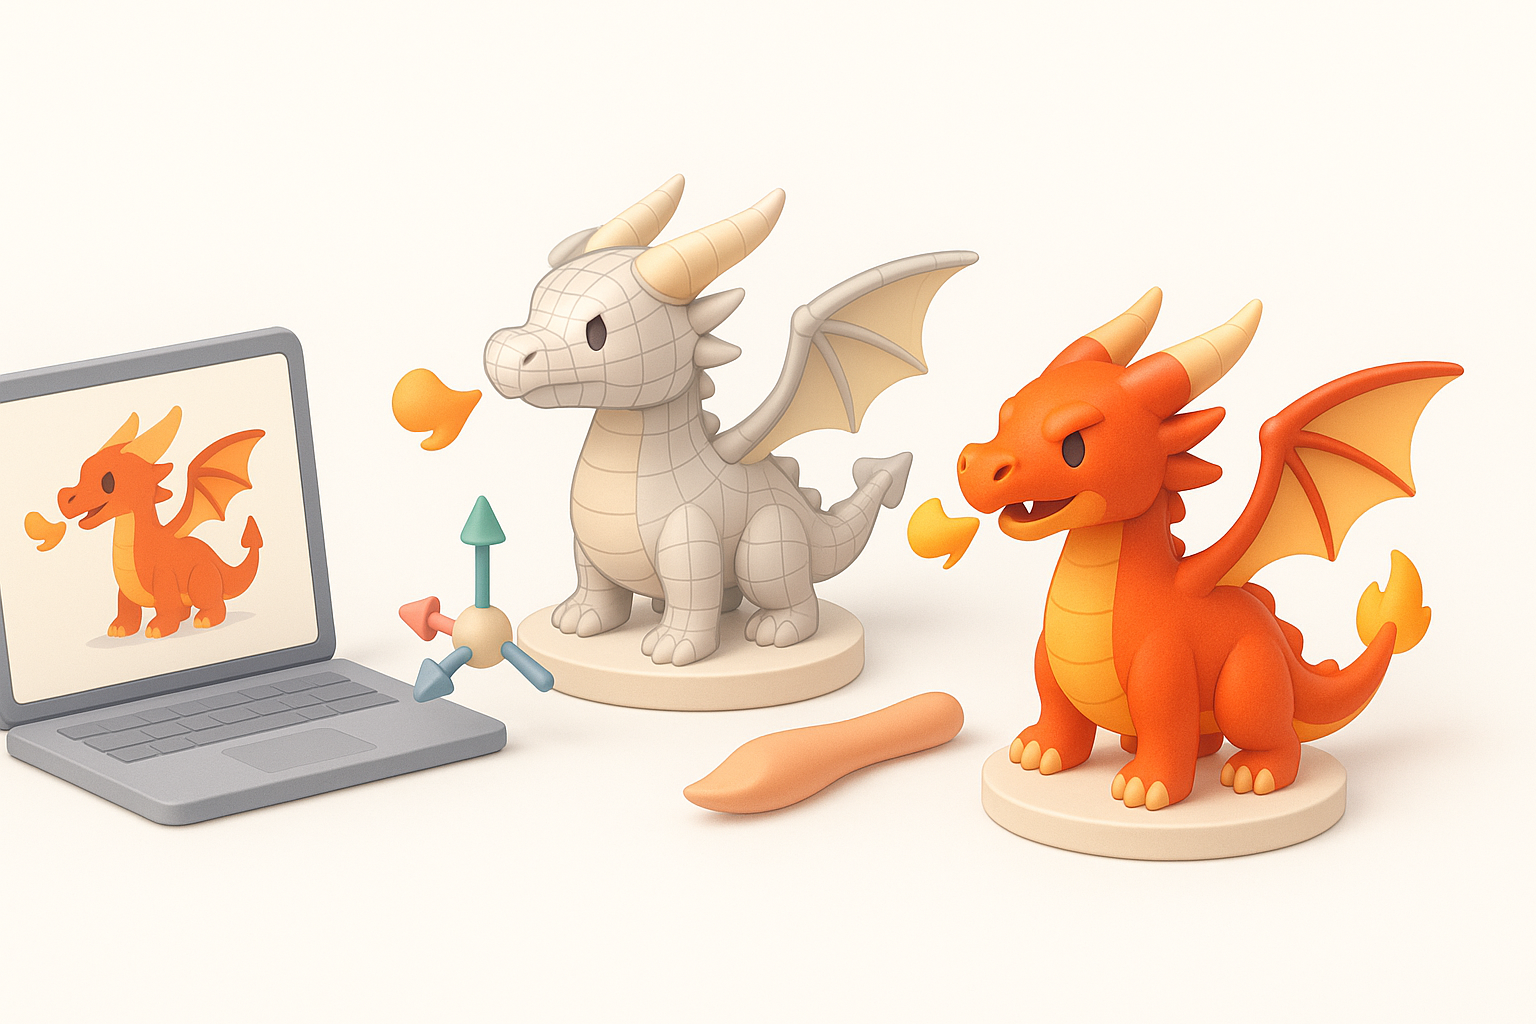
How I Use AI Platforms for Faster Results
AI platforms can generate base meshes, auto-retopologize, and even texture models from simple prompts or sketches. In my workflow, I use these tools to accelerate repetitive tasks, freeing up time for creative detailing.
Best uses:
- Generating production-ready base meshes from concepts
- Automated UV unwrapping and texturing
- Quick previews of different color schemes or fire effects
Integrating AI with Traditional 3D Pipelines
I combine AI-generated assets with manual sculpting and painting. This hybrid approach ensures both speed and uniqueness. AI tools often export in standard formats, making integration with my preferred 3D software seamless.
Workflow:
- Generate base mesh and textures with AI
- Refine details and materials manually
- Export and import between tools as needed
Best Practices and Lessons Learned
Common Pitfalls and How to Avoid Them
Over the years, I’ve learned to avoid common mistakes:
- Rushing the concept phase leads to generic results.
- Ignoring topology early causes headaches during rigging.
- Over-relying on AI can result in bland, samey models.
How to avoid:
- Spend time on unique concepting
- Check topology after every major modeling phase
- Use AI as a tool, not a crutch
Tips for Achieving a Standout Inferno Dragon
What sets apart a great inferno dragon?
- Dynamic, asymmetrical poses
- Thoughtful integration of fire into anatomy
- Custom textures and materials (not just presets)
My advice:
- Iterate on your design—don’t settle for the first version
- Play with lighting to enhance fire effects
- Solicit feedback from other artists
Comparing Methods and Exporting Final Assets
AI-Driven vs. Manual Modeling Approaches
AI-driven workflows are fast and ideal for prototyping or when deadlines are tight. Manual modeling offers greater control and uniqueness. I often blend both—AI for base assets, manual for polish.
Comparison:
- AI: Speed, consistency, less manual labor
- Manual: Artistic control, custom details, unique results
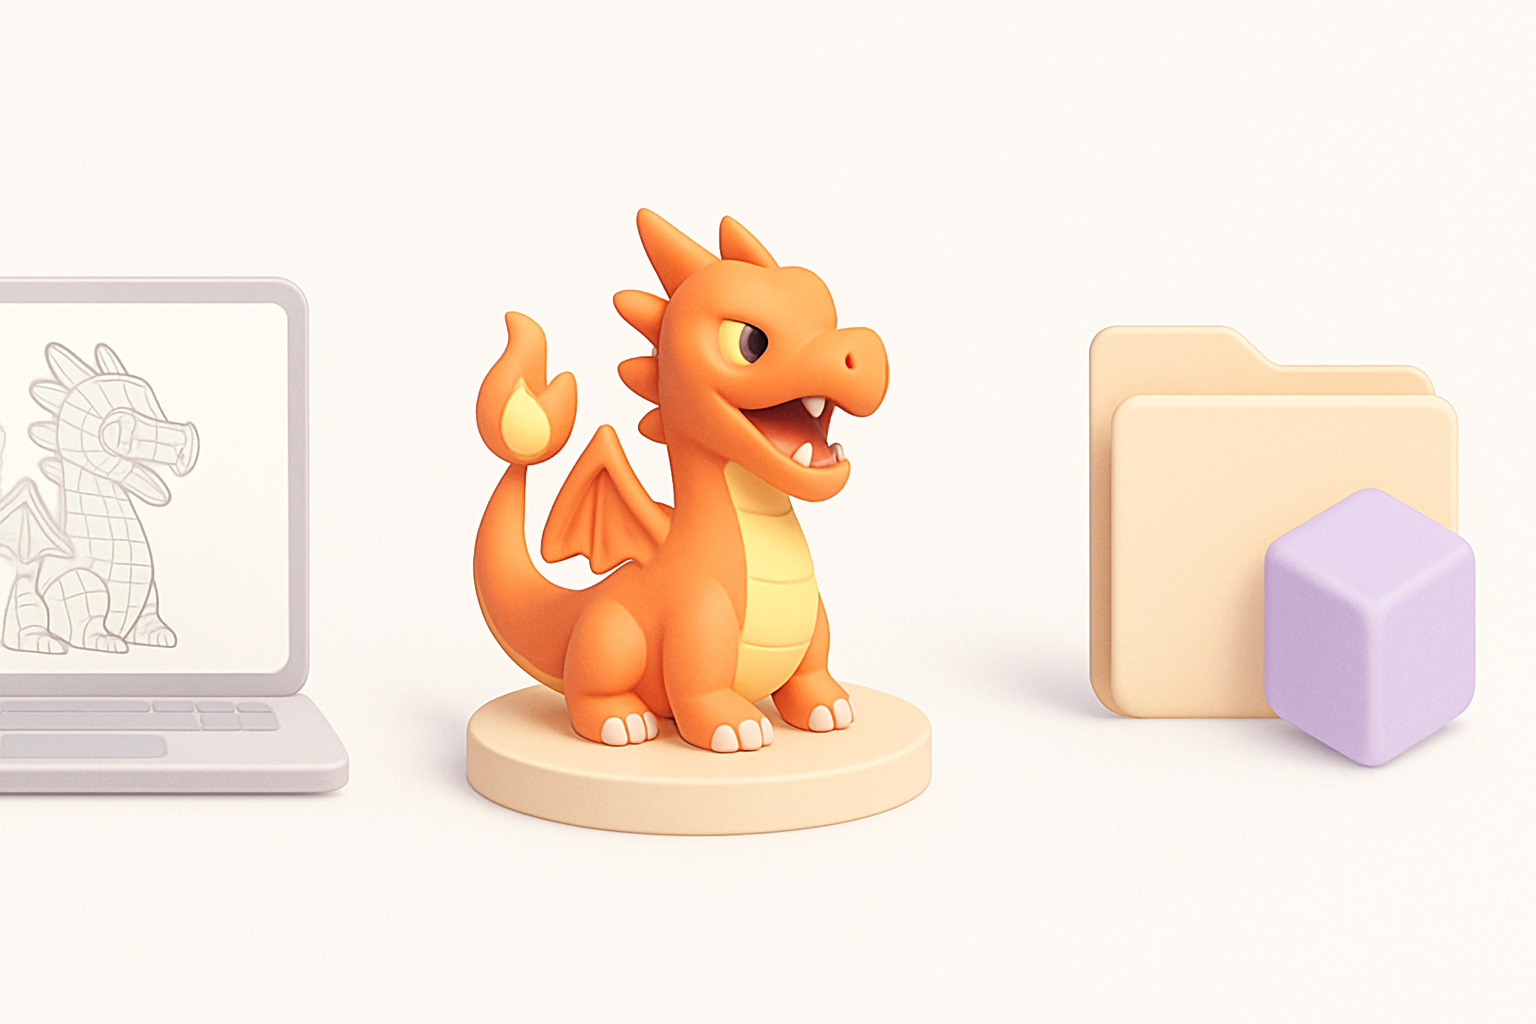
Exporting and Sharing Your 3D Model
Before exporting, I check model scale, pivot points, and texture paths. I export in standard formats (FBX, OBJ, GLTF) depending on the target platform. Proper naming conventions and organized folder structures are a must for collaborating or publishing.
Checklist:
- Clean up unused geometry and materials
- Export with embedded or referenced textures
- Test import in target engine or viewer
By following these steps and best practices, you can produce a compelling, production-ready inferno dragon 3D model—whether you’re working solo, collaborating, or integrating AI tools into your pipeline.