Creating a Hollow Knight Silksong 3D Model: My Workflow & Tips
Bringing Hollow Knight Silksong’s characters into 3D is a rewarding challenge, especially if you want to capture their distinct stylized look for games or animation. In my experience, success comes from a clear workflow: gather strong references, block out forms efficiently, leverage AI-powered tools for speed, and refine with a personal touch. This guide is for artists and developers aiming for production-ready, game-optimized assets—whether you’re solo or working in a team. Below, I break down my process, share pitfalls to avoid, and offer practical tips for ensuring your Silksong models look and perform great.
Key takeaways:
- Prioritize strong references and clear scope before modeling
- Use AI-powered tools for fast base meshes, but refine details manually
- Maintain stylized proportions and silhouettes—accuracy matters
- Clean retopology and UVs are essential for game-ready assets
- Hand-painted textures best match Silksong’s iconic art style
- Rigging prep and export settings are crucial for engine integration
Executive Summary: Key Takeaways for 3D Modeling Silksong Characters
What makes Hollow Knight Silksong models unique
Silksong’s characters, like Hornet, stand out for their bold silhouettes, exaggerated proportions, and painterly textures. The art direction relies on crisp shapes and minimal, expressive detail. In my workflow, capturing this style means focusing on clean forms and avoiding over-detailing.
Summary of my recommended workflow
I start by gathering references, then block out the model using a mix of AI-powered and manual tools. After sculpting in character, I retopologize, unwrap UVs, and texture by hand. Rigging and export settings are tailored for the target game engine. This approach balances speed and quality, letting me iterate quickly while keeping control over the final look.
Gathering References and Planning the 3D Model

Collecting concept art and in-game screenshots
I always begin by collecting as much official concept art and in-game screenshots as possible. For Silksong, I focus on front, side, and ¾ views of Hornet, plus close-ups of key details like her needle and cloak. I also look for fan art to understand how others interpret the character, but I rely on official sources for accuracy.
Checklist:
- Official concept art (multiple angles)
- High-res in-game screenshots
- Detail shots (face, weapon, accessories)
- Reference board for quick access
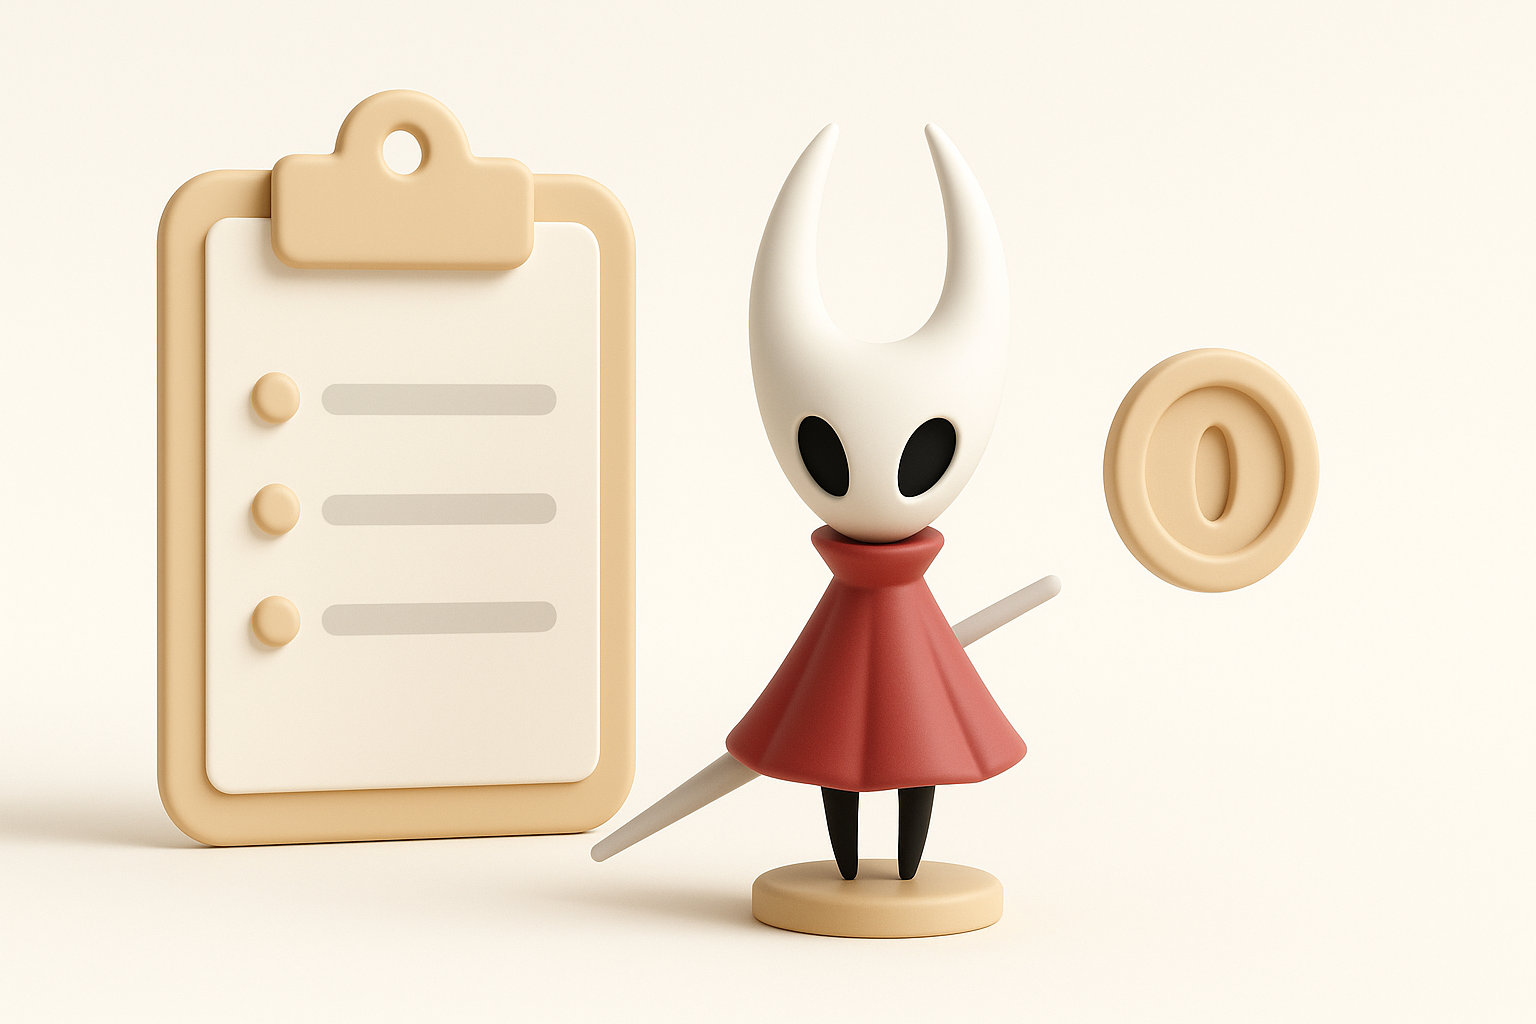
Defining model scope and level of detail
Before modeling, I decide on the asset’s purpose: is it for gameplay, cutscenes, or marketing renders? For in-game use, I set a polygon budget and choose a level of detail that matches the engine’s needs. I note which areas need extra focus (face, hands, weapon) and which can be simplified.
Pitfall:
Skipping this step often leads to over-modeling or missing crucial details later.
Blocking Out the Base Mesh: My Approach

Choosing the right modeling tools
For the initial blockout, I use a combination of AI-powered generators (like Tripo AI with text or image prompts) and traditional box modeling in Blender or Maya. AI tools are great for quick base meshes, especially when time is tight. I always check the output for proportion and topology before moving forward.
Tip:
Start with AI for speed, but be prepared to tweak the base mesh manually.
Establishing proportions and silhouette
I focus on getting the overall shape and silhouette right before adding any detail. For Hornet, this means exaggerating the head, slimming the body, and ensuring the needle is prominent. I constantly compare the blockout to my reference board.
Steps:
- Block in major shapes (head, body, limbs, weapon)
- Adjust proportions to match references
- Check silhouette from multiple angles
Detailing and Sculpting: Bringing Hornet to Life
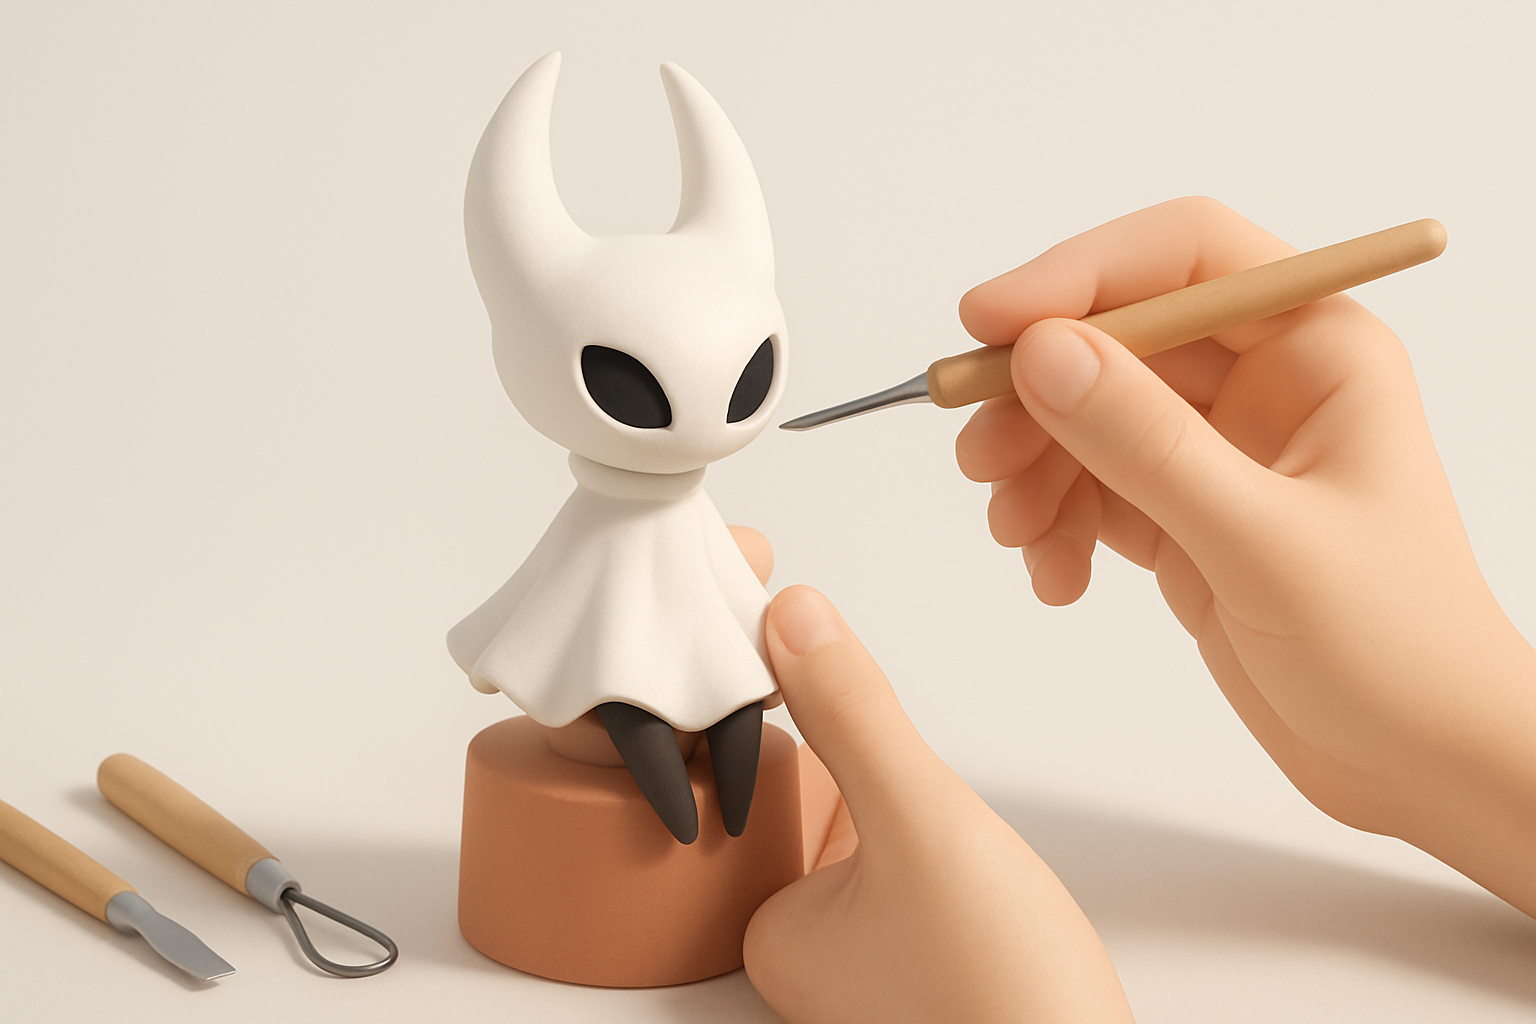
Adding character-specific details
Once the base mesh is set, I move to sculpting. I add Hornet’s mask, cloak folds, and needle detail, keeping the forms simple but expressive. I use basic brushes and avoid unnecessary wrinkles or pores—Silksong’s style is clean.
Mini-checklist:
- Mask and face shape
- Cloak and fabric folds
- Needle and thread details
Best practices for stylized sculpting
I keep the forms bold and readable, exaggerating features that define the character. I use smoothing tools to avoid noisy surfaces and check the model in silhouette mode often. Less is more—over-detailing can break the style.
Tip:
Work at low subdivision levels first; only add detail where it matters.
Retopology and UV Mapping for Game-Ready Assets
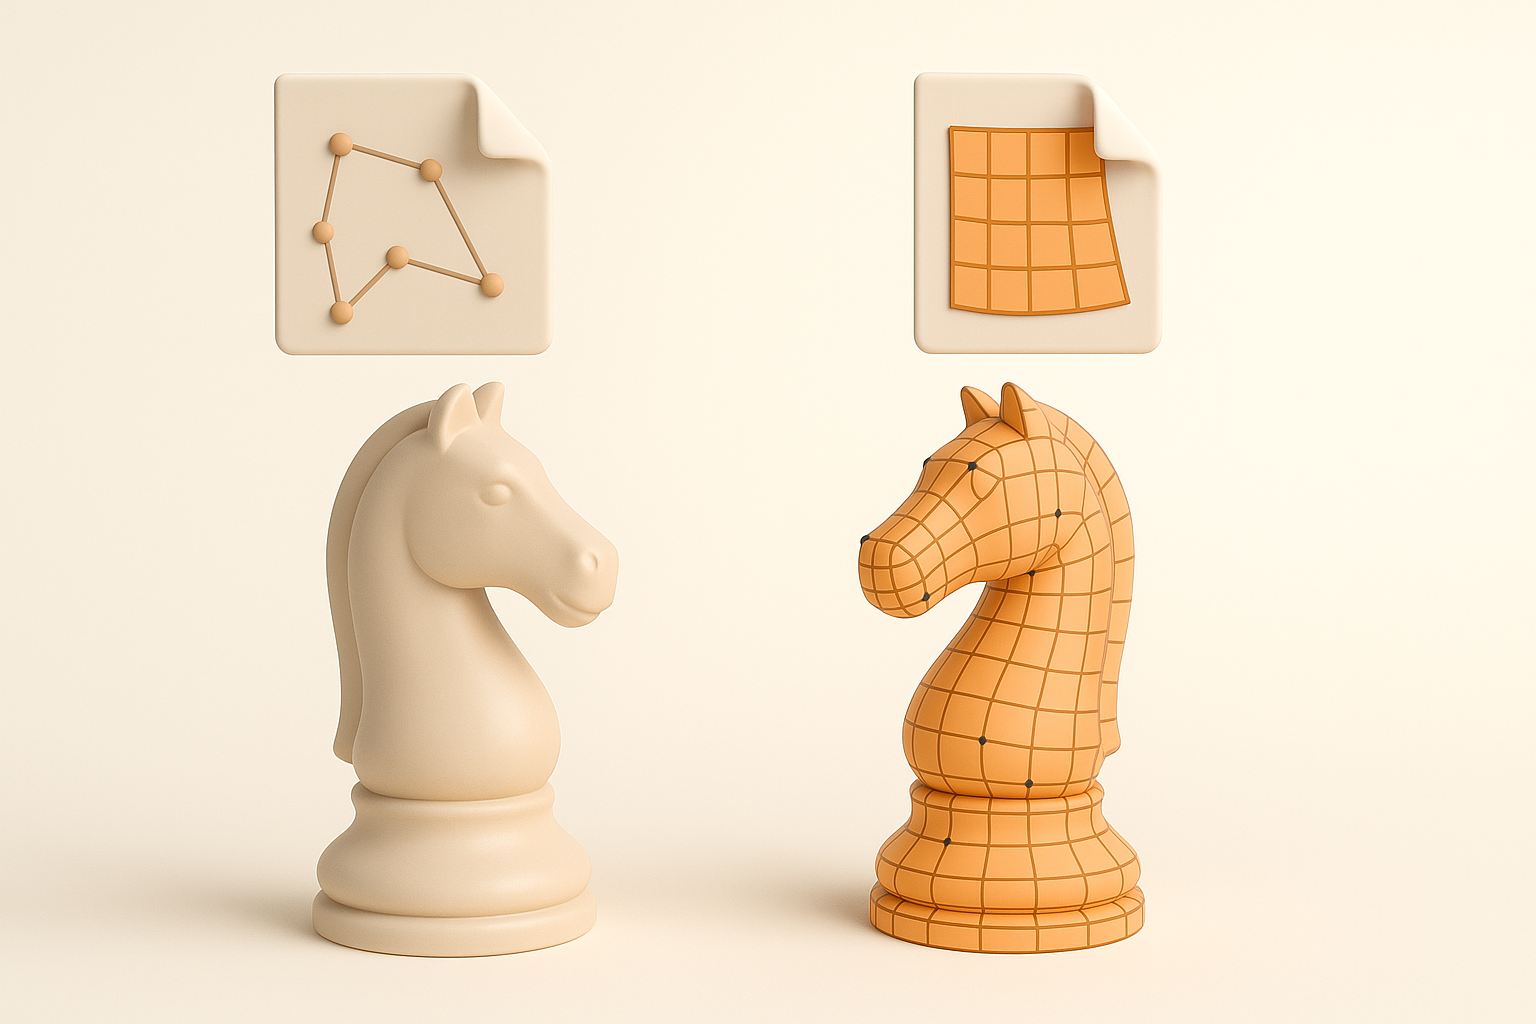
Efficient retopology workflows
After sculpting, I retopologize to create a clean, efficient mesh. I often use AI-assisted retopology to speed up this step, then manually tweak edge flow around joints and facial features. Good topology is crucial for animation and performance.
Steps:
- Use automated retopology for a quick base
- Manually clean up loops and poles
- Keep polycount within target budget
UV unwrapping tips for clean textures
For UVs, I favor simple, contiguous islands to avoid seams on visible areas. I layout UVs to maximize texture space for important details (face, cloak). I check the UV map with a test grid before texturing.
Pitfall:
Overlapping UVs or stretched islands can ruin hand-painted textures.
Texturing and Materials: Achieving the Silksong Look

Hand-painting vs. procedural texturing
Silksong’s look is best achieved with hand-painted textures. I use 3D painting tools to lay down base colors, then add subtle gradients and highlights. Procedural texturing can help with base materials, but I always finish by hand to match the game’s painterly style.
Tip:
Use a limited color palette and soft brushes for a cohesive look.
Matching the game’s art style
I avoid realistic surface detail and focus on clear, stylized shading. I study in-game lighting and replicate the subtle rim lights and soft shadows seen in Silksong. Materials are kept simple—diffuse with minimal specular.
Checklist:
- Flat, painterly color layers
- Soft, stylized shadows
- Minimal gloss or metallic
Rigging and Animation Preparation

Setting up a flexible rig for Hornet
Hornet’s agile movements require a flexible rig. I use simple, clean bone hierarchies and add IK chains for limbs. I test the rig with basic poses to ensure deformations look natural, especially around the cloak and joints.
Tip:
Keep controls intuitive for animators—label everything clearly.
Animation-ready topology considerations
I ensure edge loops are dense enough around elbows, knees, and the cloak to support smooth bending. I avoid long, thin triangles, which can deform unpredictably.
Pitfall:
Ignoring topology here leads to ugly animation artifacts later.
Exporting and Integrating the Model

Export settings for different engines
I export in the format required by the target engine (FBX for most game engines). I check scale, axis orientation, and naming conventions. I bake textures and normal maps as needed.
Checklist:
- Apply transforms and freeze scale
- Export with proper axis (Y-up or Z-up as needed)
- Include all necessary texture maps
Testing the model in real-time environments
Before final delivery, I import the model into the engine and check for shading errors, scale mismatches, or rigging issues. I run basic animations to ensure everything deforms as expected.
Tip:
Spot-check in engine lighting—sometimes materials look different than in your modeling app.
Comparing AI-Powered and Manual 3D Workflows

Where AI tools speed up the process
AI-powered tools excel at generating base meshes, automating retopology, and suggesting UV layouts. In my workflow, I use them to get quick results and iterate faster, especially for early blockouts or repetitive tasks.
Situations for AI:
- Fast prototyping
- Generating base meshes from sketches or descriptions
- Quick retopology and UVs
When to refine manually for best results
For final detail, stylized sculpting, and texture painting, manual work is essential. AI can’t match the intentionality needed for Silksong’s style. I always review and refine AI outputs before moving on.
Pitfall:
Over-relying on AI can lead to generic or off-style results.
My Lessons Learned and Pro Tips for Silksong 3D Models

Common pitfalls and how I avoid them
- Over-detailing: Keep forms simple and bold.
- Ignoring silhouette: Always check your model’s outline.
- Messy topology: Clean up AI-generated meshes before rigging.
- Texture seams: Plan UVs to hide or minimize visible seams.
Optimizing for both quality and efficiency
- Use AI tools for speed, but don’t skip manual refinement.
- Work in passes: blockout → sculpt → retopo → UV → texture.
- Regularly test in your target engine to catch issues early.
- Save iterations—sometimes you’ll want to roll back.
By combining AI-powered tools with manual artistry, I consistently create Silksong-inspired 3D models that are both efficient to produce and true to the game’s unique style. Whether you’re a solo creator or part of a larger team, these workflow tips should help you streamline your process and achieve high-quality, game-ready results.