Creating a Hachishaku Sama 3D Model: Expert Workflow & Tips
Creating a 3D model of Hachishaku Sama—a figure from Japanese urban legend—requires attention to both folklore accuracy and production-ready workflows. In this guide, I’ll walk through my full process, from gathering references and planning, to modeling, texturing, rigging, and exporting. I’ll highlight the practical benefits and trade-offs of using AI-powered tools like Tripo versus traditional methods. Whether you’re aiming for game, film, or XR deployment, this article will help you streamline your workflow and avoid common pitfalls.
Key takeaways:
- Reference gathering and planning are essential for capturing Hachishaku Sama’s unique traits.
- Blocking, refining, and segmenting the model efficiently is key for production-readiness.
- AI-powered tools can dramatically speed up modeling and texturing, but manual tweaks are often still needed.
- Optimized topology and clean UVs are crucial for animation and downstream uses.
- Export settings and file formats should match your target platform (game, film, XR).
- Sharing your work effectively helps build your portfolio and get feedback.
Understanding Hachishaku Sama: Design & Reference Gathering
Researching folklore and visual traits
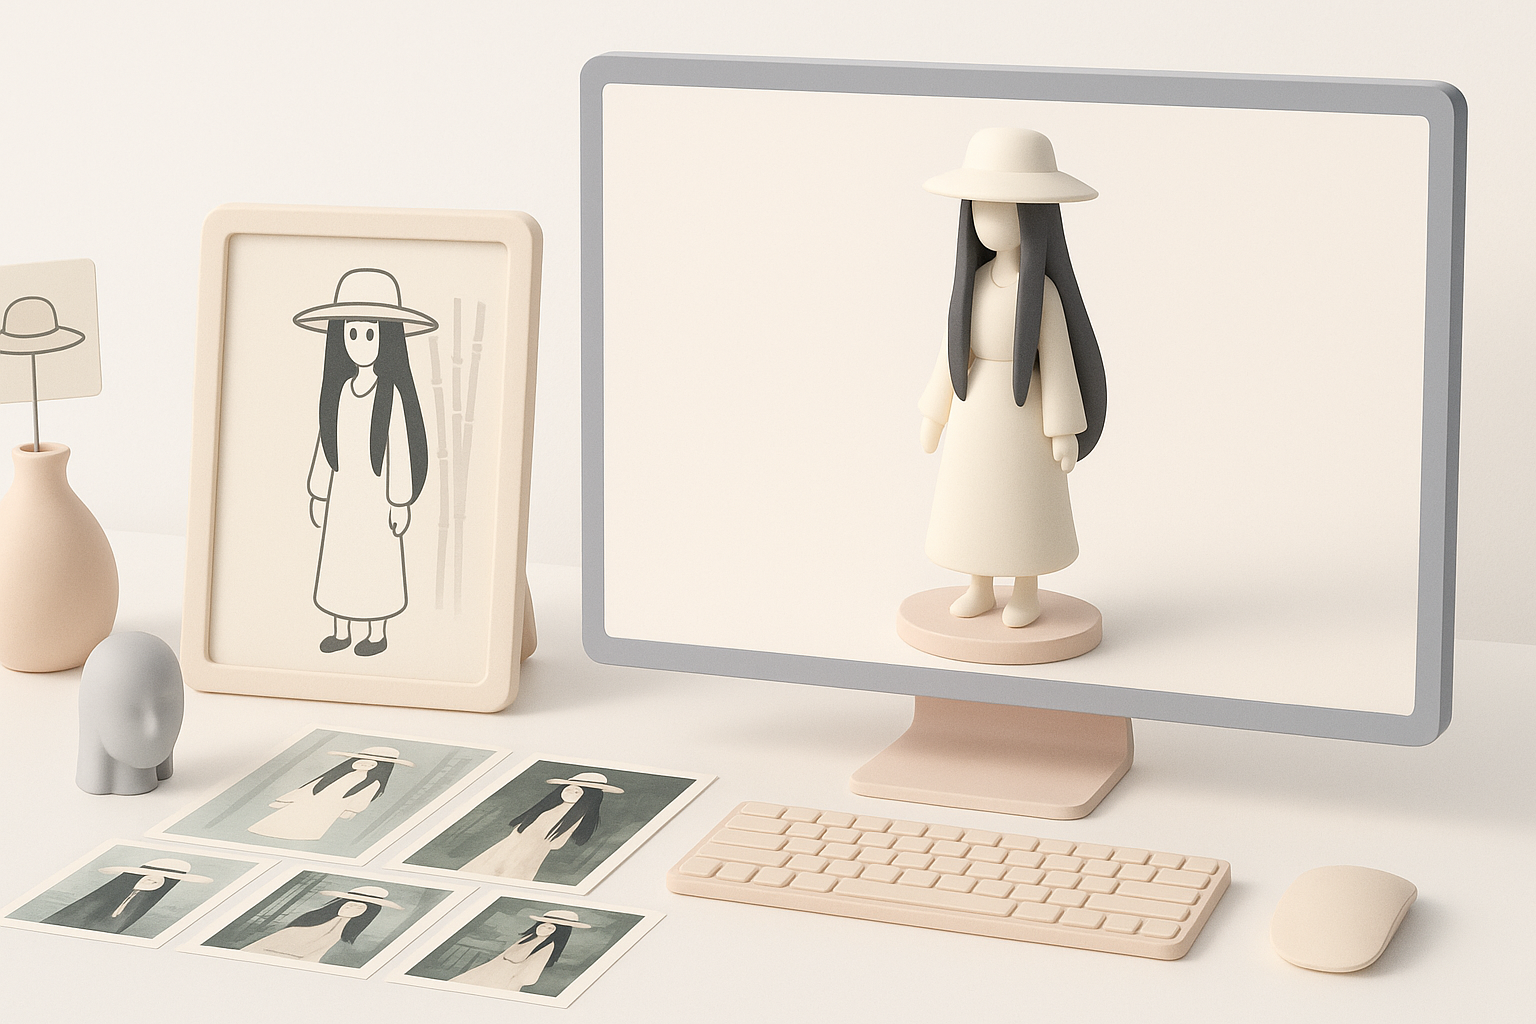
Before opening any 3D software, I start by understanding Hachishaku Sama’s folklore origins. She’s typically described as a towering woman in a white dress and wide-brimmed hat, with unnaturally long limbs and an eerie presence. Accuracy here sets the tone for the whole project.
- Tip: Read multiple versions of the legend for a complete picture.
- Checklist: Identify key features—height, dress, hat, facial expression, and posture.
Collecting and organizing reference images
I collect reference images from folklore illustrations, fan art, and similar horror characters. Organizing these in a mood board or reference sheet helps keep my vision consistent.
- Use image boards (PureRef, or built-in reference tools in your 3D suite).
- Group images by feature: face, clothing, posture, accessories.
- Avoid over-relying on a single source—variety helps.
Planning the 3D Model: Concept to Execution
Defining style, pose, and level of detail
I decide early on whether I want a stylized or realistic look. For Hachishaku Sama, I usually go for semi-realistic—realistic proportions, but exaggerated limbs. I sketch a few rough poses, often favoring her signature looming stance.
- Checklist: Choose style, define pose, set target polycount.
- Consider animation needs (rig-friendly pose, neutral T-pose if unsure).
Choosing the right tools and workflow
For speed and flexibility, I use Tripo AI for initial mesh generation from my sketches or text prompts. This gets me a solid base mesh in seconds, which I then refine in my main 3D package.
- Use AI-powered tools for blocking and segmentation.
- Switch to manual sculpting/modeling for unique features and cleanup.
- Plan for texture, rig, and export needs from the start.
Step-by-Step: My Process for Modeling Hachishaku Sama

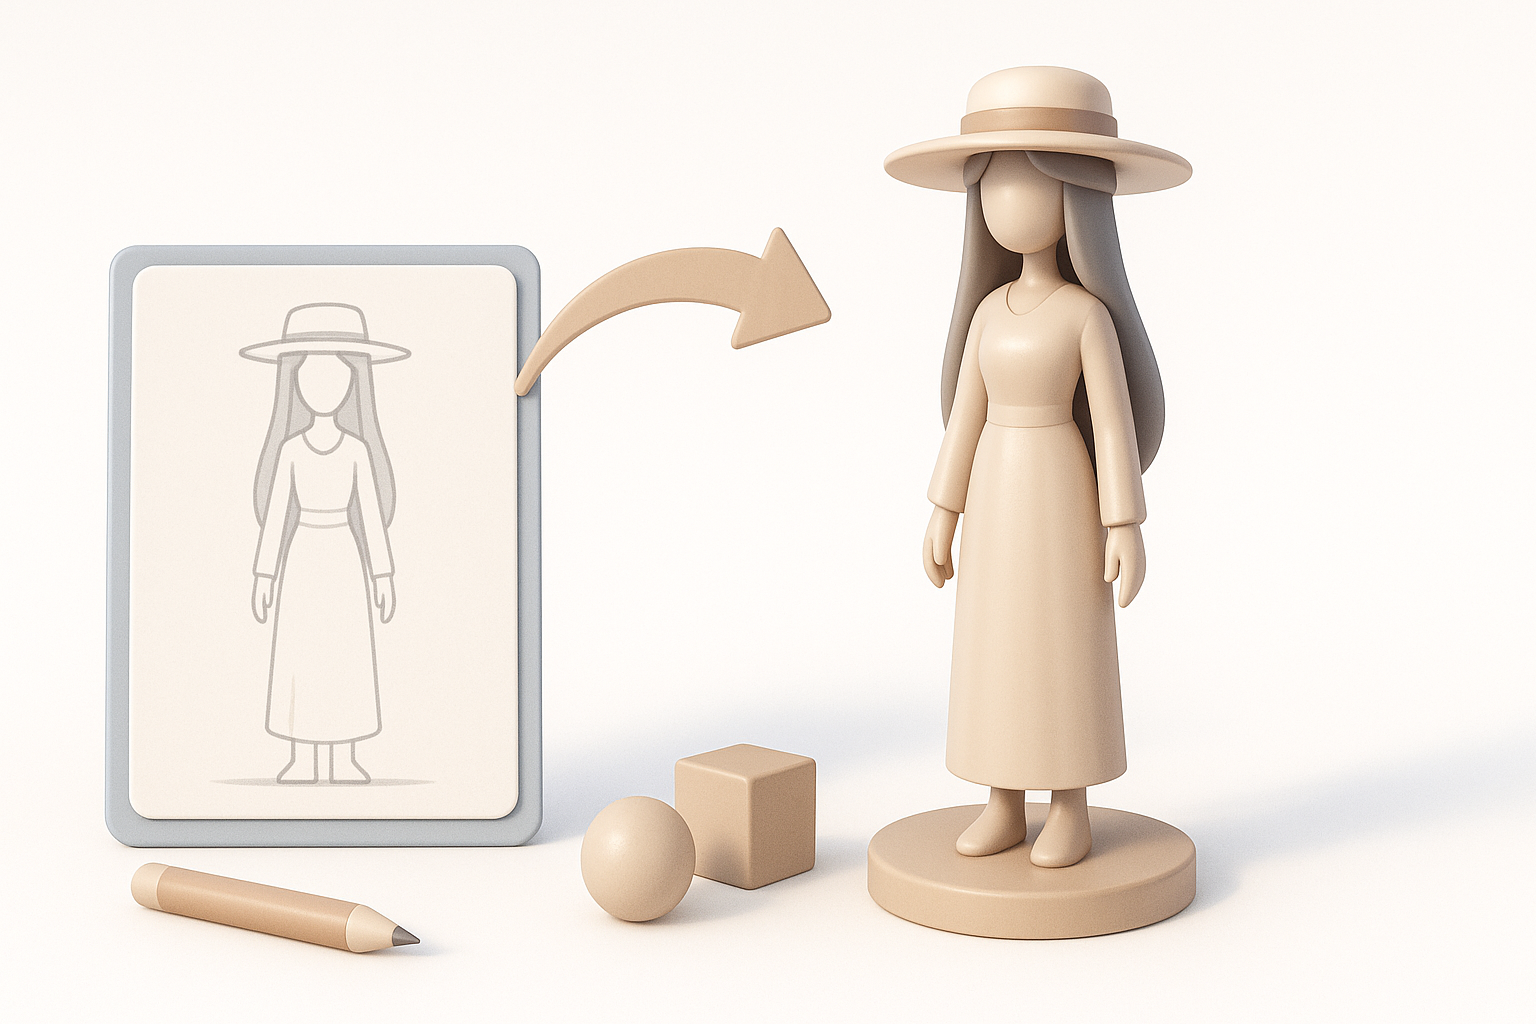
Blocking out the base mesh
I start by generating a rough base mesh using Tripo AI, feeding in a descriptive prompt or a loose sketch. This gives me a segmented, editable mesh that hits the key proportions.
- Adjust basic forms: head, torso, limbs, hat.
- Keep the pose neutral for easier rigging later.
Refining anatomy and iconic features
Next, I manually sculpt or model the unique anatomy—especially the elongated arms and legs. I pay close attention to the face and clothing folds, making sure the model reads well from all angles.
- Refine silhouette for her tall, eerie look.
- Add detail to the hat and dress.
- Check proportions against references.
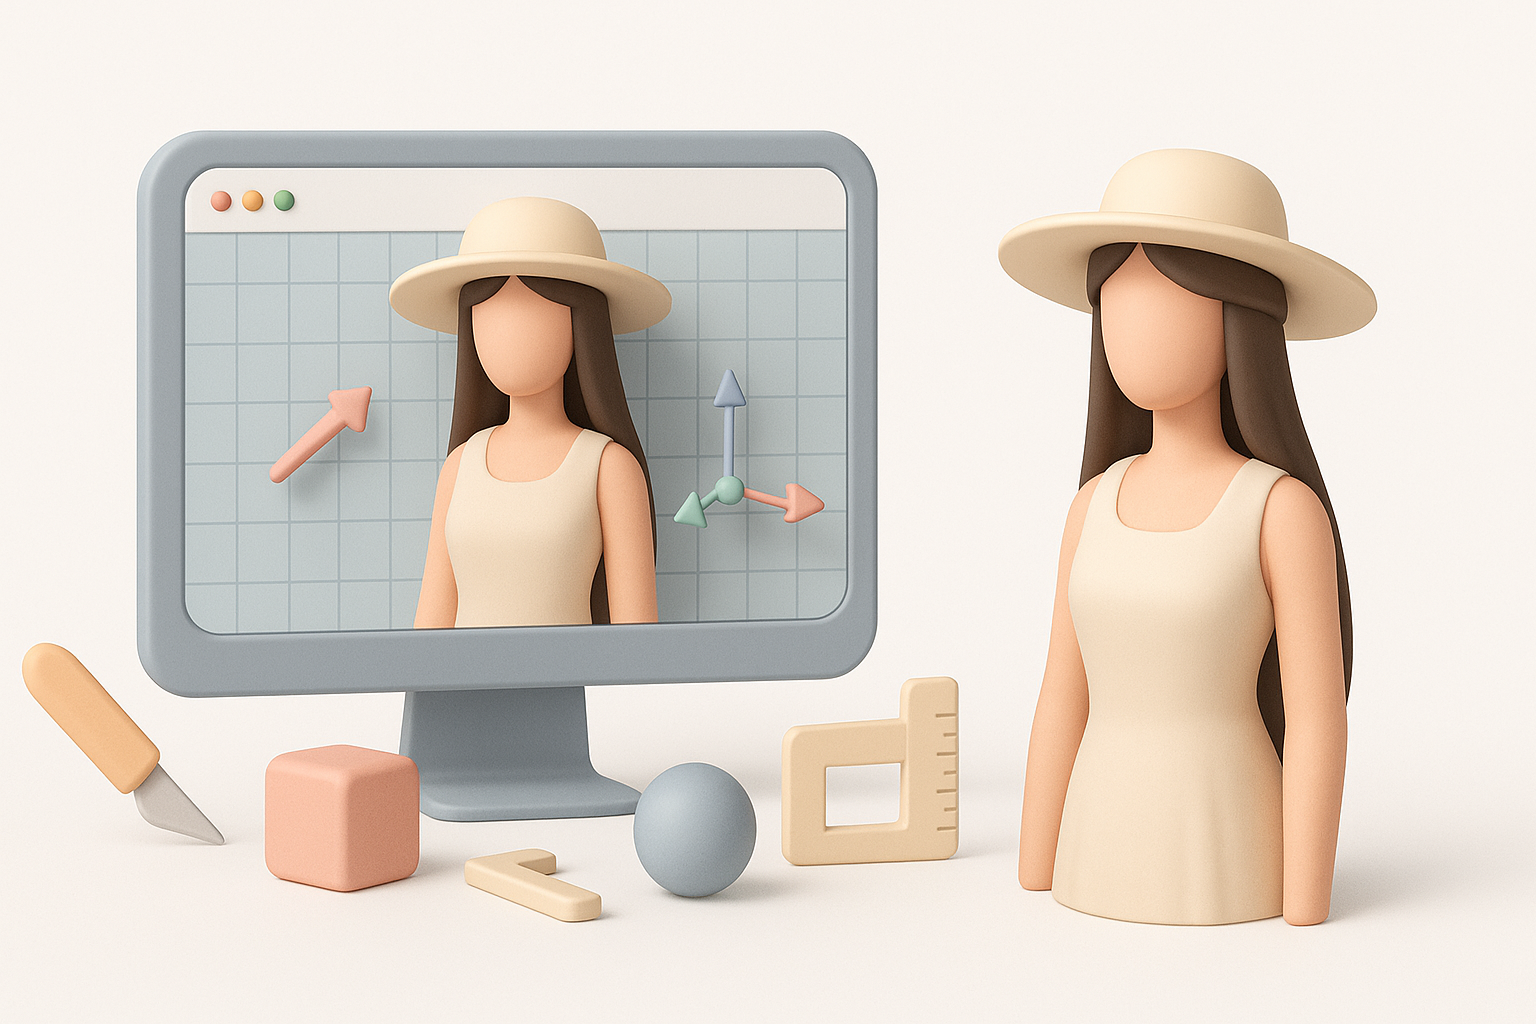
Texturing and Materials: Bringing the Model to Life
UV mapping and intelligent segmentation
Clean UVs are essential. I use Tripo’s intelligent segmentation to quickly generate UV islands for major body parts and clothing, which reduces manual unwrapping time.
- Check for overlapping UVs.
- Organize UVs for efficient texturing.
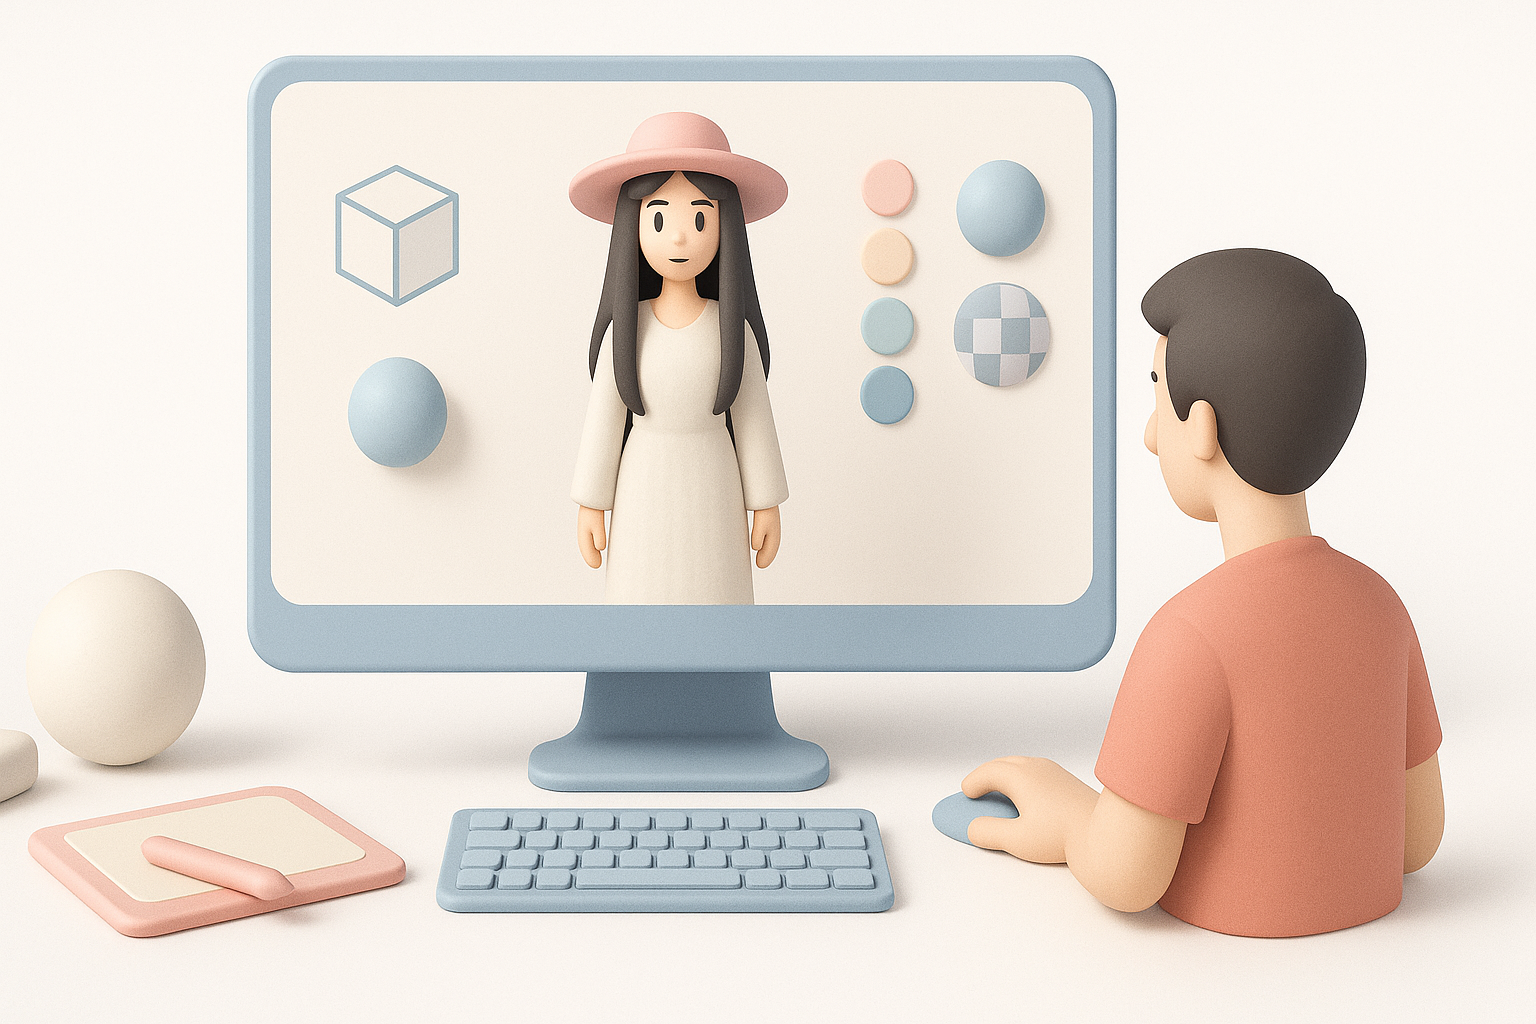
Painting textures and applying shaders
I texture in my preferred painting tool, focusing on pale skin, subtle shadows, and distressed fabric. For shaders, I use simple subsurface scattering on the skin and tweak roughness for the hat and dress.
- Paint base color, then add subtle weathering.
- Test materials under different lighting setups.
Rigging and Animation: Adding Movement

Setting up a basic rig for posing
For posing and simple animation, I create a basic skeleton. I use Tripo’s auto-rigging feature to get a quick rig, then manually adjust weight painting for the long limbs.
- Place joints carefully in elongated arms/legs.
- Test deformation with simple poses.
Animating signature movements or idle poses
I animate a slow, looming walk or idle sway to capture her unsettling presence. Keyframing just a few frames is usually enough for portfolio shots.
- Focus on exaggerated, slow movements.
- Keep animations subtle—less is more for horror characters.
Best Practices and Lessons Learned
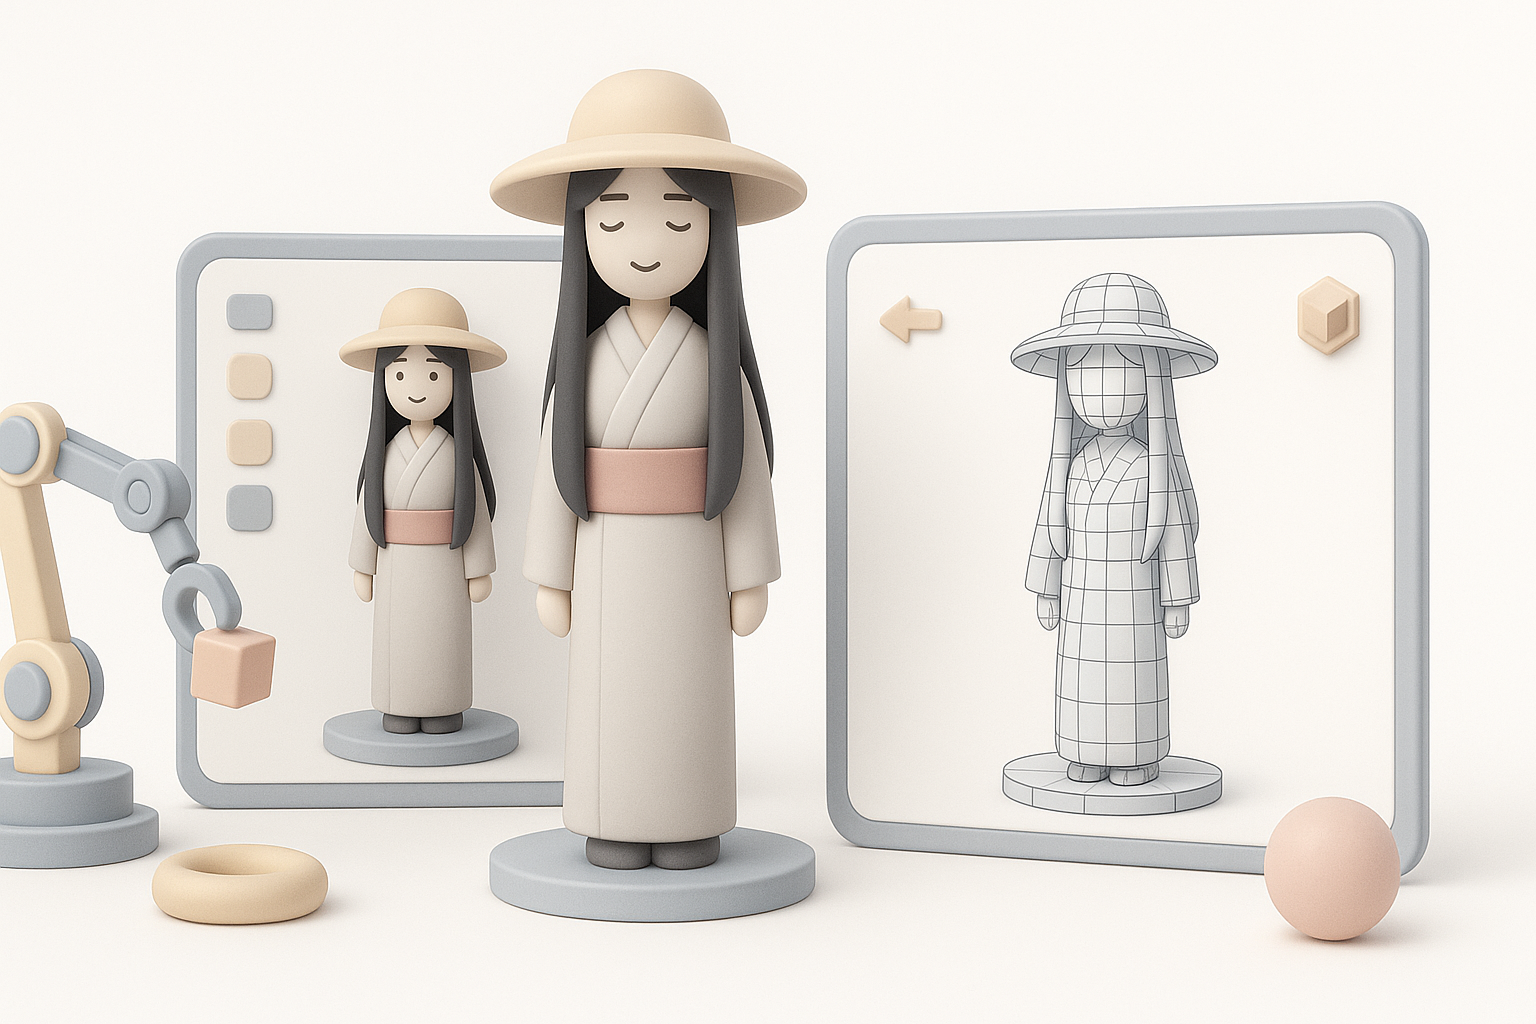
Optimizing topology for production
Clean, optimized topology is non-negotiable for animation and export. I use Tripo’s retopology tools to get a quad-based mesh, then make manual tweaks as needed.
- Avoid dense meshes—optimize for your target platform.
- Double-check edge flow around joints.
Common pitfalls and how I avoid them
- Over-detailing too early: I keep details minimal until the base mesh is approved.
- Ignoring references: I regularly check back with my reference board.
- UV issues: I always test textures early to catch stretching or seams.
Exporting, Sharing, and Using the Model
Export settings for games, film, and XR
I export in FBX or GLB, depending on the target. For games, I keep polycount and texture sizes reasonable; for film, I allow higher detail.
- Check scale and orientation.
- Bake maps (normal, AO) for efficient rendering.
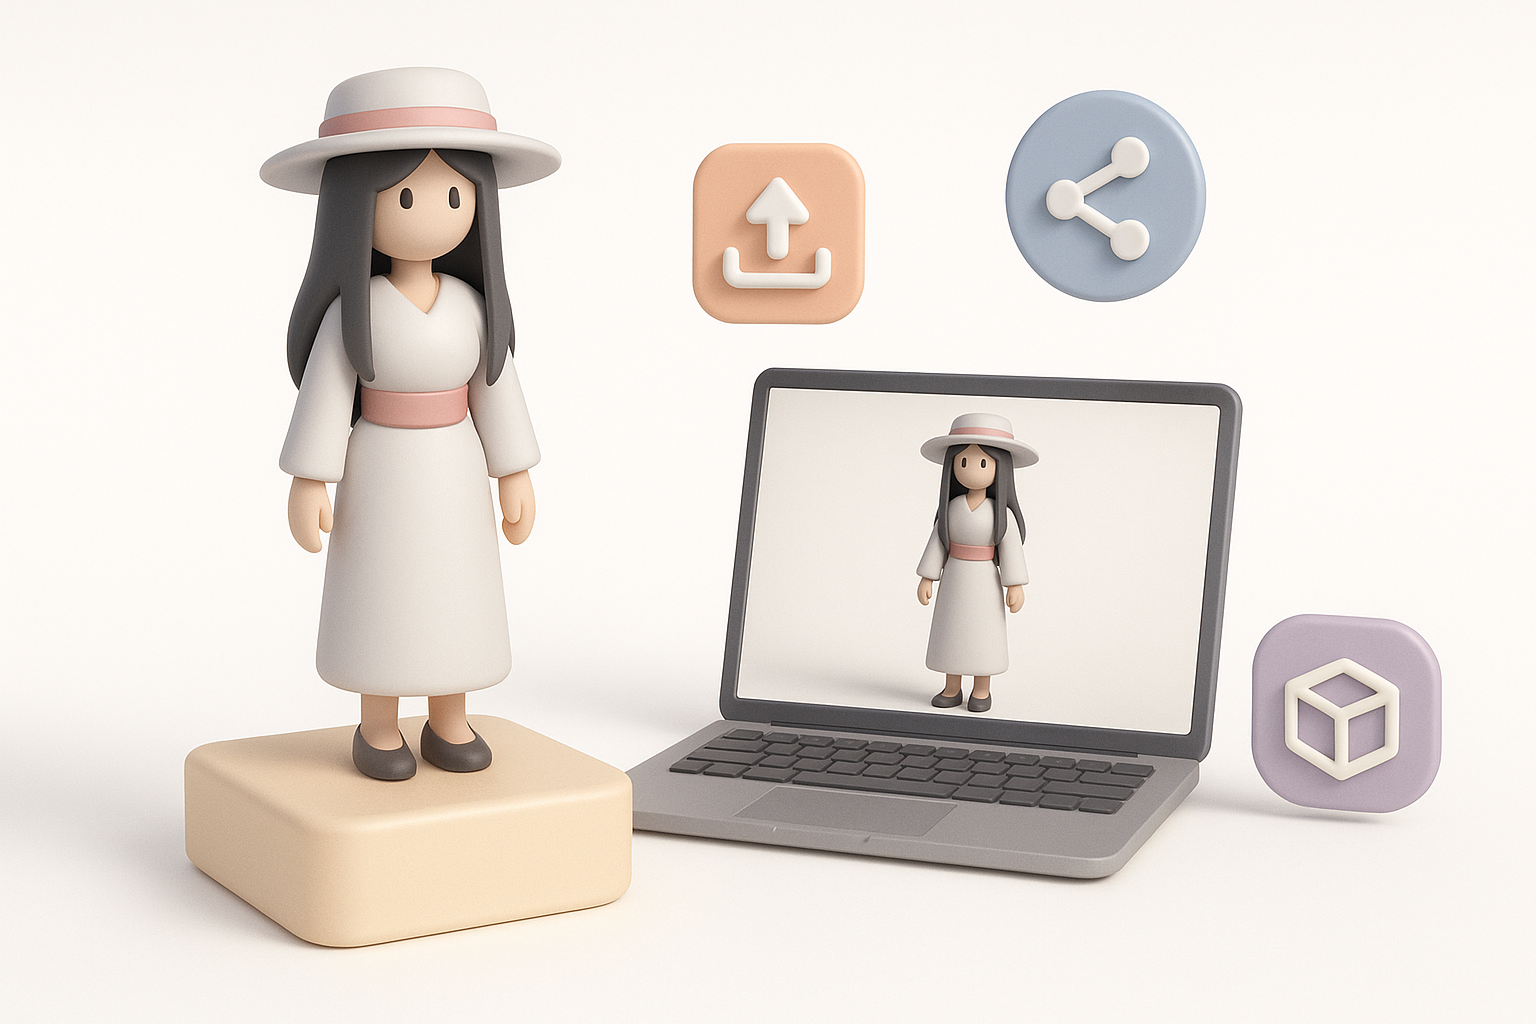
Showcasing and sharing your work
I render beauty shots and turntables, then share on portfolio sites and social media. Including wireframe and texture breakdowns helps demonstrate skill.
- Present with neutral lighting.
- Annotate key features in your breakdowns.
Comparing AI-Powered and Traditional 3D Workflows
Speed and quality: My experience with AI tools
AI-powered tools like Tripo have drastically reduced my blocking and segmentation time. I can generate a production-ready base mesh in seconds, freeing me to focus on creative refinement and detail.
- Great for rapid prototyping and iteration.
- Still need manual tweaks for unique or complex features.
When to use AI versus manual modeling
I use AI tools for initial stages and repetitive tasks (base mesh, UVs, auto-rigging), but switch to manual methods for stylization, fine detail, and polish.
- Use AI for speed and efficiency.
- Use manual modeling for creative control and uniqueness.
By combining AI-powered workflows with traditional artistry, I can bring folklore characters like Hachishaku Sama to life quickly and to a high standard—without sacrificing creativity or production value.