How to Create and Use GTA 5 3D Models: Expert Workflow Guide
As someone who’s worked extensively with GTA 5 3D models for games, XR, and creative projects, I know the workflow can seem daunting. The good news: you can source, optimize, and deploy these models efficiently with the right techniques and AI-powered tools. In this guide, I’ll walk you through my proven workflow—from sourcing and legal checks to AI-driven editing, texturing, rigging, and integration. Whether you’re a game dev, XR creator, or 3D hobbyist, you’ll find practical steps and hard-earned tips to accelerate your production.
Key takeaways
- GTA 5 models are versatile but need careful sourcing and cleanup for reuse.
- Legal and ethical considerations are critical—always check usage rights.
- AI tools like Tripo streamline segmentation, retopology, and texturing.
- Proper optimization ensures models run smoothly in engines like Unity or Unreal.
- Rigging and animation require attention to GTA 5’s unique skeletal structures.
- Export settings and troubleshooting can make or break final integration.
Understanding GTA 5 3D Models
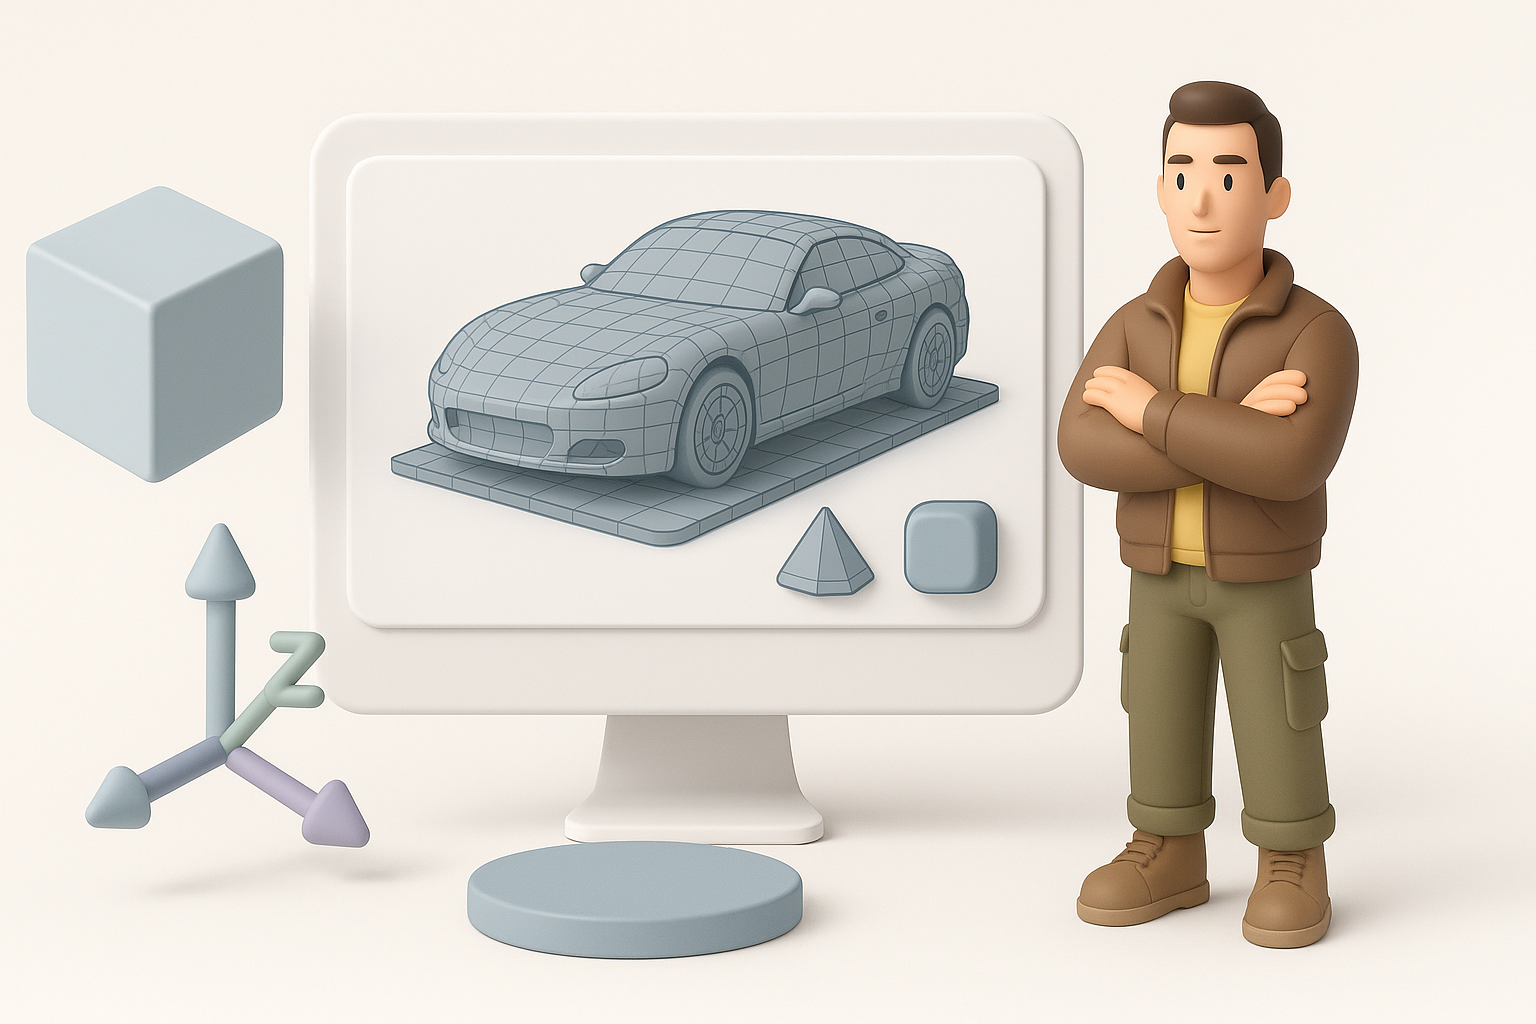
What Makes GTA 5 Models Unique
GTA 5 models are highly detailed, optimized for open-world environments, and built with proprietary pipelines. They often feature complex meshes, game-ready LODs (Levels of Detail), and unique material setups. In my experience, these models can be challenging to adapt due to unconventional topology and texture mapping.
- Expect non-standard UV layouts and multi-material setups.
- Animation rigs may differ from typical game assets.
- File formats are often proprietary (.ydr, .yft, etc.), requiring conversion.
Common Use Cases in Games and XR
I’ve used GTA 5 models in multiple contexts:
- Game modding: Custom missions, new vehicles, or character skins.
- XR/VR projects: Realistic urban environments or interactive experiences.
- Prototyping: Rapid scene building for visualization or pitch decks.
Tip: Always adapt models to your project’s technical constraints—especially polycount and texture resolution for XR.
Sourcing and Preparing GTA 5 3D Models
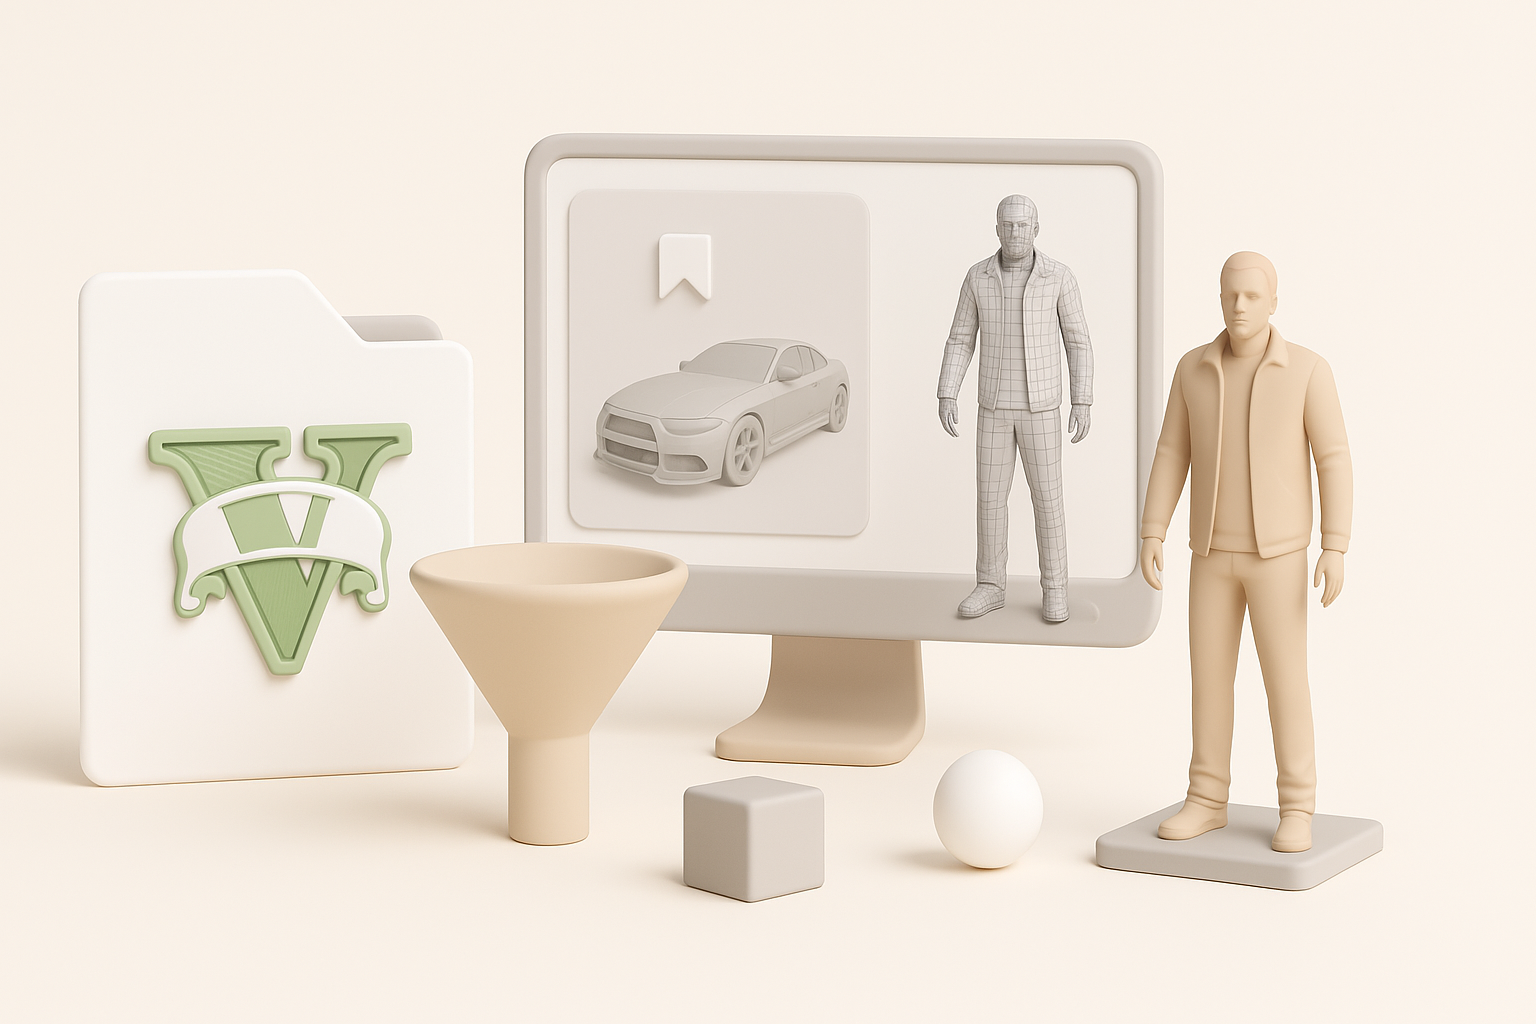
Where to Find High-Quality Models
Finding quality GTA 5 models requires patience and a discerning eye. Here’s my approach:
- Community repositories: Modding forums and fan sites often host extracted or custom-made assets.
- Official tools: Some assets can be exported using in-game editors or open-source converters.
- AI-powered generators: Platforms like Tripo can generate lookalike assets from references, bypassing extraction hassles.
Checklist:
- Verify model origin and quality.
- Prefer sources with clear licensing info.
- Watch for incomplete or corrupted meshes.
Legal and Ethical Considerations
This is non-negotiable: always ensure you have the right to use and modify the model.
- Check copyright and usage terms. Most original GTA 5 assets are for personal use only.
- For commercial projects, use original or AI-generated assets that don’t infringe on Rockstar’s IP.
- Respect creator credits when using community-made models.
Pitfall: Ignoring licensing can lead to takedowns or legal issues—don’t risk it.
My Workflow: Importing and Editing GTA 5 3D Models
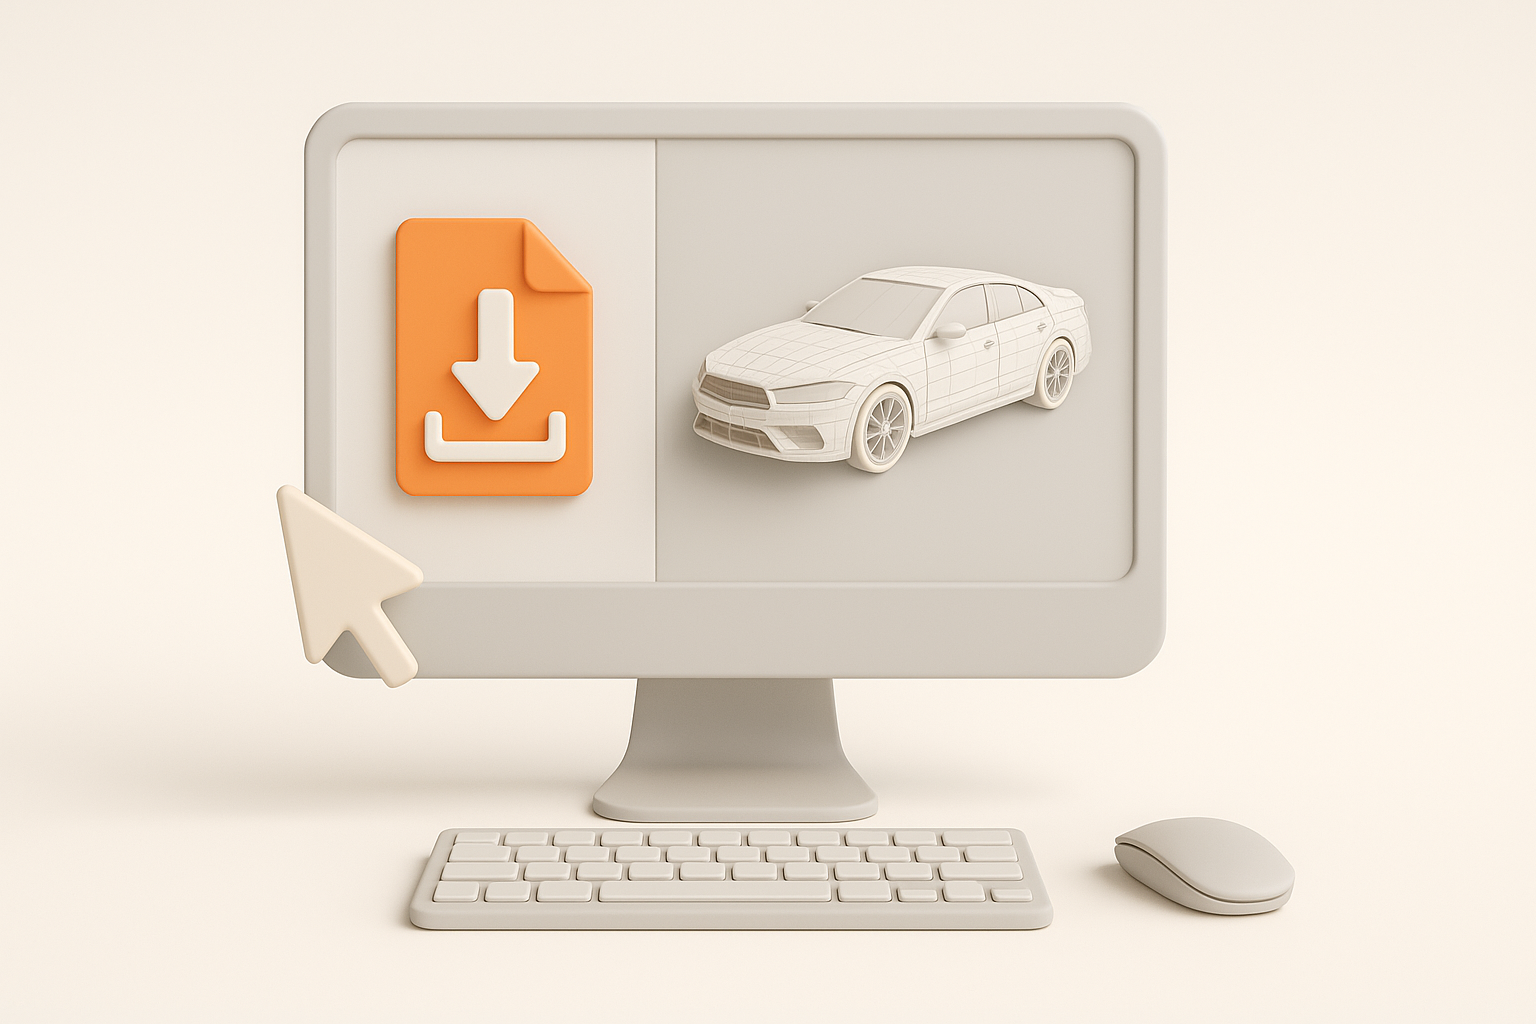
Step-by-Step Import Process
Here’s my typical import pipeline:
- Convert proprietary formats (e.g., .ydr, .yft) to standard ones (.obj, .fbx) using community tools.
- Import into DCC software (Blender, Maya, etc.).
- Initial inspection: Check for missing geometry, flipped normals, or broken UVs.
- Use Tripo or other AI tools for automatic segmentation, retopology, and mesh cleanup.
Quick steps:
- Always back up originals before editing.
- Run a quick polycount and texture check.
- Fix normals and apply transforms before further edits.
Best Practices for Model Cleanup and Optimization
I focus on making models engine-ready:
- Remove unnecessary geometry (hidden faces, excess loops).
- Retopologize for better performance—AI tools like Tripo can automate this.
- Simplify materials: Combine textures and reduce draw calls.
- Check scale and orientation for your target engine.
Tip: Keep multiple LODs for open-world or XR projects.
Texturing, Rigging, and Animating GTA 5 3D Models
Efficient Texturing Techniques
GTA 5 textures can be a mess—multiple maps, odd resolutions, and baked-in lighting. I usually:
- Extract and re-bake textures where possible.
- Leverage AI-powered texturing in Tripo for quick, consistent PBR maps.
- Repaint or up-res low-quality textures using external tools.
Checklist:
- Standardize texture sizes (e.g., 2K or 4K).
- Convert to engine-friendly formats (PNG, TGA).
- Check for color space mismatches.
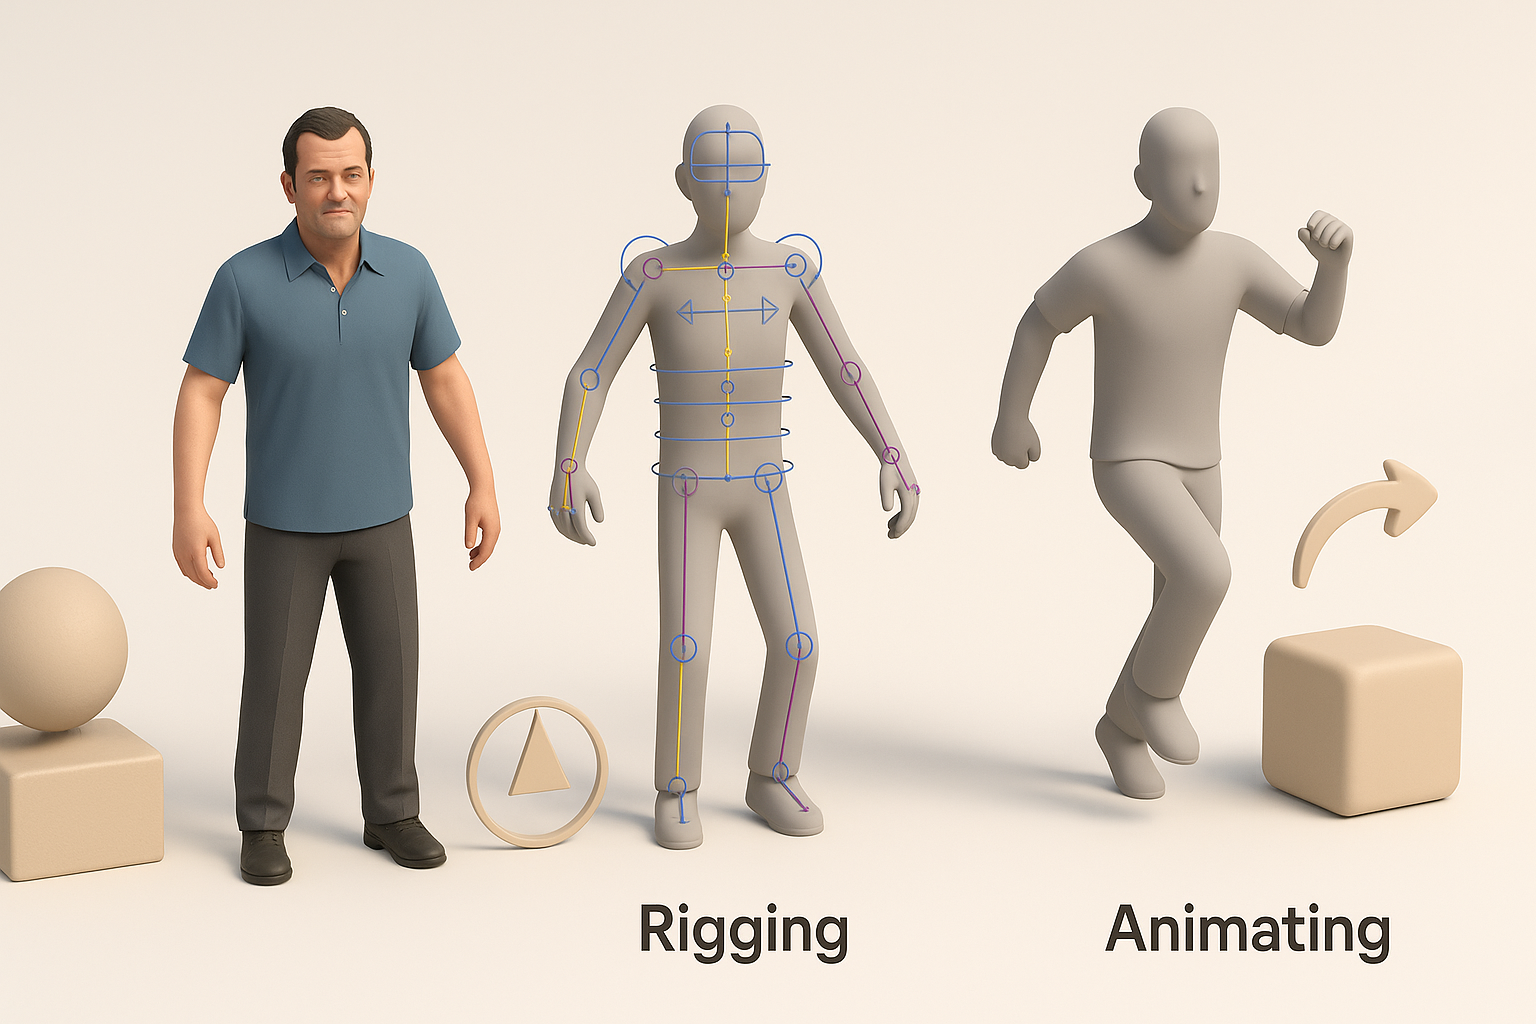
Rigging and Animation Tips
Rigging GTA 5 models can be tricky due to custom skeletons. Here’s what I do:
- Map bones carefully if retargeting to a new rig.
- Use auto-rigging tools for non-humanoid assets.
- Test animations early—look for mesh deformations or weight errors.
Tip: For vehicles, separate moving parts (doors, wheels) as distinct objects for easier animation.
AI-Powered Tools for GTA 5 3D Model Creation
How I Use Tripo AI for Fast Model Generation
Tripo has become central to my workflow for GTA-style assets:
- Text/image/sketch input: I can generate new models without extraction.
- Automatic segmentation: Tripo splits models into usable parts (body, wheels, etc.).
- One-click retopology and texturing: Saves hours compared to manual methods.
Practical tip: I use Tripo to generate “inspired” assets for commercial projects, ensuring originality and legal safety.
Comparing AI Tools and Traditional Methods
From my experience:
- AI tools (like Tripo) are faster for segmentation, retopology, and texturing.
- Traditional methods offer finer control but require more time and technical skill.
- Hybrid approach: I often start with AI, then fine-tune manually for critical assets.
Pitfall: Over-reliance on automation can lead to generic results—always review and tweak outputs.
Exporting and Integrating GTA 5 3D Models
Export Settings for Popular Engines
Exporting correctly is crucial for smooth integration. My go-to settings:
- Format: FBX is the safest bet for Unity/Unreal.
- Scale: Match engine units (typically 1 unit = 1 meter).
- Normals: Export with smoothing groups.
- Animation: Bake animations if needed.
Checklist:
- Test import in a blank scene first.
- Verify material assignments and pivots.
- Check for missing textures or mesh errors.
Troubleshooting Common Issues
Common problems I’ve encountered:
- Broken rigs: Double-check bone hierarchies and naming.
- Texture glitches: Ensure all maps are linked and in the correct color space.
- Performance hits: Optimize mesh and texture size before export.
Tip: Use engine profiling tools to catch bottlenecks early.
Expert Tips and Lessons Learned
What I’ve Learned from Real Projects
- Start with clean, legal sources. Saves headaches down the line.
- Leverage AI for speed, but don’t skip manual QA.
- Keep a modular workflow: Separate models, textures, and rigs for easy updates.
- Document your process for easier troubleshooting and team collaboration.
Avoiding Common Pitfalls
- Don’t skip legal checks.
- Avoid over-complicating materials—simple is often better for real-time.
- Test early and often in your target engine.
- Back up every milestone—corruption or crashes do happen.
By following these workflows and tips, you can reliably create, adapt, and deploy GTA 5 3D models for a wide range of projects—while staying efficient, legal, and creative.