How to Create a Garten of Banban 3D Model: Expert Workflow & Tips
Creating a Garten of Banban 3D model is a rewarding process, especially when you want to capture the unique, stylized charm of these characters for use in games or XR experiences. In my workflow, I rely on a mix of traditional modeling techniques and AI-powered tools to speed up production without sacrificing quality. This guide covers the full pipeline—from reference gathering to exporting—along with practical tips for texturing, rigging, and optimizing your models. Whether you're a solo artist or part of a studio, you'll find actionable steps and pitfalls to avoid.
Key takeaways
- Start with strong references and a clear plan to match the distinctive style of Garten of Banban characters.
- Use AI tools like Tripo to accelerate initial modeling, segmentation, and texturing, but always refine manually for best results.
- Focus on clean topology and efficient rigging for animation-ready assets.
- Optimize models for real-time performance before export, especially for games and XR.
- Choose manual or AI-assisted workflows based on project needs, deadlines, and desired control.
Understanding Garten of Banban 3D Models

What Makes Garten of Banban Characters Unique
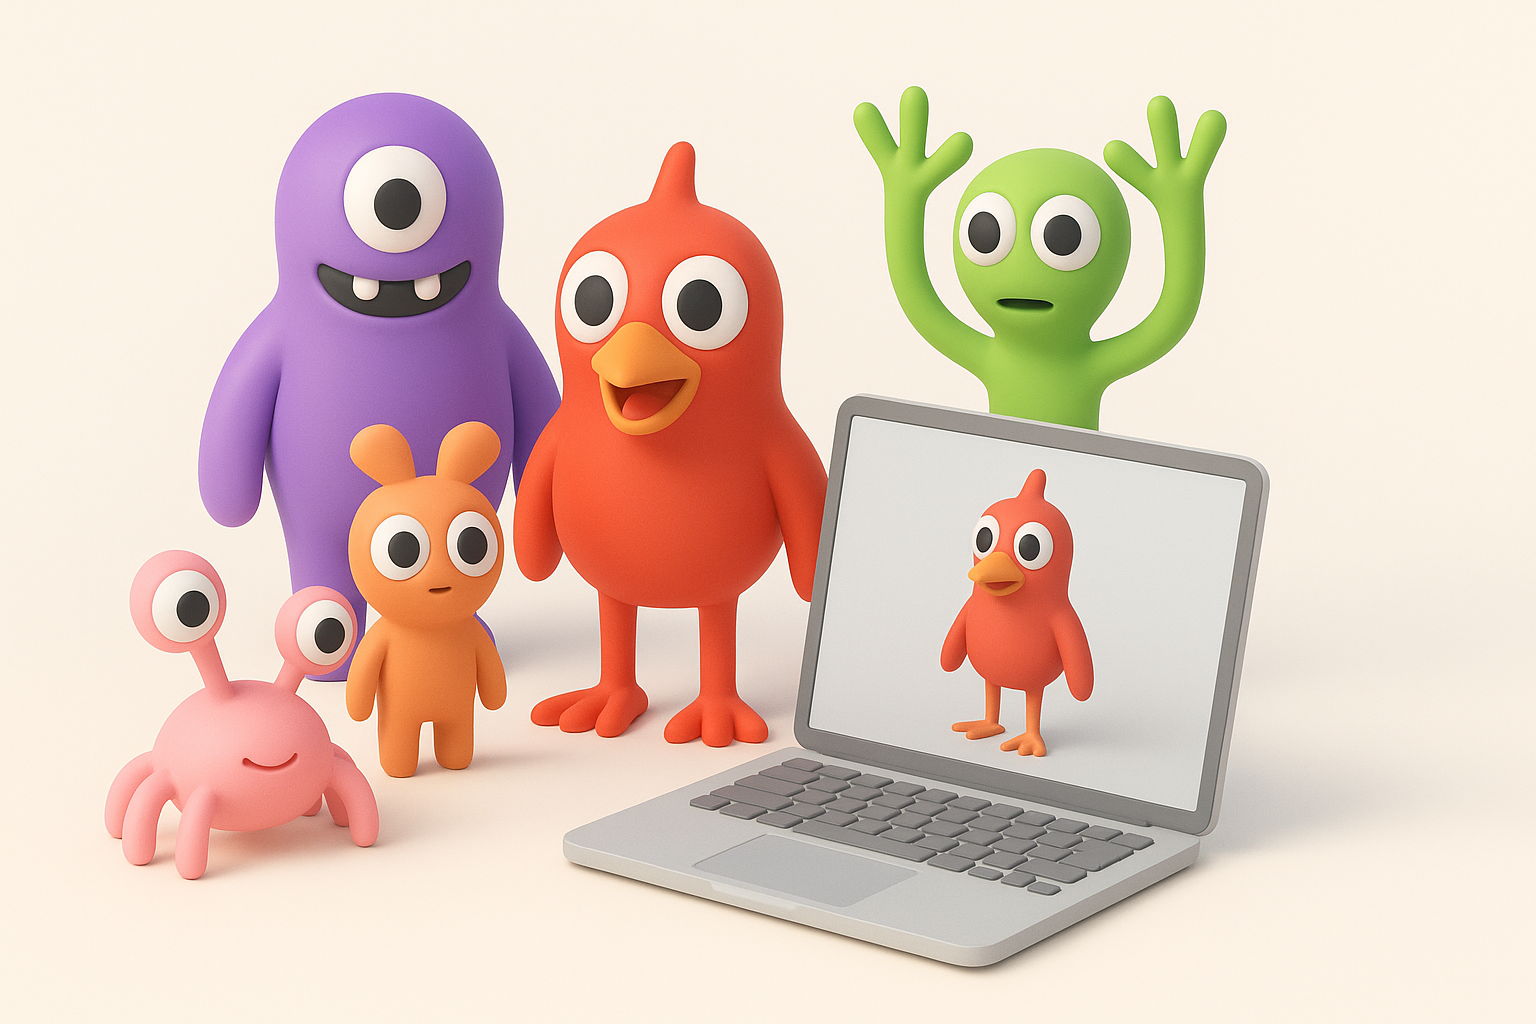
From my experience, Garten of Banban characters stand out due to their exaggerated proportions, vibrant colors, and playful, slightly eerie aesthetic. Their design leans heavily into stylization with simplified forms, large expressive eyes, and bold silhouettes. When modeling these characters, I pay close attention to:
- Maintaining clean, readable shapes.
- Emphasizing key features (like oversized heads or hands).
- Keeping details minimal but impactful.
Common Use Cases for 3D Models in Games and XR
I often see these models used in:
- Real-time games, where performance and style are equally important.
- XR experiences, requiring lightweight assets and optimized textures.
- Animated shorts or promotional material, where expressiveness matters.
Tip: Always clarify the intended use case before starting, as this will influence polycount, texture resolution, and rigging complexity.
Step-by-Step Workflow for Modeling Garten of Banban Characters
Gathering References and Planning the Model
I start every project by collecting as many references as possible—official artwork, fan art, and in-game screenshots. I organize these into moodboards and break down the character into basic shapes and colors.
Checklist:
- Gather front, side, and 3/4 views if possible.
- Note color palettes and material cues.
- Identify unique features and silhouette.
Pitfall: Skipping this step often leads to off-model results and wasted time fixing proportions later.
Blocking Out Shapes and Refining Topology
I usually block out the main forms using basic geometry (spheres, cylinders, cubes) in my 3D software or directly in an AI tool if I need a jumpstart. Once the shapes look right, I focus on clean topology for animation and texturing.
Steps:
- Block out major shapes (head, body, limbs).
- Adjust proportions to match references.
- Use retopology tools (manual or AI-assisted) to ensure even quad flow.
Tip: With Tripo, I can generate a base mesh from a sketch or description, then quickly adjust the topology for rigging.
Texturing, Rigging, and Animating the Model

Best Practices for Stylized Texturing
Stylized characters like those from Garten of Banban benefit from hand-painted or procedural textures that emphasize color blocking and subtle gradients. I avoid photorealistic details and focus on:
- Flat or gently gradiented base colors.
- Simple, bold highlights and shadows.
- Clean UV layouts for minimal seams.
Mini-checklist:
- Keep texture resolution appropriate for target platform.
- Use AI texturing tools for base maps, then refine manually.
- Test textures under in-engine lighting early.
Efficient Rigging and Animation Techniques
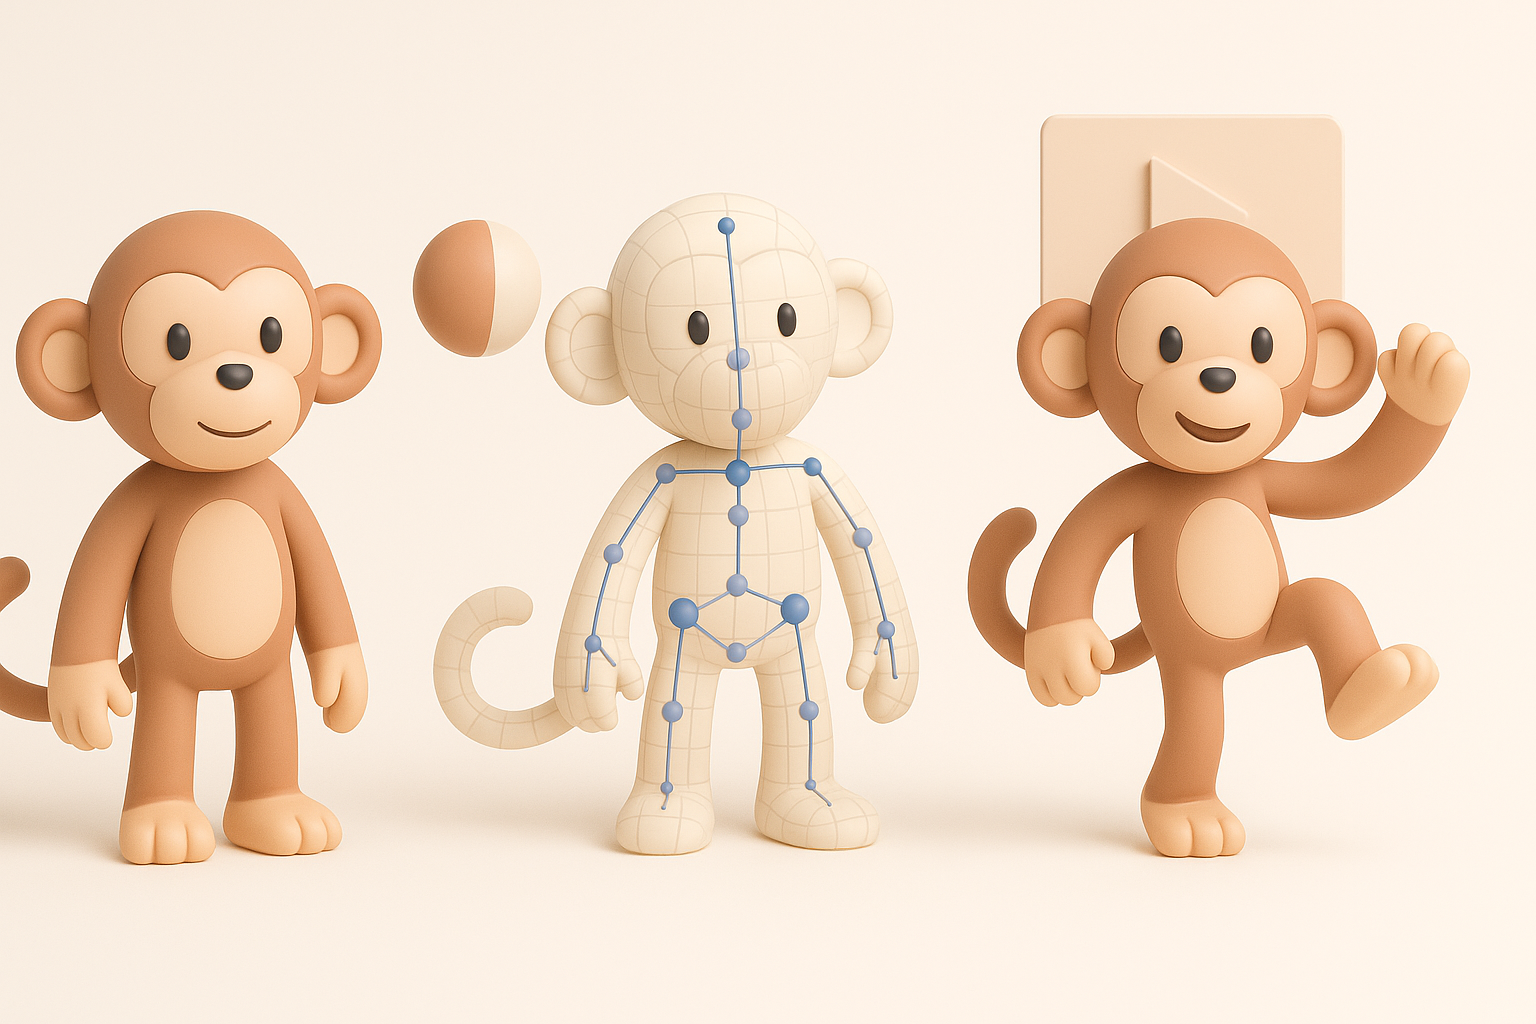
For these characters, I use a simple but flexible rig—usually a basic biped with extra controls for facial expressions or oversized features. AI-assisted auto-rigging can save time, but I always check and tweak weights.
Steps:
- Place bones to match limb proportions.
- Use auto-weighting, then manually adjust problem areas.
- Add simple facial rigs if needed.
Pitfall: Overcomplicating the rig can slow down animation and export—keep it as simple as possible for the intended use.
Using AI Tools for Faster 3D Model Creation

How I Integrate AI Platforms into My Workflow
I typically use AI tools like Tripo to generate first-pass models from sketches or text prompts, especially when I need to prototype fast or iterate on concepts. The built-in segmentation and retopology save a lot of time.
My workflow:
- Input a description or upload a sketch.
- Let the AI generate a base mesh and auto-segment parts.
- Refine the result in traditional 3D software as needed.
Tip: Use AI for rapid ideation, but always plan to polish the output before final export.
Tips for Achieving Production-Ready Results
AI outputs are rarely perfect out of the box. In my experience, the fastest path to production-ready assets is:
- Retopologize and clean up geometry manually.
- Redo UVs if necessary for clean texturing.
- Test in-engine early to catch issues with shading or animation.
Checklist:
- Check for ngons or non-manifold geometry.
- Optimize for target polycount and texture size.
- Validate animations in your target engine.
Exporting, Optimization, and Integration
Optimizing Models for Real-Time Applications
For games and XR, I always optimize models to balance visual fidelity with performance. This means:
- Reducing polycount where possible.
- Baking details into normal maps rather than geometry.
- Using efficient texture atlases.
Pitfall: Overly dense meshes or high-res textures can kill performance, especially on mobile XR.
Export Settings and Pipeline Integration
I export in industry-standard formats (FBX, GLB) with embedded textures. I always test imports into the target engine (Unity, Unreal, etc.) to ensure everything works as expected.
Steps:
- Freeze transforms and clean up the scene.
- Export with correct scale and orientation.
- Test import and fix any material or rigging issues.
Tip: Keep an export preset for each engine/platform you target to avoid repeated setup work.
Comparing Manual and AI-Assisted 3D Modeling Approaches
Pros and Cons Based on My Experience
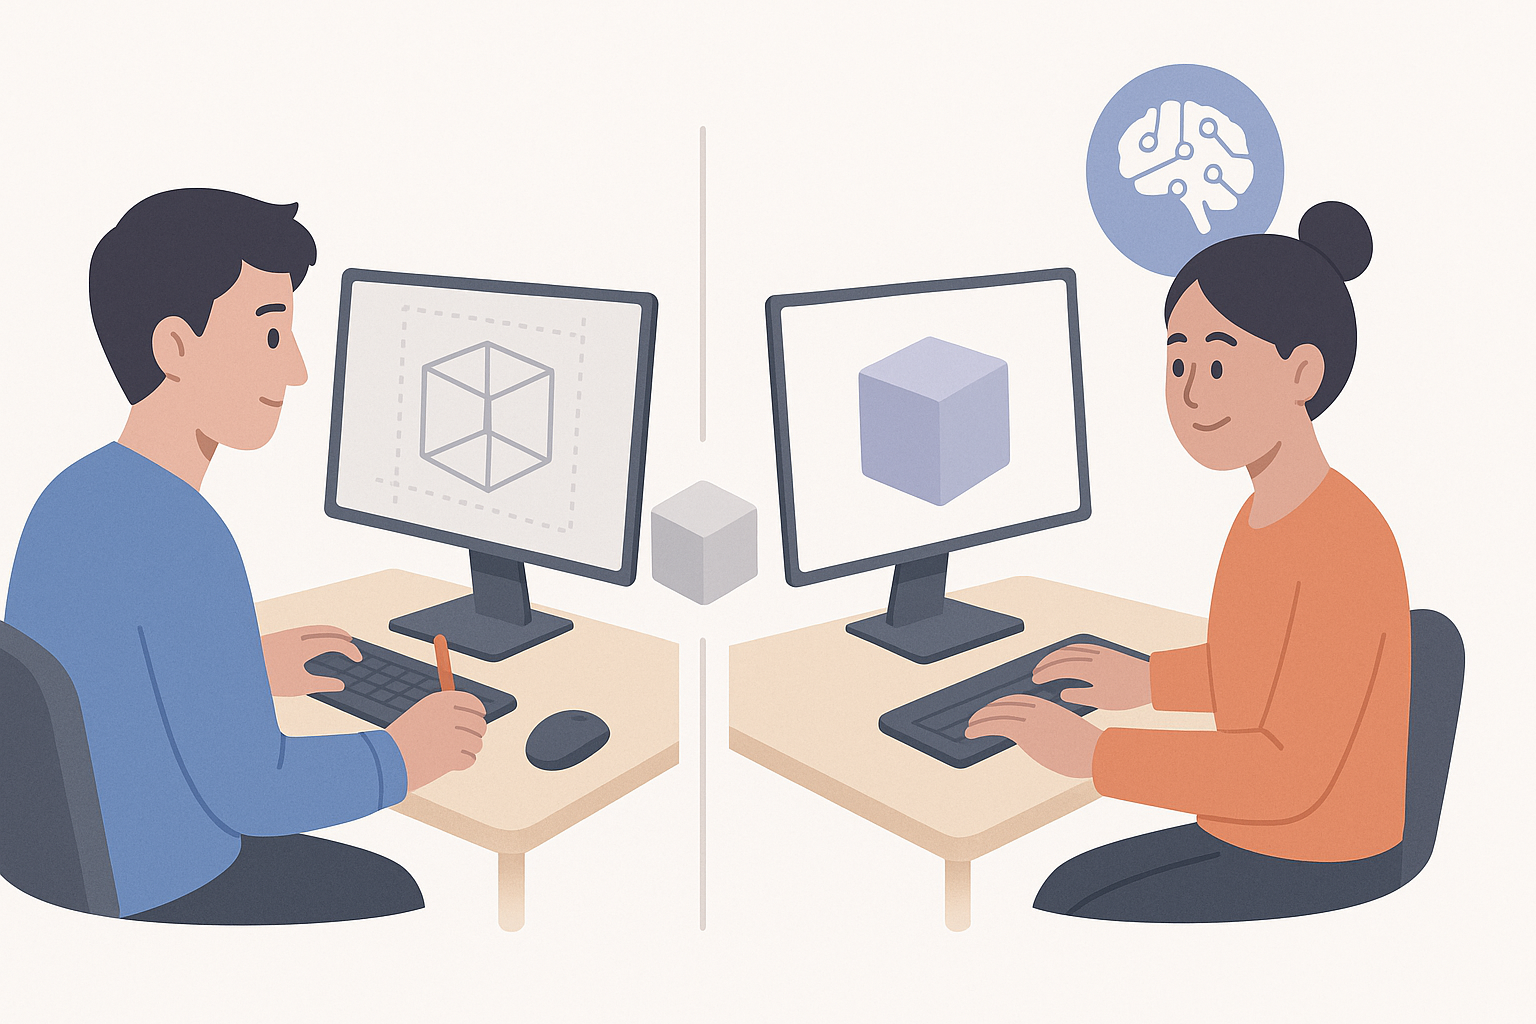
Manual Workflow:
- Pros: Full control, best for unique or highly detailed models.
- Cons: Time-consuming, requires advanced skills.
AI-Assisted Workflow:
- Pros: Rapid prototyping, great for concepting and bulk asset creation.
- Cons: Requires manual cleanup, results can be less predictable.
What I’ve found: For stylized game assets, AI tools handle the heavy lifting, but I always step in for final polish.
When to Choose Each Method
- Manual: When you need maximum control, custom topology, or highly specific style.
- AI-Assisted: When speed is critical, or you need lots of variations quickly.
My advice: Use AI as a creative partner, not a replacement. Always plan for a finishing pass to ensure your Garten of Banban 3D models meet production standards.
