How to Convert Floor Plans to 3D Models: Expert Workflow
Converting floor plans into 3D models is a crucial task for architects, designers, and anyone working in visualization or spatial planning. In my experience, the right workflow makes all the difference: it speeds up production, improves accuracy, and ensures your models are ready for use across games, XR, or real estate. Whether you’re new to the process or seeking to streamline your pipeline, this guide covers practical steps, best practices, and common pitfalls. I’ll share hands-on insights from both AI-powered and traditional approaches, focusing on efficient, production-ready results.
Key takeaways:
- Digitize and clean floor plans before starting 3D modeling.
- Choose tools based on project scope and complexity—AI platforms like Tripo AI can significantly accelerate the process.
- Align and build geometry carefully to avoid scale or structural errors.
- Enhance models with efficient texturing and lighting for realism.
- Optimize exports for target platforms and collaborative workflows.
- Troubleshoot common issues early to ensure production-ready results.
Executive Summary: Key Steps and Takeaways
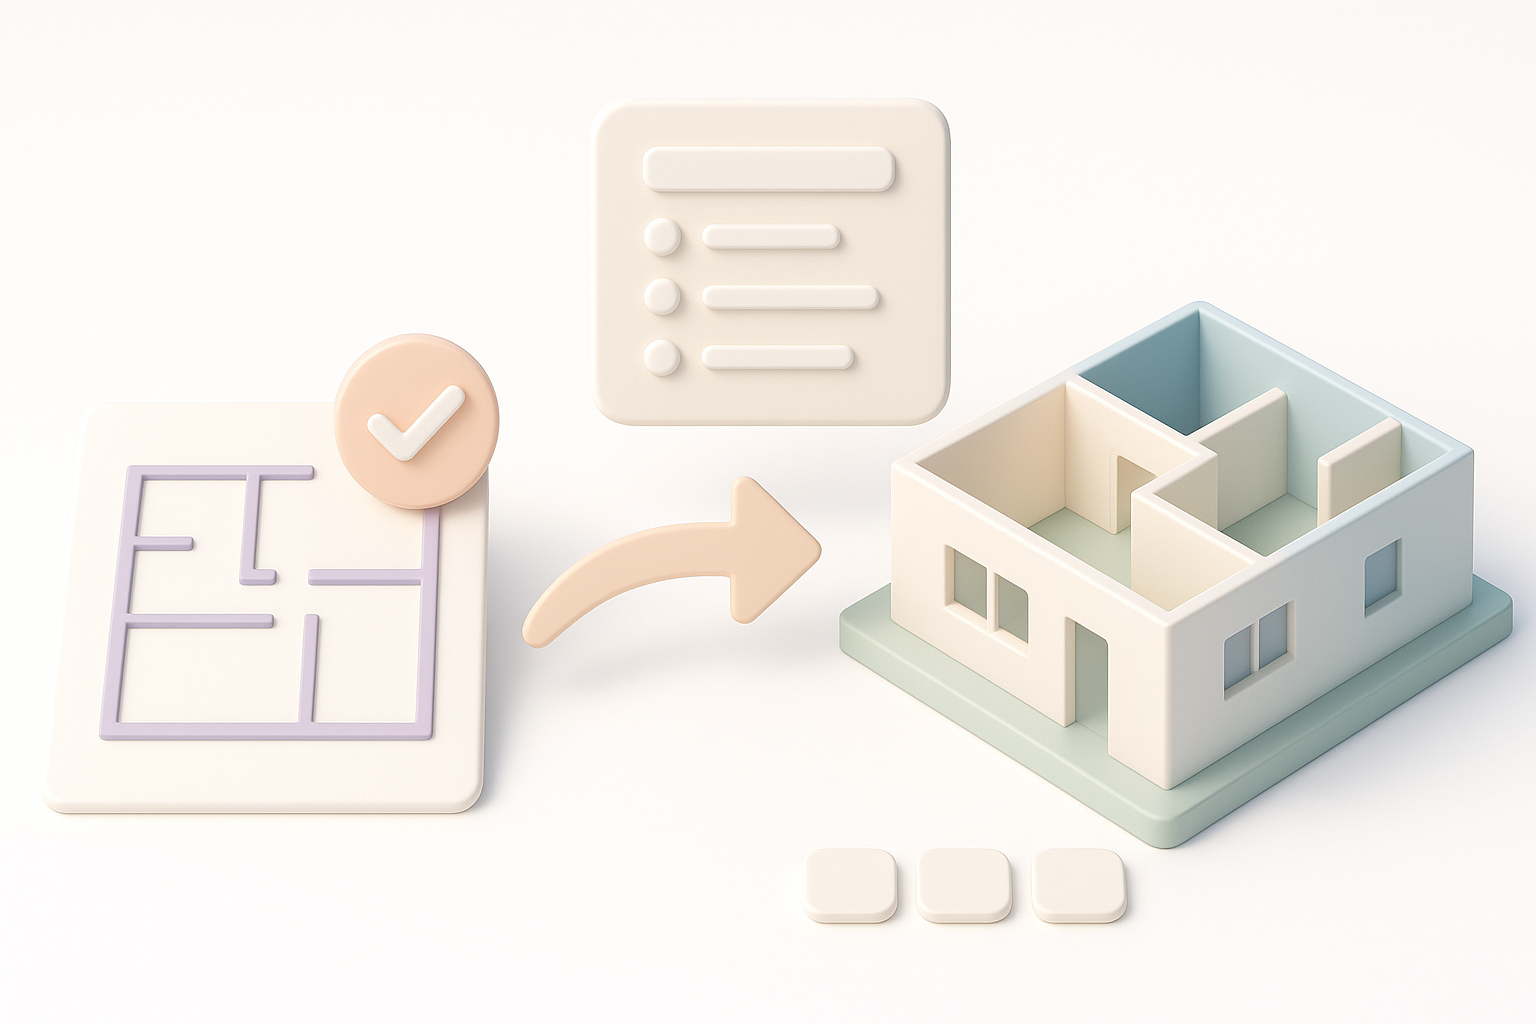
Why floor plan to 3D model conversion matters
Floor plan conversion is foundational for architectural visualization, interior design, and immersive applications. A well-executed 3D model communicates spatial intent, supports iteration, and enables integration into VR, AR, and gaming engines.
Top insights from my experience
From hands-on projects, I’ve learned that preparation and tool selection are the biggest time-savers. AI-powered platforms, like Tripo AI, automate much of the segmentation and geometry building, but manual intervention is often needed for complex details or custom features.
Preparing Your Floor Plan for 3D Modeling
Best practices for digitizing and cleaning up plans
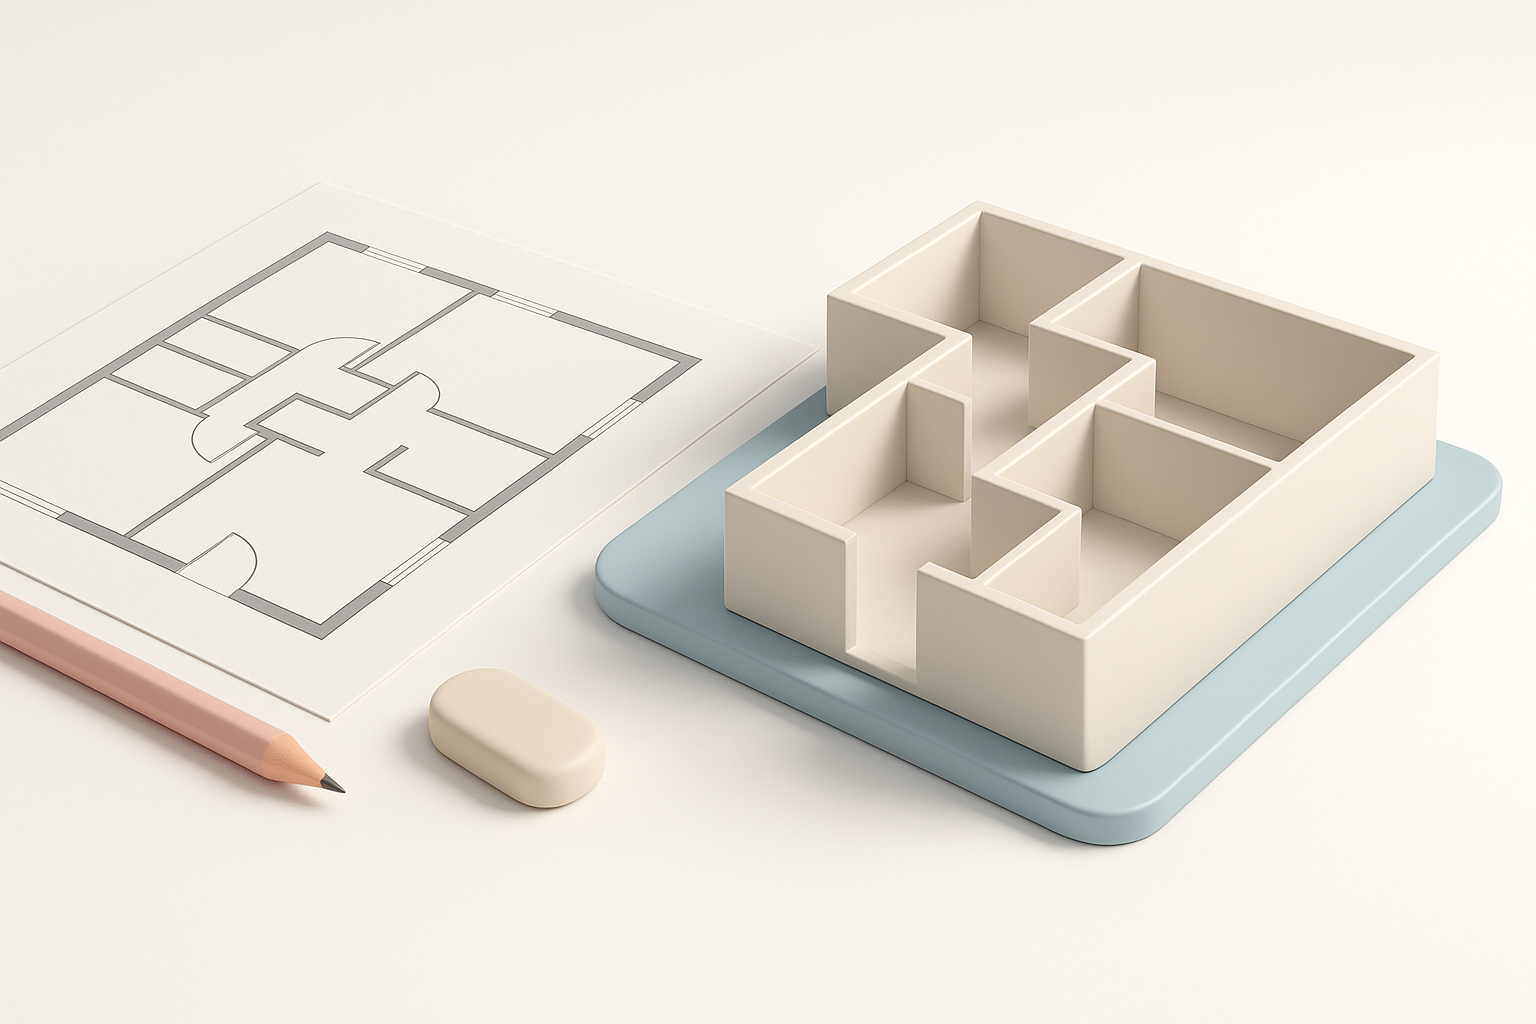
I always start by digitizing the floor plan—scanning or importing CAD files—and ensuring the image is high-resolution and free of artifacts. Cleaning up involves removing extraneous annotations, correcting line weights, and clarifying ambiguous areas.
Checklist:
- Ensure clear wall outlines and room labels.
- Remove furniture and text not relevant to the structure.
- Adjust contrast for better automated detection.
What I look for before starting the 3D process
Before importing, I check for consistent scale and orientation, and verify that all key features (doors, windows, stairs) are clearly marked. This reduces errors during segmentation and geometry generation.
Pitfalls to avoid:
- Inconsistent scale between rooms.
- Missing structural elements.
- Overly complex or messy plans.
Choosing the Right Tools and Platforms
AI-powered solutions vs. traditional software
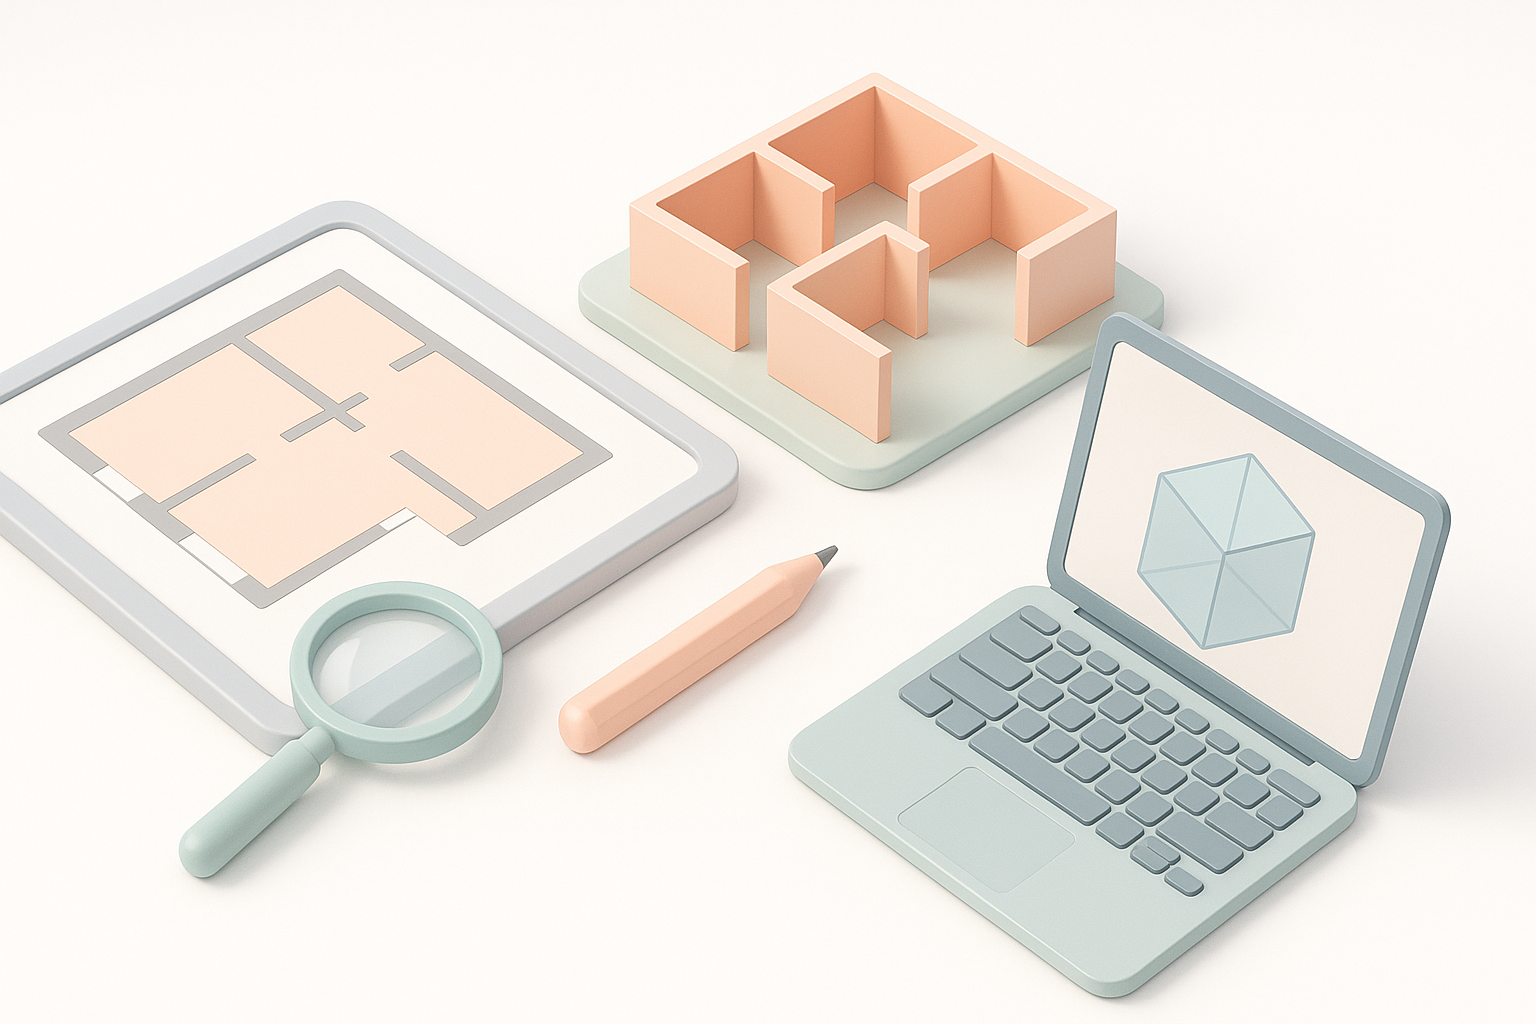
AI-powered tools, such as Tripo AI, can generate 3D geometry from floor plans in seconds. I use these for rapid prototyping or when deadlines are tight. Traditional software (like generic CAD or 3D modeling suites) offers more granular control but is slower.
In my workflow:
- AI platforms for speed and automation.
- Traditional tools for custom detailing and complex layouts.
How I select the best workflow for each project
I assess project needs: If the model is for visualization or interactive use, AI tools suffice. For construction or high-detail renderings, I often combine AI outputs with manual refinement.
Decision points:
- Project complexity and deadline.
- Required level of detail.
- Platform compatibility.
Step-by-Step: My Floor Plan to 3D Model Workflow
Importing and aligning the floor plan
I import the cleaned floor plan into the chosen platform. With Tripo AI, I upload the image or CAD file, and the system auto-aligns and segments key areas. In manual workflows, I set reference points and scale using known measurements.
Steps:
- Import plan (image/CAD).
- Set scale and orientation.
- Align reference points (corners, doors).
Building geometry, walls, and key features
AI tools generate basic geometry—walls, floors, and openings—automatically. I review and adjust any misclassified areas. For manual builds, I extrude walls, add floors, and place doors/windows using guides.
Tips:
- Double-check wall thickness and heights.
- Use layer management for structural vs. decorative elements.
- Validate openings and circulation paths.
Enhancing the 3D Model: Texturing, Lighting, and Details
Applying materials and textures efficiently
I leverage built-in libraries or custom textures for walls, floors, and ceilings. Tripo AI streamlines this with auto-texture suggestions, but I often tweak UVs for accuracy.
Checklist:
- Select realistic materials.
- Adjust UV mapping for seamless textures.
- Avoid overcomplicating materials if the model is for real-time use.
Adding lighting and realistic elements
I add ambient and directional lights to simulate natural and artificial illumination. For realism, I place fixtures, windows, and adjust light intensity.
Pitfalls:
- Over-lighting can flatten details.
- Neglecting shadows reduces depth.
Exporting, Sharing, and Using Your 3D Model
Optimizing models for different platforms
I optimize geometry—reducing poly count and merging meshes—for target platforms (game engines, XR, visualization). Tripo AI offers export presets for common formats.
Steps:
- Clean up unused geometry.
- Export in required format (FBX, GLTF, OBJ).
- Test imports in target software.
Tips for collaboration and feedback
I share models via cloud or platform-native links, and use annotation tools for feedback. Versioning is key—always label iterations clearly.
Checklist:
- Use descriptive file names.
- Document changes.
- Enable easy access for stakeholders.
Comparing Methods: AI-Powered vs. Manual Approaches
Speed, accuracy, and creative control
AI-powered workflows are fast and handle common layouts well. Manual approaches give full creative control for unique or complex spaces.
What I’ve learned:
- AI tools excel at speed and consistency.
- Manual methods are better for custom or intricate details.
- A hybrid workflow often delivers the best results.
What I’ve learned from both methods
Combining automation with manual refinement saves time and ensures quality. I always review AI-generated outputs before finalizing.
Pitfalls:
- Blind trust in automation can miss errors.
- Manual work is time-consuming but necessary for certain projects.
Common Challenges and My Solutions

Troubleshooting geometry and scale issues
Misaligned walls, incorrect heights, or missing features are frequent. I use reference measurements and cross-check with original plans.
Fixes:
- Adjust scale and units.
- Rebuild or merge geometry as needed.
- Use snapping tools for alignment.
Ensuring production-ready results
I validate models by test-importing into target platforms and running through use-case scenarios. Quality checks prevent downstream issues.
Checklist:
- Confirm geometry integrity.
- Test textures and lighting.
- Review for missing elements.
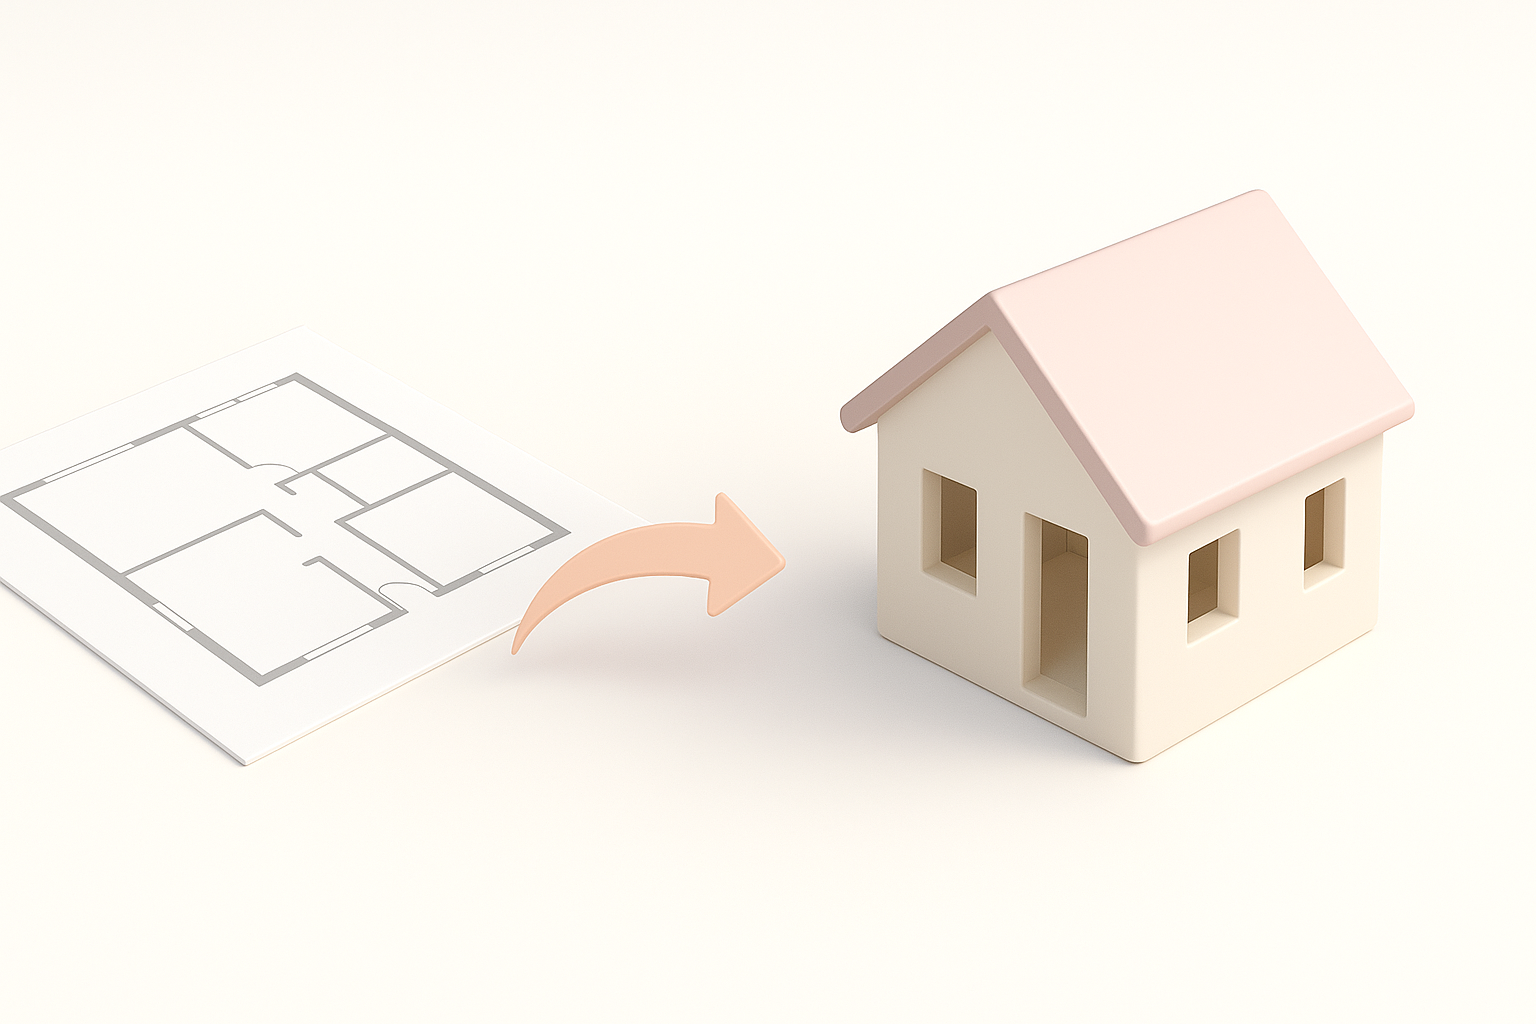
Conclusion:
Converting floor plans to 3D models is straightforward with the right preparation and tools. My workflow balances speed, accuracy, and creative flexibility—leveraging AI for automation and manual steps for detail. With these practices, you’ll produce production-ready models efficiently, ready for collaborative and cross-platform use.