Creating and Optimizing an F-16 3D Model: Expert Workflow
скачать 3d модель для chicken gun
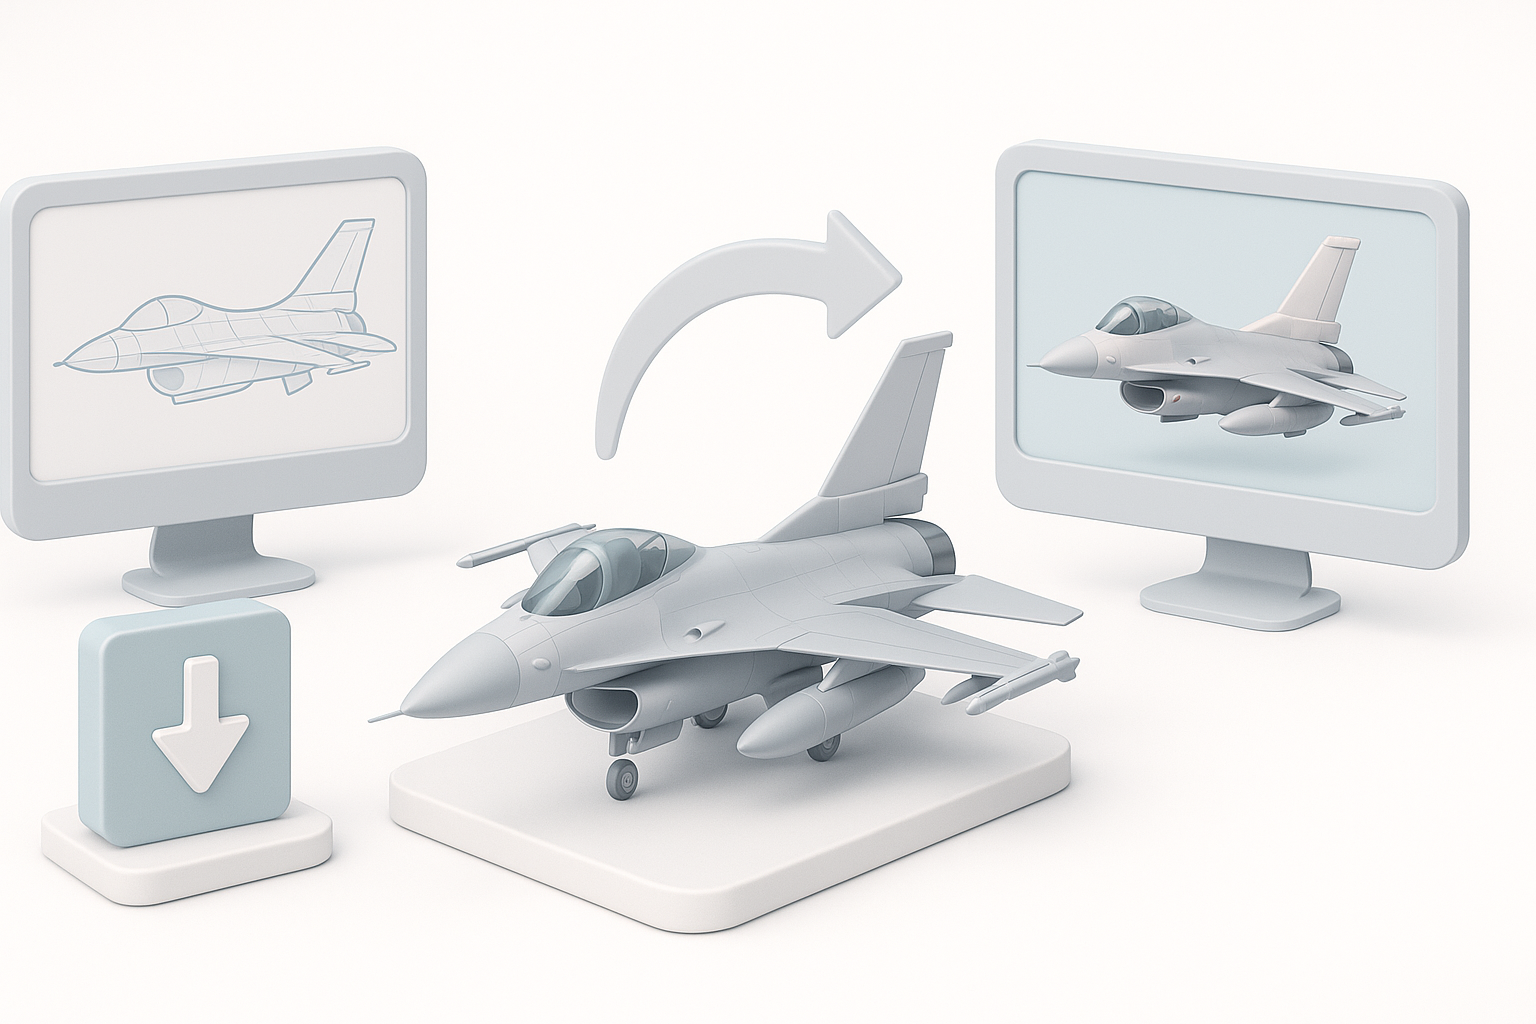
As a seasoned 3D artist, I know that building a production-ready F-16 model requires a blend of technical skill, careful planning, and the right tools. In this article, I’ll walk through my hands-on workflow—from initial reference gathering to export and integration—highlighting practical tips, common pitfalls, and how AI-powered platforms like Tripo can streamline the process. Whether you’re working in games, film, or XR, this guide will help you achieve clean geometry, realistic texturing, and efficient rigging for your F-16 assets.
Key takeaways:
- Reference quality and planning are critical for accurate F-16 models.
- Efficient retopology and texturing save time and optimize assets for real-time use.
- AI-powered tools can automate tedious steps, but manual control is still essential.
- Rigging and animation must account for flight surfaces and landing gear.
- Export settings and file formats impact compatibility and performance.
Overview of F-16 3D Model Creation
Key features to capture in an F-16 model
In my workflow, I prioritize capturing the F-16’s distinctive silhouette, cockpit details, wing geometry, and engine features. Accurate panel lines, landing gear, and control surfaces (flaps, rudder, ailerons) are crucial for realism and animation.
- Checklist:
- Main fuselage shape
- Cockpit canopy and interior
- Wing structure and pylons
- Landing gear details
- Engine exhaust and intake
- Panel lines and surface features
Common use cases for F-16 3D assets
F-16 models are widely used in flight simulators, military games, visual effects, and XR experiences. I often tailor my models for real-time rendering, which means optimizing poly count and ensuring clean UV layouts.
- Typical applications:
- Game-ready assets
- Cinematic renders
- VR/AR simulations
- Educational visualizations
Step-by-Step Workflow for Building an F-16 3D Model
Reference gathering and planning
I start by collecting high-res images, blueprints, and technical diagrams. When possible, I supplement with walkaround videos or CAD data. Planning the asset’s purpose (game, film, XR) determines the level of detail and topology.
- Steps:
- Gather multiple reference angles
- Identify key dimensions
- Decide on asset fidelity and scale
Pitfall: Skipping reference gathering leads to inaccuracies and wasted time.
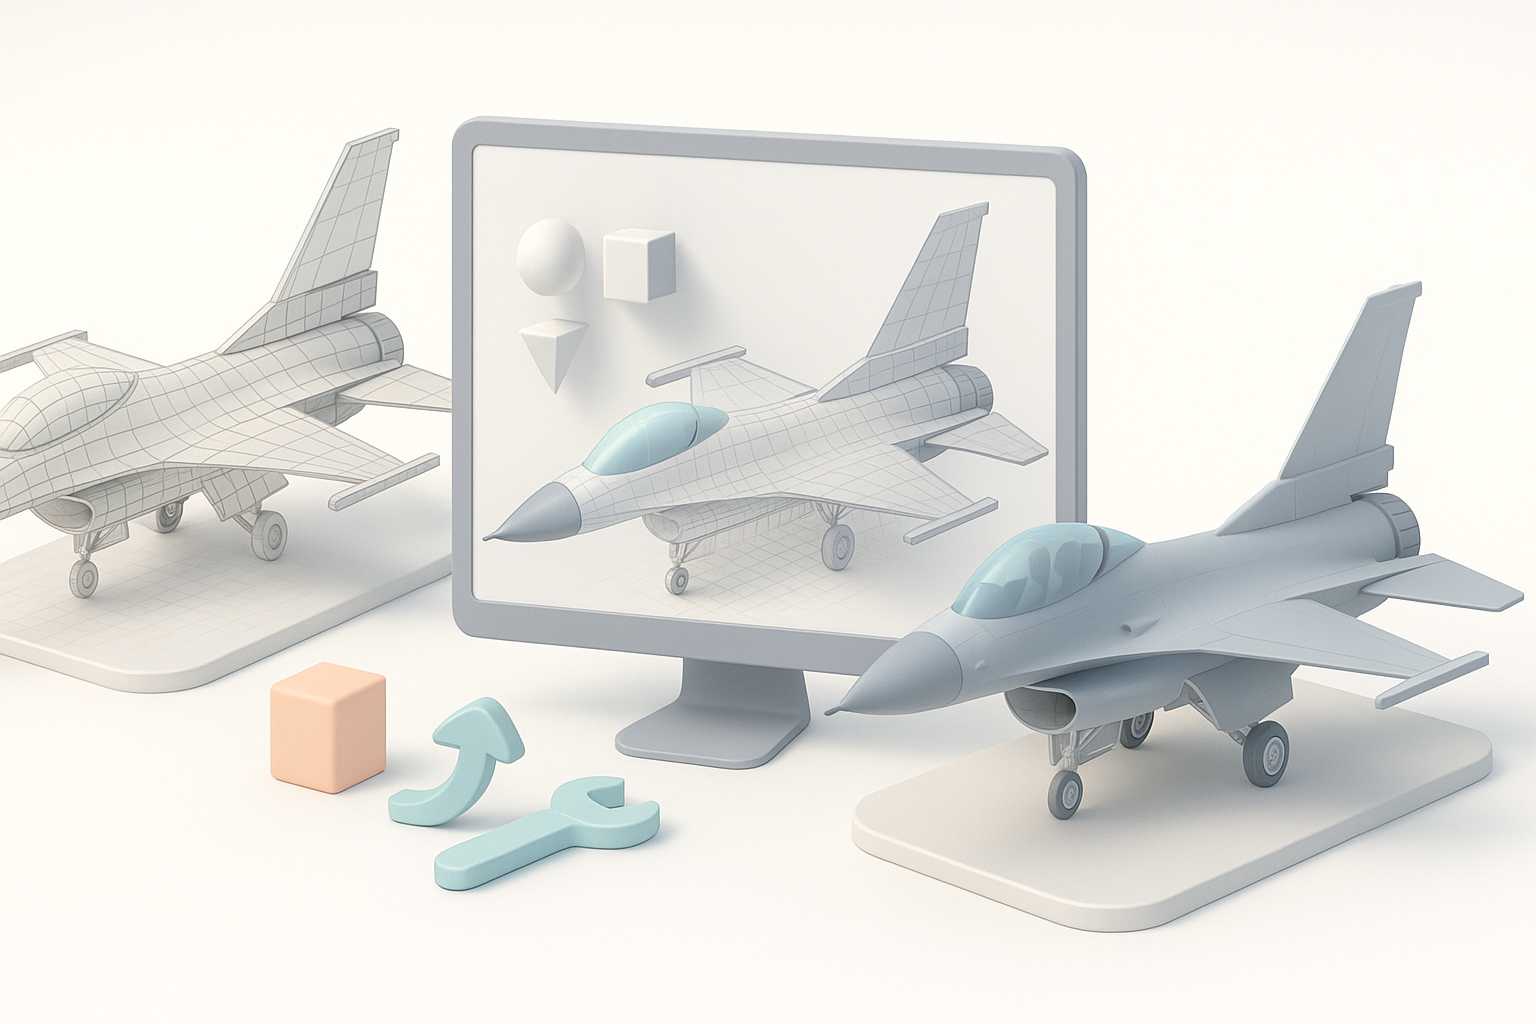
Blocking out the main forms
I block out the fuselage, wings, and tail using simple primitives—cylinders, cubes, and planes. This helps establish proportions before diving into details. AI-powered platforms like Tripo can generate a base mesh from sketches or text prompts, speeding up this stage.
- Tips:
- Start with symmetry enabled
- Keep geometry simple
- Use placeholder geometry for landing gear and cockpit
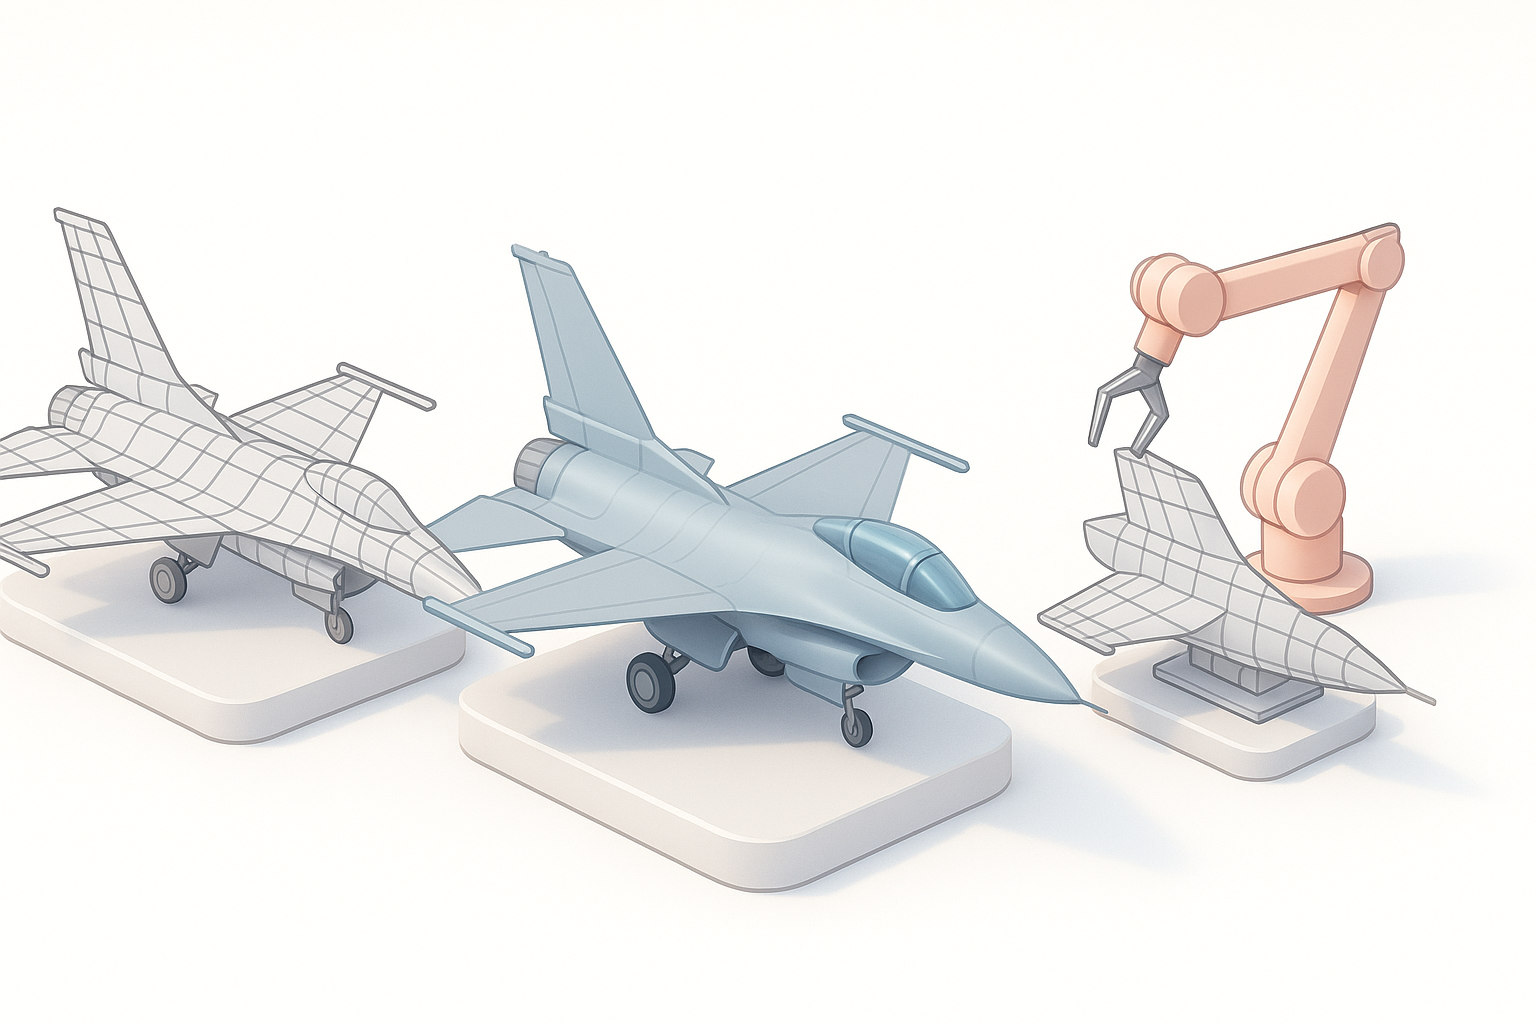
Texturing, Retopology, and Detailing Techniques
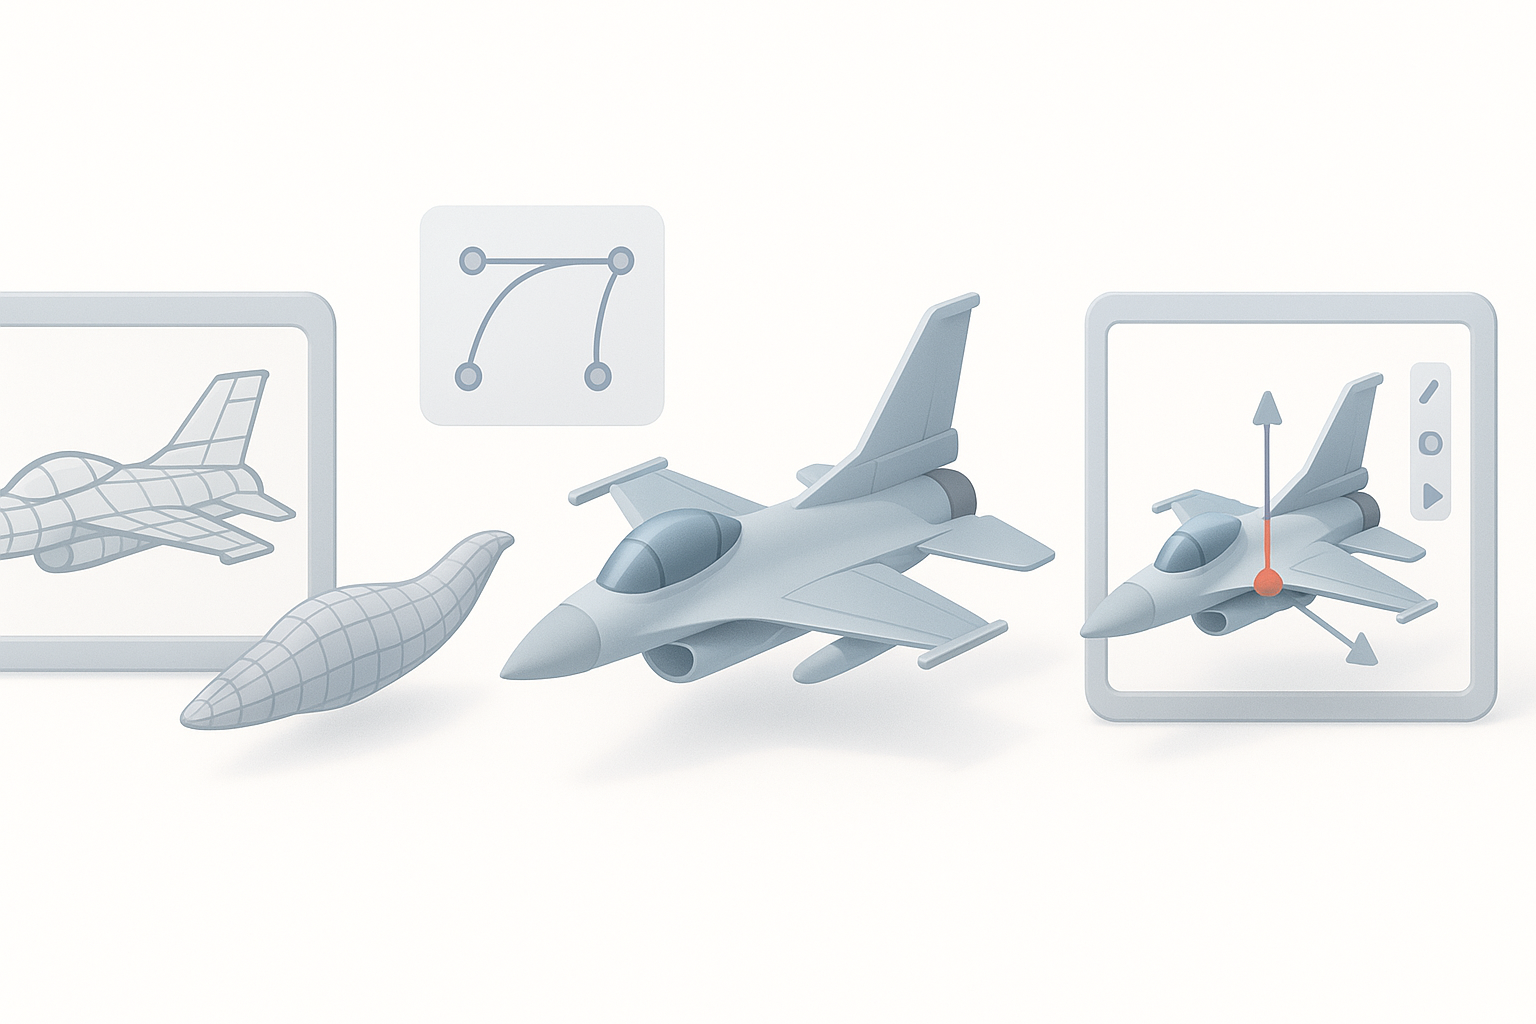
Efficient retopology for clean geometry
Clean topology is essential for animation and real-time use. I use auto-retopology tools (including Tripo’s built-in features) to quickly generate quad-based meshes, then manually tweak edge flow around complex areas like the cockpit and wing roots.
- Checklist:
- Maintain edge loops around moving parts
- Limit tris and n-gons
- Optimize for target poly count
Pitfall: Overly dense meshes slow down performance and complicate UV mapping.
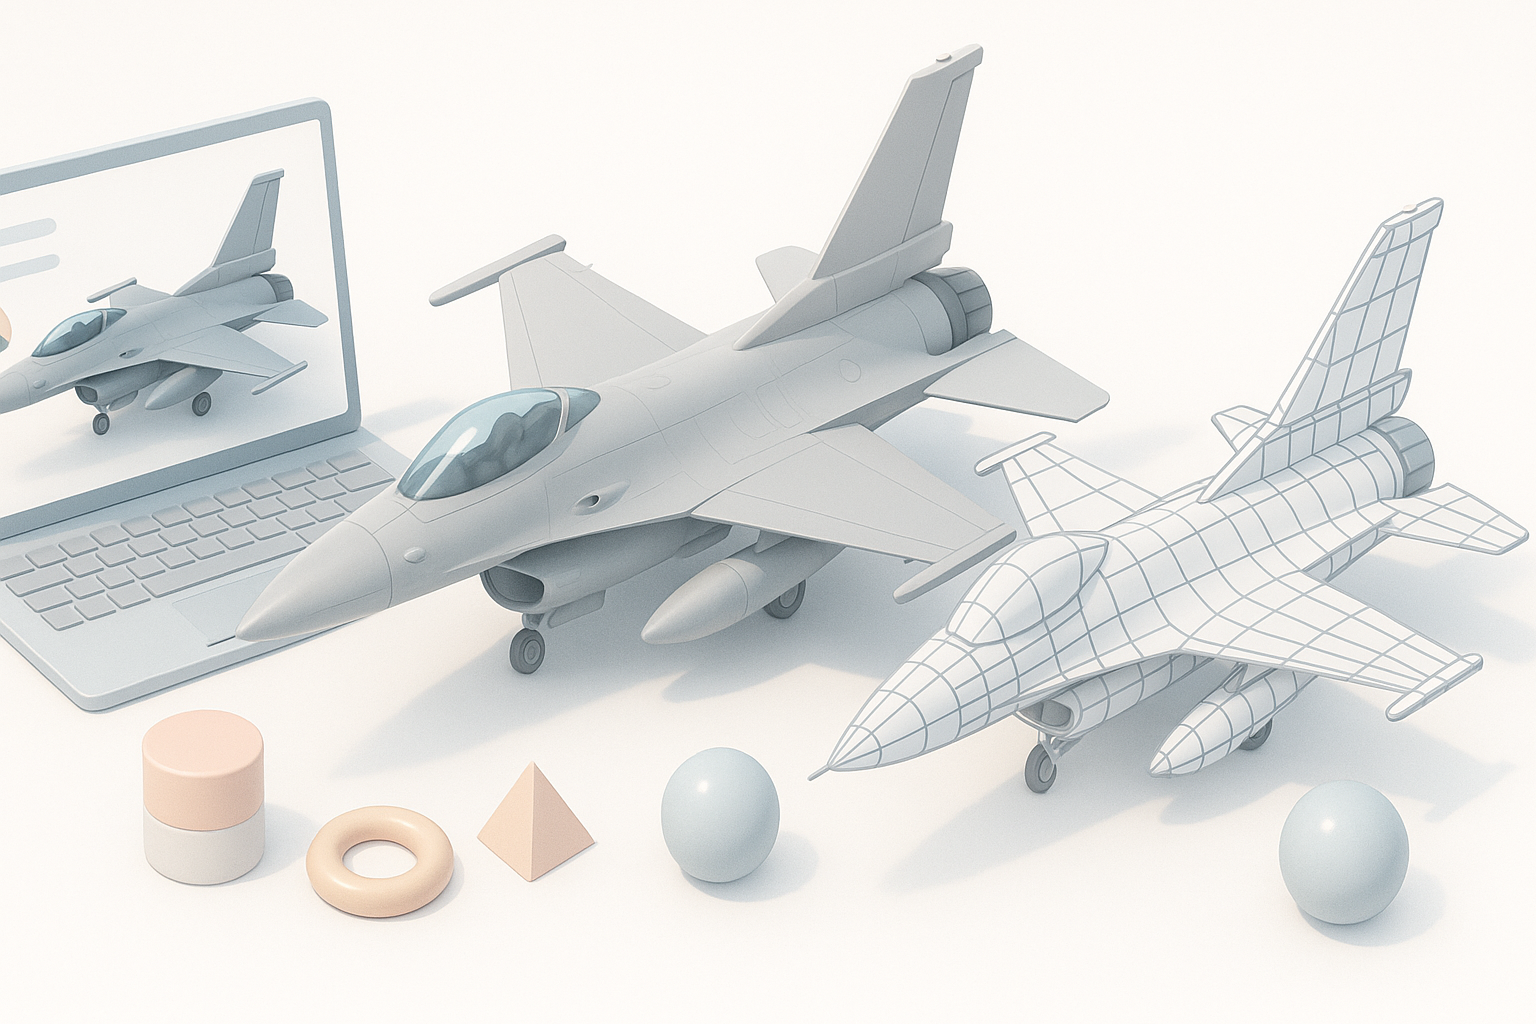
Realistic texturing and material setup
I rely on PBR workflows for realistic surfaces—using reference photos to create diffuse, normal, and roughness maps. Tripo’s AI-assisted texturing can generate base maps, which I refine in my preferred painting software.
- Tips:
- Bake ambient occlusion and curvature maps
- Use layered materials for paint, metal, and decals
- Test textures in your target engine early
Rigging and Animation Considerations for F-16 Models
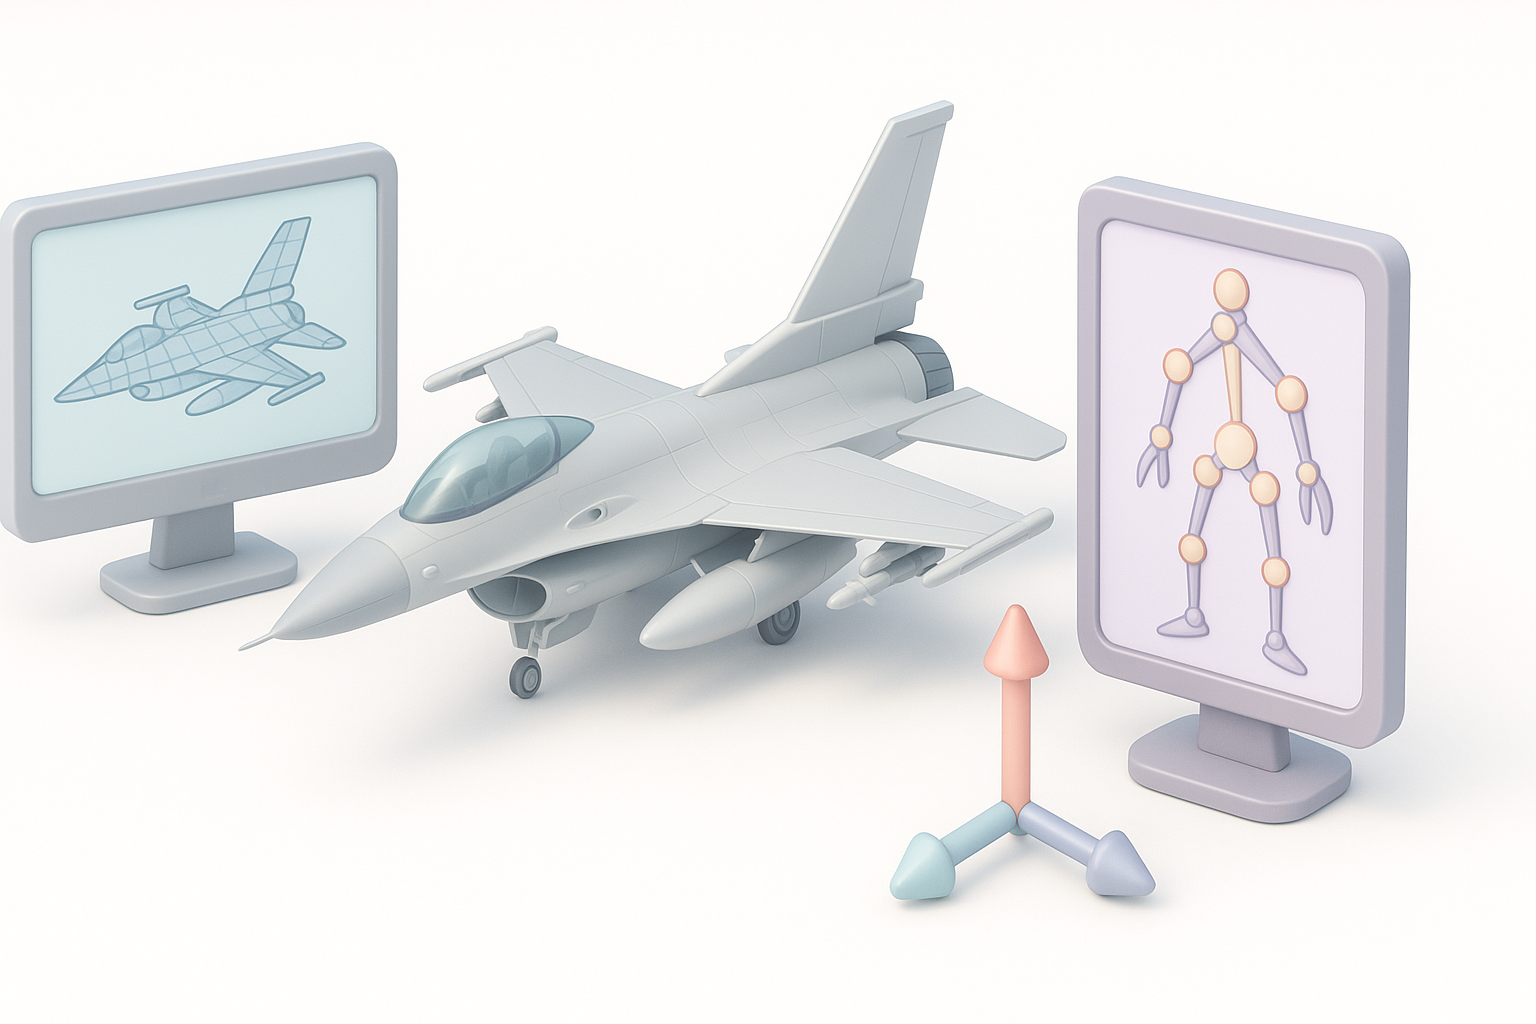
Setting up control surfaces and landing gear
Rigging an F-16 involves creating bones for flaps, rudder, ailerons, and landing gear. I use constraint systems to automate gear retraction and surface movement. Tripo’s auto-rigging can handle basic setups, but manual adjustments are often needed for complex parts.
- Checklist:
- Separate geometry for moving parts
- Assign clear naming conventions
- Test rig with simple animations
Animating flight sequences
For flight animations, I focus on realistic movement of control surfaces, gear transitions, and afterburner effects. I often create reusable animation clips for takeoff, landing, and banking maneuvers.
- Tips:
- Use reference videos for timing
- Keep animation loops seamless
- Export baked animations for engine integration
Exporting and Integrating F-16 Models into Projects
Optimizing for game engines and real-time use
Before export, I check poly count, texture resolution, and rig complexity. Tripo’s optimization tools can reduce mesh density and compress textures for real-time engines. I always preview the asset in my target engine to catch issues early.
- Checklist:
- Limit poly count for target platform
- Use efficient UV layouts
- Test LODs and collision meshes
File formats and compatibility tips
I typically export in FBX for games and GLTF for web/XR. Tripo supports multiple formats, making integration straightforward. Always check for animation and texture compatibility.
- Tips:
- Verify scale and orientation
- Include all necessary maps
- Test import/export roundtrips
Best Practices and Lessons Learned from Real Projects
Time-saving tips and common pitfalls
In my experience, spending more time planning pays off in fewer revisions. Automate repetitive tasks where possible, but always check outputs manually. Common pitfalls include mismatched scales, broken rigs, and texture errors.
- Tips:
- Use version control for assets
- Regularly backup project files
- Validate geometry and UVs before export
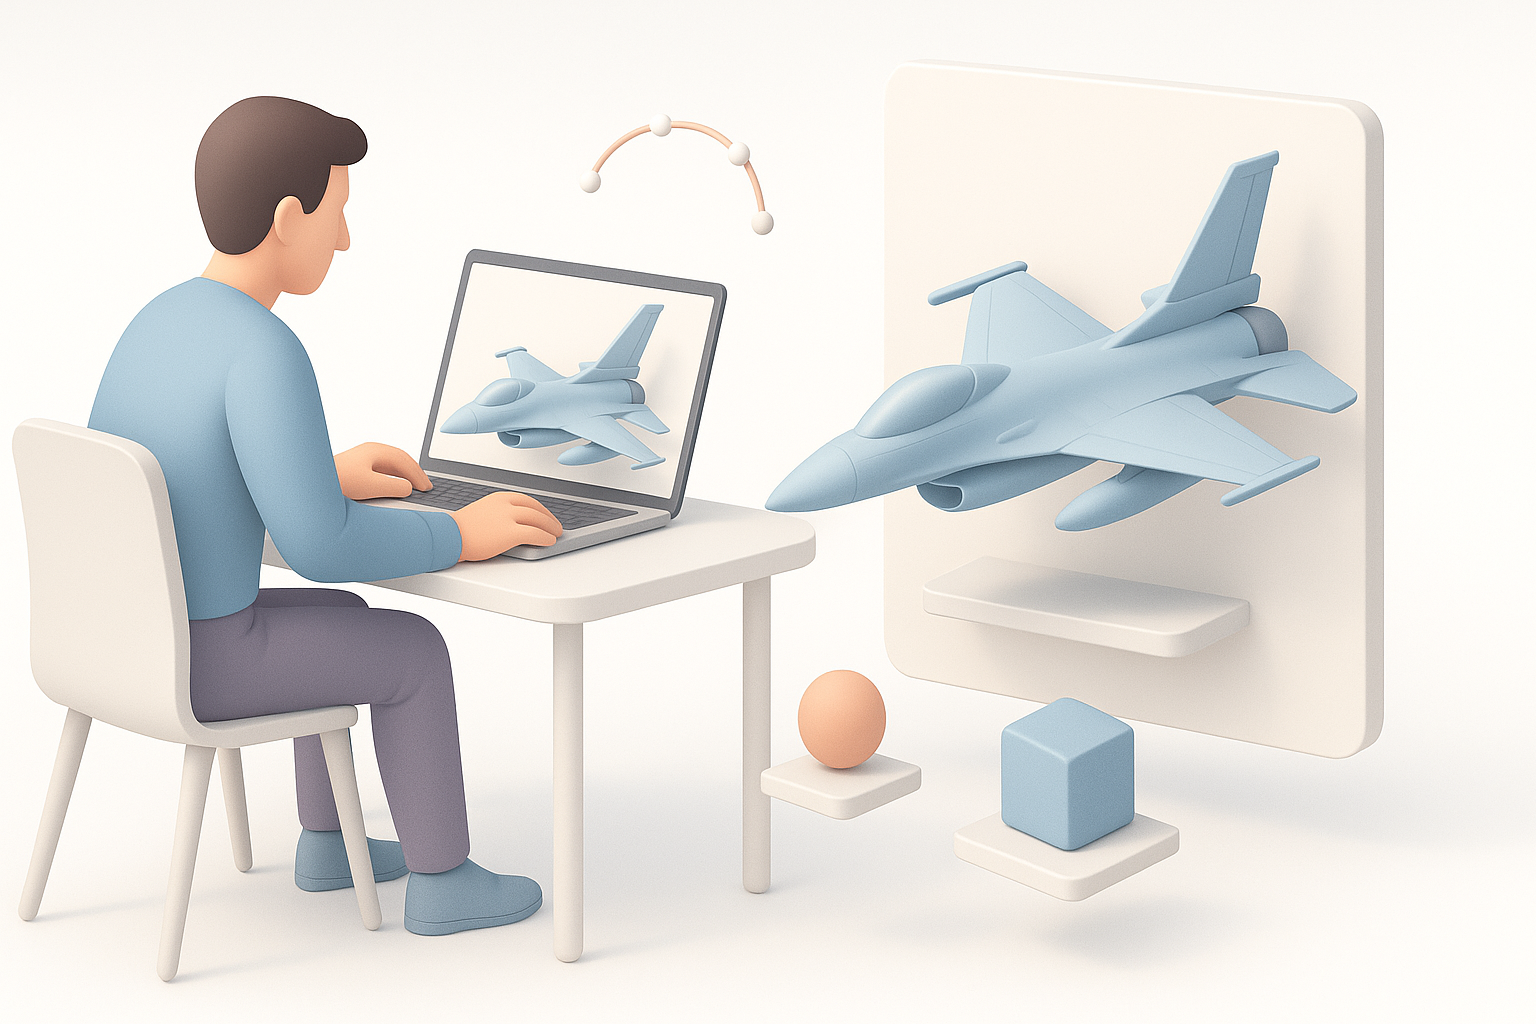
Leveraging AI-powered tools for efficiency
AI platforms like Tripo can automate segmentation, retopology, and texturing, freeing up time for creative tasks. I use them to generate base assets quickly, then refine manually for high-quality results.
- Checklist:
- Use AI for initial mesh and texture generation
- Manually adjust for accuracy and performance
- Combine AI and traditional workflows for best results
Comparing AI-Powered and Traditional 3D Modeling Methods
When to use AI-driven workflows
I turn to AI-driven workflows when speed is crucial or when generating multiple asset variations. For highly detailed or unique models, manual modeling is still necessary.
- Tips:
- Use AI for rapid prototyping
- Reserve manual work for hero assets
- Blend AI outputs with traditional detailing
Balancing automation and manual control
The key is to leverage automation for repetitive tasks, but retain manual control for creative decisions and quality assurance. In my workflow, I always review AI-generated assets before finalizing.
- Checklist:
- Automate segmentation, retopology, and base texturing
- Manually refine geometry and materials
- Test in context before deployment
Conclusion:
Creating an F-16 3D model is a complex but manageable process when you combine careful planning, efficient workflows, and smart use of AI tools. By following these steps and tips, you’ll deliver production-ready assets that meet the demands of games, film, and XR projects.