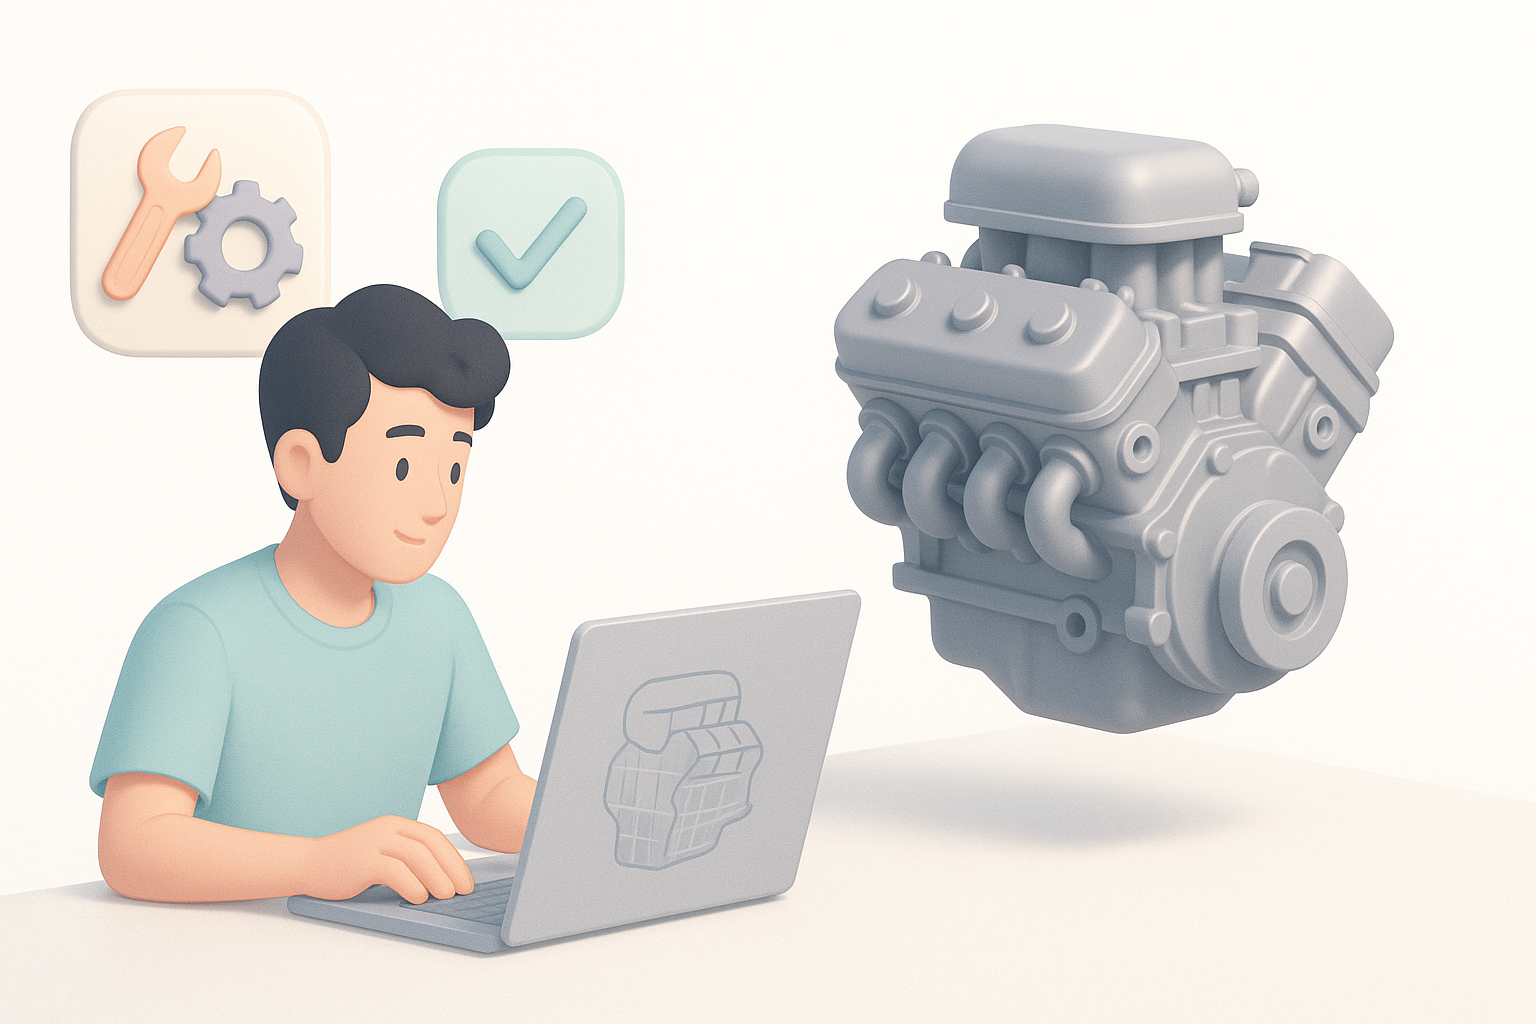
Creating and Optimizing Engine 3D Models: Expert Workflow
скачать 3d модели для chicken gun
As someone who’s spent years creating 3D engine models for games, XR, and design, I know the difference between a model that just looks good and one that’s truly ready for production. The right workflow saves time, avoids headaches, and ensures your models are both visually impressive and technically sound. In this article, I’ll break down my full process—from concept to real-time integration—highlighting where AI-powered tools like Tripo fit in, and how to avoid common pitfalls. Whether you’re a solo creator or part of a studio team, these insights will help you deliver engine models that perform and impress.
Key takeaways:
- Reference gathering and clear requirements are critical before modeling begins.
- Efficient mesh construction and smart retopology save time downstream.
- Texturing, rigging, and animation prep must match the target platform’s needs.
- AI-powered platforms can drastically speed up concept-to-production time.
- Optimization for real-time use is non-negotiable for games and XR.
- Troubleshooting early and often prevents major setbacks later.
Understanding Engine 3D Models and Their Applications

Types of Engine 3D Models
In practice, "engine" models can refer to anything from car and aircraft engines to fictional machinery in games. I usually categorize them as:
- Mechanical engines: Internal combustion, jet, or electric motors.
- Stylized/fantasy engines: Sci-fi reactors, steampunk contraptions.
- Component breakdowns: Exploded views for education or marketing.
Each type has its own modeling and texturing requirements, especially when realism or animation is involved.
Industry Use Cases and Requirements
Engine models are used across industries:
- Games & XR: Real-time rendering demands low poly counts and optimized textures.
- Film & VFX: High detail, often with complex shaders and little concern for poly count.
- Product design & marketing: Accurate geometry, correct scale, and photoreal textures.
From experience, I always clarify the target platform and use case before starting. This determines everything from mesh density to UV layout.
My Step-by-Step Workflow for Engine 3D Model Creation
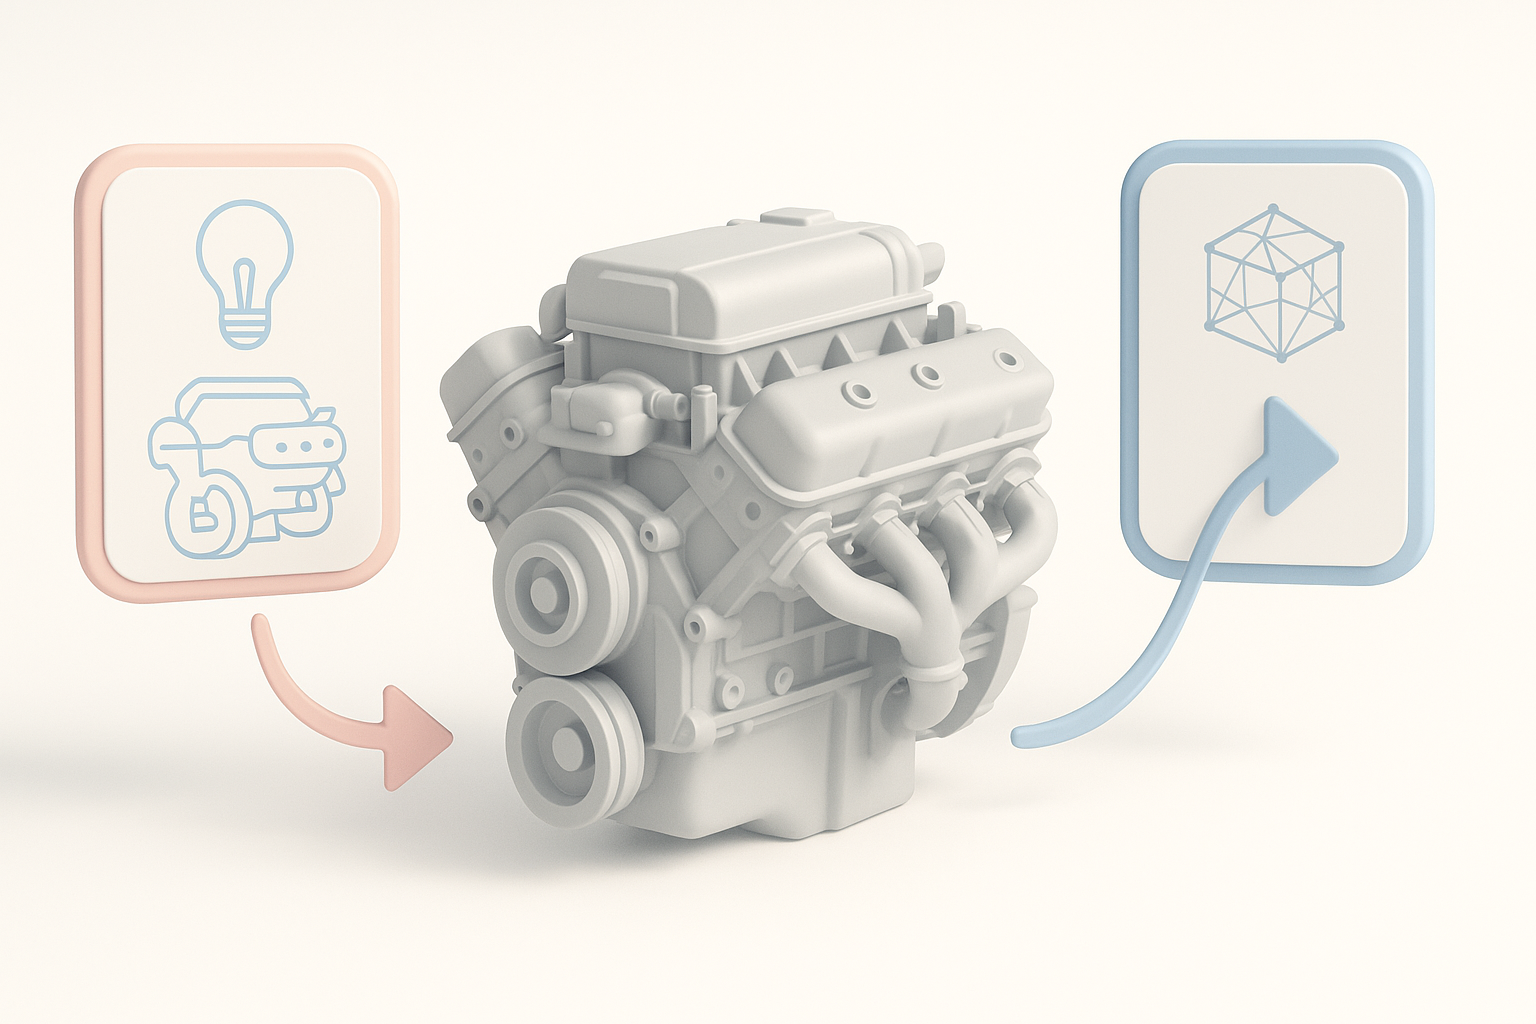
Concepting and Reference Gathering
I never skip the reference stage. My workflow:
- Gather blueprints, technical diagrams, and real-world photos.
- For stylized work, collect mood boards and inspiration images.
- Sketch rough silhouettes or blockouts to establish proportions.
This upfront work prevents rework later and ensures every detail is intentional.
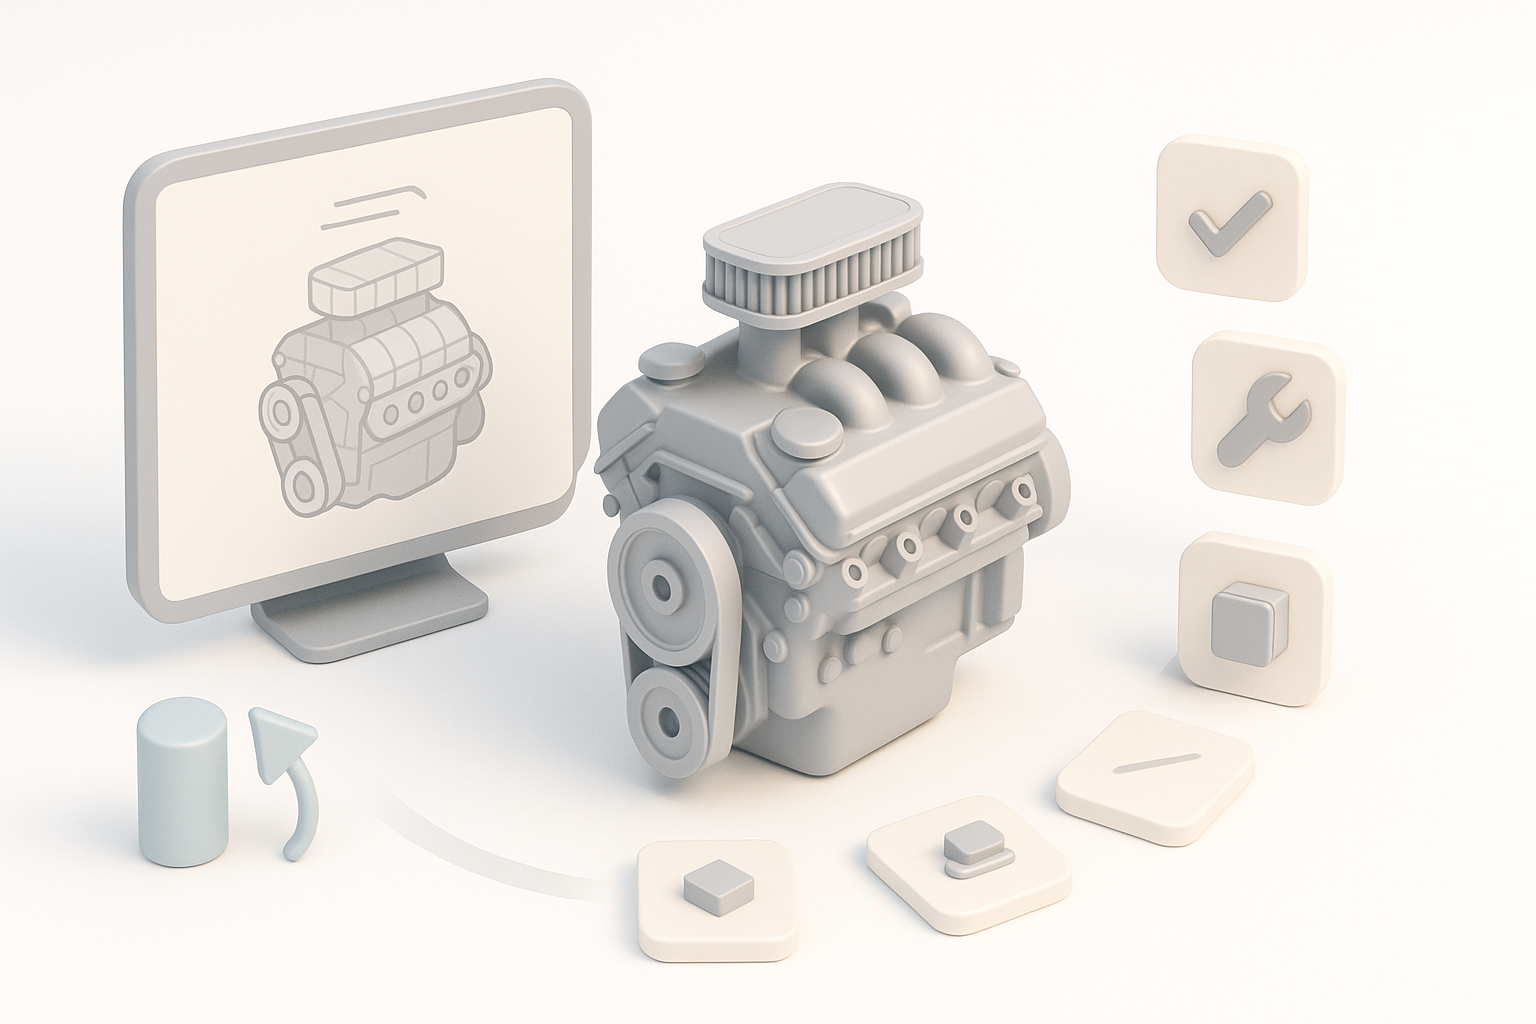
Choosing Tools and Platforms
Tool selection depends on the project:
- For fast prototyping, I use AI-powered platforms like Tripo to generate base meshes from text or sketches.
- For detailed work, I move to my preferred 3D suite for manual refinement.
- I keep interoperability in mind—export/import must be seamless.
Checklist:
- Can the tool handle the required poly count?
- Does it support automated retopology and UV unwrapping?
- Is export to your target engine (Unity, Unreal, etc.) straightforward?
Best Practices for Modeling, Texturing, and Retopology
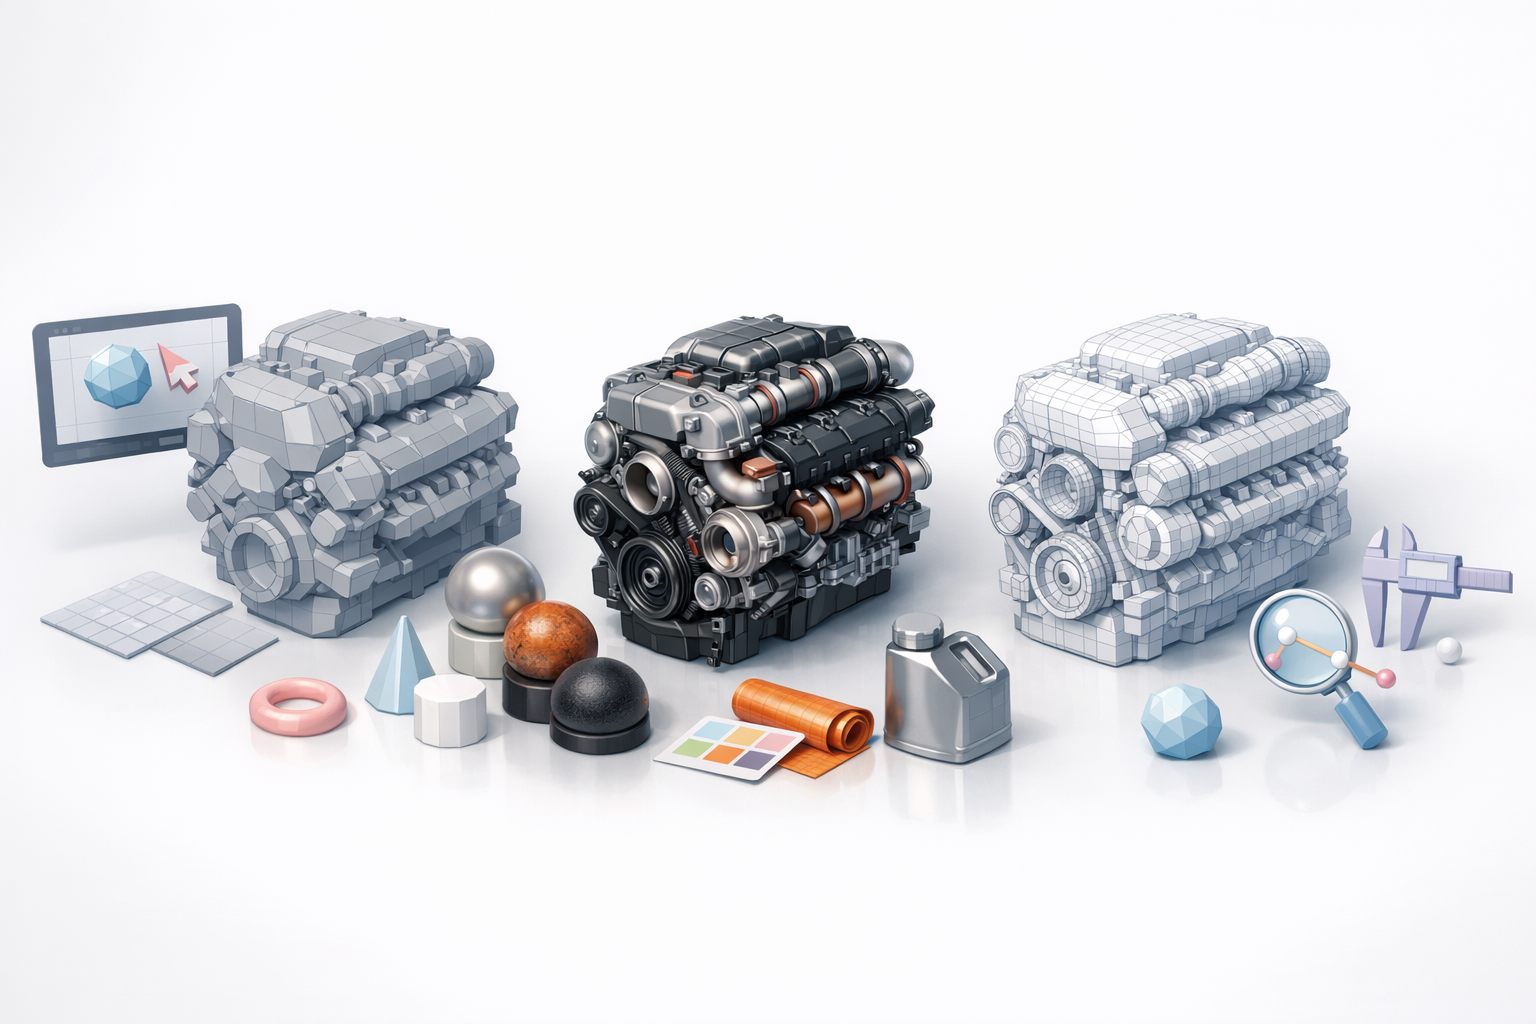
Efficient Mesh Construction
What I’ve found:
- Start with simple blockouts; refine only once proportions are locked.
- Use modifiers (bevel, mirror, array) to speed up repetitive details.
- For AI-generated meshes, always inspect for non-manifold geometry or hidden artifacts.
Pitfalls to avoid: Over-modeling small details better handled by normal maps or textures.
Advanced Texturing Techniques
My texturing process:
- Bake high-poly details to normal and AO maps.
- Use smart materials and procedural masks for wear, grime, and edge highlights.
- For engines, realistic metal, rubber, and oil effects are key.
Tips:
- Keep texture resolution in line with engine specs (e.g., 2K for hero assets, 1K or less for background).
- Always check UVs for stretching—Tripo’s automated UV tools can help, but I do manual tweaks as needed.
Rigging, Animation, and Integration Tips
Preparing Engine Models for Animation
If the engine model needs moving parts:
- Separate components (pistons, gears, belts) into distinct objects.
- Name parts logically for animation (e.g., "crankshaft_L", "piston_2").
- Add pivot points at correct rotation axes.
Checklist:
- Test basic animations in your 3D suite before export.
- Ensure hierarchy is clean and export settings preserve rig data.
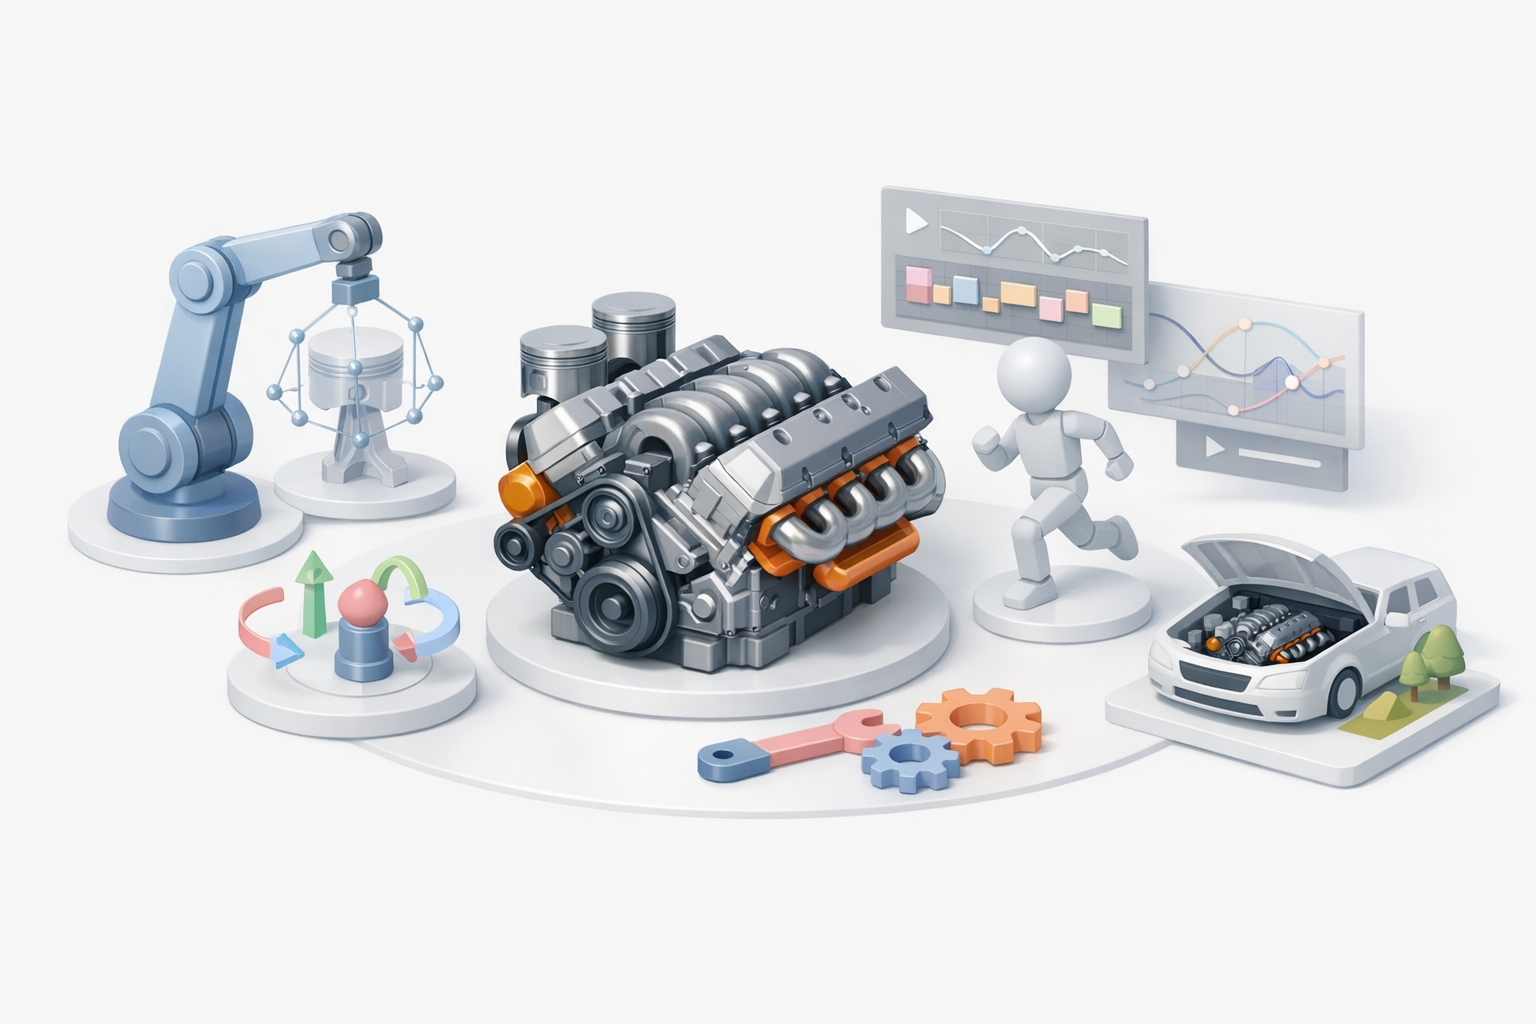
Integrating Models into Game Engines or XR
My integration steps:
- Export in compatible formats (FBX, GLTF).
- Import to the engine, assign materials, and test lighting.
- Check for scale issues—1 unit = 1 meter is a good rule for most engines.
Pitfall: Forgetting to apply transforms before export can lead to unexpected results in-engine.
Comparing AI-Powered and Traditional 3D Workflows
Speed and Quality Differences
In my experience:
- AI-powered tools like Tripo can cut model creation time from hours to minutes for base meshes.
- Manual workflows still win for fine details, custom topology, and unique stylization.
- Hybrid approach: Use AI for base, then refine manually.
When to use AI: Early concepting, rapid prototyping, or when deadlines are tight.
When to Use AI Tools vs. Manual Methods
I ask myself:
- Is this asset background or hero? (AI for background, manual for hero)
- Do I need precise control over topology or UVs?
- Is the client expecting a unique, stylized look?
Tip: Even with AI, always review and clean up the output before moving to texturing or rigging.
Troubleshooting and Optimization: What I’ve Learned
Common Pitfalls and Solutions
Frequent issues I encounter:
- Non-manifold geometry: Fix with cleanup tools before export.
- Texture seams or stretching: Adjust UVs, rebake maps if needed.
- Incorrect normals: Recalculate or manually flip as necessary.
Quick fixes: Most 3D suites and AI platforms offer mesh analysis tools—use them early.
Performance Optimization for Real-Time Use
For real-time engines:
- Limit poly count—use LODs for distant models.
- Compress textures without sacrificing too much quality.
- Bake lighting and AO when possible.
Checklist:
- Test in-engine for frame rate drops.
- Profile GPU/CPU usage if possible.
- Use engine-specific optimization tools (mesh simplifiers, texture atlases).
By following a structured workflow, leveraging AI where it makes sense, and always optimizing for your target platform, you can create engine 3D models that are both stunning and production-ready. My experience has shown that attention to detail at each stage pays off—saving time, reducing rework, and delivering assets that are ready for any pipeline.