How to Create Destiny 2 3D Models: My Workflow & Tips
Creating Destiny 2-inspired 3D models requires a blend of artistic vision, technical skill, and efficient workflows. In my experience, combining strong reference gathering, smart tool selection, and AI-powered platforms like Tripo AI allows me to produce high-quality, game-ready assets quickly. This article is for artists, game developers, and hobbyists who want to streamline their Destiny 2 3D modeling process, from concept to export, while maintaining creative control and production standards.
Key takeaways
- Reference gathering and planning are critical for capturing Destiny 2's distinctive style.
- Using AI-powered platforms like Tripo AI accelerates modeling, texturing, and retopology.
- Efficient workflows combine manual techniques with intelligent automation.
- Optimization for game engines and XR ensures models are production-ready.
- Sharing and showcasing work requires proper export settings and presentation.
Understanding Destiny 2 3D Models
What Makes Destiny 2 Models Unique
Destiny 2 assets stand out due to their detailed sci-fi design, layered materials, and strong silhouettes. In my workflow, I pay close attention to the game's signature shapes, ornamentation, and realistic yet stylized textures. Armor, weapons, and environmental props often feature complex geometry and emissive details, which means reference accuracy is crucial.
Practical tips:
- Focus on key design motifs: angular forms, tech panels, and glowing accents.
- Analyze in-game screenshots and art books for proportions and material references.
Common Use Cases for Destiny 2 3D Assets
Most commonly, I create Destiny 2-style 3D models for fan art, mods, animation projects, or custom XR experiences. These assets need to be optimized for real-time performance but also visually striking for renders or portfolios.
Common applications:
- Game mods and machinima
- AR/VR showpieces
- Portfolio pieces and fan art renders
My Step-by-Step Workflow for Destiny 2 3D Models
Gathering References and Planning
I always start by collecting a comprehensive set of references. This includes official Destiny 2 renders, gameplay screenshots, and concept art. Sketching or blocking out major forms before diving into 3D helps me avoid costly revisions later.
My planning checklist:
- Gather front, side, and detail references
- Sketch or block out main shapes in 2D or 3D
- Identify key materials and color palettes
Choosing the Right Tools and Platforms
For Destiny 2 assets, I choose tools based on the asset type and complexity. Tripo AI is my go-to for quick base meshes and auto-texturing, especially when I need production-ready topology. For custom details or sculpting, I supplement with traditional DCC tools.
What works for me:
- Use Tripo AI for rapid prototyping and retopology
- Switch to manual sculpting for unique details or stylized forms
- Leverage built-in intelligent segmentation for complex objects
Best Practices for Modeling, Texturing, and Optimization
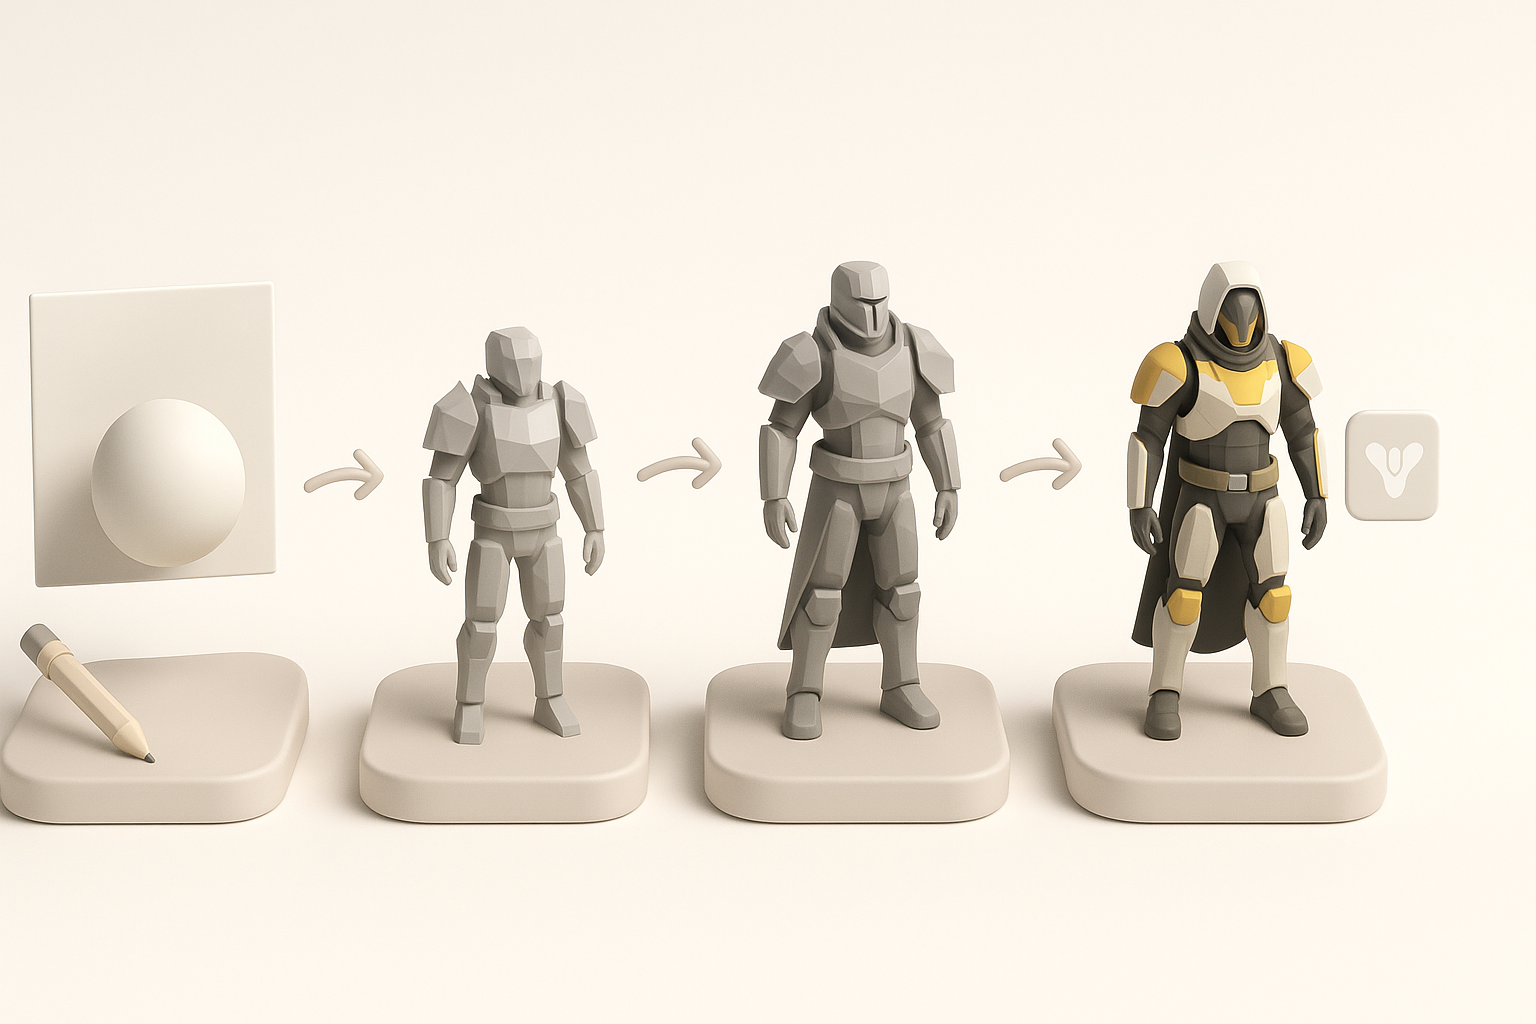
Efficient Modeling Techniques I Use
Efficiency is key for high-detail assets. I often block out major forms first, then refine with edge loops and modular kitbash elements. Tripo AI's segmentation and retopology features help me maintain clean geometry, which is essential for animation and game engines.
Steps I follow:
- Start with low-poly blockout
- Add detail iteratively, checking silhouette
- Use AI-powered retopology for clean, optimized mesh
Texturing and Material Workflow Insights
Destiny 2 models demand layered, physically-based materials. I use AI-generated base textures as a starting point, then manually paint or tweak maps for wear, emissives, and decals. Consistency in roughness and metallic values is critical for realism.
Texturing tips:
- Use smart material presets for metals, fabrics, and emissives
- Overlay hand-painted details to break up uniformity
- Always preview assets in the target engine's lighting
Leveraging AI Tools for Destiny 2 3D Model Creation

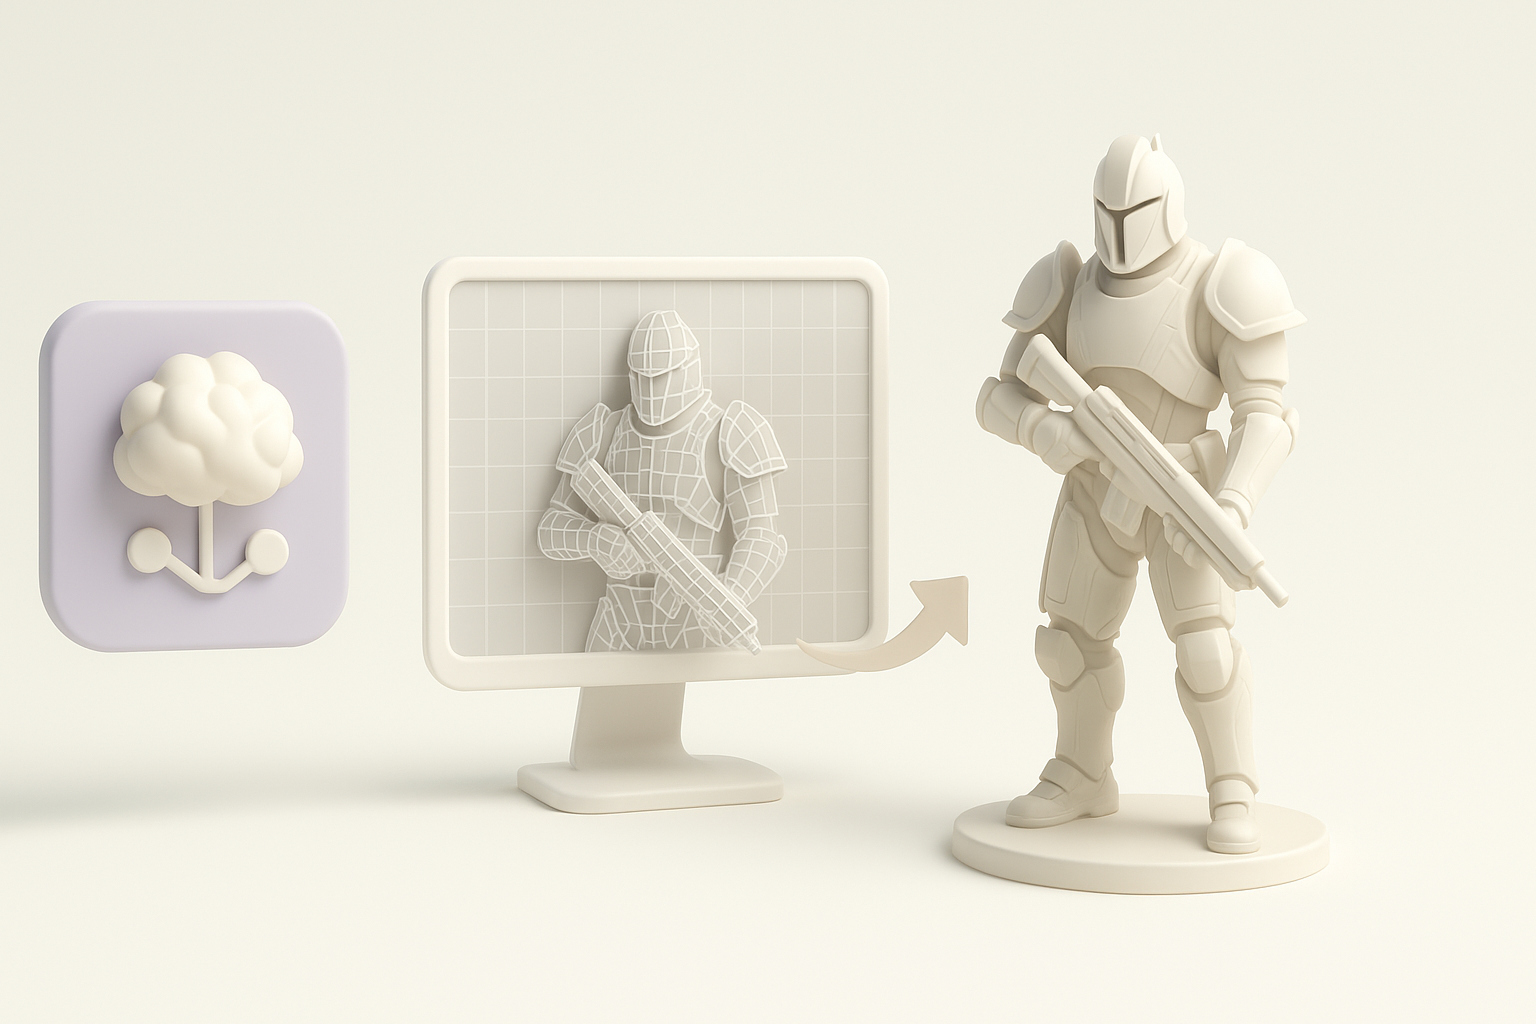
How I Integrate AI-Powered Platforms
I integrate Tripo AI at multiple stages: generating base meshes from sketches or text prompts, auto-texturing, and automating UV unwrapping. This dramatically reduces repetitive tasks and lets me focus on creative decisions.
Where AI fits in my process:
- Fast prototyping from text/image/sketch inputs
- Intelligent segmentation for multi-part assets
- Automated retopology and UVs
Tips for Streamlining with Intelligent Automation
To get the most from AI tools, I refine the inputs—clear sketches, descriptive prompts, and reference images yield better results. I also double-check AI outputs for topology and material accuracy before moving to final detailing.
Pitfalls to avoid:
- Over-relying on AI; always review and refine outputs
- Neglecting manual tweaks for unique or stylized elements
Exporting, Sharing, and Using Destiny 2 3D Models
Preparing Models for Game Engines or XR
Before export, I ensure all models are clean, with optimized topology and correct scale. I bake textures and verify PBR compliance for the target engine. Tripo AI's export presets for popular engines save time, but I always check for compatibility.
My export checklist:
- Freeze transforms and apply scale
- Bake and pack texture maps (albedo, roughness, normal, emissive)
- Test import in the target engine (Unreal, Unity, etc.)
Showcasing and Sharing My Finished Work
Presentation matters. I create high-quality renders with dramatic lighting and context. For sharing, I use online portfolios, 3D viewers, or XR demos. Clear wireframe and texture breakdowns help others appreciate the technical process.
Sharing tips:
- Render in-engine or with real-time viewers for accurate presentation
- Show breakdowns: wireframes, UVs, and material maps
- Credit references and tools used
Comparing Manual and AI-Assisted 3D Workflows
Pros and Cons from My Experience
From my hands-on experience, AI-assisted workflows save significant time on repetitive tasks like base modeling, retopology, and texturing. Manual workflows offer more control for unique, highly stylized, or intricate details. The best results often come from blending both.
Pros of AI-assisted workflows:
- Speed and efficiency for base assets
- Consistent, production-ready outputs
Cons:
- May require manual cleanup for complex designs
- Less flexibility for highly custom or stylized work
When to Choose Each Approach
I use AI-assisted workflows for rapid prototyping, background assets, or when deadlines are tight. Manual methods are best for hero assets or when creative control is paramount. The key is to match the workflow to the project's needs.
Decision points:
- Use AI for speed and iteration
- Opt for manual when uniqueness or artistry is critical
- Combine both for the best balance of speed and quality
If you're looking to create Destiny 2-style 3D models, leveraging AI-powered tools like Tripo AI alongside traditional techniques can dramatically improve your workflow. Focus on reference gathering, efficient modeling, and smart automation to produce stunning, game-ready assets.