How I Design 3D Models: Expert Workflows and Best Practices
Designing production-ready 3D models efficiently is crucial for creators in games, XR, film, and product design. Over years of hands-on work, I've refined workflows that balance creativity, speed, and technical accuracy. My approach blends manual craftsmanship with AI-powered platforms like Tripo to streamline everything from concept to completion. If you're a designer, developer, or creative looking to optimize your 3D modeling pipeline, this article shares the principles, tools, and practical techniques I rely on.
Key Takeaways
- Start with clear design principles and a structured workflow for consistency and quality.
- Tool choice depends on project needs—AI platforms accelerate tasks, but manual control is vital for custom work.
- Efficient modeling begins with strong references and incremental refinement.
- Proper texturing, UVs, and retopology are essential for production-ready assets.
- Avoid common pitfalls by planning ahead and validating at each stage.
- AI-driven workflows unlock speed, but expert oversight ensures accuracy and artistic intent.
My Approach to 3D Model Design: Key Principles and Workflow

Core design philosophies I follow
In my practice, I prioritize clarity of purpose and end-use. Whether for games or film, I start by defining the model’s role, target platform, and required fidelity. I believe in iterative refinement: rough forms first, detail later. Consistency in scale, proportion, and style is key—especially for multi-asset projects.
- Always consider the final context (real-time, animation, XR).
- Maintain a non-destructive workflow to allow easy changes.
- Validate against references and project requirements throughout.
How I structure my 3D modeling process
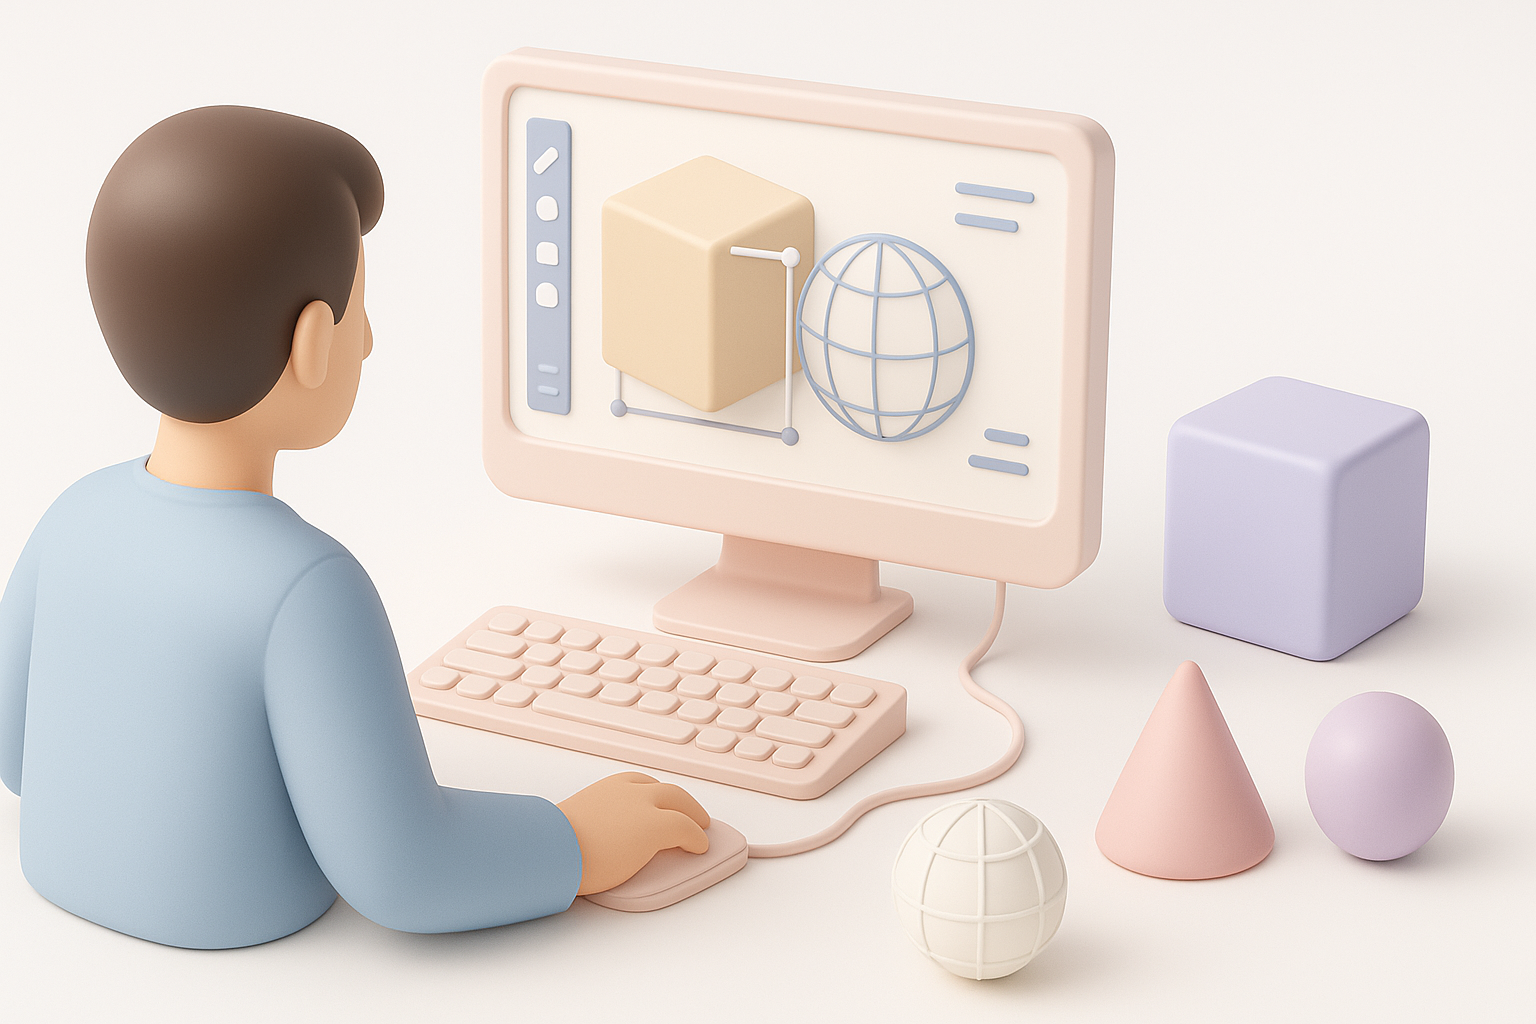
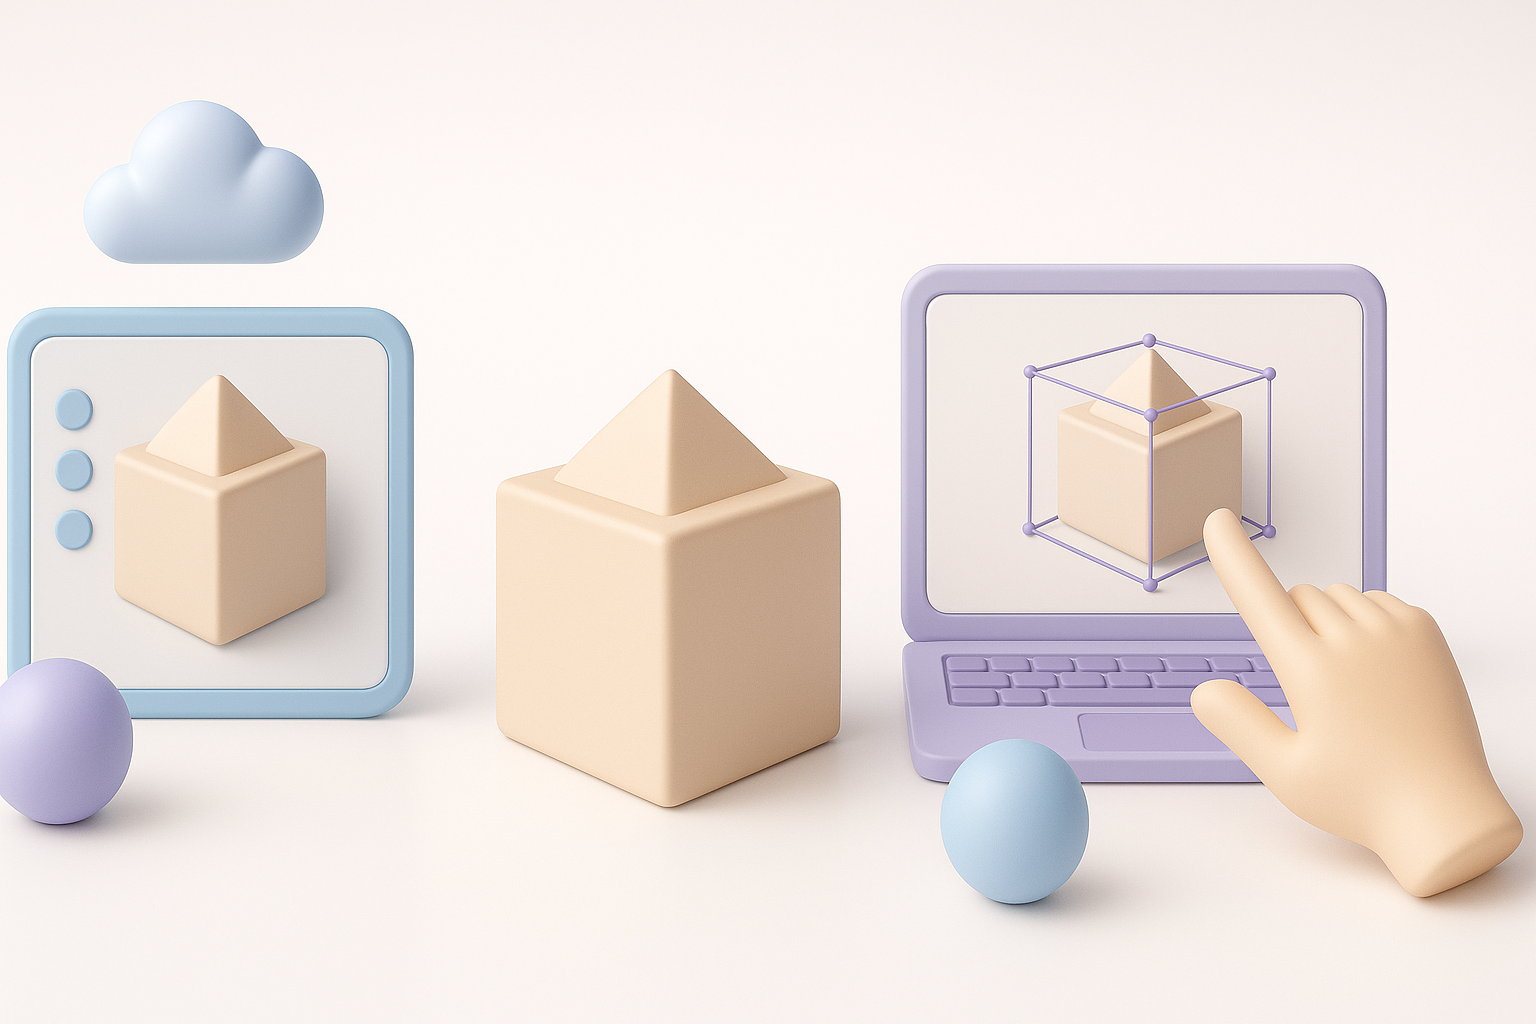
My workflow is structured into clear phases: concept, blocking, detailing, texturing, and optimization. I use checklists to track progress and ensure nothing gets overlooked. AI platforms like Tripo fit seamlessly, automating segmentation, retopology, and texturing when speed matters.
- Phase-based workflow keeps projects organized.
- Regular checkpoints for feedback and revisions.
- AI automation for repetitive or technical steps.
Choosing the Right Tools for 3D Modeling
Factors I consider when selecting software
I select tools based on project scope, required features, and compatibility. For rapid prototyping or bulk asset creation, AI-powered platforms offer unmatched speed. For custom, highly stylized work, traditional modeling software remains essential.
- Evaluate tool capabilities: modeling, texturing, rigging, animation.
- Consider interoperability and export formats.
- Prioritize tools that streamline repetitive tasks.
When I use AI-powered platforms versus traditional tools
I leverage AI platforms like Tripo for quick ideation, segmentation, and automated retopology. For creative sculpting, intricate detailing, or unique topology, I switch to manual tools. The right balance depends on asset complexity and project deadlines.
- Use AI for bulk generation and technical steps.
- Manual tools for artistic control and custom features.
- Blend workflows for maximum efficiency.
Step-by-Step: My 3D Modeling Process

Concept development and reference gathering
Every project starts with a clear concept and thorough reference collection. I gather images, sketches, and style guides, often using mood boards. Tripo allows me to input text or images for rapid concept prototyping.
- Define the model’s purpose and constraints.
- Collect detailed references (photos, sketches, style sheets).
- Use AI for quick concept visualization.
Blocking out forms, detailing, and refinement
I block out primary shapes first, focusing on silhouette and proportion. Once satisfied, I add secondary forms and details, refining topology as needed. This iterative process ensures accuracy and prevents wasted effort.
- Start with rough geometry (block-in phase).
- Gradually add details and refine shapes.
- Validate proportions and silhouette at each stage.
Texturing, Retopology, and Preparing Models for Production
How I handle UVs, textures, and materials
Efficient UV mapping and texturing are critical for realism and performance. I use built-in AI tools for automated UVs and texture generation when speed is needed. For hero assets, I manually unwrap and paint textures for maximum control.
- Automated UVs for bulk assets, manual for hero models.
- Use texture baking for consistent results.
- Preview materials in context before final export.
Optimizing topology for animation and real-time use
Clean, efficient topology is essential for animation and real-time rendering. I rely on AI retopology for quick optimization, but always inspect and tweak manually. Edge flow, polygon count, and deformation zones are my main focus.
- Use AI retopology for base optimization.
- Manually adjust for animation-friendly edge flow.
- Reduce poly count for real-time targets.
Best Practices and Lessons Learned from Real Projects
Common pitfalls I avoid
From experience, common pitfalls include poor planning, inconsistent scale, and neglecting topology. I always set clear goals, validate regularly, and keep backups. Over-reliance on automation can introduce errors, so I review outputs closely.
- Plan ahead and clarify requirements.
- Check scale and proportions early.
- Inspect automated outputs for errors.
Tips for efficient, high-quality 3D model creation
Efficiency comes from structured workflows, smart tool selection, and constant validation. I use batch processing, templates, and automation where possible. Collaboration and feedback loops are vital for quality.
- Use checklists and templates for recurring tasks.
- Automate repetitive steps with AI tools.
- Seek feedback early and often.
Comparing AI-Driven and Manual 3D Modeling Workflows
Where AI accelerates my process
AI platforms dramatically speed up segmentation, retopology, and texturing. For large asset libraries, this is invaluable. I often use AI to produce base meshes and textures, freeing up time for creative tasks.
- Rapid segmentation and mesh generation.
- Automated texturing and UV mapping.
- Bulk asset creation for tight deadlines.
Scenarios where manual control is essential
Manual workflows are crucial for unique, stylized assets or when precise control is needed. Animation-ready topology, custom materials, and intricate sculpting demand hands-on attention. I always review AI outputs and refine manually as needed.
- Custom topology for animation and deformation.
- Unique materials and hand-painted textures.
- Artistic sculpting and fine detail work.
If you want to create production-ready 3D models efficiently, blend AI-powered platforms with manual expertise. Structure your workflow, choose the right tools, and validate at every step—these practices consistently deliver quality and speed in real-world projects.