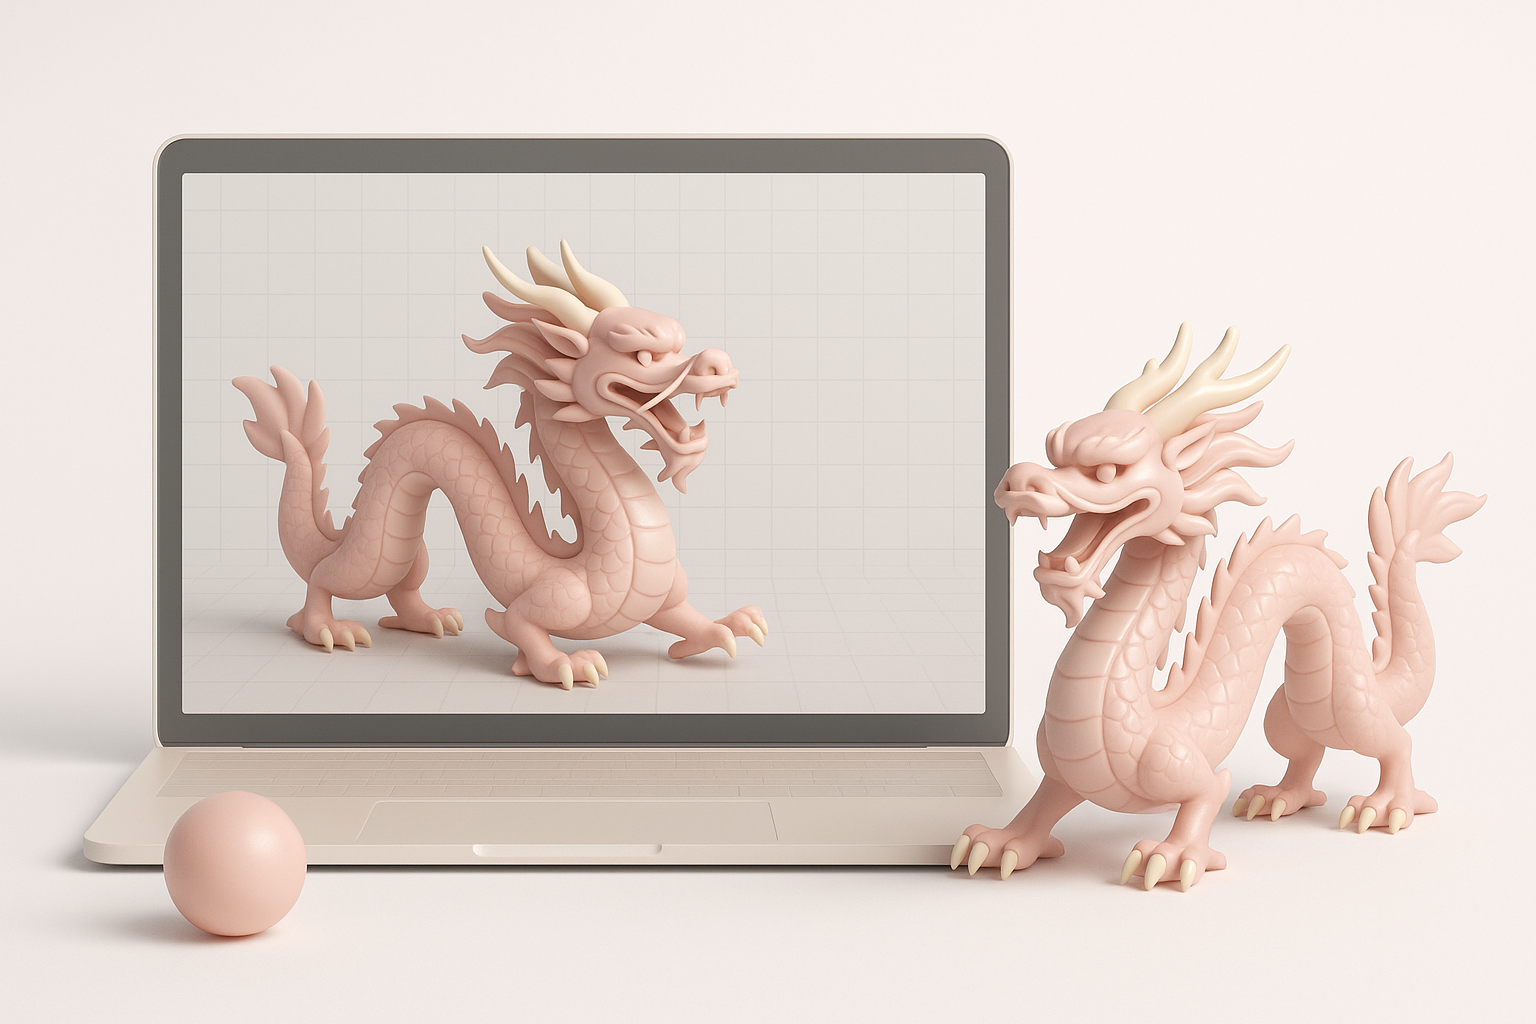
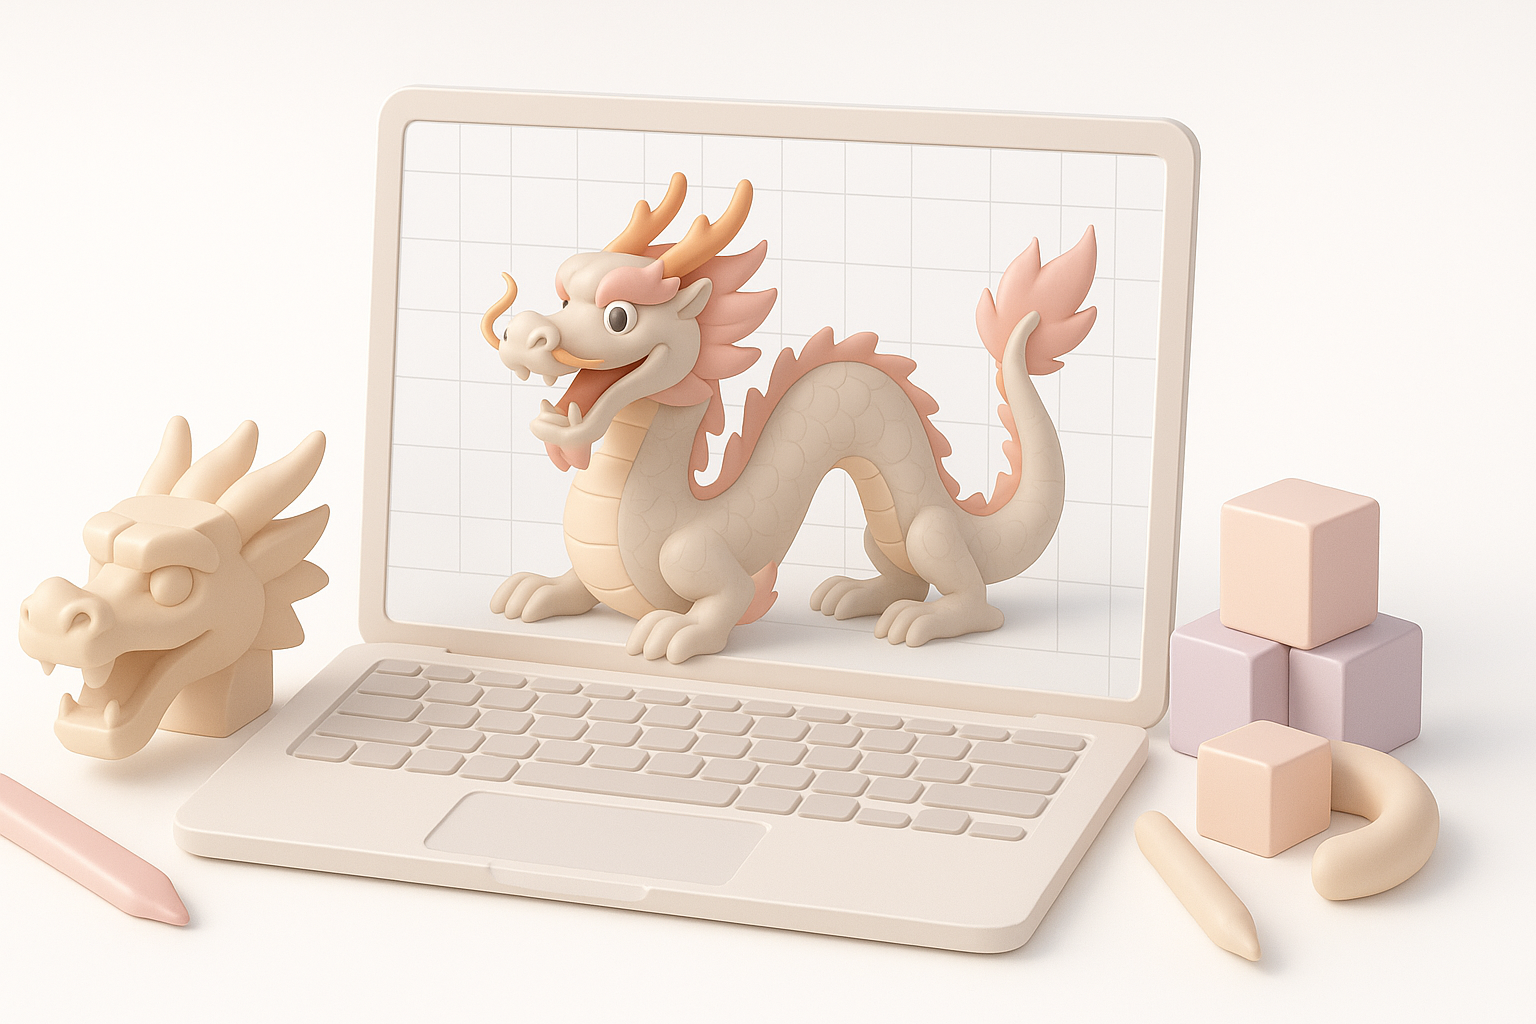
Creating a Chinese Dragon 3D Model: Expert Workflow & Tips
Designing a Chinese dragon in 3D is one of the most rewarding challenges in digital art, blending intricate anatomy, cultural symbolism, and technical execution. In my experience, the key is to approach the process methodically—from gathering references and blocking out forms to leveraging AI-powered tools for efficiency. Whether you’re aiming for game-ready assets or cinematic detail, a solid workflow and awareness of common pitfalls will save you time and frustration. This guide is for 3D artists, designers, or anyone looking to create a production-ready Chinese dragon model using both traditional and AI-assisted methods.
Key takeaways
- Reference and planning are crucial for authentic, culturally respectful dragon designs.
- Starting with a strong base mesh and clear silhouette streamlines the sculpting phase.
- Intelligent use of AI tools like Tripo can accelerate segmentation, retopology, and texturing.
- Optimize topology and UVs early to avoid downstream headaches in rigging and animation.
- Always check your model under different lighting and camera angles to spot issues.
- Integrate manual and AI workflows for the best blend of speed and creative control.
Understanding Chinese Dragon Design in 3D
Key Features and Symbolism
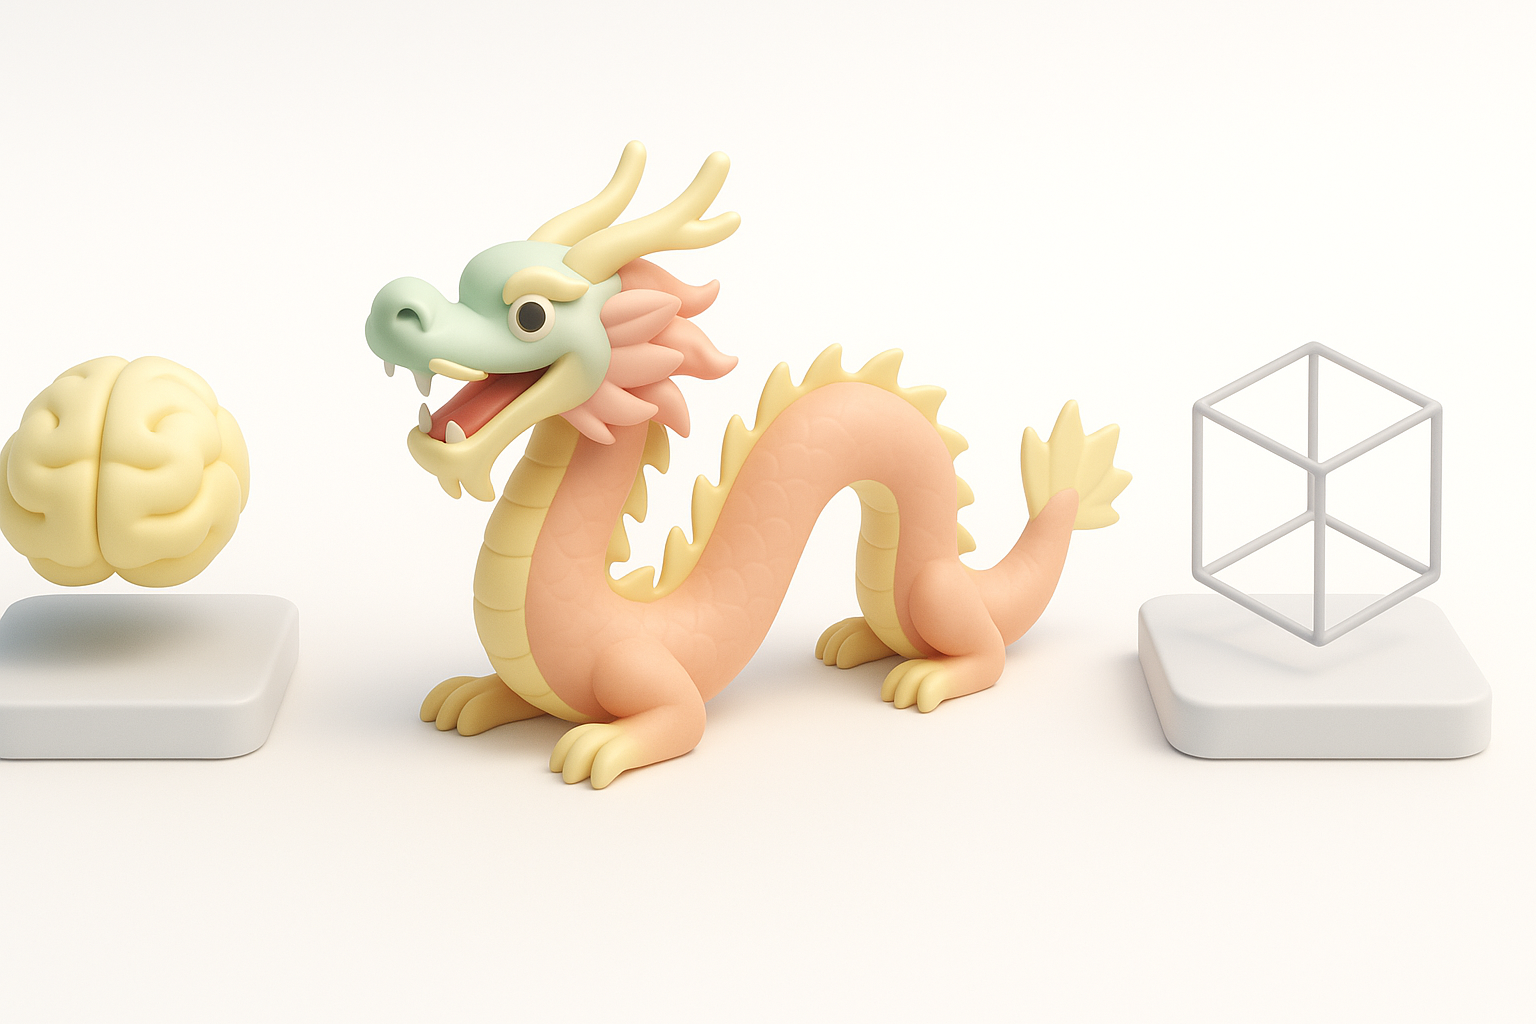
Chinese dragons are distinct from their Western counterparts, characterized by long, serpentine bodies, antler-like horns, whiskers, and a blend of animal traits (fish, tiger, snake, eagle). Their design is deeply rooted in mythology, symbolizing power, prosperity, and good fortune.
From experience, I focus on these features:
- Long, undulating body with a dynamic S-curve
- Four legs with eagle-like claws
- Whiskers, beard, and expressive eyes
- Scales, fins, and ornate head details
Respecting cultural context is essential—study the symbolism to avoid inaccuracies or stereotypes.
Reference Gathering and Concept Planning
Before opening any 3D software, I gather a robust set of references:
- Traditional art, sculptures, and modern interpretations
- Anatomical studies of snakes, fish, and lizards for body flow
- Color palettes from historical Chinese art
I sketch quick concepts to plan the pose and silhouette. When using Tripo, I sometimes upload these sketches or reference images as input to guide the initial model generation, ensuring the AI output aligns with my vision.
Checklist:
- Collect at least 10–15 varied references
- Sketch or block out the pose
- List key symbolic features to include
Step-by-Step Workflow for Modeling a Chinese Dragon
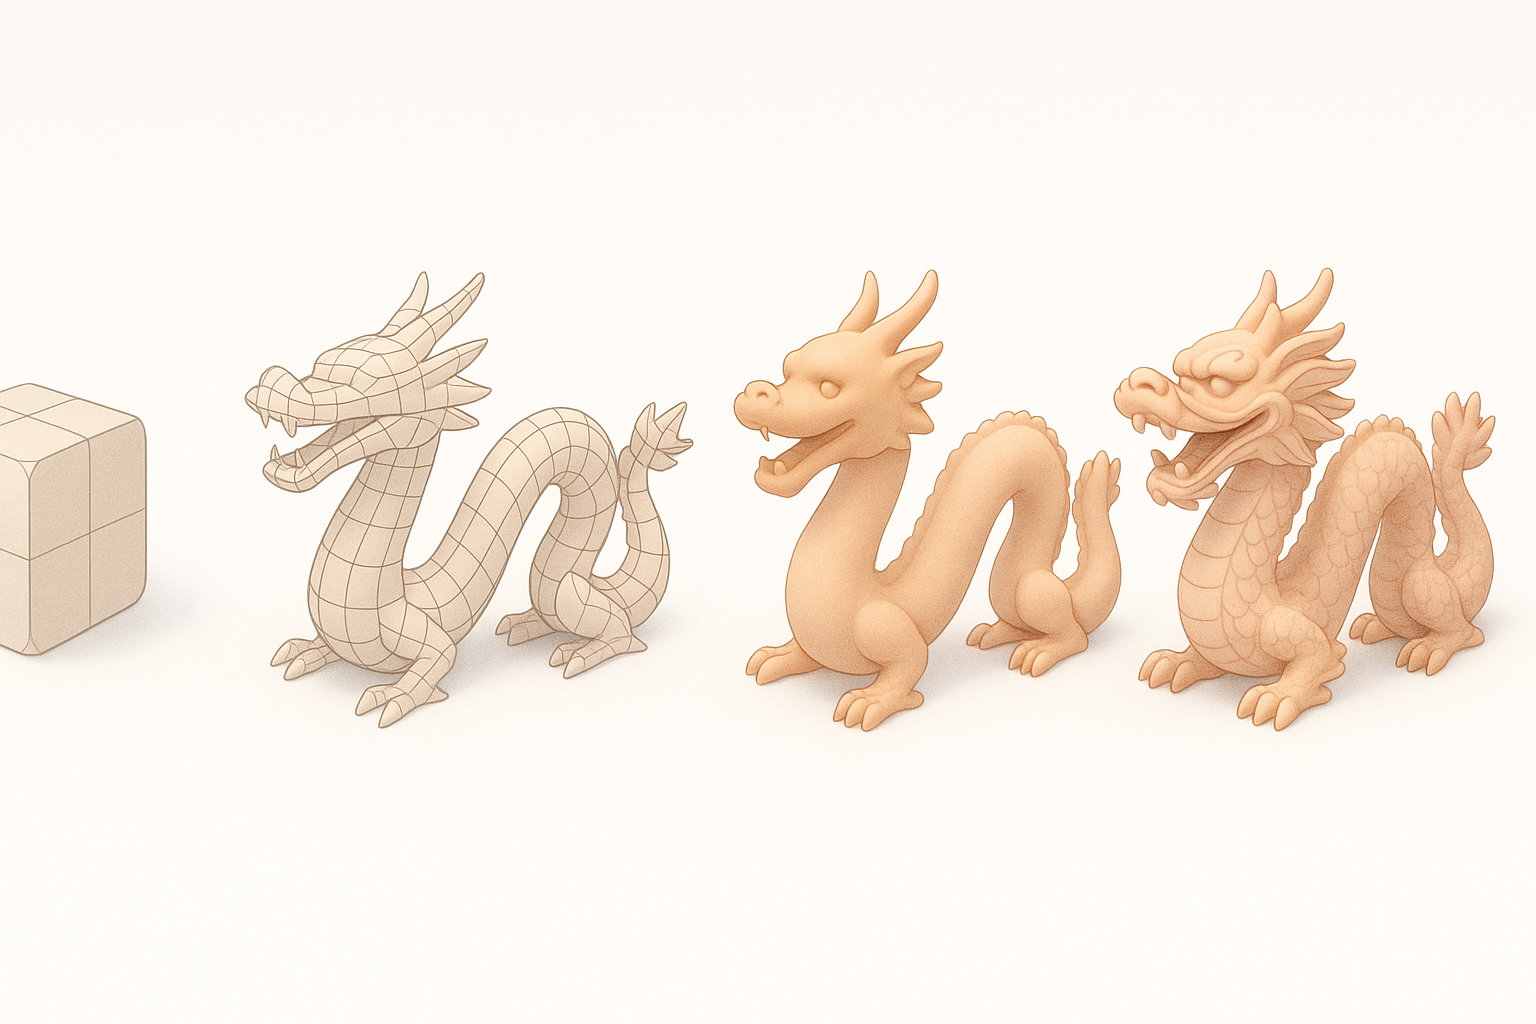
Blocking Out the Base Mesh
I always start with a simple base mesh, focusing on proportions and gesture. In traditional software, I use primitives (cylinders, spheres) to rough out the body, limbs, and head. With Tripo or similar AI tools, I can generate an initial mesh from a text prompt or sketch, then refine it manually.
Steps:
- Define the body’s main curve and pose.
- Place limbs, head, and tail—don’t worry about details yet.
- Check the silhouette from multiple angles.
Common pitfall: Overcomplicating the base mesh too early. Keep it simple to allow easy adjustments later.
Sculpting Details and Refining Anatomy
Once the base is solid, I move into sculpting. I add muscle definition, refine facial features, and block out major scales and horns. I recommend working in layers—major anatomy first, then secondary details.
Tips:
- Use symmetry for efficiency, but break it for realism.
- Focus on landmarks: jawline, brow ridges, claws.
- For AI-generated meshes, check for anatomical errors or mesh artifacts before detailing.
Pitfall: Neglecting the flow of scales or overlapping geometry. Regularly smooth and retopologize as you go, especially if planning for animation.
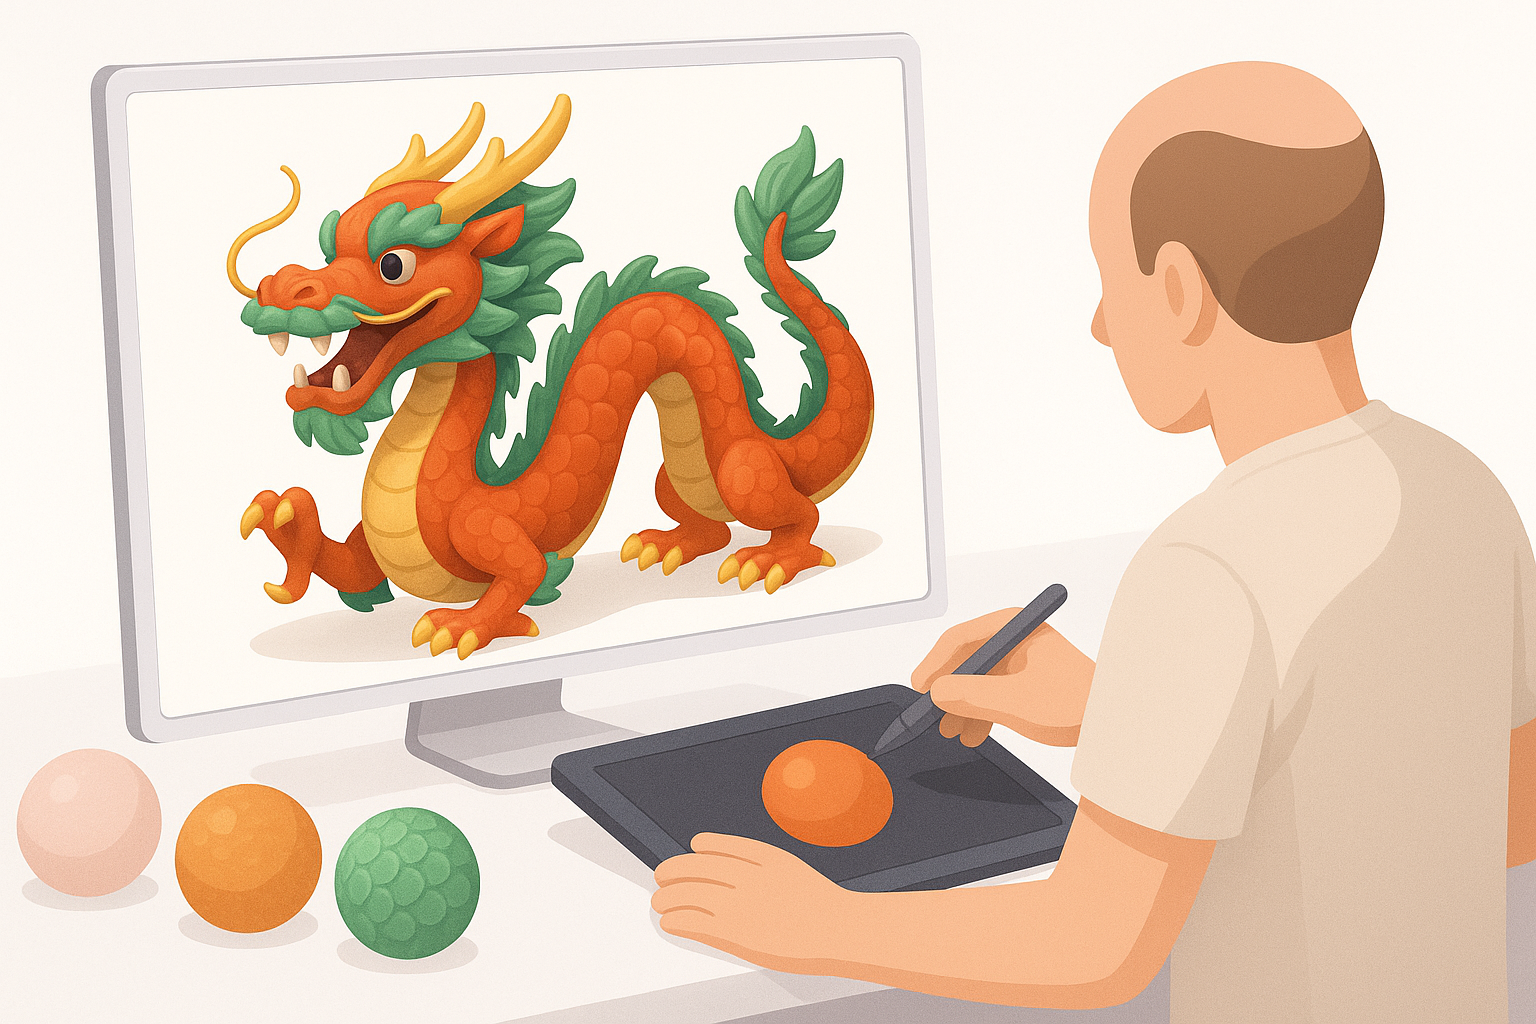
Texturing and Materials: Bringing the Dragon to Life
Choosing Colors and Patterns
Chinese dragons often feature vibrant, symbolic colors—reds, golds, greens, and blues. I sample palettes from traditional art and test them on the model. Patterns (scales, stripes, decorative motifs) should follow the anatomy.
What I’ve found works:
- Block in base colors before adding detail.
- Use color to emphasize features (e.g., gold horns, red mane).
Applying Textures and Shaders
For texturing, I use a combination of hand-painting and procedural techniques. Tripo’s texturing tools can auto-generate base maps, which I then refine in my painting app. I pay special attention to the specular and normal maps for scales and horns.
Steps:
- Bake or auto-generate base textures.
- Paint or edit details: scale variation, weathering, highlights.
- Apply shaders for skin, horns, and eyes—adjust roughness/specularity for realism.
Pitfall: Overly uniform or plastic-looking materials. Always preview with different lighting setups.
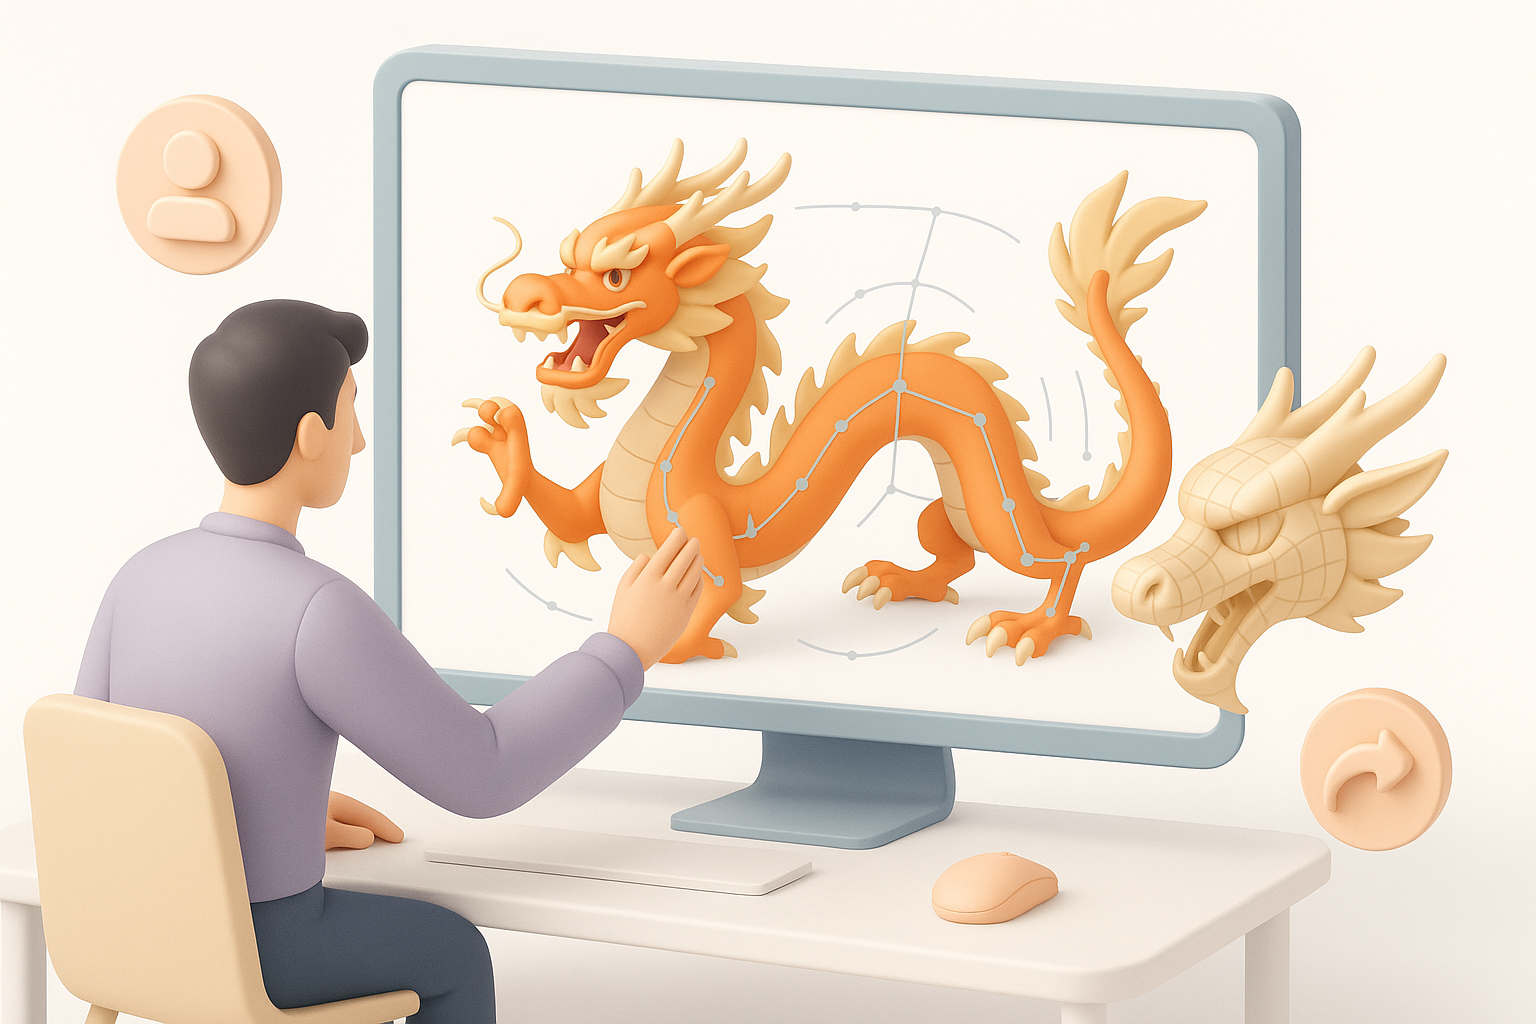
Rigging and Animation Considerations
Setting Up a Flexible Rig
Rigging a Chinese dragon is challenging due to its length and flexibility. I set up a spline IK for the body, allowing for fluid, snakelike movement. Each limb and the head get their own controls for expressive posing.
Checklist:
- Spline IK for main body
- FK/IK switches for limbs
- Extra controls for whiskers, fins, and tail tip
If the mesh was generated or retopologized with Tripo, I check joint placement and weight painting—AI tools can speed up basic rigging but still require manual refinement.
Animating Dynamic Movements
Chinese dragons are often depicted flying, dancing, or coiling. I block out major poses first, focusing on the flow of the body. Secondary motion (whiskers, fins) adds life.
Tips:
- Animate in passes: body first, then limbs, then details.
- Use reference videos of snakes or traditional dragon dances.
Pitfall: Stiff or unnatural movement—ensure the rig allows for overlapping action and smooth deformations.
Best Practices and Common Challenges
Optimizing Topology for Production
For animation or real-time use, clean topology is critical. I retopologize to ensure edge loops follow muscle flow and deformation areas. Tripo’s retopology tools can handle this, but I always inspect and tweak manually.
Checklist:
- Evenly spaced quads
- Edge loops around joints
- UVs laid out with minimal stretching
Pitfall: Ignoring topology until late in the process. Bad geometry causes issues in rigging, texturing, and rendering.
Troubleshooting Common Issues
Common problems I encounter:
- Mesh artifacts from AI generation or aggressive sculpting
- Texture seams or UV stretching
- Rig weights causing skin collapse or deformation
How I fix them:
- Regularly check for non-manifold geometry and fix before progressing.
- Use test animations to spot rigging issues early.
- Rely on incremental saves and versioning to avoid losing work.
Comparing AI-Powered and Traditional 3D Creation Methods
When to Use AI Tools for Dragon Models
AI-powered tools like Tripo are ideal for:
- Rapid prototyping from text or sketches
- Auto-segmentation and retopology for complex forms
- Accelerating repetitive tasks (base mesh, UVs, basic textures)
In my workflow, I use AI for the initial stages, then switch to manual refinement for creative control and polish.
Integrating AI Workflows with Manual Techniques
The best results come from blending AI and traditional methods. I let AI handle the grunt work, then step in for artistic direction, anatomical correction, and fine detail.
Integration tips:
- Use AI-generated outputs as a starting point, not the final product.
- Always review and refine mesh, topology, and textures.
- Combine procedural and hand-painted texturing for depth.
Pitfall: Relying solely on AI can lead to generic or error-prone results. Human oversight is essential for quality and authenticity.
By following a structured workflow and leveraging both manual skills and AI tools, creating a stunning, production-ready Chinese dragon 3D model becomes much more approachable. Whether for games, film, or XR, the key is to plan thoroughly, iterate often, and always keep creative intent at the forefront.