Creating a High-Quality Bunny 3D Model: Workflow & Tips
Creating a high-quality bunny 3D model is more accessible and efficient than ever, thanks to modern AI-powered tools and streamlined workflows. In this guide, I’ll walk through my hands-on process for designing, modeling, texturing, rigging, and exporting a production-ready bunny. Whether you’re working in games, XR, or film, these steps and tips will help you avoid common pitfalls and get professional results fast. This article is for 3D artists, game developers, and creative professionals looking to speed up their workflow without sacrificing quality.
Key takeaways
- Start with strong references and clear planning—don’t skip concepting.
- Use AI tools to accelerate base mesh creation, segmentation, and retopology.
- Focus on clean topology and efficient UVs for easier texturing and rigging.
- Realistic texturing and smart material choices elevate the final look.
- Rig and animate with your target platform in mind (games, XR, film).
- Always run thorough quality checks and optimize exports for your end use.
Overview of Bunny 3D Model Creation
Why Choose a Bunny Model: Use Cases and Appeal
Bunnies are a popular subject in 3D for their universal appeal and versatility. I often use bunny models in stylized games, VR experiences, and animation shorts—they’re approachable, recognizable, and can be adapted to a wide range of art styles. Their simple forms make them ideal for learning core modeling techniques, while their expressive features allow for character-driven storytelling.
Key Features of a Great Bunny 3D Model
A standout bunny model balances anatomical accuracy with stylization. Key features I focus on include:
- Expressive eyes and ears for personality
- Clean, readable silhouette from all angles
- Well-proportioned limbs and body, even in stylized versions
- Optimized topology for animation and deformation
Avoid overcomplicating the geometry; keep it clean for easier texturing, rigging, and animation down the line.
Step-by-Step Workflow for Bunny 3D Modeling
Concepting: References, Sketches, and Planning
My best results always start with solid reference gathering. I collect real-world bunny photos, stylized art, and animation references. Sometimes, I sketch a few poses or silhouettes to clarify the style and proportions before touching any 3D software.
Checklist:
- Gather 5–10 reference images (real and stylized)
- Sketch rough side/front views
- Decide on style: realistic, cartoon, or hybrid
- Note any unique features or accessories
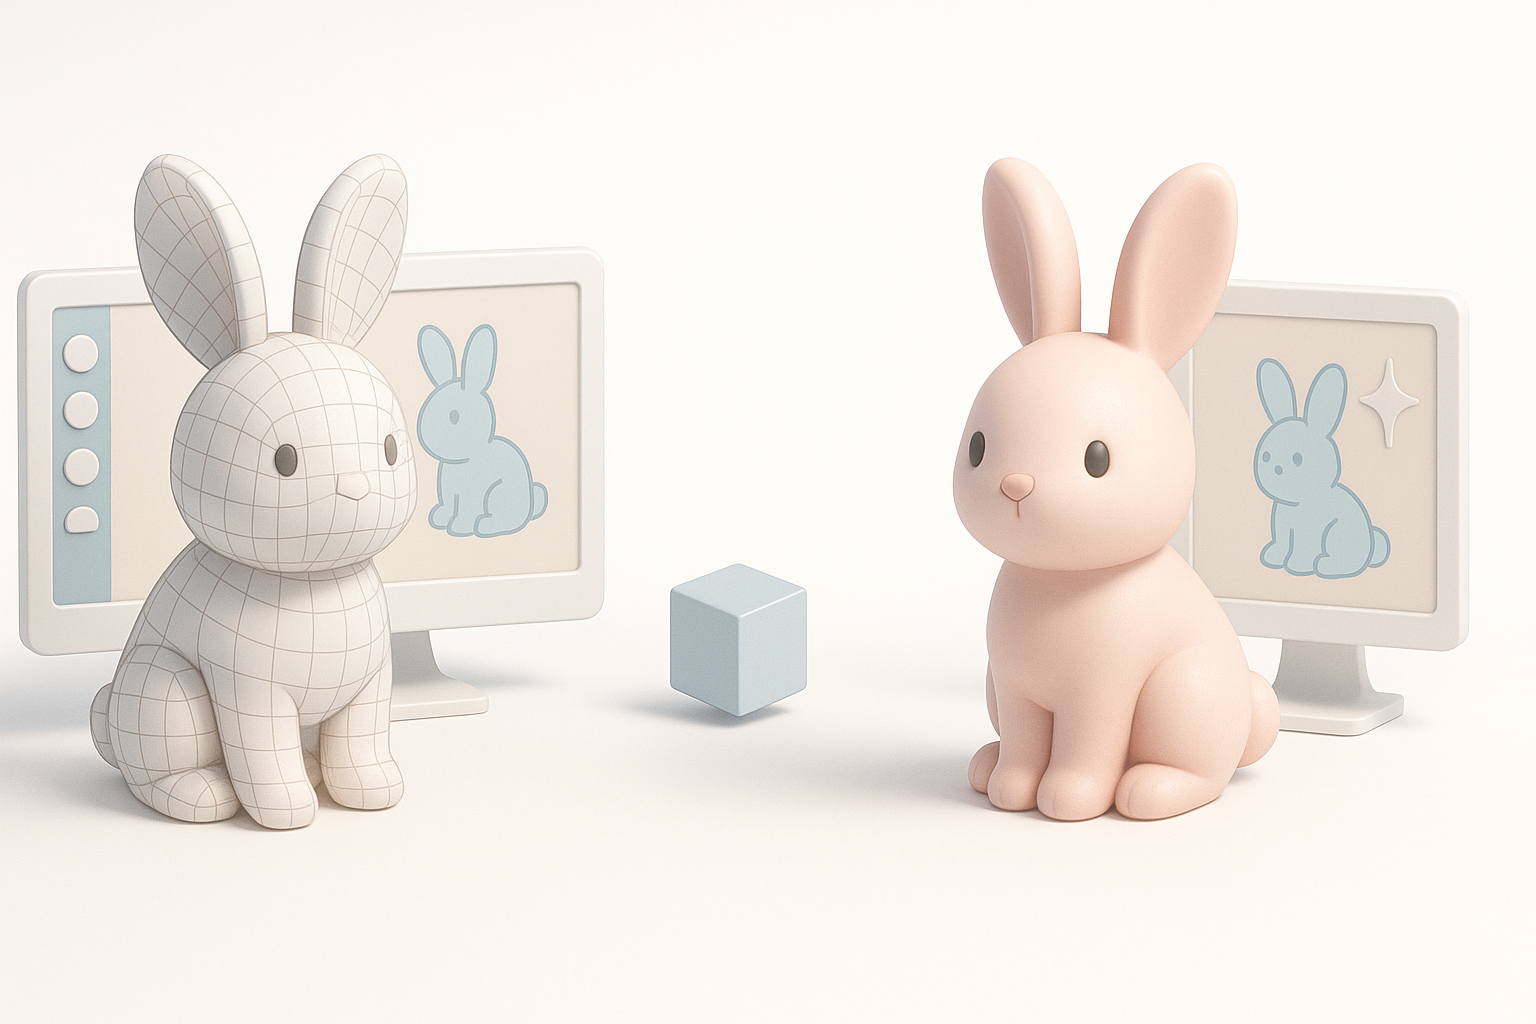
Blocking, Sculpting, and Refining the Base Mesh
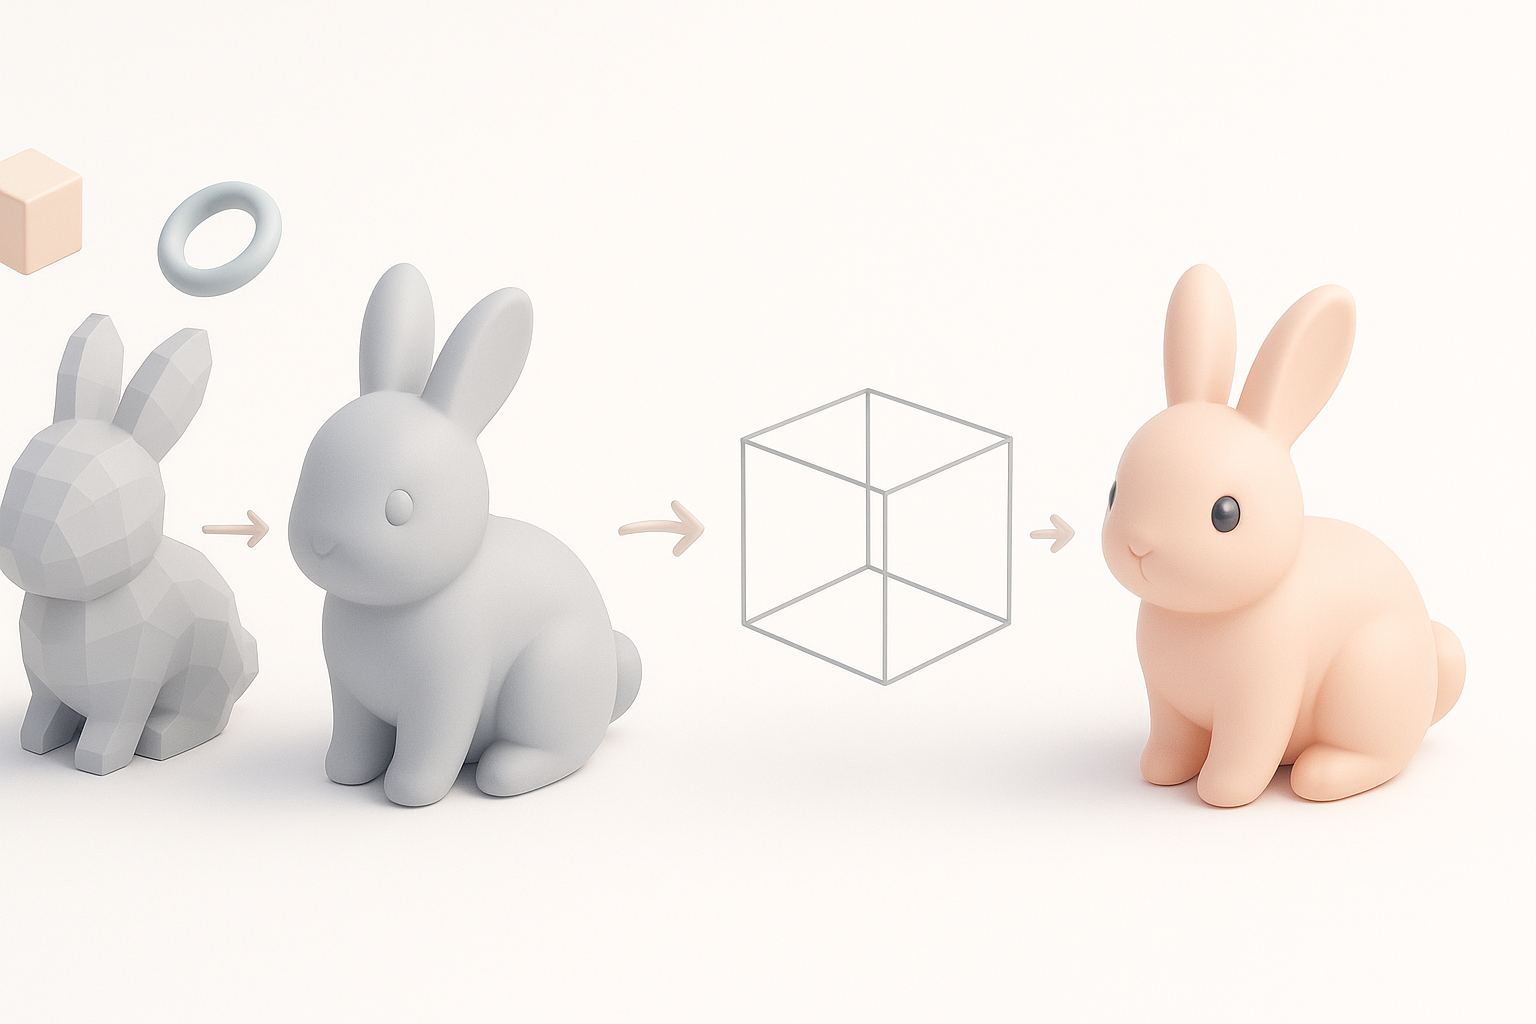
I usually block out the main shapes with simple geometry—spheres for the head and body, cylinders for limbs. This stage is about establishing proportions and major forms. Once satisfied, I move to digital sculpting for detail—defining the face, ears, and fur tufts.
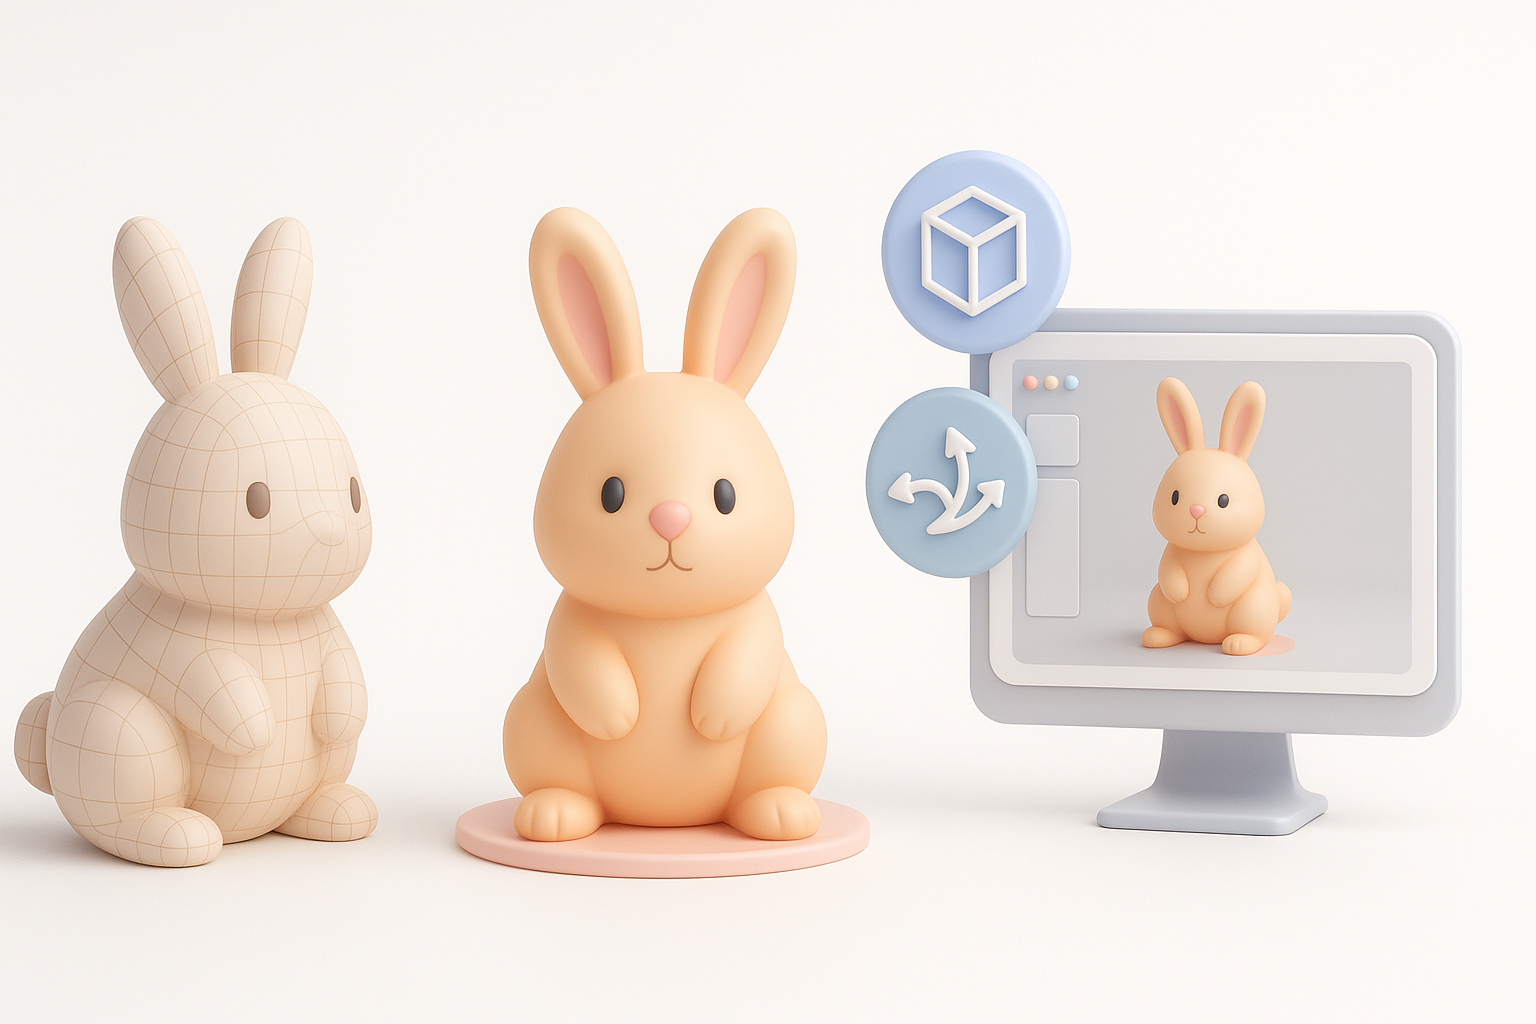
When speed matters, I leverage AI-powered platforms like Tripo to generate a base mesh from sketches or reference images. This lets me skip repetitive steps and focus on refinement.
Pitfalls to avoid:
- Over-detailing too early (stay loose in the blockout)
- Ignoring silhouette—check from all angles
- Skipping base mesh cleanup before moving on
Texturing, Rigging, and Animation Essentials
Best Practices for Realistic Texturing and Materials
For texturing, I create efficient UVs with minimal seams. I use high-res photo references for fur patterns, but often hand-paint stylized details for more character. Baking ambient occlusion and curvature maps helps ground the textures.
Tips:
- Use smart materials for fur, inner ear, and eyes
- Keep textures at 2K or 4K for film, 1K for games/XR
- Test materials under different lighting conditions
Rigging and Animating a Bunny for Games or XR
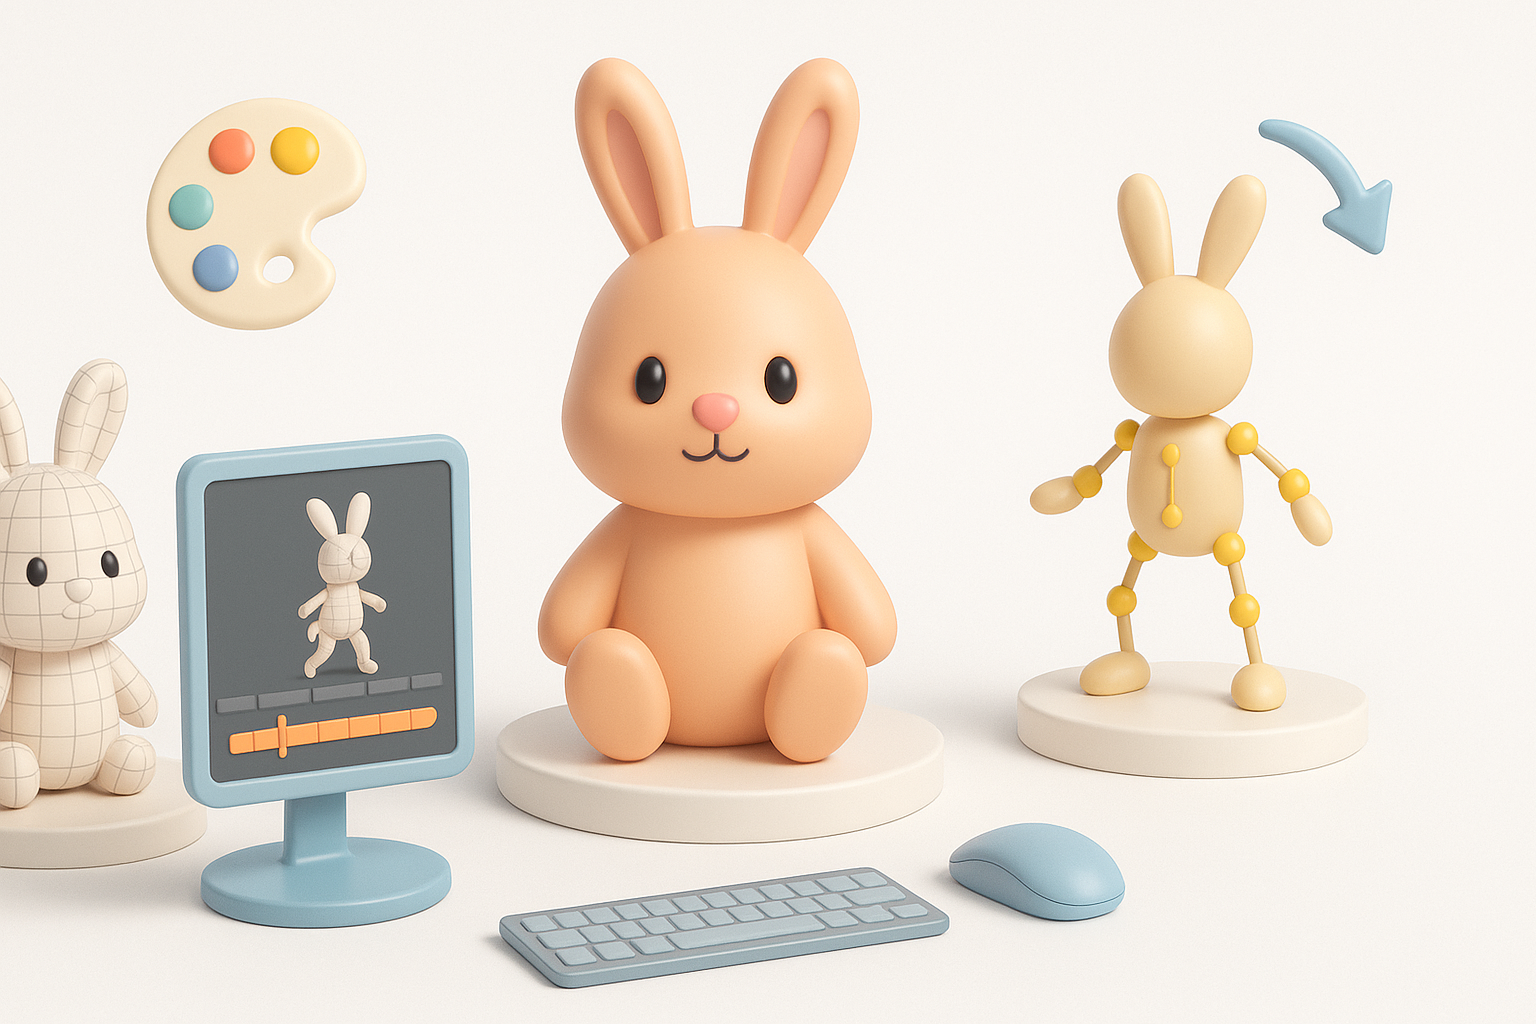
I build a simple, clean skeleton—spine, limbs, ears, and eyes. For games, I keep the rig lightweight and avoid unnecessary bones. For XR or film, I add extra controls for ear and facial expressions.
Checklist:
- Properly weight paint joints for smooth deformations
- Test basic walk, hop, and idle animations
- Export in a compatible format (FBX, GLTF) with rig and animations
Using AI Tools to Accelerate Bunny 3D Model Production
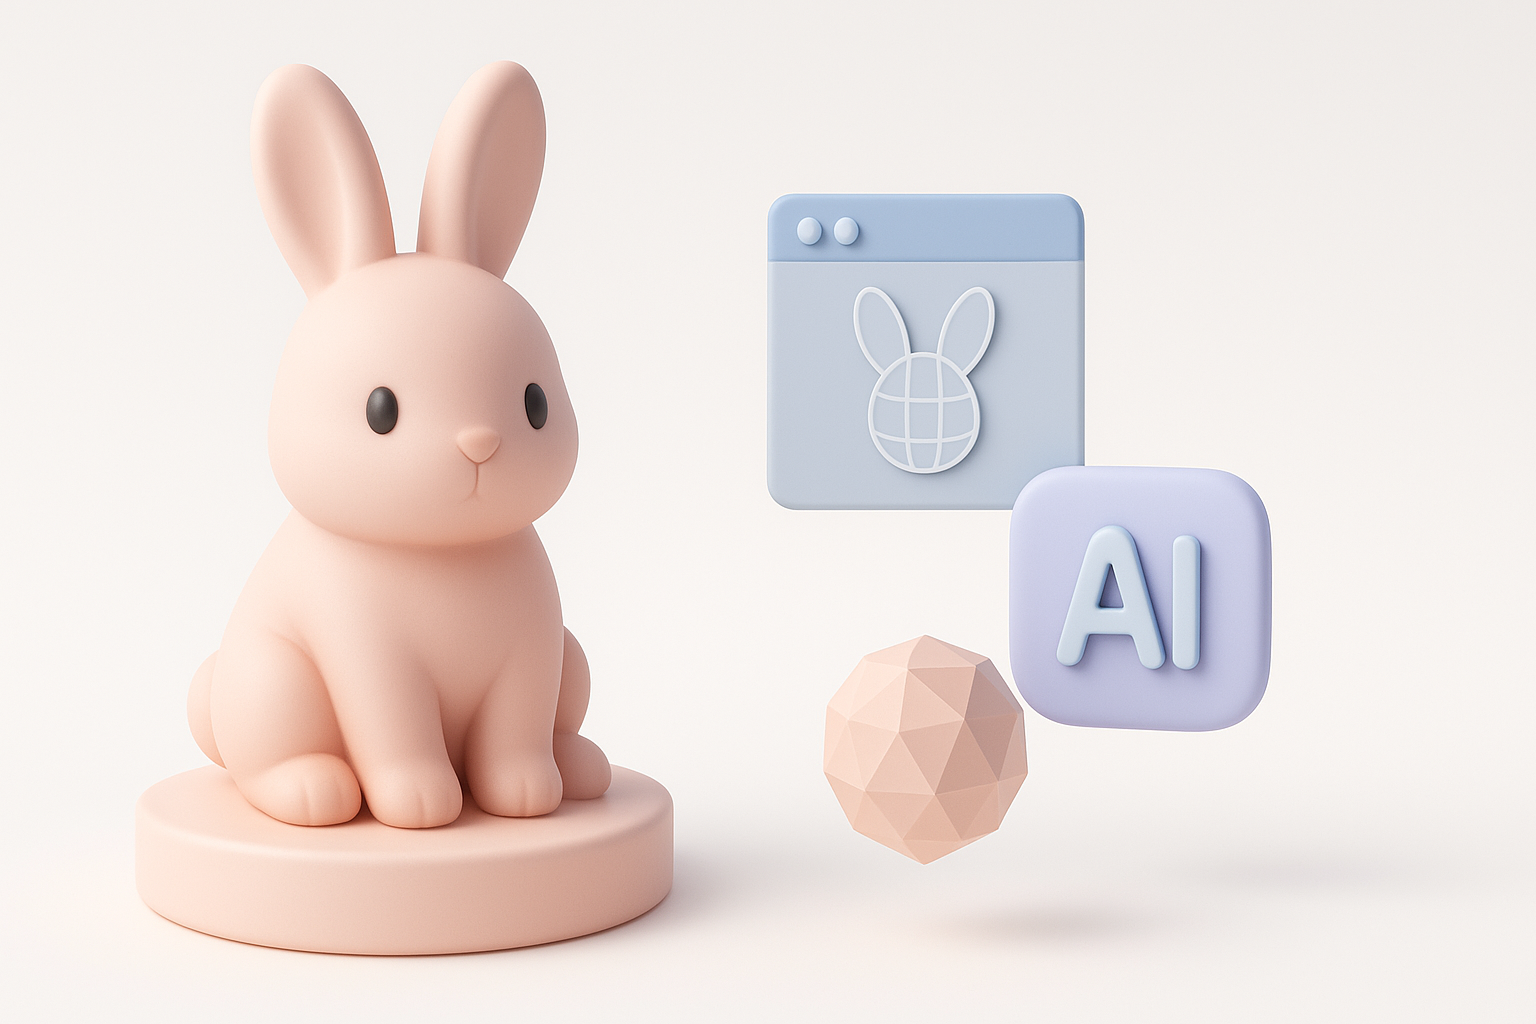
How I Integrate AI-Powered Platforms in My Workflow
I use AI platforms like Tripo to generate base meshes, auto-segment parts (ears, body, limbs), and handle retopology. This saves hours, especially on repetitive tasks. I provide clear prompts or sketches to guide the AI, then refine the output as needed.
My workflow:
- Input sketch or description to generate initial mesh
- Use segmentation for separate parts (ears, tail, etc.)
- Review and manually adjust topology if needed
Tips for Efficient Segmentation, Retopology, and Export
AI segmentation is great for splitting complex models into manageable parts. I always check edge flow and fix any artifacts before moving to UVs or rigging. Automated retopology is a huge time-saver, but I double-check for poles or unnecessary triangles.
Steps:
- Run segmentation and inspect groupings
- Apply retopology, then review in wireframe mode
- Export in the lowest poly count that still preserves detail
Comparing Traditional and AI-Enhanced 3D Modeling Methods
Pros and Cons Based on My Hands-On Experience
Traditional modeling offers full control and is essential for learning fundamentals, but it’s time-consuming. AI-enhanced workflows are much faster for base mesh creation, segmentation, and retopology, freeing me up for creative tasks.
Pros of AI-enhanced:
- Much faster blockout and cleanup
- Great for rapid prototyping and iteration
Cons:
- Sometimes requires manual cleanup
- Less control over fine details in early stages
When to Use Each Approach for Bunny Models
I use traditional modeling for hero assets or when I need full control. For background assets, rapid prototyping, or tight deadlines, AI tools are my go-to. Mixing both approaches often yields the best results—AI for speed, manual for polish.
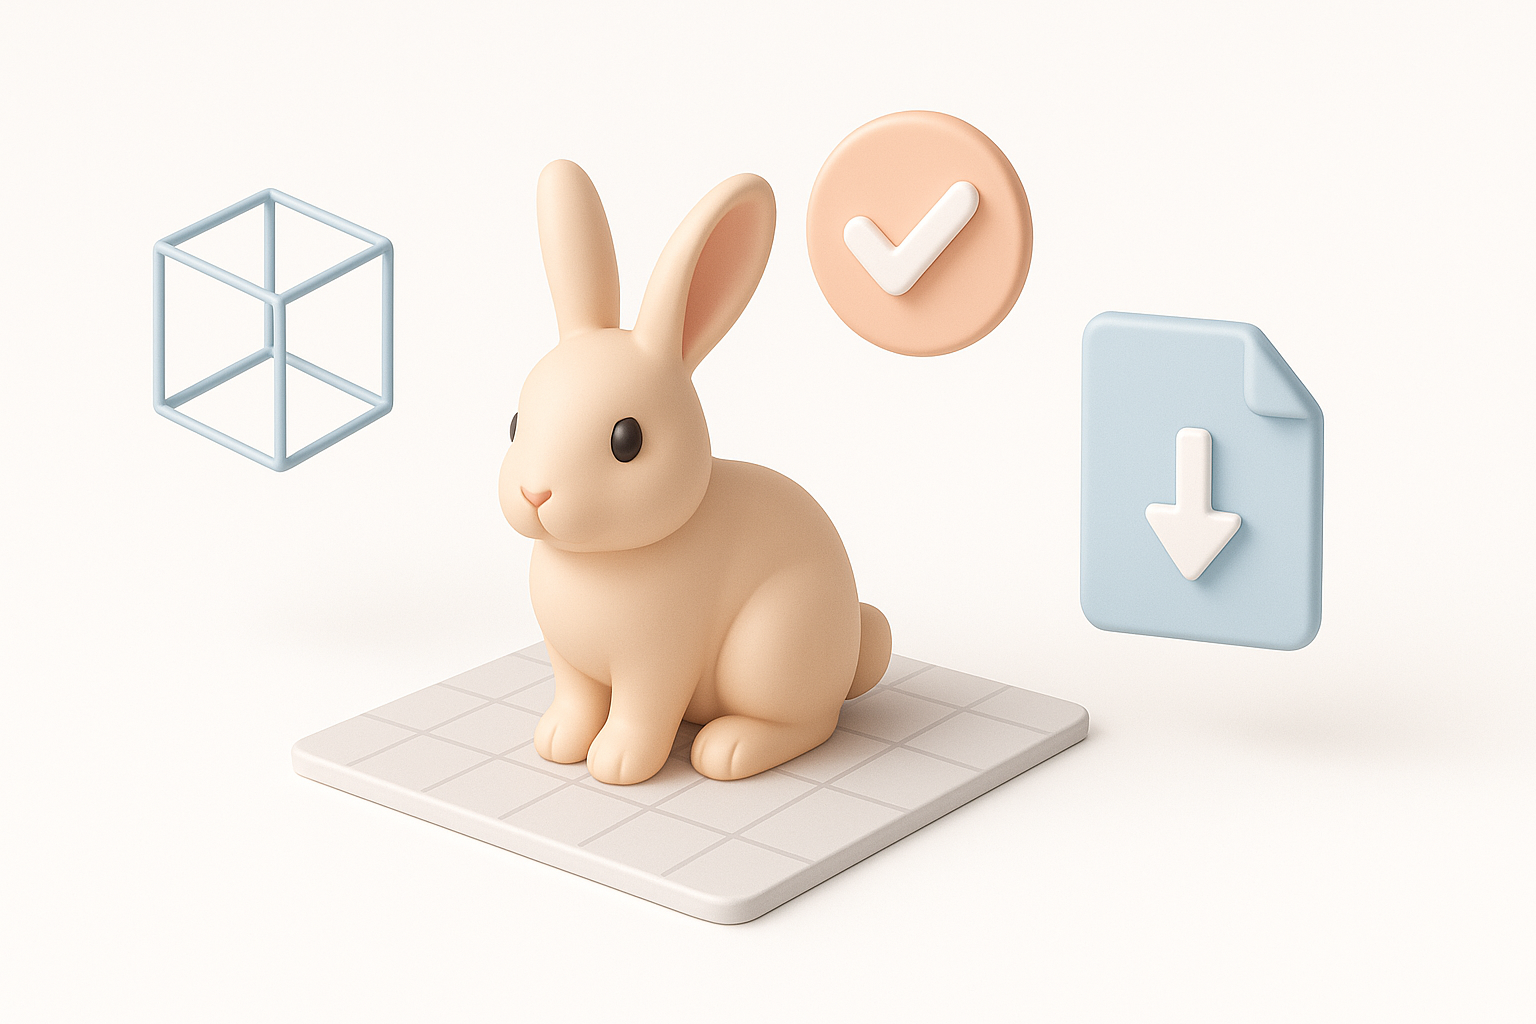
Finalizing and Exporting Your Bunny 3D Model
Quality Checks and Optimization for Production
Before export, I run through a checklist:
- Inspect topology for n-gons or stray verts
- Check UVs for stretching or overlap
- Test deformations with basic animations
- Optimize mesh for target polycount
I also bake and pack textures efficiently—using texture atlases for games, higher-res maps for film or XR.
Export Settings for Games, Film, and XR
I tailor export settings to the target platform:
- Games/XR: Use FBX or GLTF, keep polycount low, embed animations if needed.
- Film: Export higher-res meshes, separate animation files, and 4K+ textures.
Always test imports in the engine or DCC tool to catch any issues early.
By following these steps and leveraging AI-powered tools where they make sense, I consistently deliver high-quality bunny 3D models—fast, efficient, and ready for any production pipeline.