How to Create a Realistic Bird 3D Model: Expert Workflow & Tips
Creating a realistic bird 3D model requires a blend of artistic observation, technical skill, and the right tools. In my experience, the best results come from a clear plan, solid references, and a step-by-step approach—from blocking out forms to final rigging. Whether you’re a game artist, animator, or hobbyist, this workflow will help you achieve production-ready quality efficiently. I’ll also share how AI-powered tools like Tripo can speed up the process without sacrificing control or realism.
Key takeaways
- Start with high-quality references and a clear purpose for your bird model.
- Block out basic forms before refining anatomy and proportions.
- Use specialized techniques for feathers and texture painting to achieve realism.
- Rigging and animation require careful planning for believable movement.
- Optimize topology early to avoid headaches during animation.
- AI tools like Tripo can rapidly generate base models, letting you focus on creative refinement.
Getting Started: Planning Your Bird 3D Model
Choosing the Right Reference Images
I always begin with a library of reference images—side, front, and top views are ideal, but even a few high-res photos can make a huge difference. I look for:
- Images showing anatomy (muscle, bone, feather layout)
- Close-ups of key features (beak, eyes, feet, feather patterns)
- Poses relevant to my project (flying, perching, etc.)
Checklist:
- Gather at least 3–5 high-resolution images
- Include anatomical diagrams if possible
- Organize references in a moodboard or reference viewer
Defining Purpose and Level of Detail
Before modeling, I define the model’s purpose—game asset, animation, or still render. This determines the level of detail and polygon budget. For animation, I plan for clean topology and functional joints. For static renders, I might push detail further.
Tips:
- For real-time use, aim for lower poly counts and efficient UVs
- For film or close-ups, prioritize anatomical accuracy and fine detail
- Decide early if you need rigging and animation support
Step-by-Step Workflow for Bird 3D Modeling
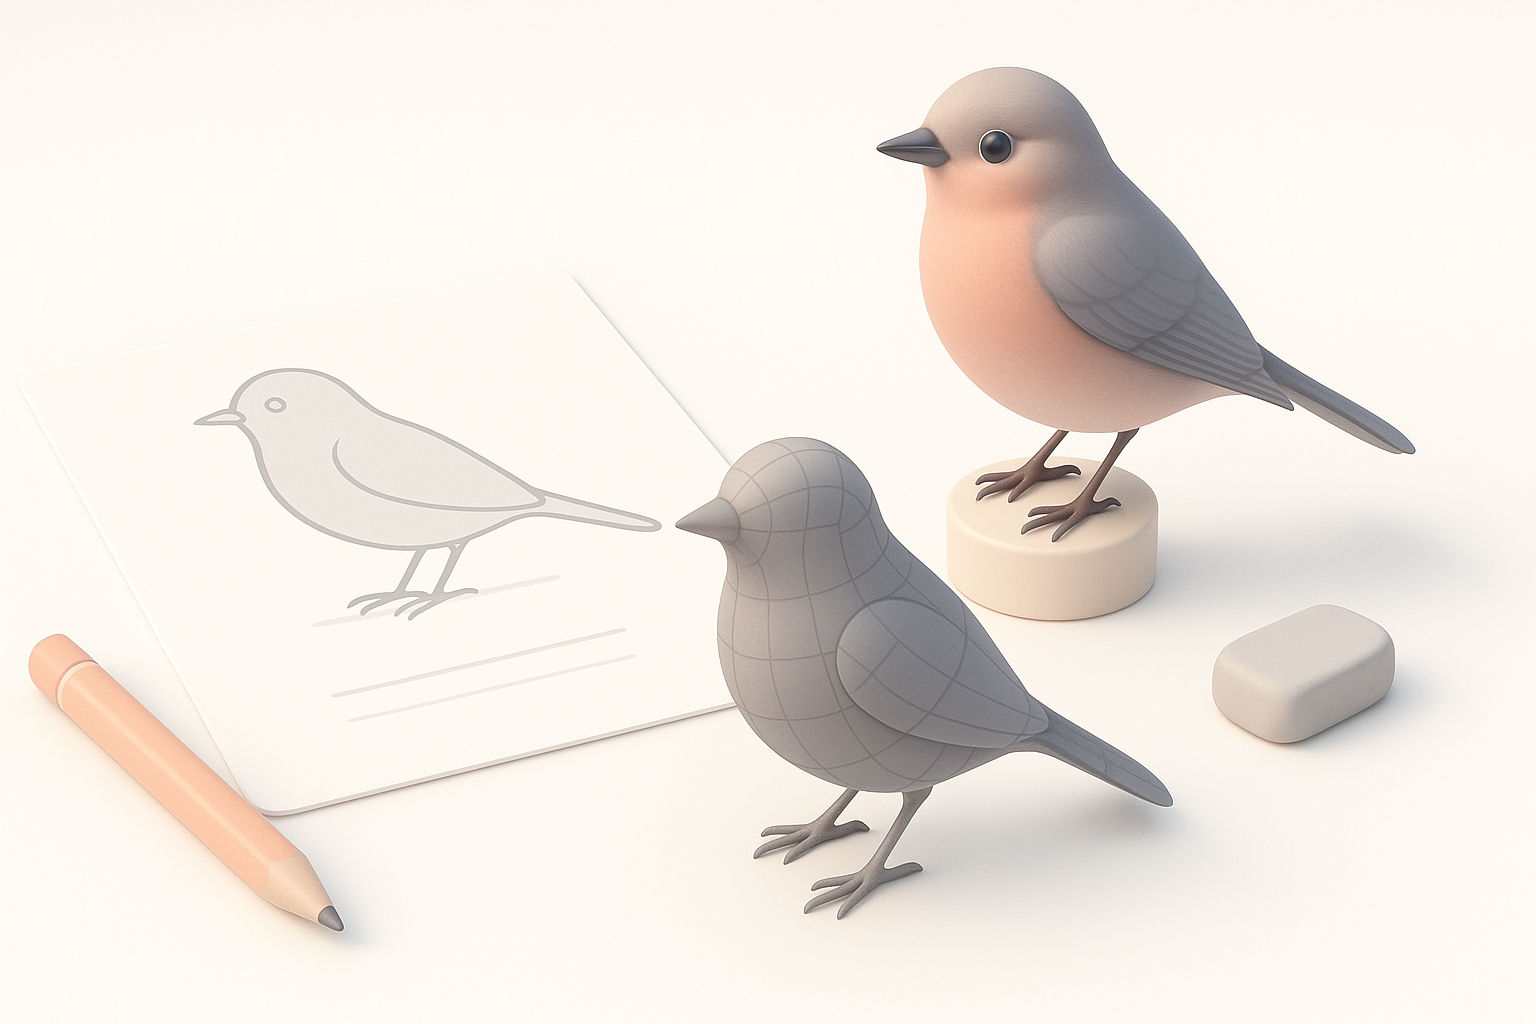
Blocking Out the Basic Shapes
I start by blocking out the bird’s main masses: head, body, wings, and legs. I use primitive shapes (spheres, cylinders) to keep proportions flexible. This stage is all about silhouette and major volumes, not detail.
Steps:
- Place primitives for head, body, wings, and tail
- Adjust proportions to match reference images
- Merge and sculpt until the basic silhouette feels right
Refining Anatomy and Proportions
Once the blockout feels solid, I move to refining anatomy—sculpting muscle definition, adjusting beak and eye placement, and shaping wings and legs. I constantly check against references for accuracy.
What I’ve found:
- Regularly flipping the model helps spot proportion errors
- Don’t rush to detail; get the anatomy correct first
- Use symmetry tools, but break symmetry for realism later
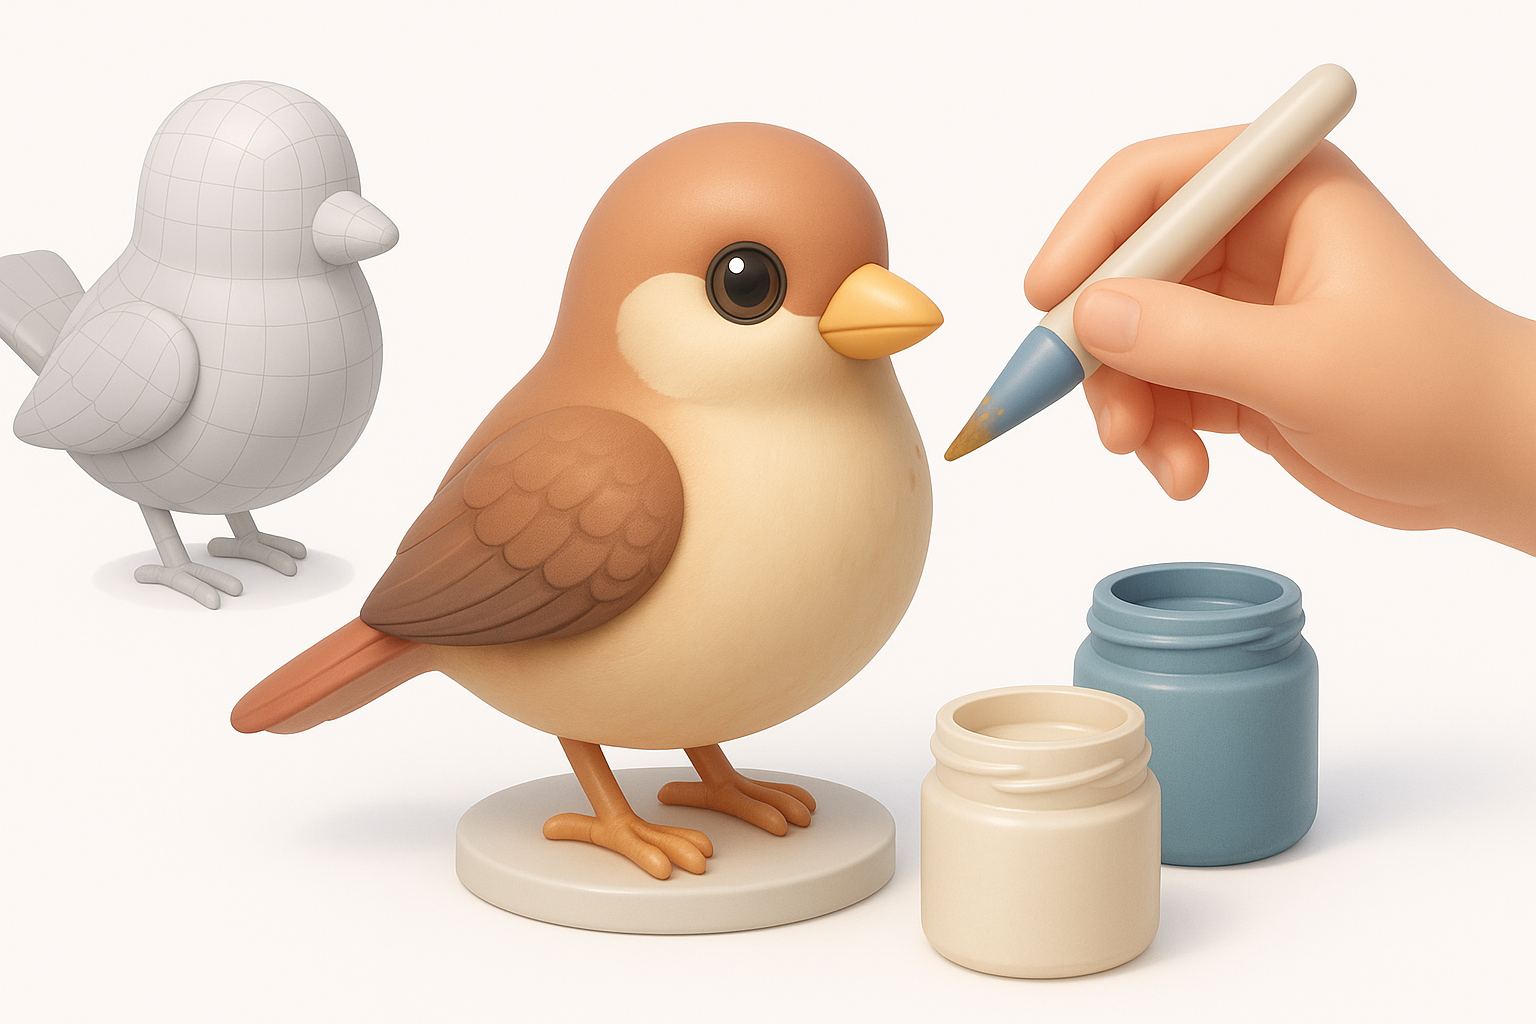
Texturing and Detailing Techniques

Feather Creation: Approaches and Tools
Feathers are the trickiest part. I choose the method based on the project’s needs:
- Texture-based feathers: Fast and efficient for games; use alpha-mapped planes.
- Geometry-based feathers: Best for close-ups; model or generate individual feathers.
- AI tools: Platforms like Tripo can auto-generate feather patterns or base geometry, which I refine manually.
Tips:
- Layer feathers for natural overlap
- Use reference for feather direction and grouping
- For realism, vary feather size and shape subtly
Painting Realistic Bird Textures
I bake normal and ambient occlusion maps, then hand-paint or use photo references for color and detail. For birds, subtle gradients and patterning are key.
Checklist:
- Use high-res texture maps (at least 2K for close-up work)
- Paint feather patterns with soft brushes and masks
- Add dirt, wear, and specular variation for realism
Rigging and Animating Your Bird Model
Setting Up a Functional Bird Rig
A good rig is essential for believable poses and animation. I focus on:
- Wing folding and extension
- Leg and talon articulation
- Neck and head movement
Steps:
- Place joints for spine, wings, legs, and neck
- Add controllers for wing folding and feather splay
- Test deformation with extreme poses
Animating Flight and Idle Poses
Animating birds is challenging—wings, tail, and body must move in harmony. I study slow-motion flight videos for timing and arcs.
What works for me:
- Start with a simple idle pose to check rig stability
- Animate flight cycles in layers: body, wings, then tail and head
- Use reference for wing beats and gliding transitions
Best Practices and Common Pitfalls
Optimizing Topology for Animation
Good topology saves time in rigging and animation. I keep edge loops clean around joints and avoid unnecessary poles.
Tips:
- Place loops around wing and leg joints
- Minimize triangles in deforming areas
- Test with basic animations early
Avoiding Common Mistakes in Bird Modeling
Common pitfalls I’ve seen (and made):
- Overcomplicating feathers—keep them manageable
- Ignoring reference, leading to anatomical errors
- Forgetting to check scale and proportion in all views
Checklist:
- Regularly review reference images
- Keep geometry as simple as possible
- Test export and import early if using multiple tools
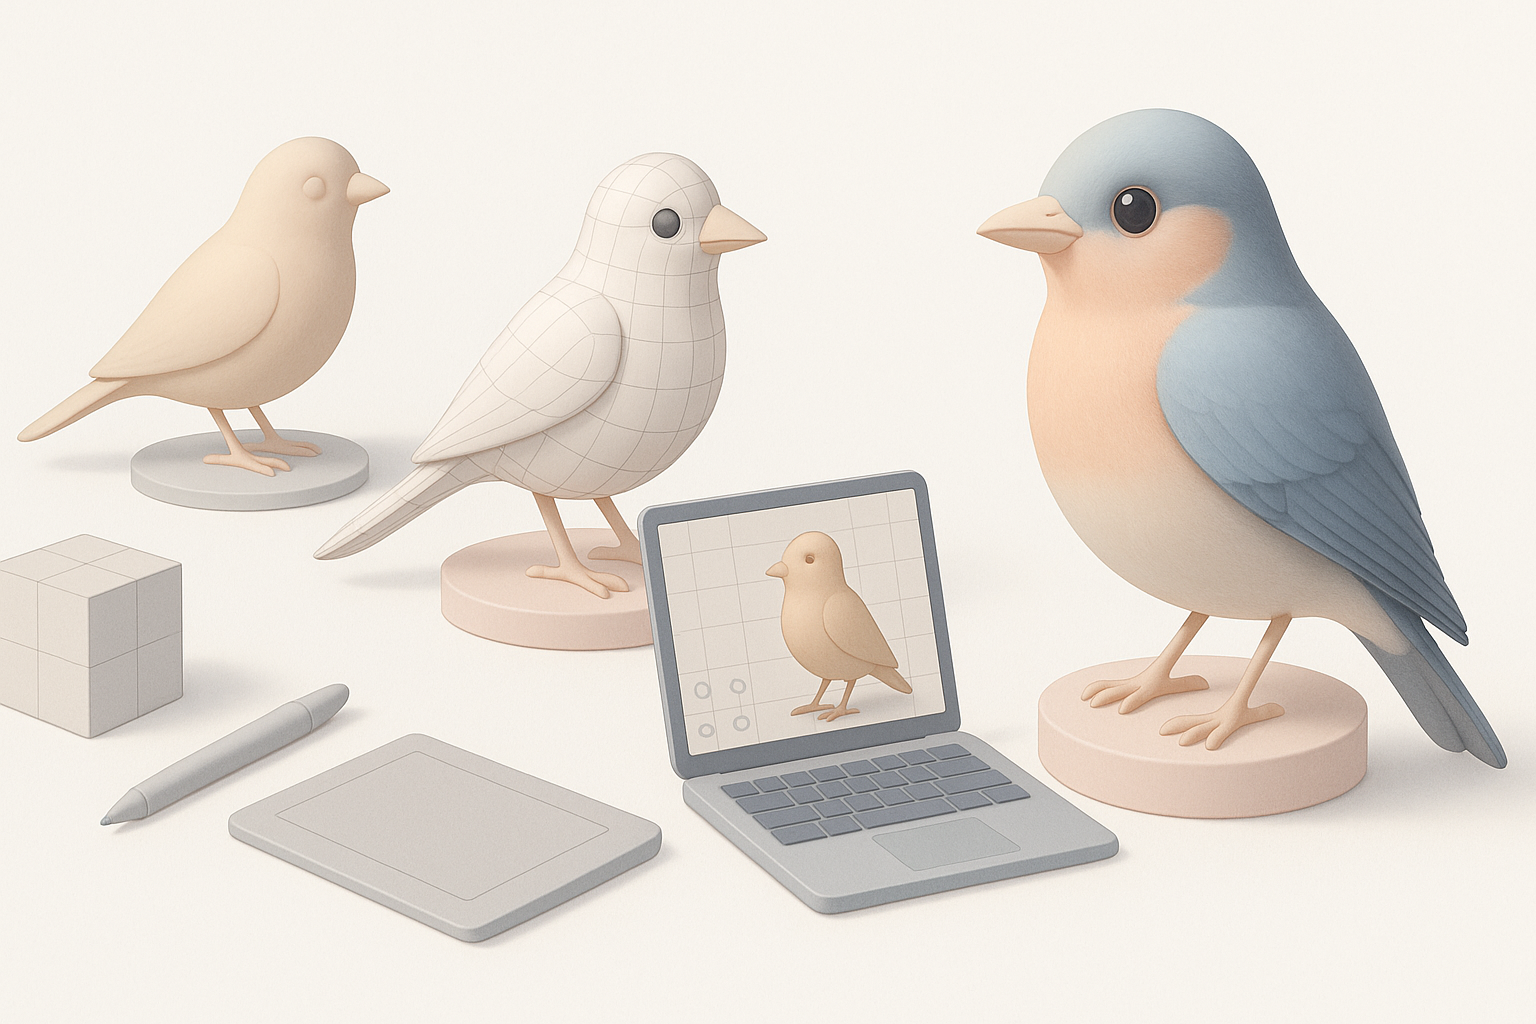
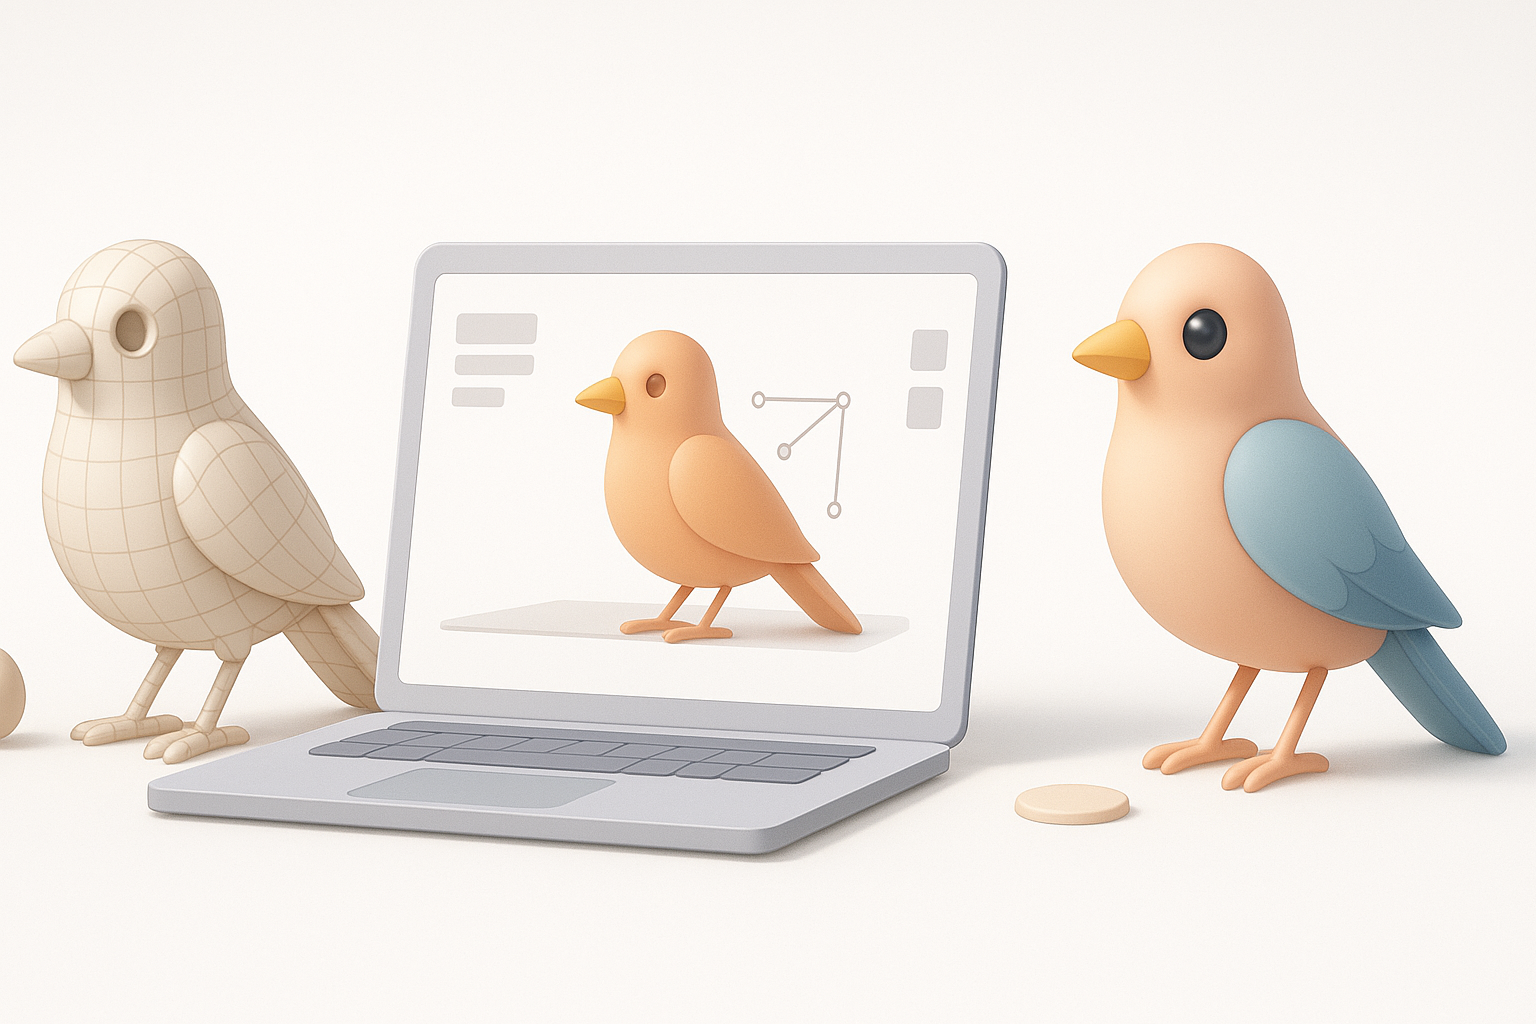
AI-Powered Tools and Alternative Methods
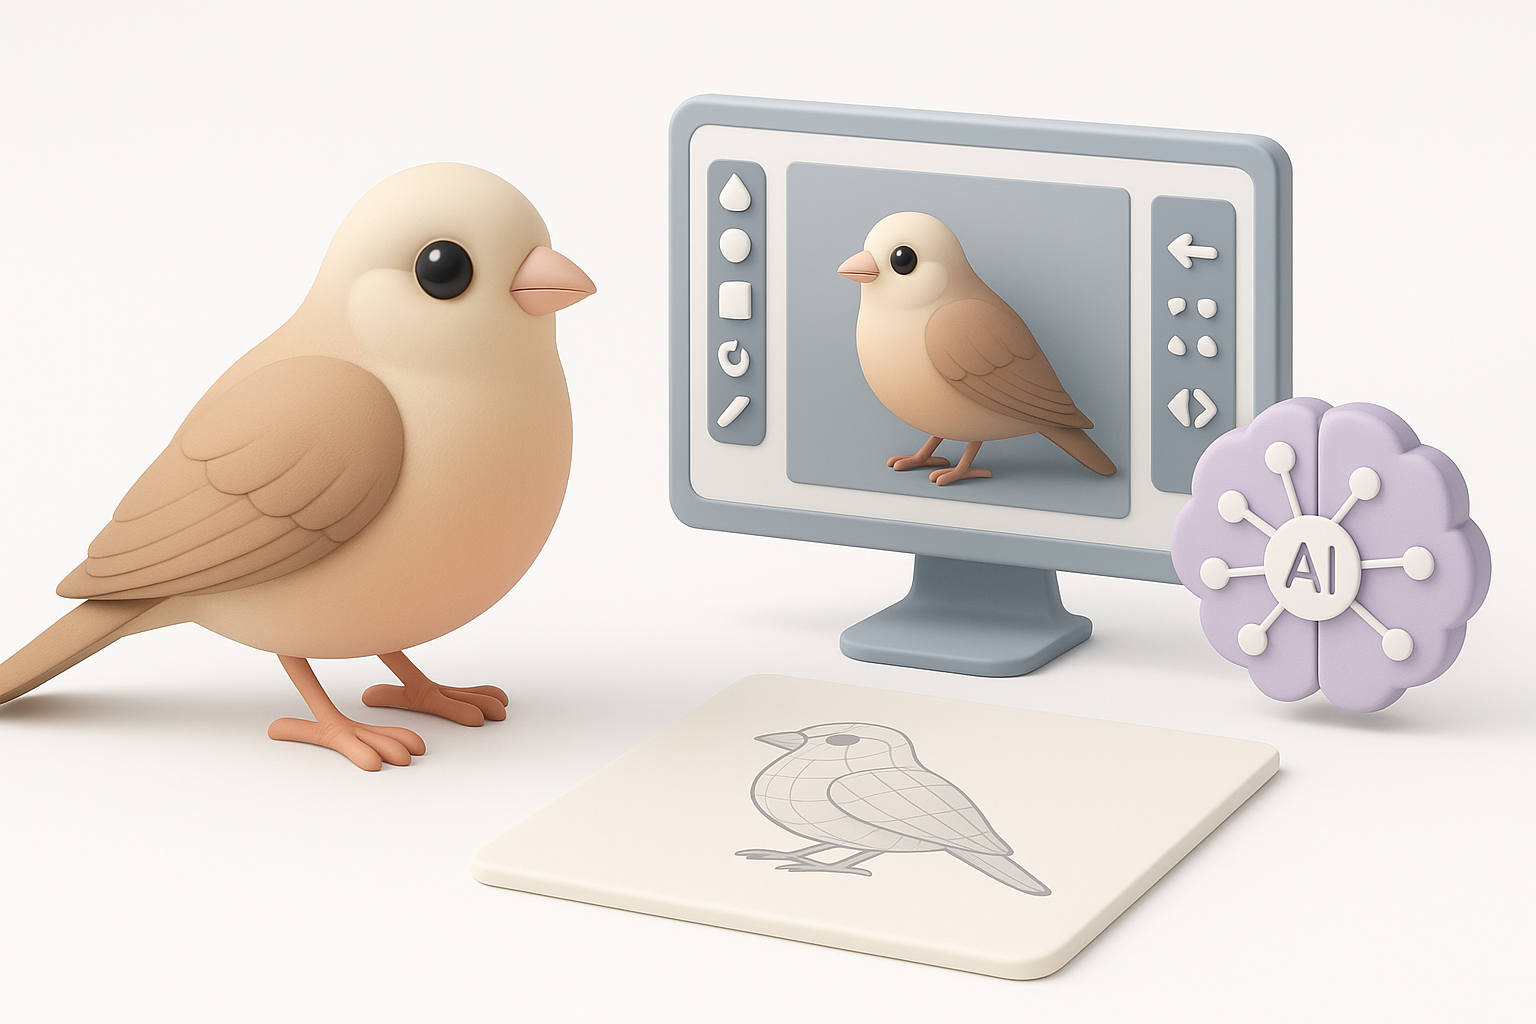
Using Tripo for Fast Bird Model Generation
When I need a quick base mesh, I use Tripo’s text or image input to generate a production-ready bird model in seconds. This is especially useful for rapid prototyping or when I want to focus on texturing and rigging rather than sculpting from scratch.
Workflow:
- Input a detailed prompt or sketch into Tripo
- Review and download the generated model
- Refine topology, add custom details, and texture as needed
Comparing Manual and AI-Assisted Workflows
Manual modeling offers complete control but is time-intensive. AI-assisted workflows, like those with Tripo, accelerate the initial stages—ideal for tight deadlines or when iterating on concepts.
What I’ve found:
- AI tools are excellent for base meshes and quick iterations
- Manual refinement is still needed for unique features or high-end realism
- Combining both methods yields the best balance of speed and quality
By following this expert workflow and leveraging the right tools, you can create realistic, animation-ready bird 3D models efficiently—whether you prefer hands-on sculpting or harnessing the speed of AI-assisted platforms.