Fixing Bad Shading in Old 3D Models: My Workflow & Tips
Dealing with bad shading in legacy 3D models is a common challenge, especially when updating assets for modern pipelines. Over the years, I’ve developed a streamlined process that combines manual cleanup, retopology, and AI-powered tools to quickly resolve shading artifacts and restore models to production-ready quality. If you’re a 3D artist, game developer, or designer working with old or imported assets, this guide shares my practical workflow, key tools, and best practices for achieving clean, consistent shading results.
Key takeaways
- Most shading issues in old models stem from bad geometry, broken normals, or outdated materials.
- I always start with geometry and normals cleanup before jumping to advanced fixes.
- Retopology and smoothing are essential for long-term shading consistency.
- AI-powered tools (like Tripo) can automate and accelerate shading corrections.
- Preventing shading issues is easier than fixing them—adopt consistent workflows early.
- Manual and AI solutions both have their place; knowing when to use each is key.
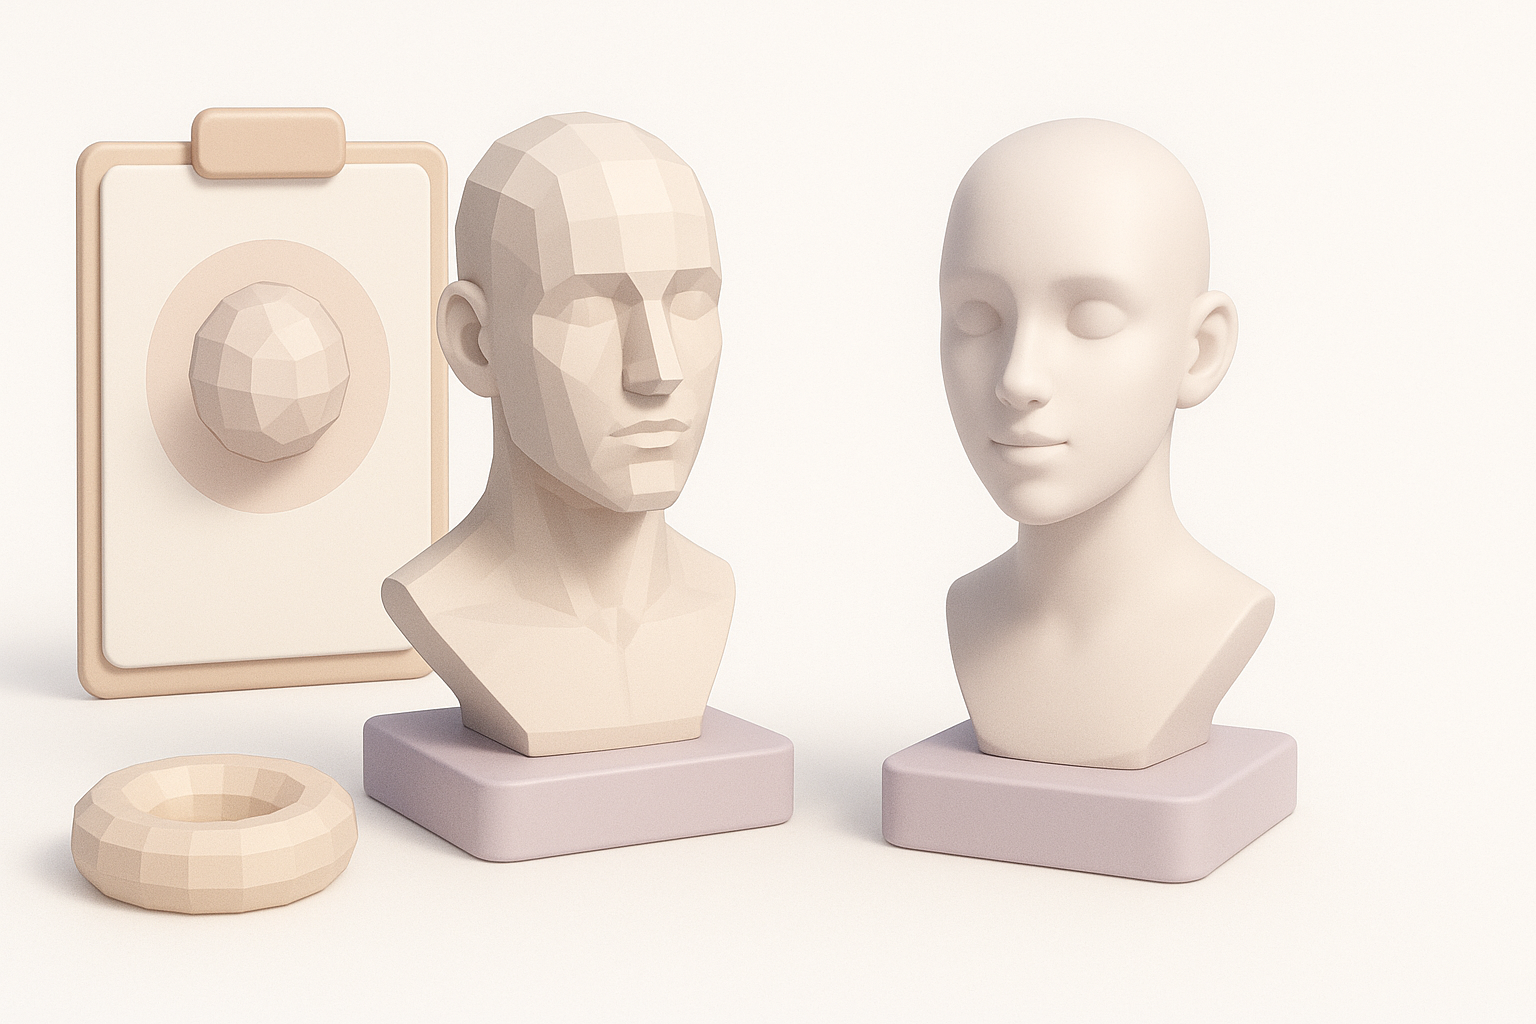
Understanding Bad Shading in Legacy 3D Models
Common Causes of Shading Issues
From my experience, the most frequent causes of bad shading in older 3D assets include:
- Broken or inconsistent normals: Often from rushed exports, model conversions, or careless editing.
- Non-manifold or messy geometry: Extra faces, overlapping vertices, and stray edges confuse shading algorithms.
- Outdated or missing smoothing groups: Legacy modeling tools used different methods for smoothing, which don’t always translate well.
- Low-quality or missing UVs: Texture stretching or seams can exaggerate shading problems.
Whenever I inherit a model, I look for these issues first—they account for 80% of shading headaches.
How to Identify Shading Problems in Your Models
I typically spot shading problems through:
- Visual inspection: Look for unexpected dark/light patches, hard edges, or smoothing artifacts in the viewport.
- Normal visualization: Most 3D software lets you view normals as lines/arrows; jagged or inconsistent directions are a red flag.
- Render tests: Quick test renders often reveal subtle shading errors not obvious in the viewport.
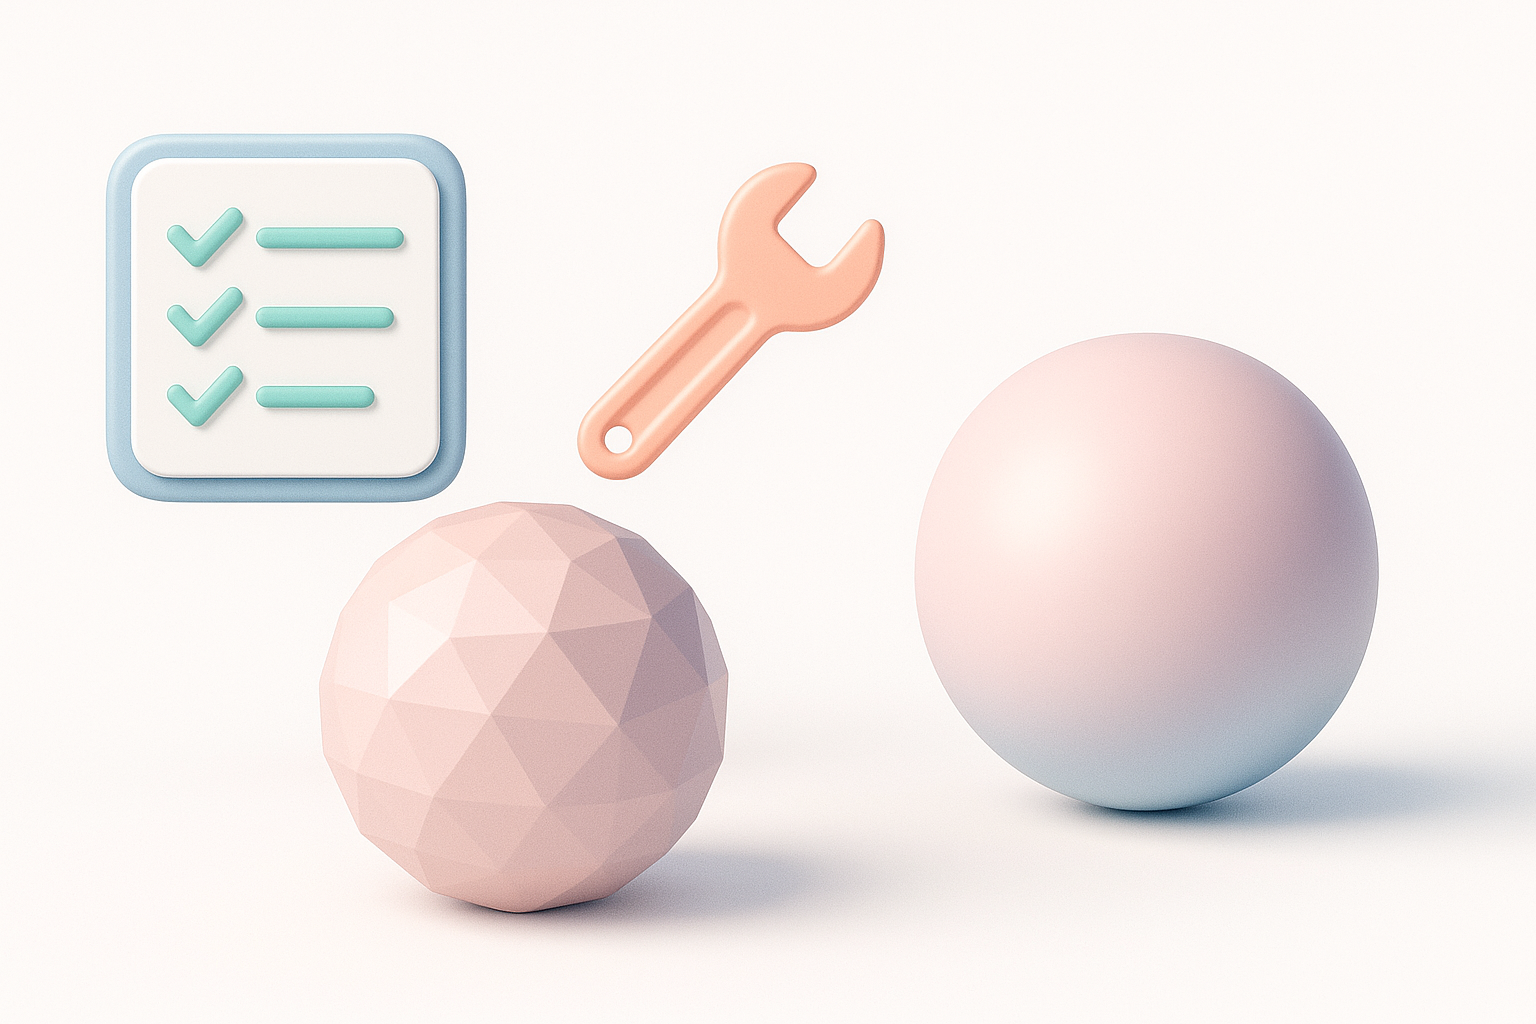
Checklist:
- Toggle smooth/flat shading modes.
- Check for missing or flipped normals.
- Inspect UV seams and edge flow.
- Run a quick render with neutral lighting.
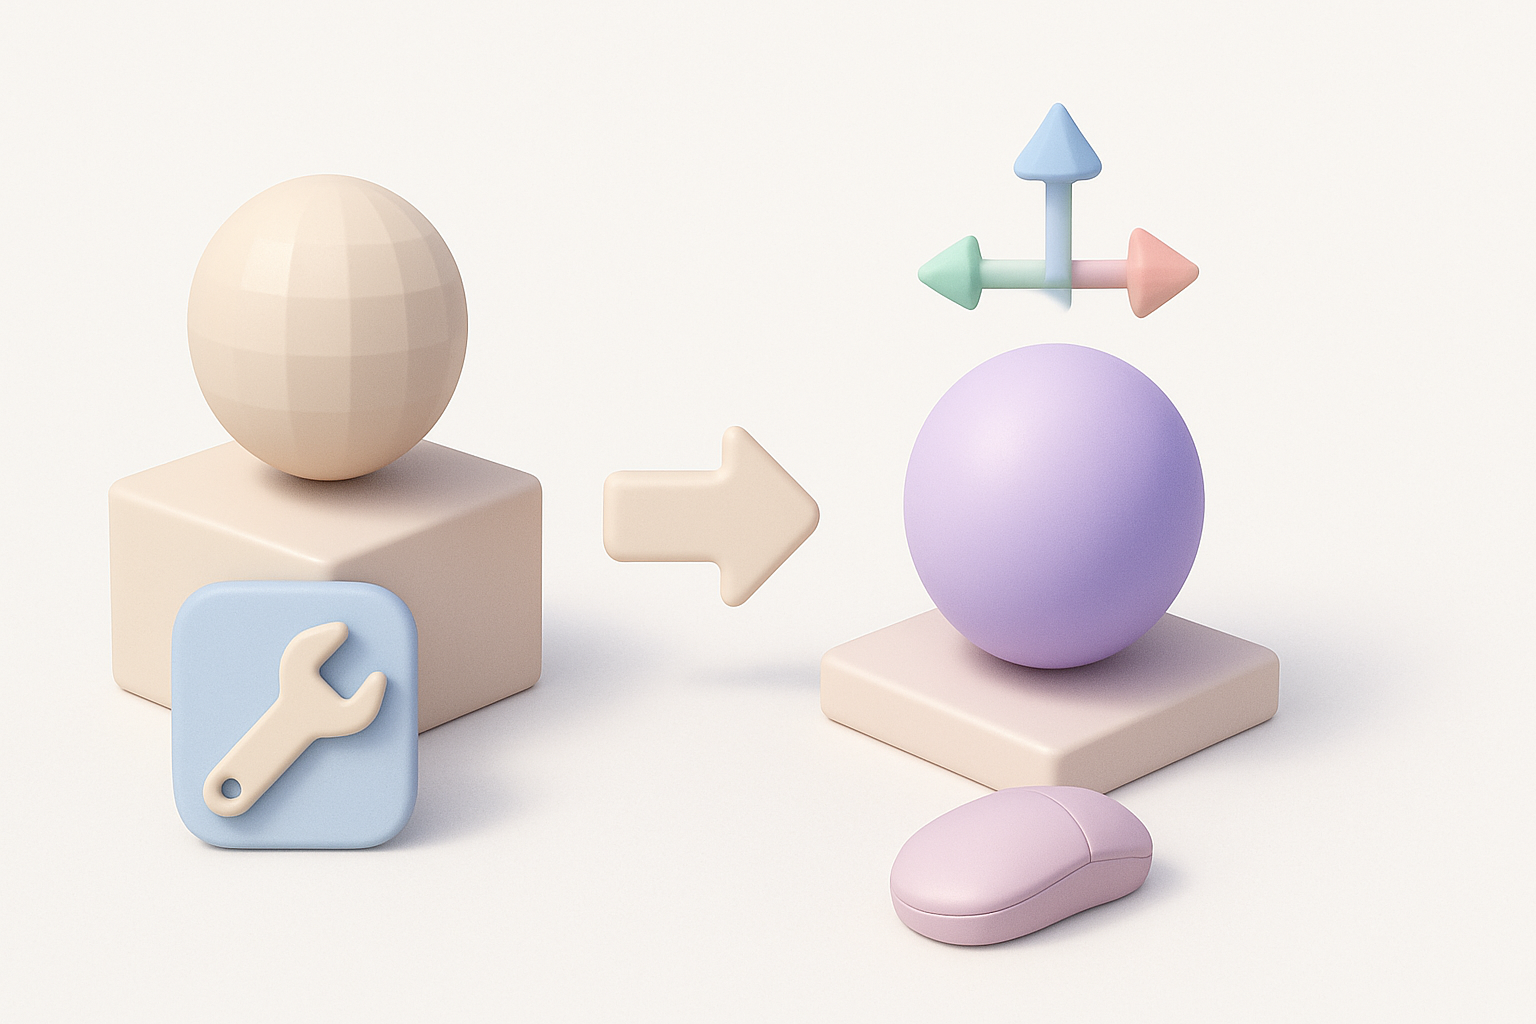
My Step-by-Step Process for Improving Shading
Cleaning Up Geometry and Normals
My first step is always geometry cleanup:
- Remove duplicate vertices and stray faces: Most modeling tools have a 'merge by distance' or similar feature.
- Recalculate normals: Resetting normals (and flipping where needed) often fixes 50% of shading glitches.
- Delete or fix non-manifold geometry: This is a common culprit in legacy assets.
What I’ve found: spending 10 minutes here saves hours of frustration later.
Retopology and Smoothing Techniques
If geometry cleanup isn’t enough, I move to retopology:
- Manual retopology: For hero assets, I often redraw edge loops for better deformation and smoothing.
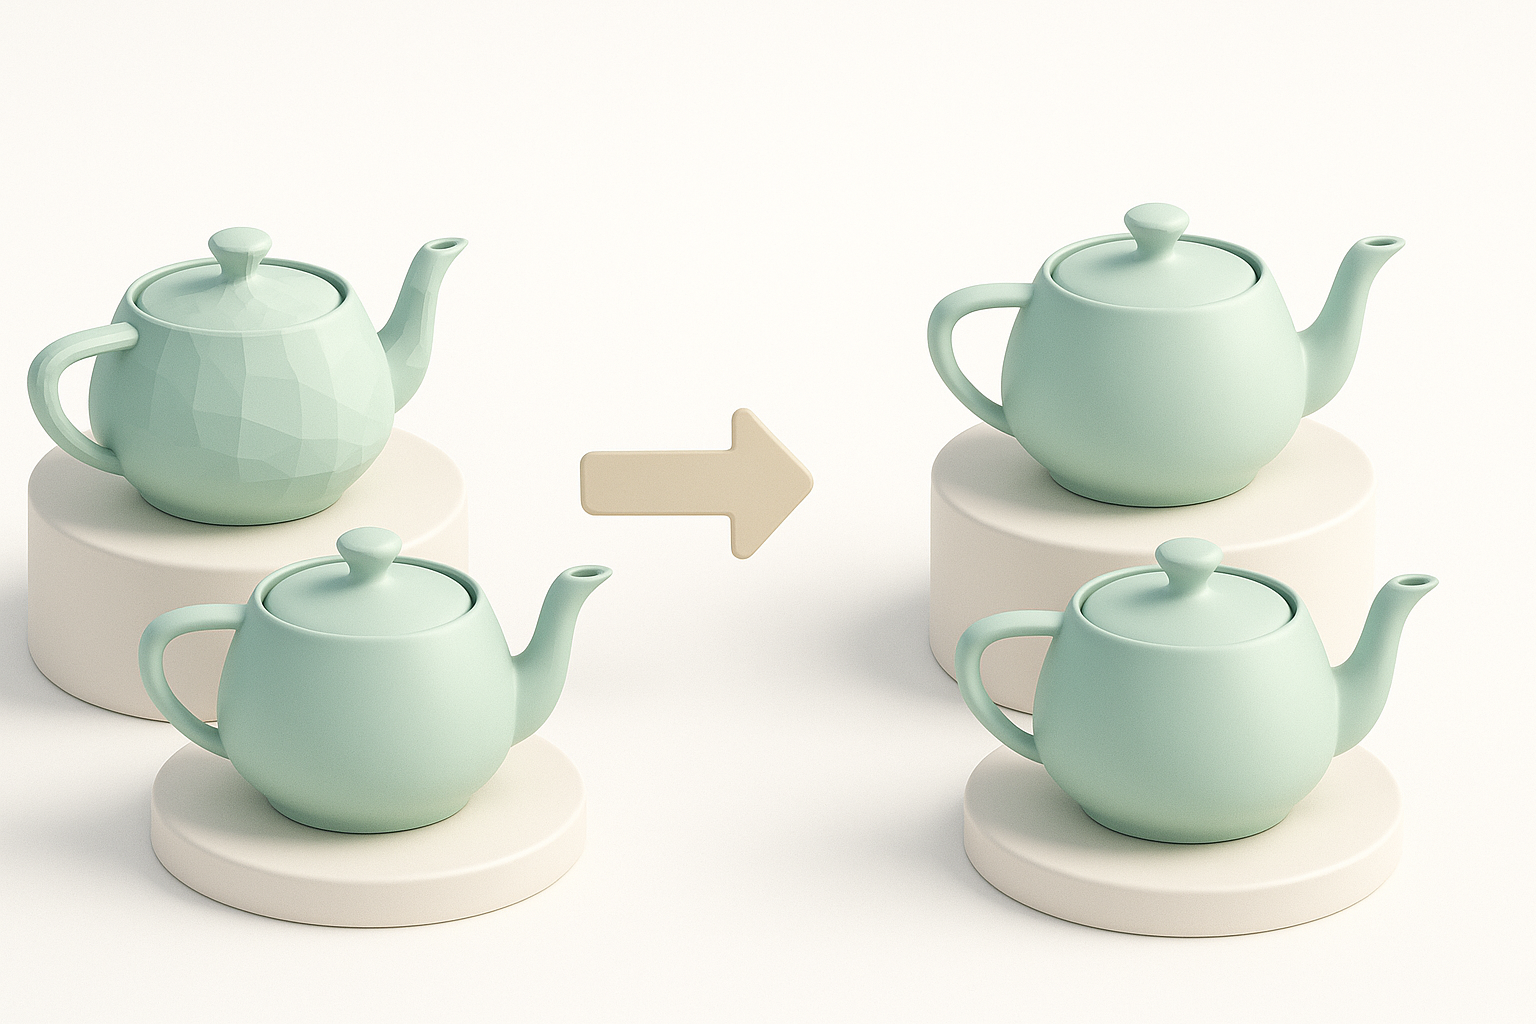
- Automated retopology: For background or bulk assets, I use AI-powered tools (like Tripo) to quickly generate clean, quad-based meshes.
- Apply smoothing modifiers: Most DCC apps have a 'smooth' or 'subdivide' modifier—use sparingly to avoid over-softening.
Pitfalls to avoid:
- Over-smoothing can erase intended hard edges.
- Automated retopology sometimes loses small details—always check before finalizing.
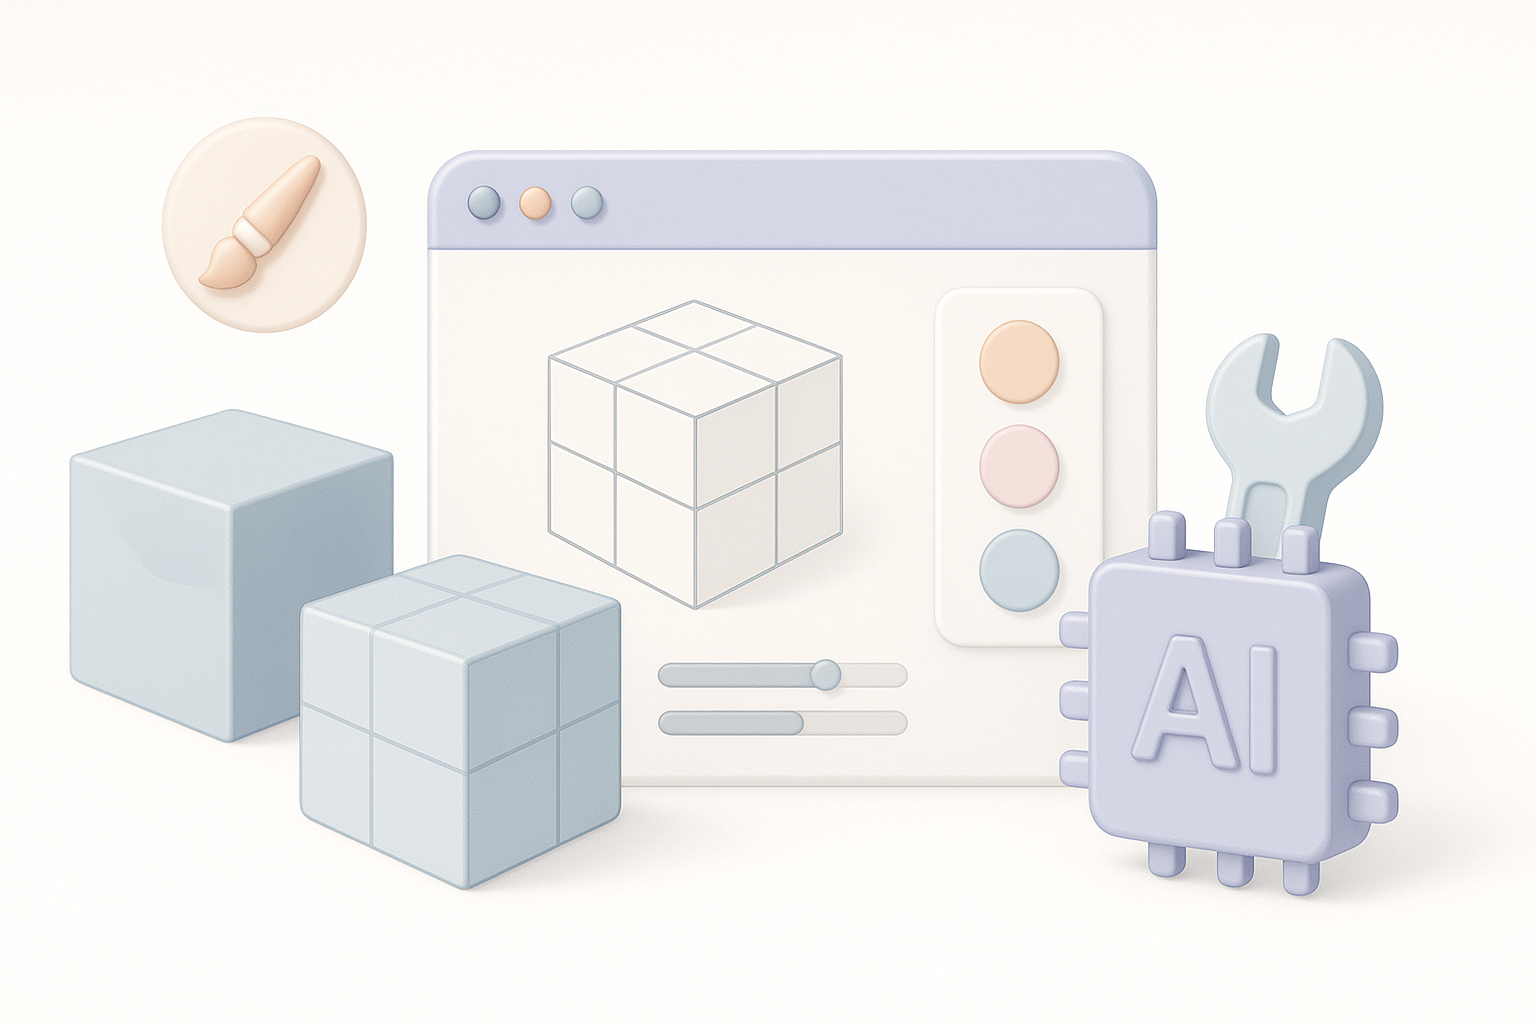
Modern Tools and AI Solutions for Shading Fixes
Using AI Platforms for Automated Shading Correction
AI-driven platforms have become a core part of my workflow:
- Automated normal recalculation: Tools like Tripo can process models in seconds, correcting normals and segmenting geometry for optimal shading.
- Batch processing: I use AI tools to fix multiple legacy assets at once, saving huge amounts of time.
- Texture and material suggestions: Some platforms even propose improved materials based on model geometry.
How I use AI tools:
- Upload the legacy model (OBJ, FBX, or GLB).
- Run automated shading and retopology.
- Export the cleaned model for further tweaks or direct use.
Integrating New Tools Into Existing Workflows
Integrating AI platforms into my pipeline was straightforward:
- Start with manual cleanup for critical models.
- Use AI tools for bulk asset processing or when time is tight.
- Always review and manually adjust key assets after AI processing.
Mini-checklist:
- Backup originals before batch processing.
- Check for lost details or unwanted geometry changes.
- Standardize export settings for consistency.
Best Practices to Prevent Shading Issues in Future Projects
Optimizing Textures and Materials
Shading problems often start with poor texture/material setup:
- Use high-quality, properly mapped textures: Avoid stretching and seams.
- Standardize material settings: Consistent roughness, specular, and normal maps.
- Preview in neutral lighting: This helps catch subtle shading errors early.
Tip: I always run a quick viewport and render test after assigning materials.
Consistent Workflow Tips from My Experience
What’s helped me most:
- Establish a model cleanup checklist: Run it before exporting or sharing assets.
- Document your workflow: Saves time when collaborating or revisiting old projects.
- Adopt AI tools early: They speed up repetitive cleanup and help maintain standards.
Pitfall: Skipping basic cleanup steps leads to compounded issues down the line.
Comparing Manual and Automated Shading Fixes
When to Use Manual Methods
Manual fixes are best when:
- Working on hero assets: Where detail and control matter most.
- Fixing subtle or artistic shading: Sometimes AI can’t interpret artistic intent.
- Teaching or learning: Manual work builds foundational understanding.
I always manually review critical models before delivery.
Benefits of AI-Driven Approaches
AI platforms shine when:
- Processing bulk assets: Huge time-saver for large libraries.
- Fixing common, repetitive errors: Normals, retopology, and basic segmentation.
- Integrating into rapid prototyping: Quick turnaround for concept work.
My advice: Combine both approaches—let AI handle the grunt work, and reserve manual effort for polish and creativity.
By following this workflow, I consistently achieve clean, production-ready shading in both old and new 3D models. With the right mix of manual techniques and AI-powered automation, you can save time, reduce frustration, and focus on the creative aspects of 3D work.
