Creating and Optimizing an Avatar 12 3D Model: My Workflow
When building an Avatar 12 3D model, my goal is always to balance visual quality, animation readiness, and performance. In this article, I’ll walk through my end-to-end workflow—from concept and modeling to rigging, texturing, and export. I’ll highlight practical steps, common pitfalls, and where modern AI-powered tools like Tripo can make a real difference. If you’re a 3D artist, developer, or XR creator looking to streamline avatar creation without sacrificing quality, this guide is for you.
Key takeaways
- Start with solid references and clear specifications for your avatar.
- Use AI-driven tools for segmentation, retopology, and texturing to save time.
- Clean topology and efficient UVs are critical for animation and performance.
- Rigging is smoother with well-organized geometry and naming conventions.
- Always test exports in your target engine early to avoid surprises.
- Manual touch-ups are still essential for polish and unique details.
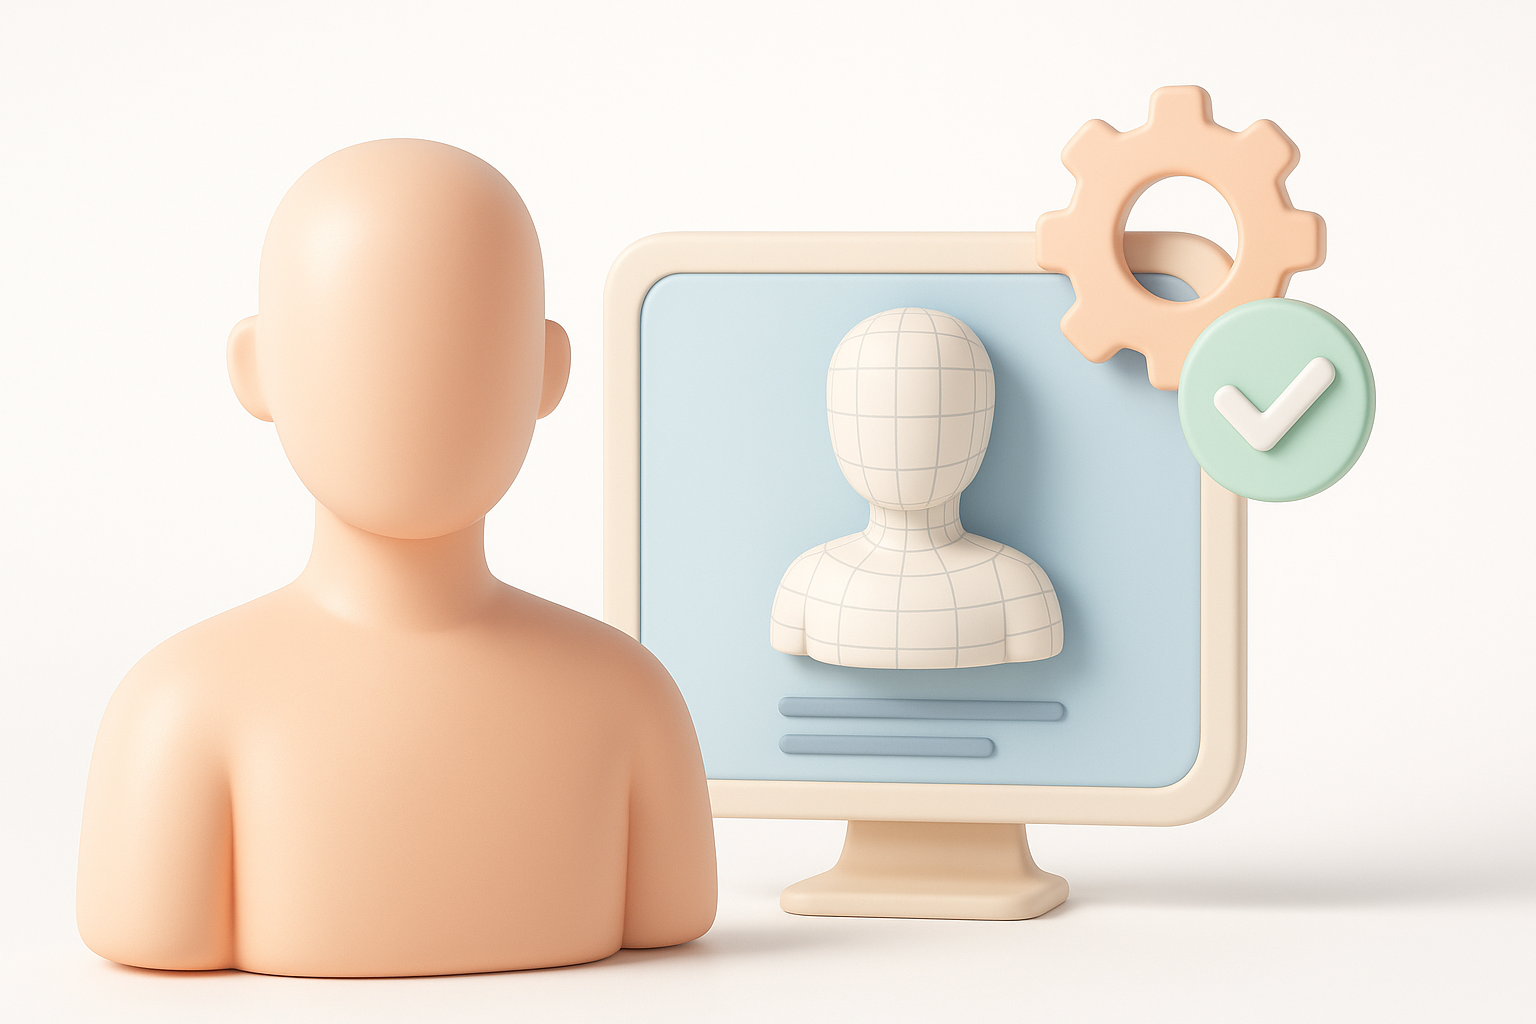
Understanding the Avatar 12 3D Model
Key features and specifications
From my experience, the Avatar 12 model typically refers to a stylized, humanoid character optimized for real-time environments. Key specs I watch for:
- Polycount: 8–20k faces for games, higher for film/XR.
- UV layout: Non-overlapping, efficient, and ready for PBR texturing.
- Modular parts: Head, body, and accessories separated for customization.
- Clean edge flow: Especially around joints for smooth deformations.
Common use cases in games and XR
I’ve deployed Avatar 12 models across mobile games, VR social apps, and AR experiences. Typical scenarios include:
- Player avatars with customizable outfits and expressions.
- NPCs requiring real-time animation and lip sync.
- XR experiences where lightweight models are crucial for performance.
Tip: Always clarify the target platform and use case before starting—this affects every modeling and optimization decision.
My Step-by-Step Process for Building an Avatar 12 3D Model
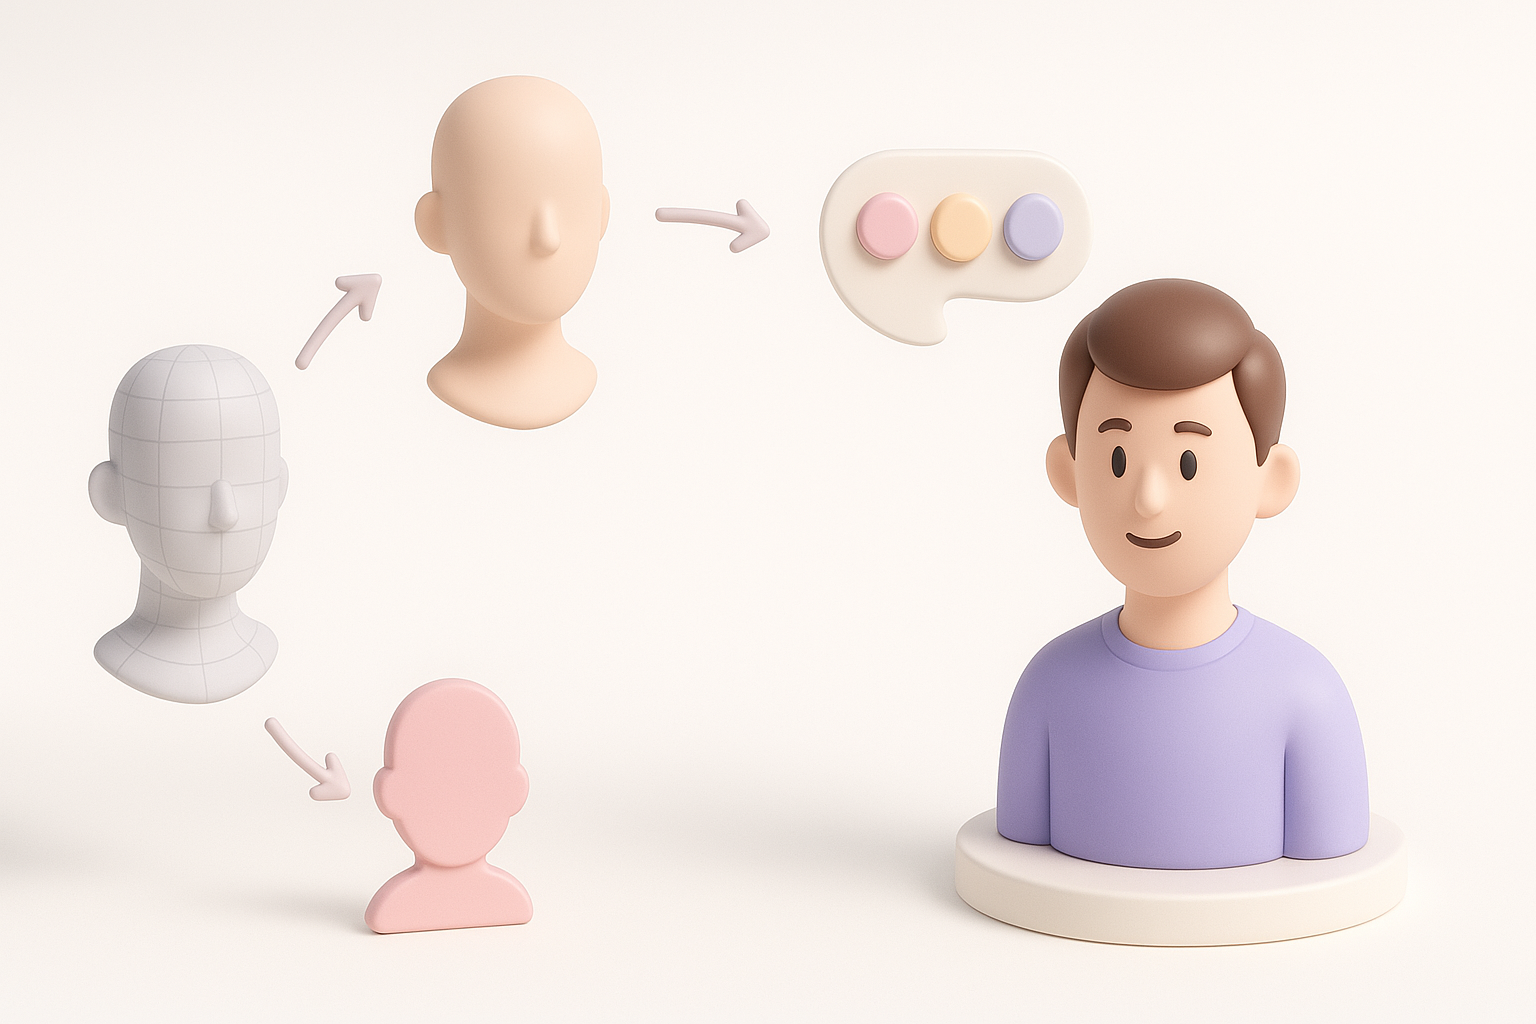
Concept development and reference gathering
I never skip reference gathering. My workflow:
- Collect concept art, anatomy references, and style guides.
- Sketch or block out rough shapes—sometimes using AI tools to generate variations.
- Define proportions, color palette, and key features early.
Checklist:
- Gather at least 3–5 reference images.
- Align with art direction and technical constraints.
Choosing the right tools and platforms
I choose tools based on project needs:
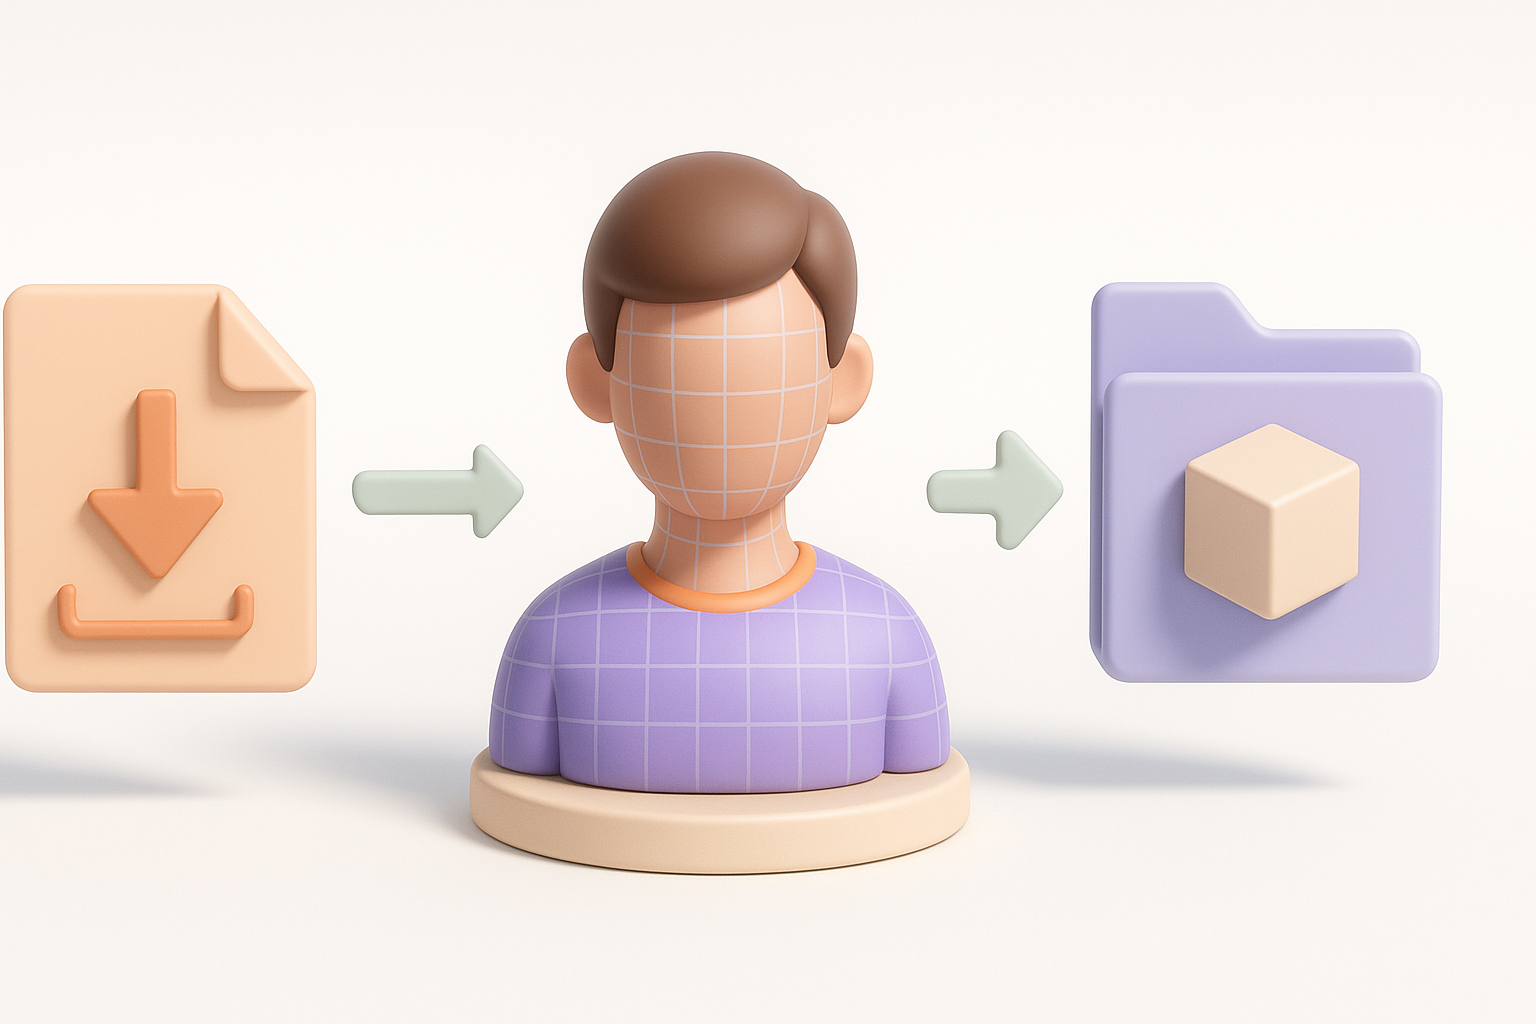
- Tripo AI: For rapid base mesh generation and auto-segmentation.
- Traditional DCCs (e.g., Blender, Maya): For manual sculpting, retopology, and advanced rigging.
- Texture painting tools (e.g., Substance Painter): For detailed surface work.
What I’ve found: Tripo is excellent for quickly iterating on concepts and generating clean base meshes, which I then refine in my DCC of choice.
Best Practices for 3D Modeling and Texturing
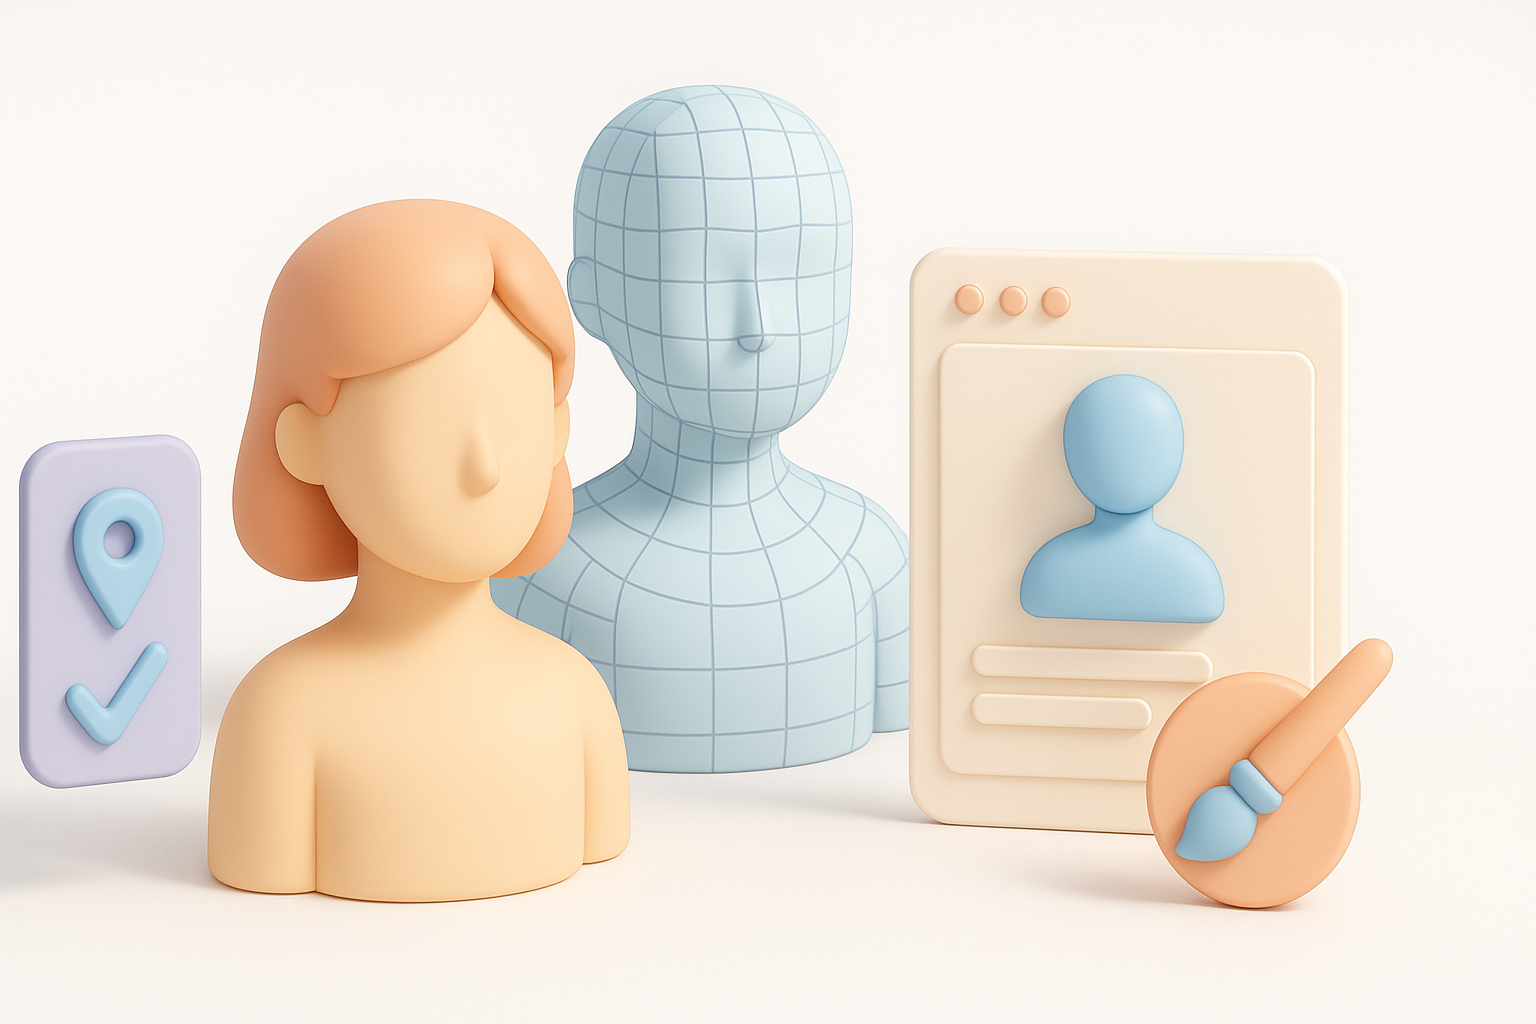
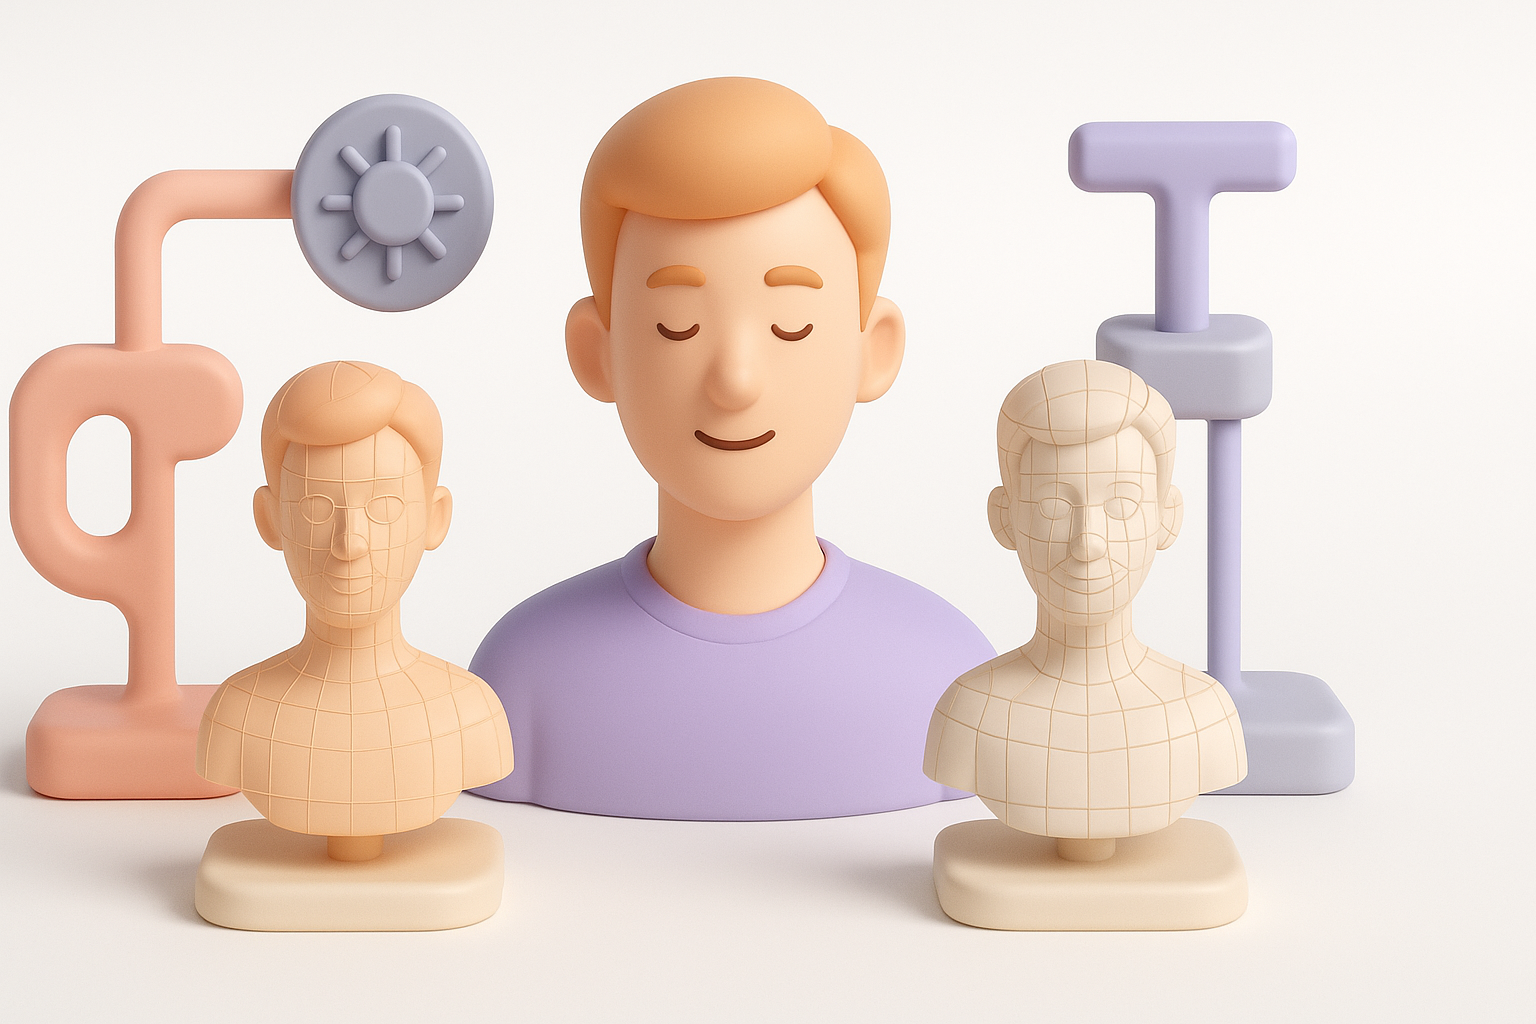
Efficient topology and segmentation
Efficient topology is non-negotiable for avatars:
- Keep edge loops dense around joints (elbows, knees, shoulders).
- Use automated retopology (Tripo or DCC tools) to save time, but always inspect and tweak manually.
- Segment the model logically: separate mesh for hair, clothing, accessories.
Pitfall: Overly dense meshes slow down animation and export. Aim for the lowest polycount that holds your silhouette.
Texturing tips for realism and performance
My go-to texturing workflow:
- Bake normal and ambient occlusion maps from high-res sculpts.
- Use PBR materials—albedo, roughness, metallic, and normal maps.
- Keep texture sizes reasonable (2k or less for real-time), and use atlases when possible.
Tips:
- Tripo’s auto-UV and texture suggestions are a good starting point, but I always check seams and stretching.
- Test your textures under different lighting setups in your target engine.
Rigging and Animating the Avatar 12 Model
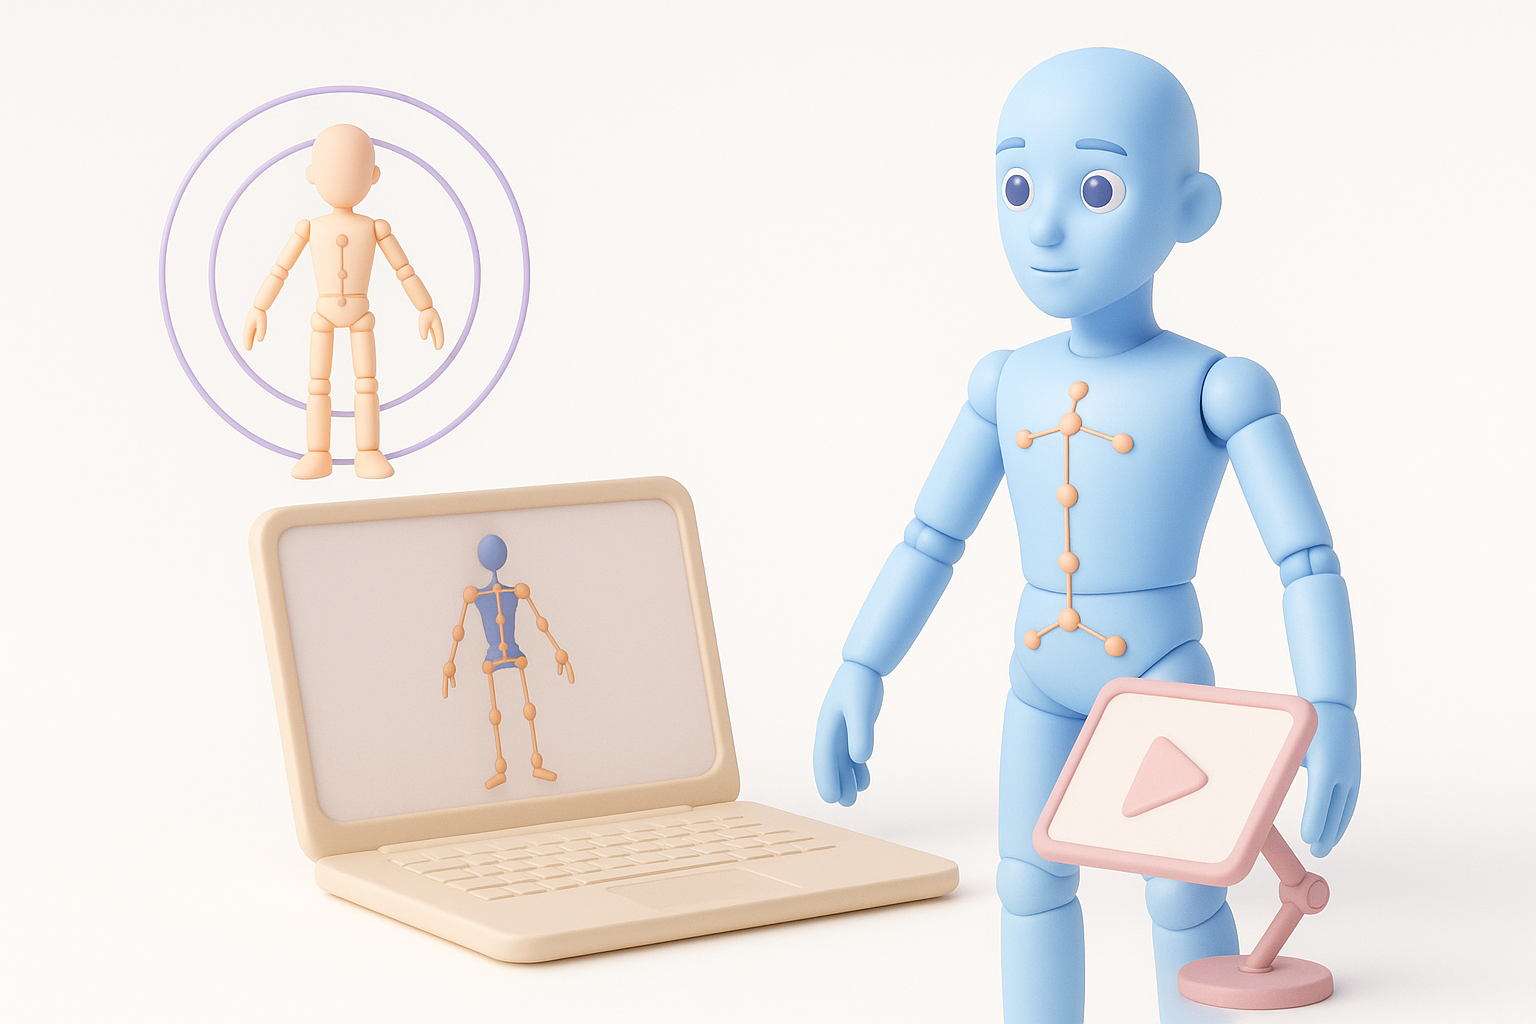
Setting up a clean rig for animation
A clean rig starts with clean geometry:
- Name bones and mesh parts clearly.
- Use standard humanoid rigs if targeting game engines with retargeting (e.g., Unity, Unreal).
- Place joints precisely at anatomical pivot points.
Checklist:
- Freeze transforms and apply scale before rigging.
- Test basic deformations with simple animations early.
Workflow for smooth and expressive movements
I’ve found that good weight painting is key:
- Start with auto-weighting, then refine manually around shoulders, hips, and fingers.
- Add facial blendshapes or bones for expressive avatars.
- Use animation previews (walk cycles, idle poses) to spot issues.
Pitfall: Skipping manual weight painting leads to ugly deformations, especially in complex poses.
Exporting, Optimizing, and Integrating the Model
Export settings for different engines
Exporting avatars is where many issues surface. My process:
- Export in FBX or GLTF, depending on engine requirements.
- Apply correct scale (usually 1 unit = 1 meter).
- Check orientation (Y-up vs Z-up).
Tip: Use Tripo’s export presets for common engines—they minimize import errors.
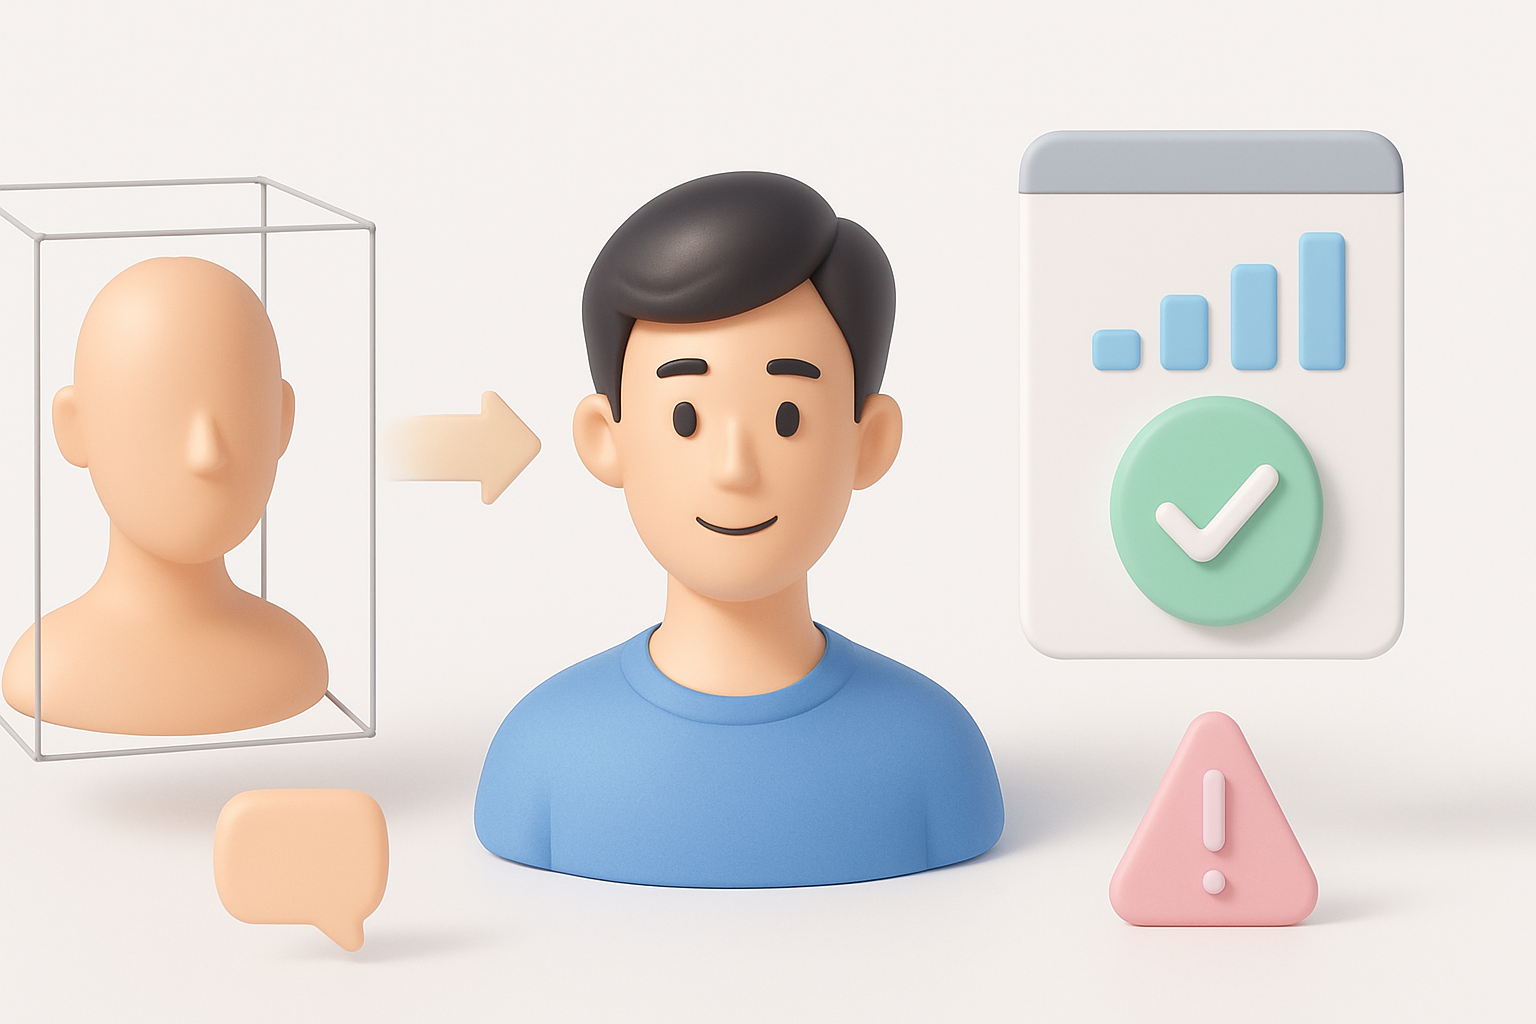
Performance optimization and troubleshooting
Before final integration:
- Reduce texture size and mesh complexity if needed.
- Remove unused bones, morphs, or hidden geometry.
- Test in-engine for draw calls, memory usage, and animation smoothness.
Checklist:
- Inspect the model in wireframe mode for hidden geometry.
- Profile performance on target hardware.
Comparing AI-Powered and Traditional 3D Workflows
Where AI tools accelerate my process
AI-driven tools like Tripo have changed my workflow:
- Rapid base mesh and segmentation saves hours.
- Automated retopology and UVs get me 80% of the way.
- Texture suggestions help visualize looks early.
When I use AI: Early prototyping, bulk asset generation, and when deadlines are tight.
When manual methods are still essential
Despite advances, manual work remains vital for:
- Unique stylization and artistic control.
- Fine-tuning topology for complex deformations.
- Final polish on textures, rigging, and facial expressions.
Lesson: AI tools are best as accelerators, not replacements, for skilled manual work.
Tips, Lessons Learned, and Common Pitfalls
What I wish I knew starting out
- Always clarify technical specs and target engine before modeling.
- Iterative testing in the engine saves headaches later.
- Don’t rely solely on auto-generated UVs or weights—manual tweaks make a difference.
Avoiding common mistakes in avatar modeling
- Over-modeling details that won’t be seen in-game.
- Ignoring scale and orientation settings during export.
- Forgetting to test animations on the final rig.
Final checklist:
- Validate mesh, rig, and textures in your target engine.
- Keep a versioned backup at every major step.
- Get feedback from animators and developers early.
By following these steps and leveraging both AI-powered and manual techniques, I consistently deliver production-ready Avatar 12 3D models that are optimized for real-world use.