Astro Bot 3D Model: Creation, Workflow, and Best Practices
Creating an Astro Bot 3D model efficiently—without sacrificing quality—requires a blend of creative vision, technical workflow, and the right tools. I’ve built dozens of stylized robots for games and XR, and I’ve learned that leveraging AI-powered platforms can dramatically speed up the process, especially for concepting, retopology, and texturing. This article is for 3D artists, designers, and developers who want practical, hands-on guidance for building production-ready Astro Bot models, whether you’re working solo or as part of a team.
Key takeaways
- Start with strong concept references and clear design intent.
- Use AI-powered tools for rapid prototyping and to automate repetitive tasks.
- Focus on clean topology, optimized UVs, and efficient texturing for real-time use.
- Always check scale, pivot points, and export settings for pipeline compatibility.
- Blend manual tweaks with AI automation for best results.
- Avoid common pitfalls like overcomplicated geometry and messy UVs.
What Is an Astro Bot 3D Model?
Defining Astro Bot in 3D Context
An Astro Bot 3D model typically refers to a stylized, robotic character inspired by space or sci-fi themes. In 3D, this means a model that balances mechanical elements with playful or humanoid features—think expressive eyes, modular limbs, and clean, readable shapes. I usually focus on silhouette and proportions first, ensuring the bot reads well from a distance.
Common Uses in Games and XR
Astro Bot models are popular in platformers, VR experiences, and educational XR apps. Their approachable, friendly designs make them ideal for player characters, NPCs, or interactive mascots. I’ve deployed Astro Bots in both real-time engines and pre-rendered scenes, so optimizing for different platforms is always top of mind.
My Workflow for Creating Astro Bot 3D Models
Concept Development and References
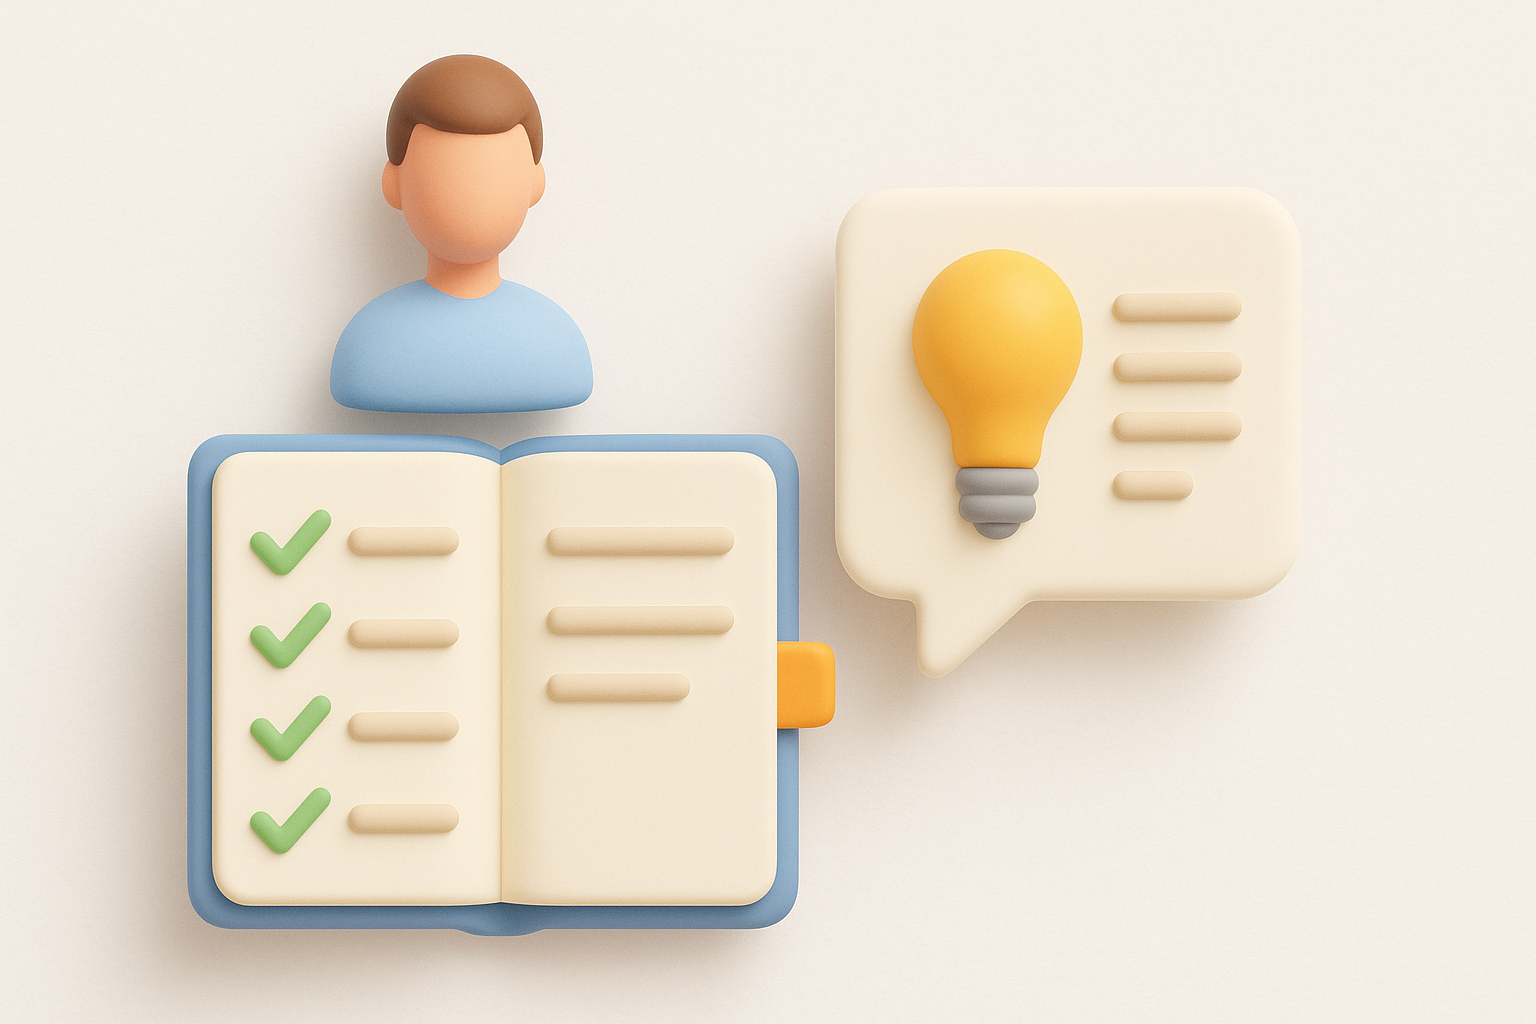
I always start with a moodboard, gathering references for shapes, materials, and color palettes. Sketching rough silhouettes—either digitally or on paper—helps me lock in the character’s personality. For Astro Bots, I look for inspiration in vintage toys, animated films, and modern robotics.
Checklist:
- Gather 8–12 reference images (robots, astronauts, materials)
- Define key features: head shape, limb style, accessories
- Sketch 2–3 quick concepts before committing
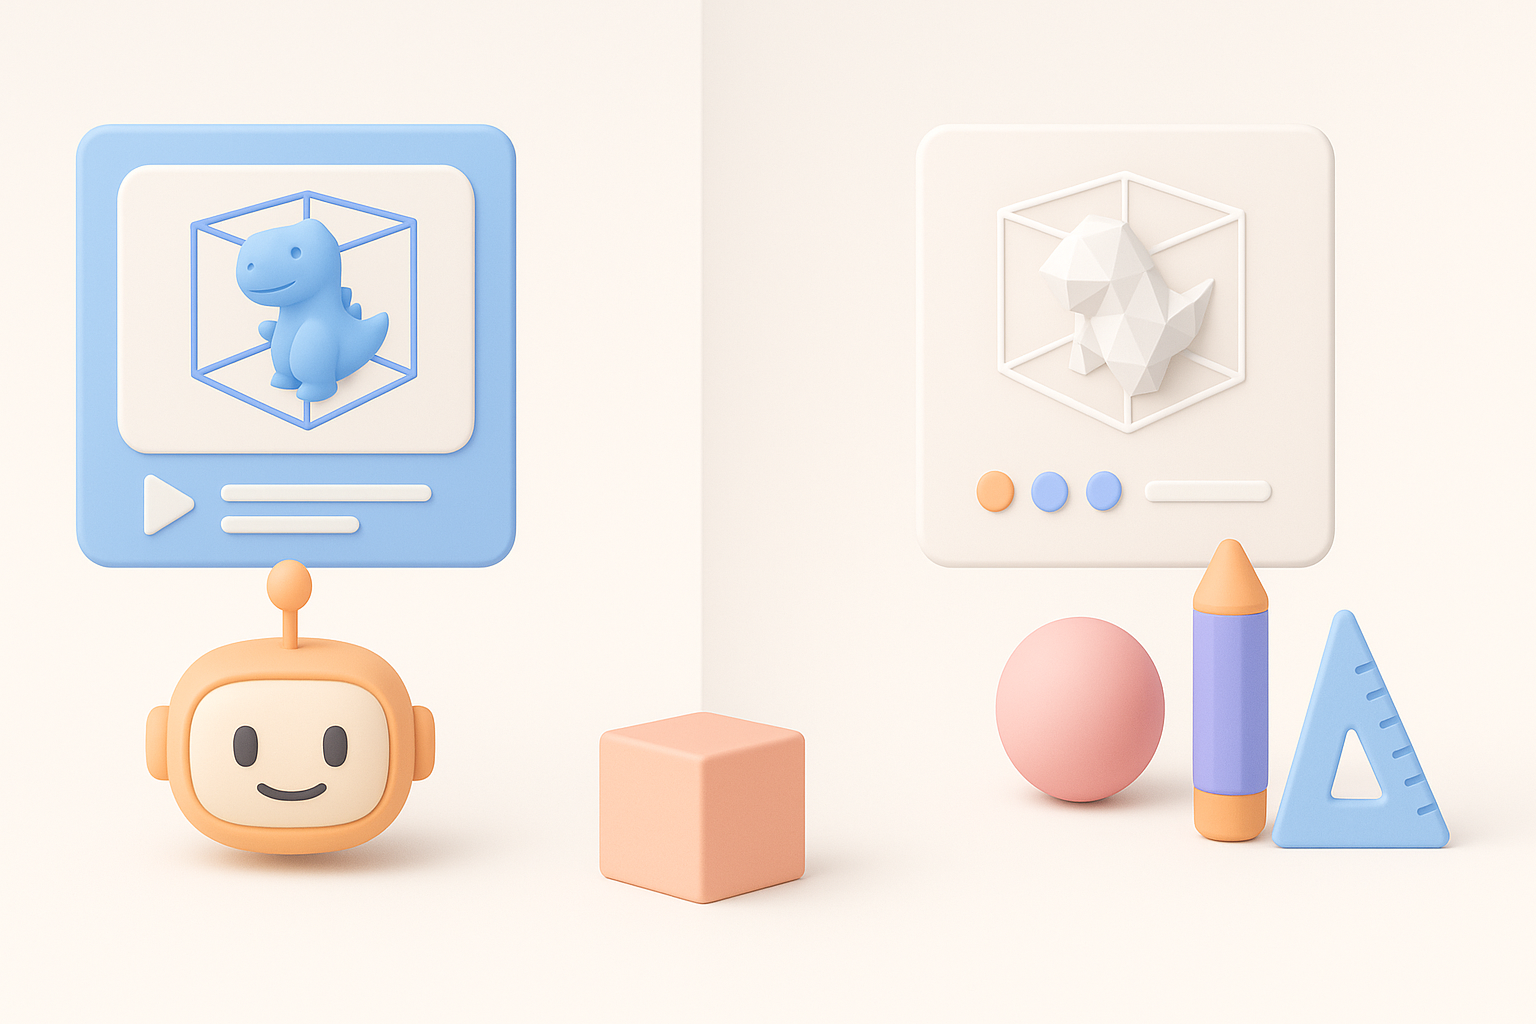
Choosing the Right Tools and Platforms
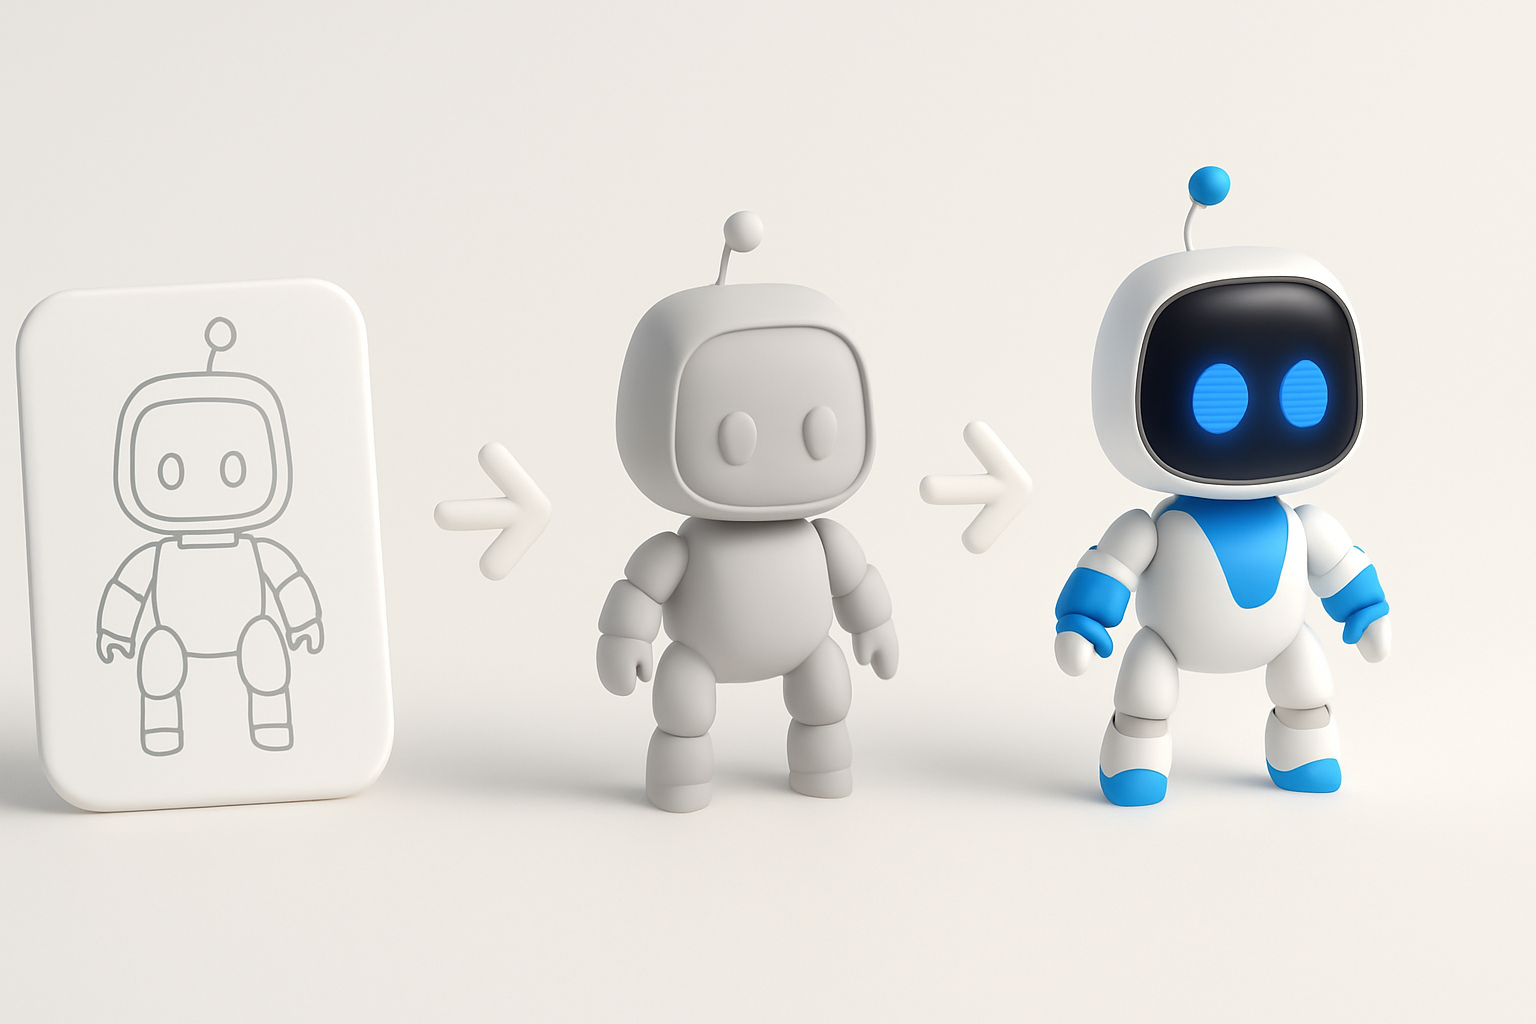
My tool selection depends on project needs. For rapid prototyping and blocking, I use AI-powered platforms like Tripo AI to generate base meshes from sketches or text prompts. For detailed modeling or animation, I move to my preferred DCC (digital content creation) suite. AI tools save time on repetitive steps, letting me focus on creative decisions.
Practical tips:
- Use AI tools for early iterations and segmentation
- Switch to manual tools for fine adjustments and rigging
- Ensure your toolchain supports your target engine (Unity, Unreal, etc.)
Step-by-Step Guide: Modeling, Texturing, and Rigging
Efficient Modeling Techniques
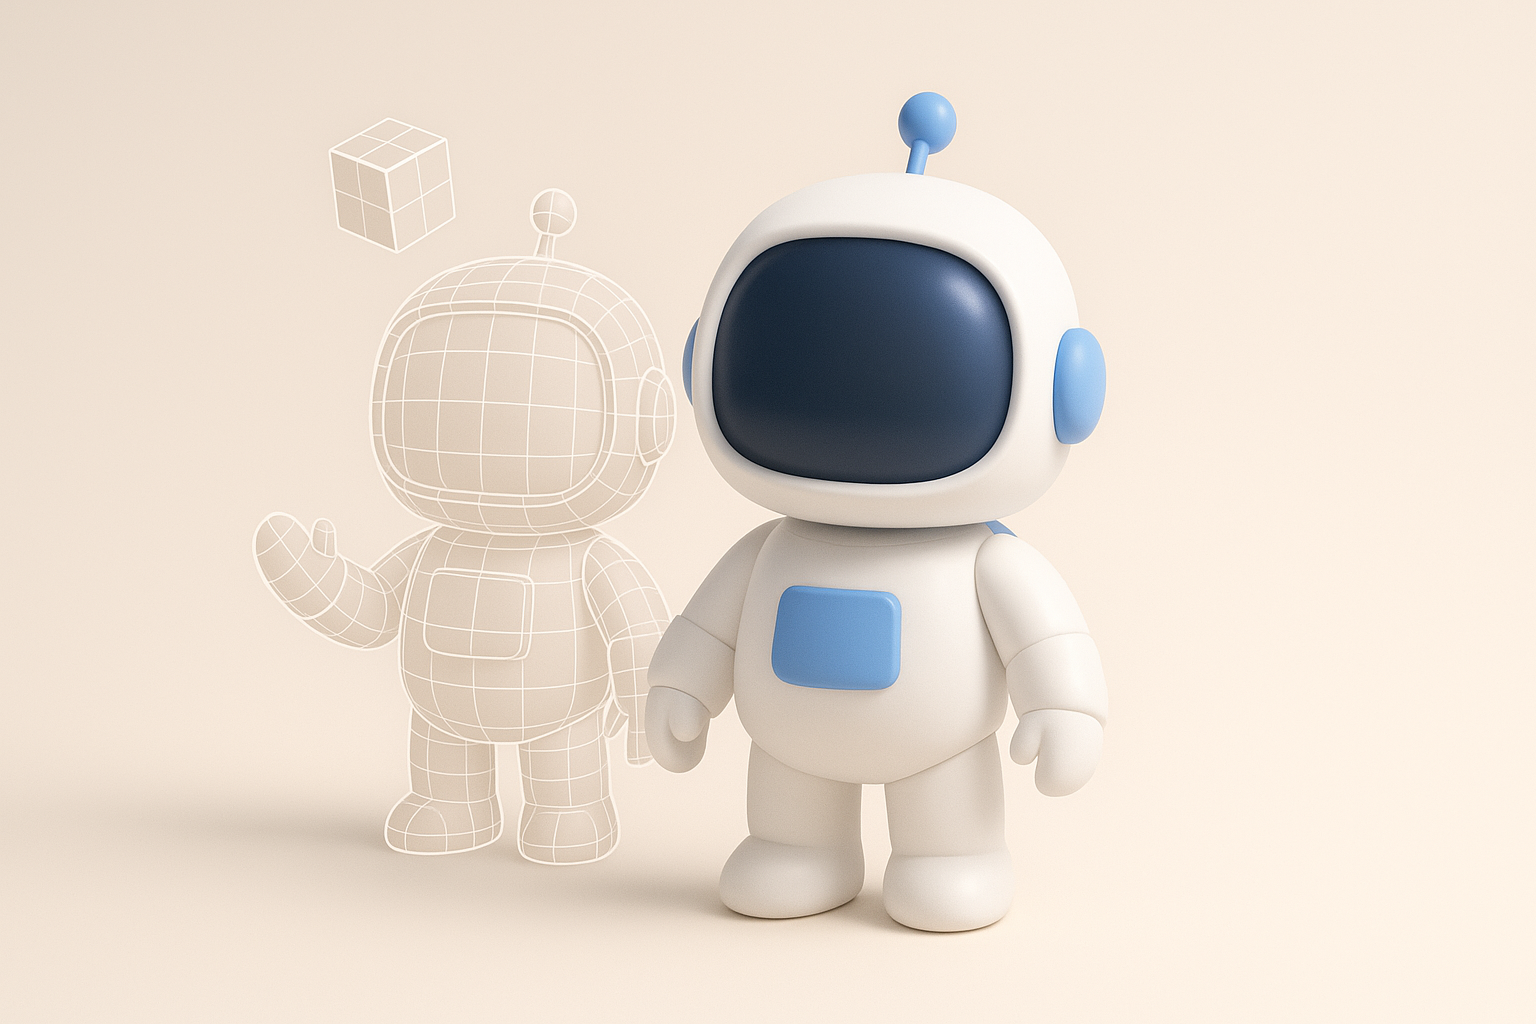
I start with simple primitives—spheres, cylinders, cubes—to block out the main forms. Using symmetry and mirroring speeds up the process. When working with AI-generated base meshes, I always check for unnecessary geometry and clean up the topology before moving forward.
Modeling steps:
- Block out main shapes with primitives or AI-generated mesh
- Use symmetry/mirror modifiers for limbs and facial features
- Merge parts and clean up geometry for animation-readiness
Texturing and Material Best Practices
Once modeling is done, I unwrap UVs and bake normal/AO maps. For Astro Bots, I favor stylized, readable textures—think bold color blocking, subtle wear, and emissive accents. AI-powered texturing tools can generate base maps, but I always tweak them manually for consistency.
Best practices:
- Keep texture resolution consistent (typically 1K–2K for game assets)
- Use smart materials for metal, plastic, and glass effects
- Add subtle edge wear and dirt for realism
Optimizing Astro Bot Models for Production
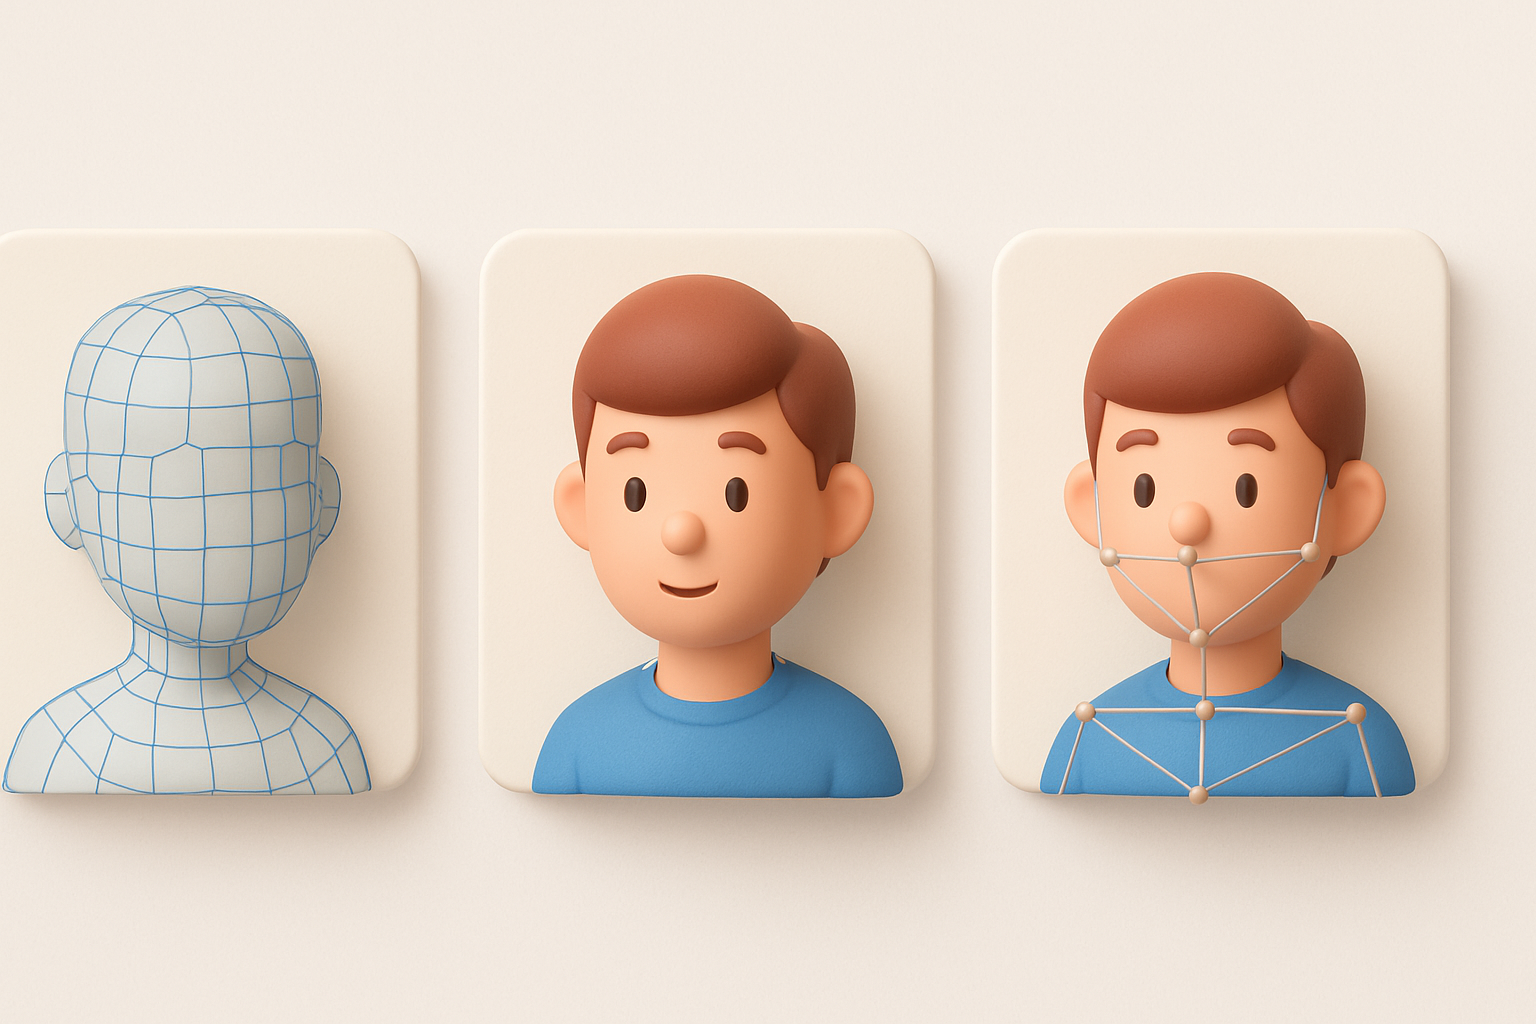
Retopology and UV Mapping Tips
Clean topology is crucial for animation and real-time performance. I use automatic retopology tools when possible, then manually adjust edge flow around joints and deformation areas. For UV mapping, I aim for efficient layouts with minimal seams and good texel density.
Tips:
- Keep polycount under control (target 5K–15K for game bots)
- Prioritize edge loops around elbows, knees, and facial features
- Use checker maps to spot stretching or distortion
Exporting and Integrating into Pipelines
Export settings matter—incorrect scale or pivot points can break your pipeline. I always reset transforms, freeze scale, and set the pivot at the bot’s feet. Exporting as FBX or GLTF covers most engines. I test imports in the target engine before finalizing.
Export checklist:
- Apply transforms and freeze scale
- Set pivot at logical base (usually feet)
- Export in engine-compatible format (FBX, GLTF)
- Test in-engine for animation and material fidelity
Comparing AI-Powered and Traditional 3D Workflows
Speed and Quality Considerations
AI-powered tools have transformed my workflow, especially for initial blocking, segmentation, and texturing. They cut hours off repetitive tasks, but manual oversight is still key for polish and style consistency. Traditional methods offer more control but are slower.
What I’ve found:
- AI speeds up prototyping and base mesh creation
- Manual work is essential for final polish and custom details
When to Use AI Tools vs. Manual Methods
I rely on AI tools for early iterations, segmentation, and batch texturing. For hero assets or when style is critical, I switch to manual sculpting and painting. The best results come from blending both approaches—let AI handle the grunt work, then refine by hand.
Decision guide:
- Use AI for: concepting, base meshes, texture generation
- Use manual tools for: final modeling, custom textures, rigging/animation
Lessons Learned and Expert Tips
Common Pitfalls and How I Avoid Them
Overcomplicating geometry and neglecting UVs are the most common mistakes I see. Early in my career, I’d rush through topology, only to hit animation or export issues later. Now, I always review geometry and UVs before moving on.
Pitfalls to avoid:
- Excessive polycount in non-deforming areas
- Overlapping or stretched UVs
- Ignoring scale and pivot alignment
My Favorite Shortcuts and Enhancements
Leveraging symmetry, using kitbash parts, and automating repetitive tasks are my go-to shortcuts. Batch processing with AI tools for texturing and retopology saves hours. I also keep a library of reusable materials and base meshes for common elements.
My tips:
- Always work with symmetry enabled until final tweaks
- Build a personal kitbash library for quick prototyping
- Use AI-powered batch tools for repetitive tasks (retopology, texturing)
- Regularly save incremental versions to avoid losing work
By blending AI-powered automation with hands-on craftsmanship, I consistently deliver Astro Bot 3D models that are both production-ready and visually appealing. Whether you’re a solo creator or part of a larger team, these workflows and best practices will help you streamline your process and achieve professional results.