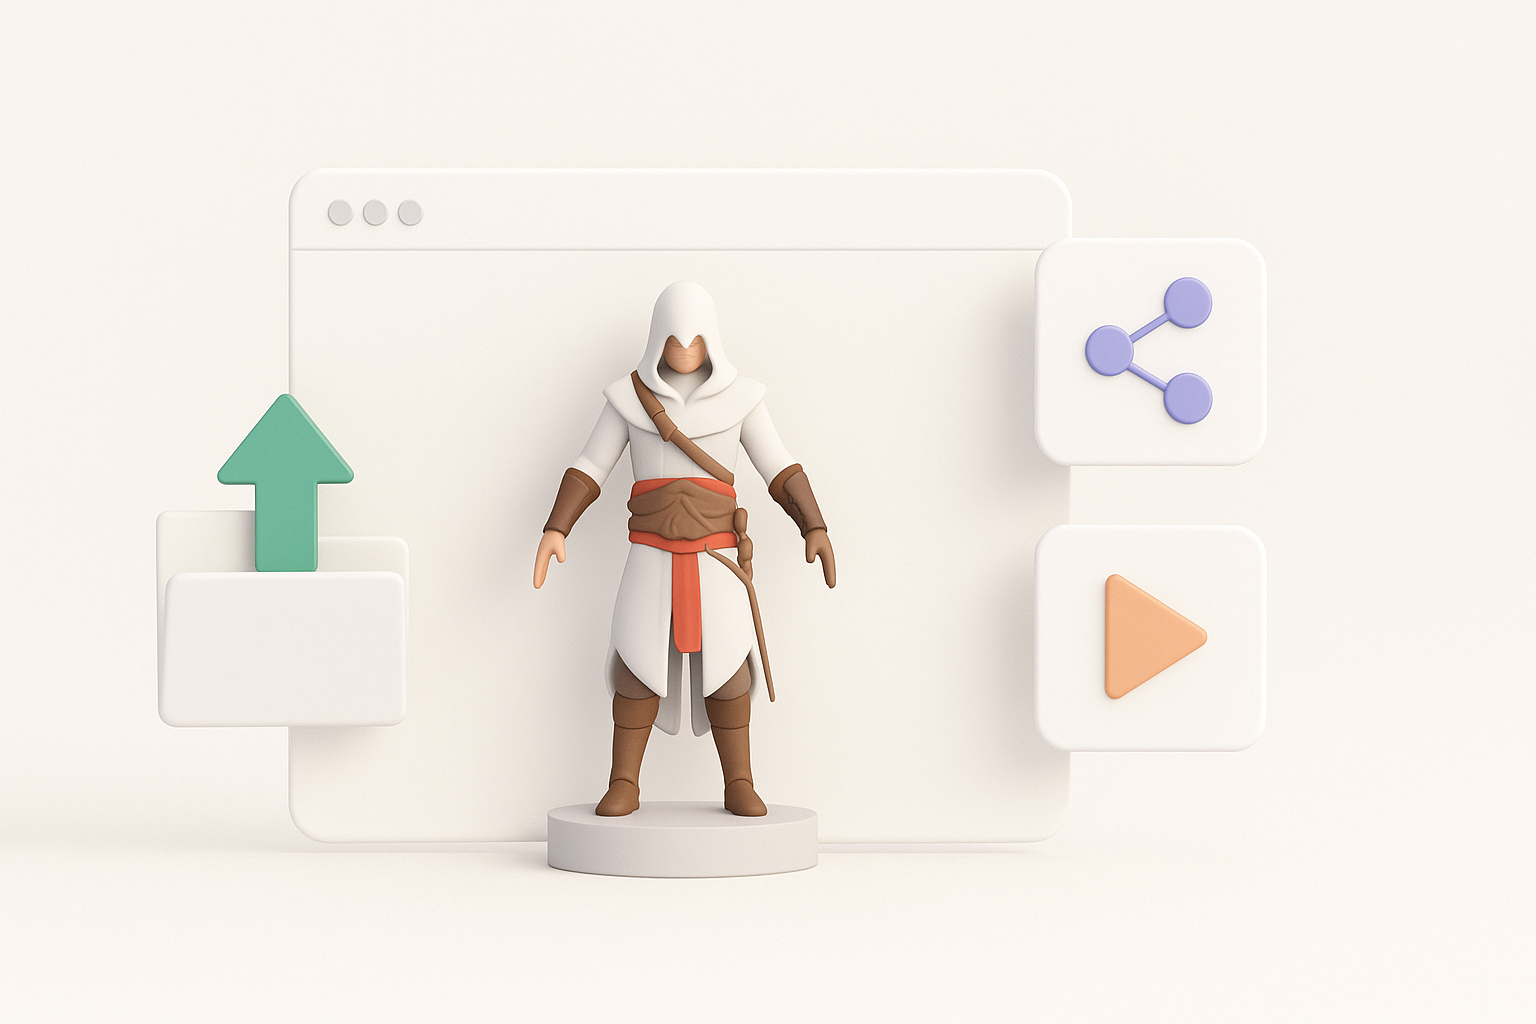
Creating Assassin’s Creed 3D Models: Workflow & Best Practices
скачать 3d модели для chicken gun
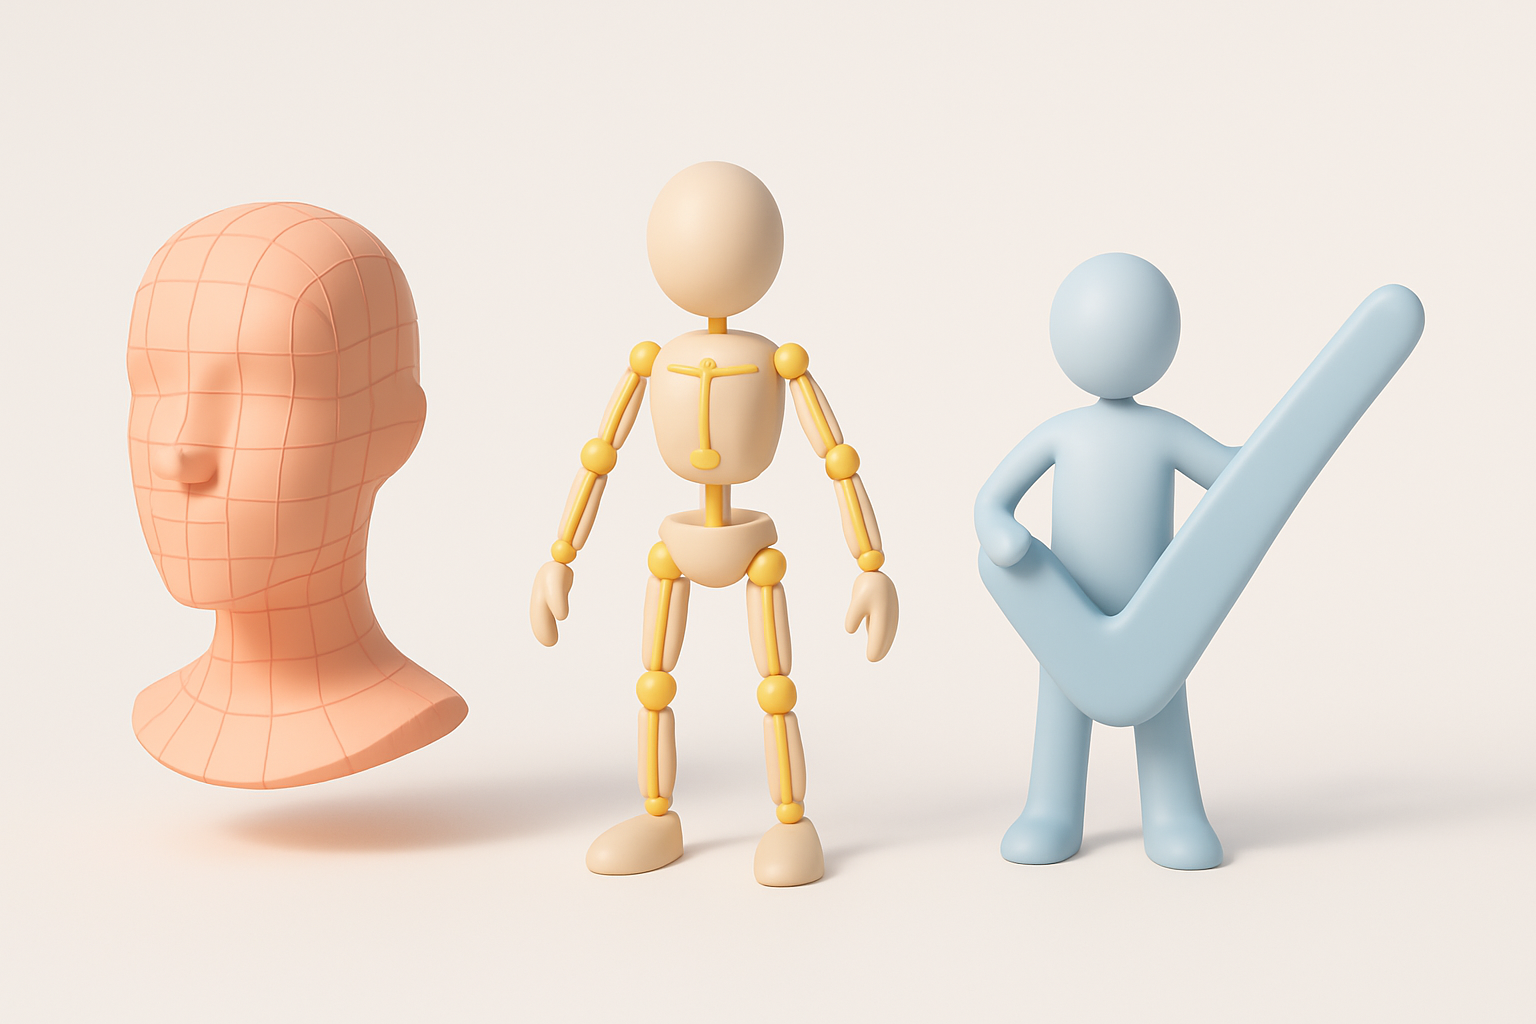
Creating high-quality Assassin’s Creed 3D models requires a blend of historical research, technical skill, and efficient workflows. In this guide, I’ll walk through my end-to-end process—from gathering references to exporting finished assets—highlighting the techniques and AI tools that help me achieve production-ready results quickly. Whether you’re aiming for game-ready assets or cinematic-quality characters, you’ll find actionable steps and troubleshooting tips based on real experience. This is for artists, developers, and hobbyists who want to streamline their 3D workflow and produce models that stand out.
Key takeaways:
- Start with strong references and clear planning for authentic results.
- Block out forms, then refine details with accuracy in mind.
- Use AI tools like Tripo to speed up modeling, texturing, and retopology.
- Optimize topology and rigging for your target platform.
- Present your work professionally to attract feedback and opportunities.
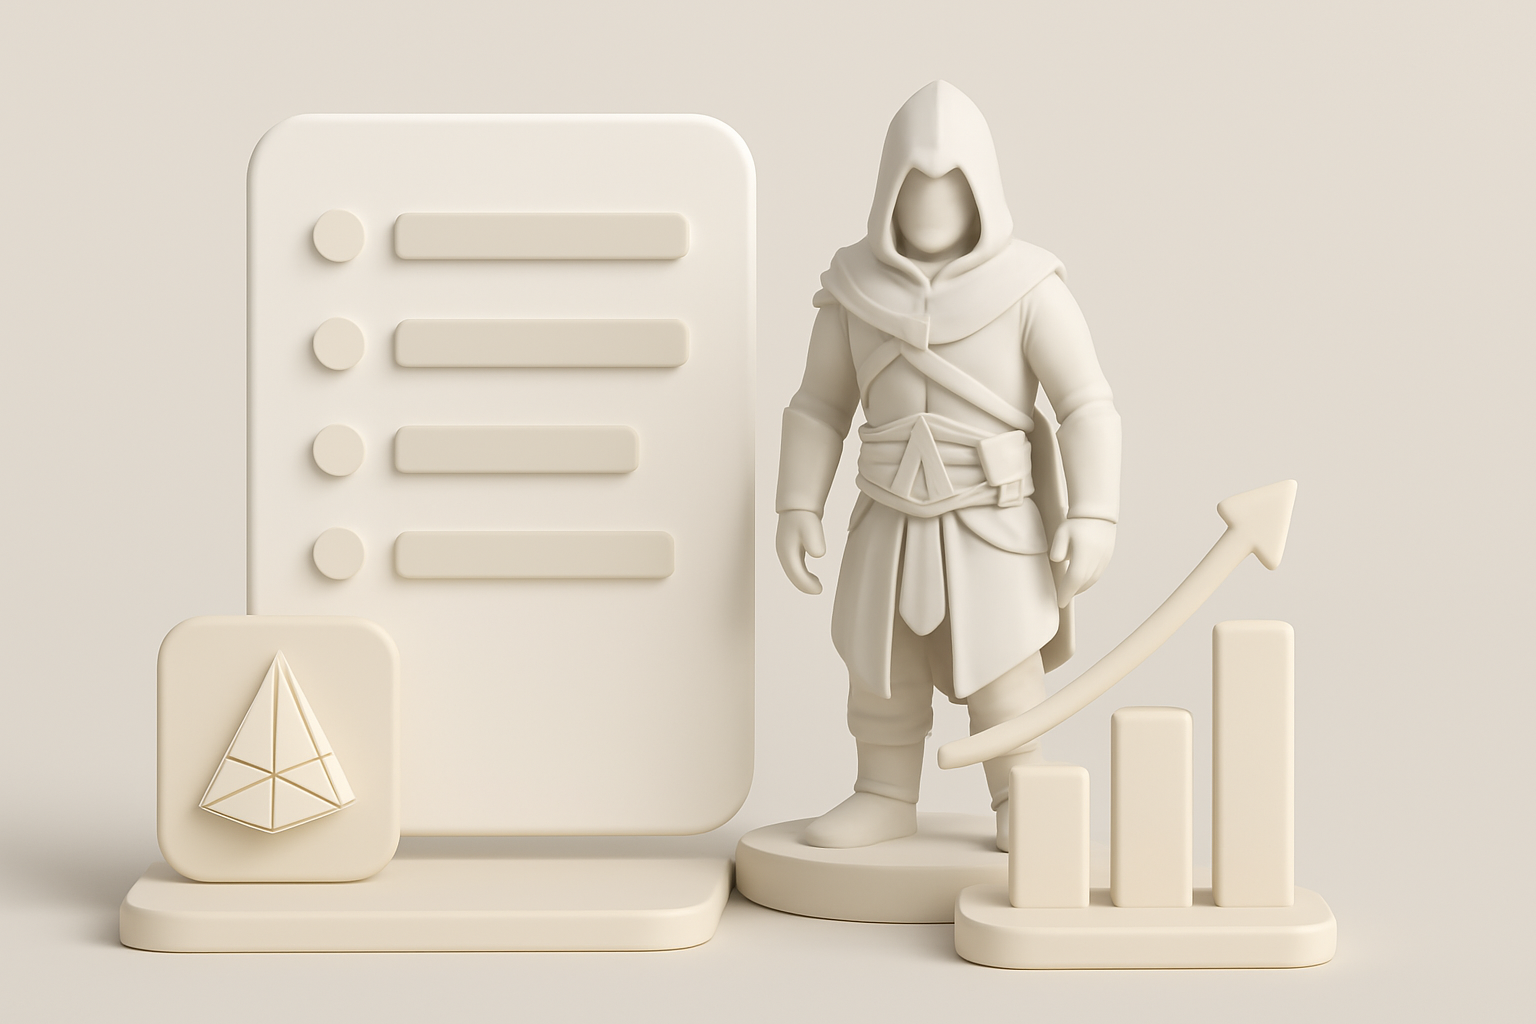
Executive Summary: Key Takeaways for Assassin’s Creed 3D Modeling
What to expect from this guide
In this article, I’ll share my complete workflow for creating Assassin’s Creed-inspired 3D models. You’ll see how I plan, model, texture, rig, and export assets—plus how I leverage AI-powered platforms to accelerate each step. My focus is on practical, real-world advice that applies to both games and film.
Summary of recommended workflows
- Gather detailed reference material before starting.
- Block out the base mesh, then incrementally add detail.
- Use UV unwrapping and material setup to achieve realistic textures.
- Optimize topology and rigging based on the final use case.
- Incorporate AI tools for faster, more consistent results.
Planning and Reference Gathering for Assassin’s Creed Models
Choosing the right character or asset
Before touching any 3D software, I decide which Assassin’s Creed character or prop to model. I consider:
- The complexity of the design (start simple if you’re new).
- Historical accuracy and signature features (e.g., hoods, hidden blades).
- Intended use: game, cinematic, or portfolio.
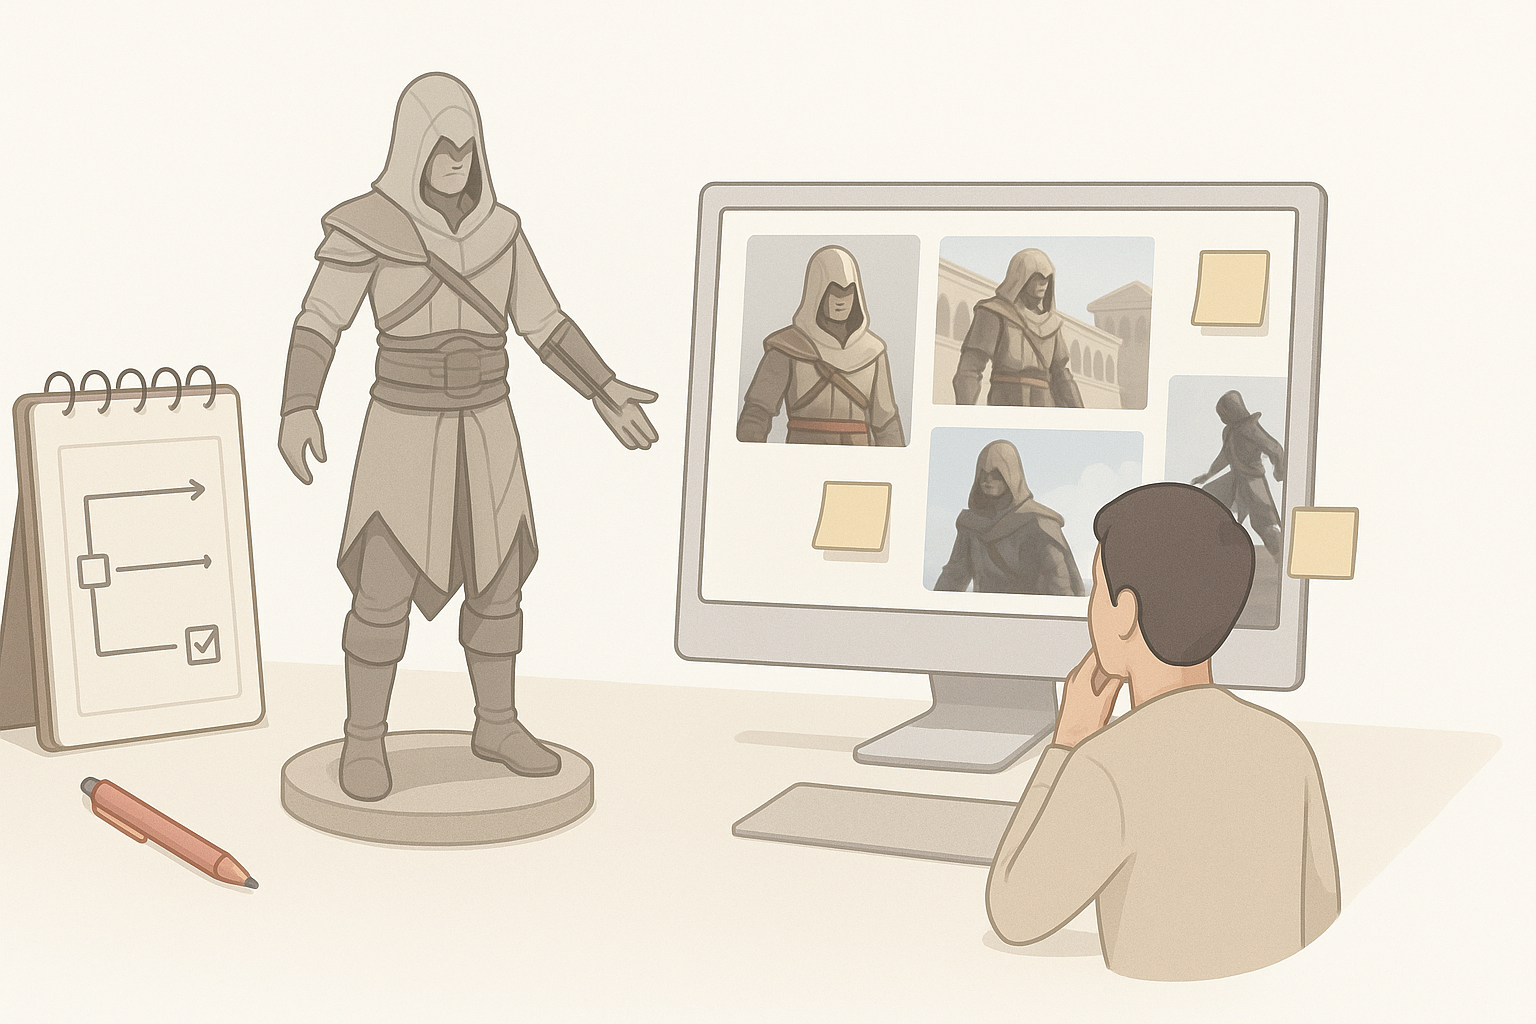
Collecting and organizing reference materials
I always compile a robust reference board, including:
- Official concept art, screenshots, and fan art.
- Real-world historical clothing, weapons, and architecture.
- 360° turnarounds if available.
Checklist:
- Use tools like PureRef to organize images.
- Annotate key design features for accuracy.
- Avoid relying on a single angle—get front, side, and back views.
3D Modeling Workflow: From Concept to Base Mesh
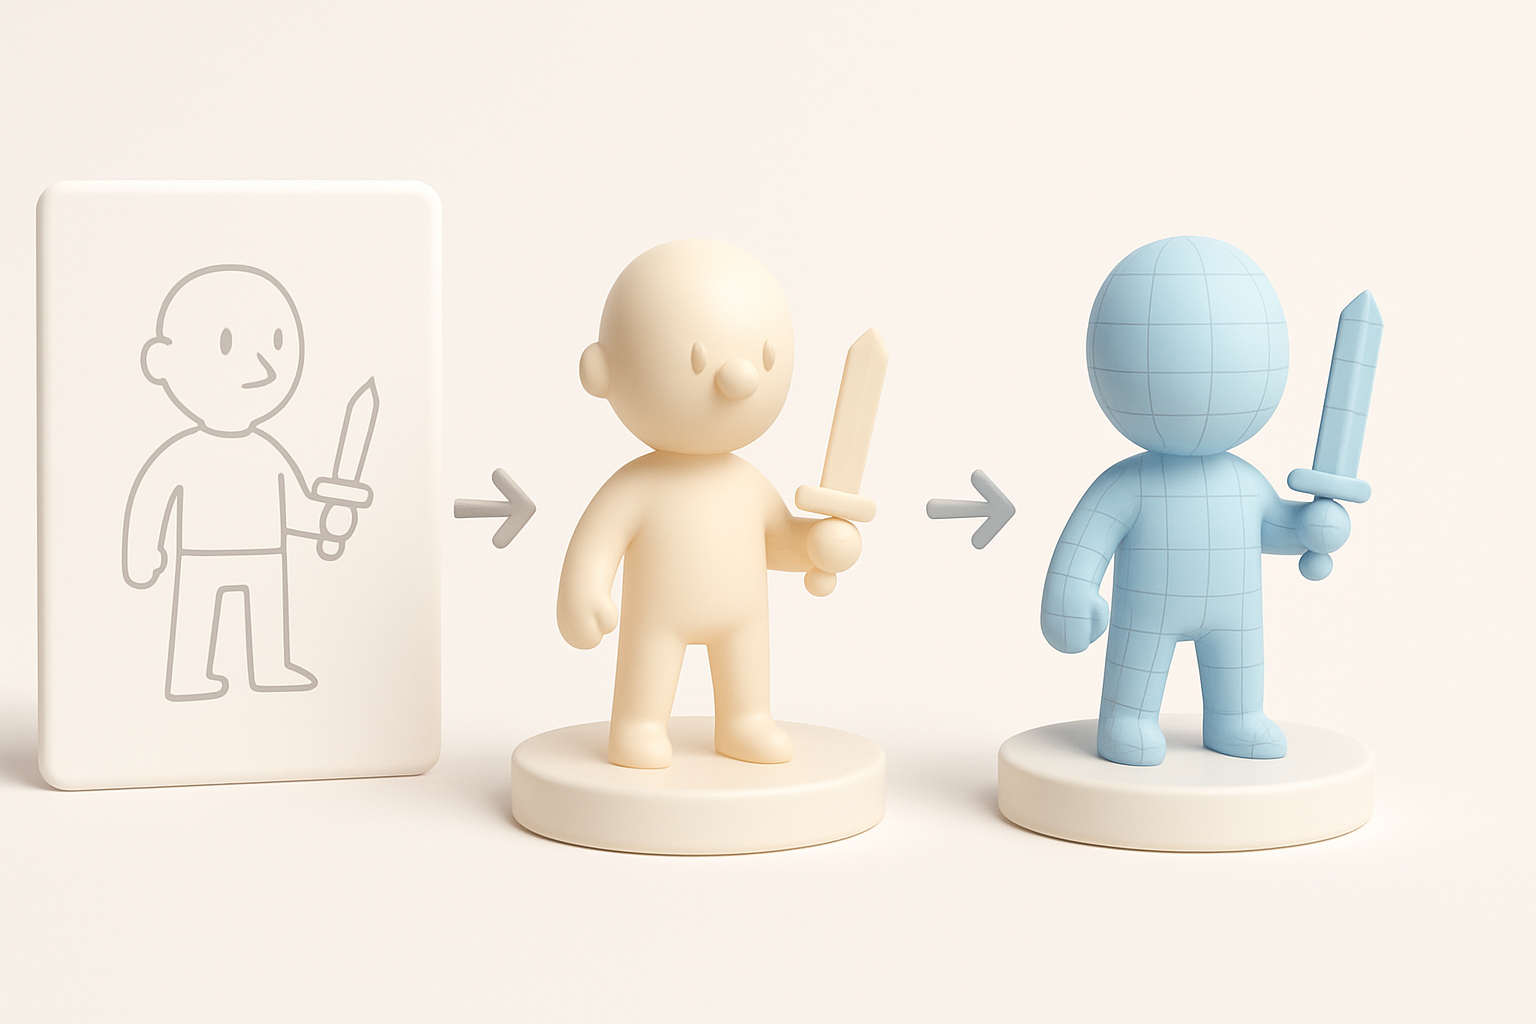
Blocking out forms and proportions
I start with a rough blockout to establish silhouette and proportions. In my workflow:
- I use simple shapes (cubes, cylinders) to represent body parts and props.
- Focus is on correct scale and pose before adding detail.
Tip: Don’t rush this stage—major errors here are hard to fix later.
Refining details and maintaining accuracy
Once the blockout feels right, I incrementally add detail:
- Sculpt or model key features (armor, belts, weapons).
- Regularly check against references for accuracy.
Pitfalls to avoid:
- Overcomplicating the mesh early on.
- Ignoring symmetry and alignment.
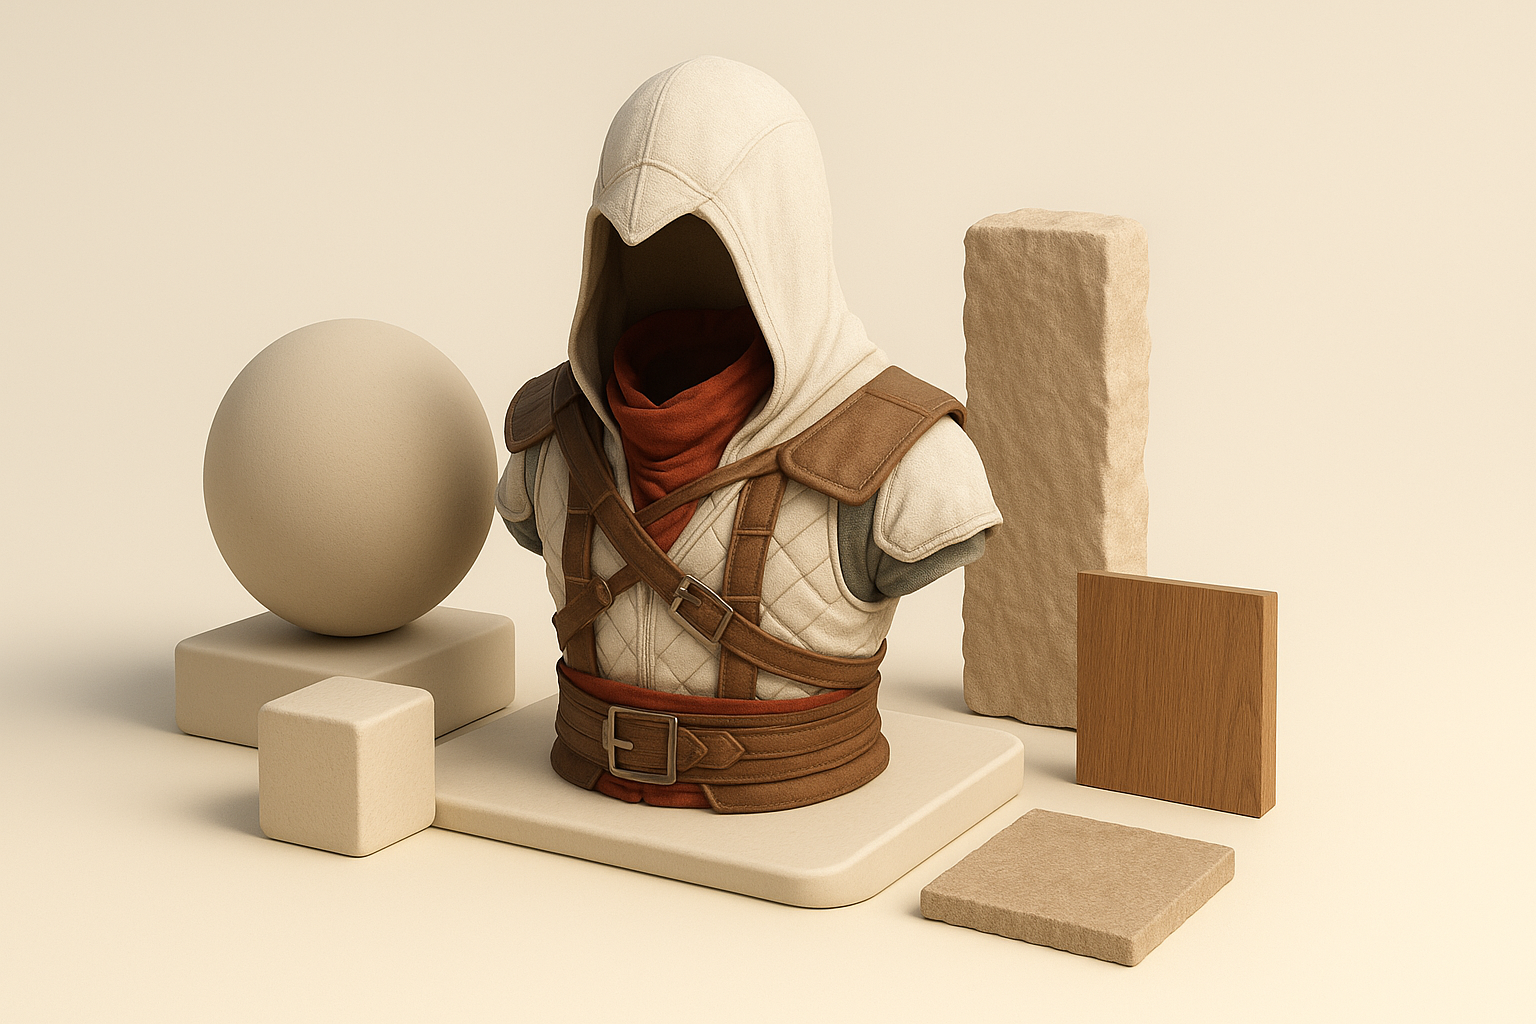
Texturing and Materials: Achieving Authentic Assassin’s Creed Looks
UV unwrapping and texture painting tips
Clean UVs are essential for realistic texturing. What works for me:
- Unwrap UVs with minimal stretching and logical seams.
- Use AI-powered texturing tools or hand-paint in Substance Painter or similar.
Mini-checklist:
- Pack UVs efficiently to maximize texture resolution.
- Test with checker patterns to spot stretching.
Material setup for realistic results
For Assassin’s Creed assets, I focus on:
- Authentic materials (leather, metal, fabric).
- Physically-based rendering (PBR) workflows for realism.
- Layering dirt, wear, and subtle imperfections for believability.
Tip: Preview materials in your target engine (Unreal, Unity) for accurate results.
Retopology, Rigging, and Animation Essentials
Optimizing topology for games or film
Whether for games or film, efficient topology is crucial:
- Use AI tools like Tripo for automatic retopology, then manually tweak edge flow as needed.
- Keep polycount within platform limits, especially for games.
Best practices:
- Maintain clean edge loops around joints.
- Avoid ngons and overly dense areas.
Basic rigging and animation for Assassin’s Creed characters
For rigging and animation:
- Use standard skeletons for compatibility.
- Weight paint carefully, especially around shoulders and hips.
- Test basic animations (walk, idle) to catch deformation issues early.
Pitfall: Skipping deformation tests can lead to major problems later.
Leveraging AI Tools for Efficient 3D Model Creation

How I use AI-powered platforms in my workflow
AI tools have transformed my pipeline:
- I use Tripo to generate base meshes from text prompts or sketches, saving hours on manual modeling.
- Built-in segmentation and retopology features help me quickly prep assets for texturing and rigging.
Workflow tip: Start with AI-generated assets, then refine manually for the best of both worlds.
Comparing AI tools with traditional methods
From my experience:
- AI tools are fastest for base mesh and repetitive tasks.
- Manual modeling is still essential for custom details and polish.
Summary:
- Use AI for speed and iteration.
- Rely on traditional methods for artistic control and final touches.
Exporting, Sharing, and Showcasing Your Assassin’s Creed 3D Model
Export settings and formats for different uses
Exporting correctly is key:
- For games: Use FBX or GLTF, triangulate meshes, bake textures.
- For film: OBJ or Alembic, maintain high-res meshes and separate maps.
Checklist:
- Double-check scale and orientation.
- Test imports in your target engine or renderer.
Tips for portfolio presentation and feedback
To make your work stand out:
- Render turntables and close-up shots.
- Present wireframes and texture maps alongside beauty renders.
- Ask for feedback from trusted peers or online communities.
Tip: Contextualize your model—show it in a relevant environment or pose.
Lessons Learned: My Best Practices and Troubleshooting Tips

Common challenges and how I solve them
Some issues I regularly face:
- Reference gaps: Fill with educated guesses or historical research.
- Texture seams: Fix UVs or paint out seams in your texture app.
- Deformation glitches: Adjust weights, topology, or add helper bones.
Advice for aspiring 3D artists
What I’ve learned:
- Don’t skip planning and reference gathering.
- Embrace AI tools, but always refine results manually.
- Iterate often and seek feedback—perfection comes with practice.
Final tip: Stay curious and keep experimenting; every project is a chance to level up your skills.