How I Create a 3D Model of a Cockatoo: Workflow & Tips
скачать 3d модель для chicken gun
Modeling a cockatoo in 3D is a process that blends creative vision with technical efficiency. Leveraging AI-powered tools like Tripo, I can rapidly generate a production-ready cockatoo model—without sacrificing artistic control. This workflow is ideal for game developers, animators, or XR designers who want quality results without getting bogged down in traditional 3D bottlenecks. Below, I break down my practical approach, covering everything from reference gathering to final export, with tips to avoid common pitfalls.
Key takeaways:
- Start with strong references and a clear plan—this saves time later.
- AI tools can handle base mesh and texturing, but manual refinement is still key for realism.
- Clean topology and organized geometry pay off in animation and rendering.
- Optimize your model early for the intended platform (games, film, XR).
- Use a hybrid workflow: combine AI automation with hands-on sculpting and texturing.
- Always preview your model in the target environment before final export.
Executive Summary: Key Steps to Modeling a Cockatoo in 3D
Essential tools and techniques overview
In my workflow, I rely on a mix of AI-powered 3D generation (like Tripo), sculpting tools, and texture painting software. The process typically involves:
- Gathering references
- Blocking out the base mesh
- Refining geometry and details
- Texturing
- Rigging and animation setup
- Export and optimization
This toolkit allows me to iterate quickly and focus effort where it matters—on the unique features of the cockatoo.
What to expect from the process
Expect a workflow that cycles between automation and manual refinement. The AI tools handle repetitive or technical tasks, but creative decisions—pose, anatomy, feather detail—require a human touch. With practice, the entire pipeline can take a few hours instead of days.
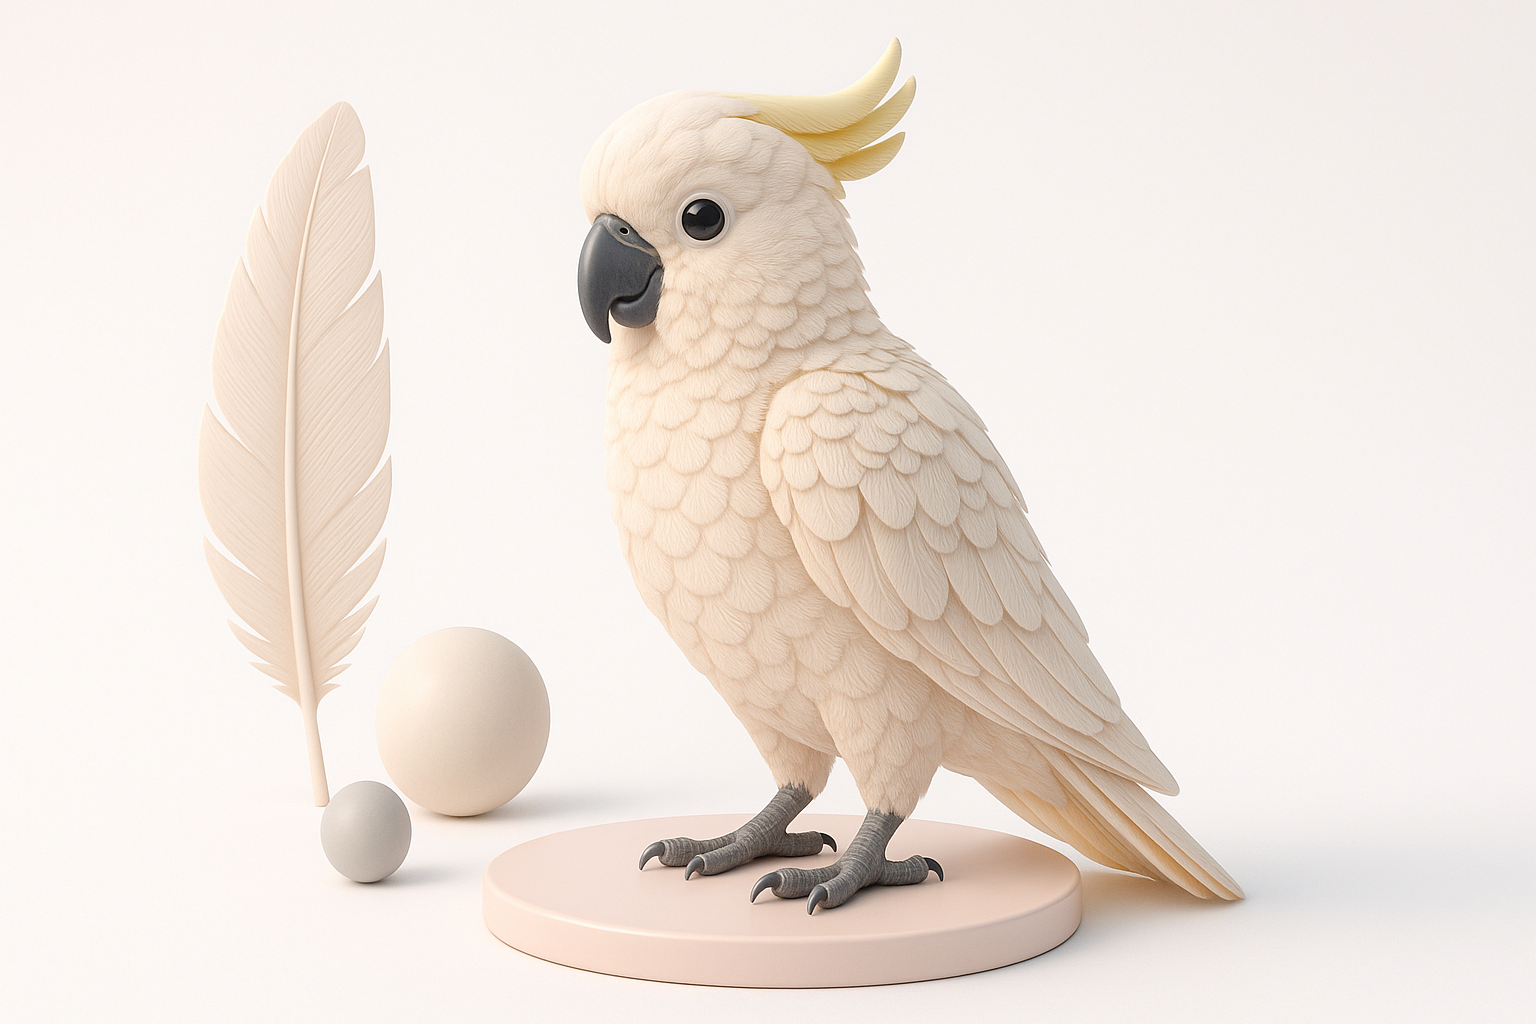
Gathering References and Planning the Cockatoo Model
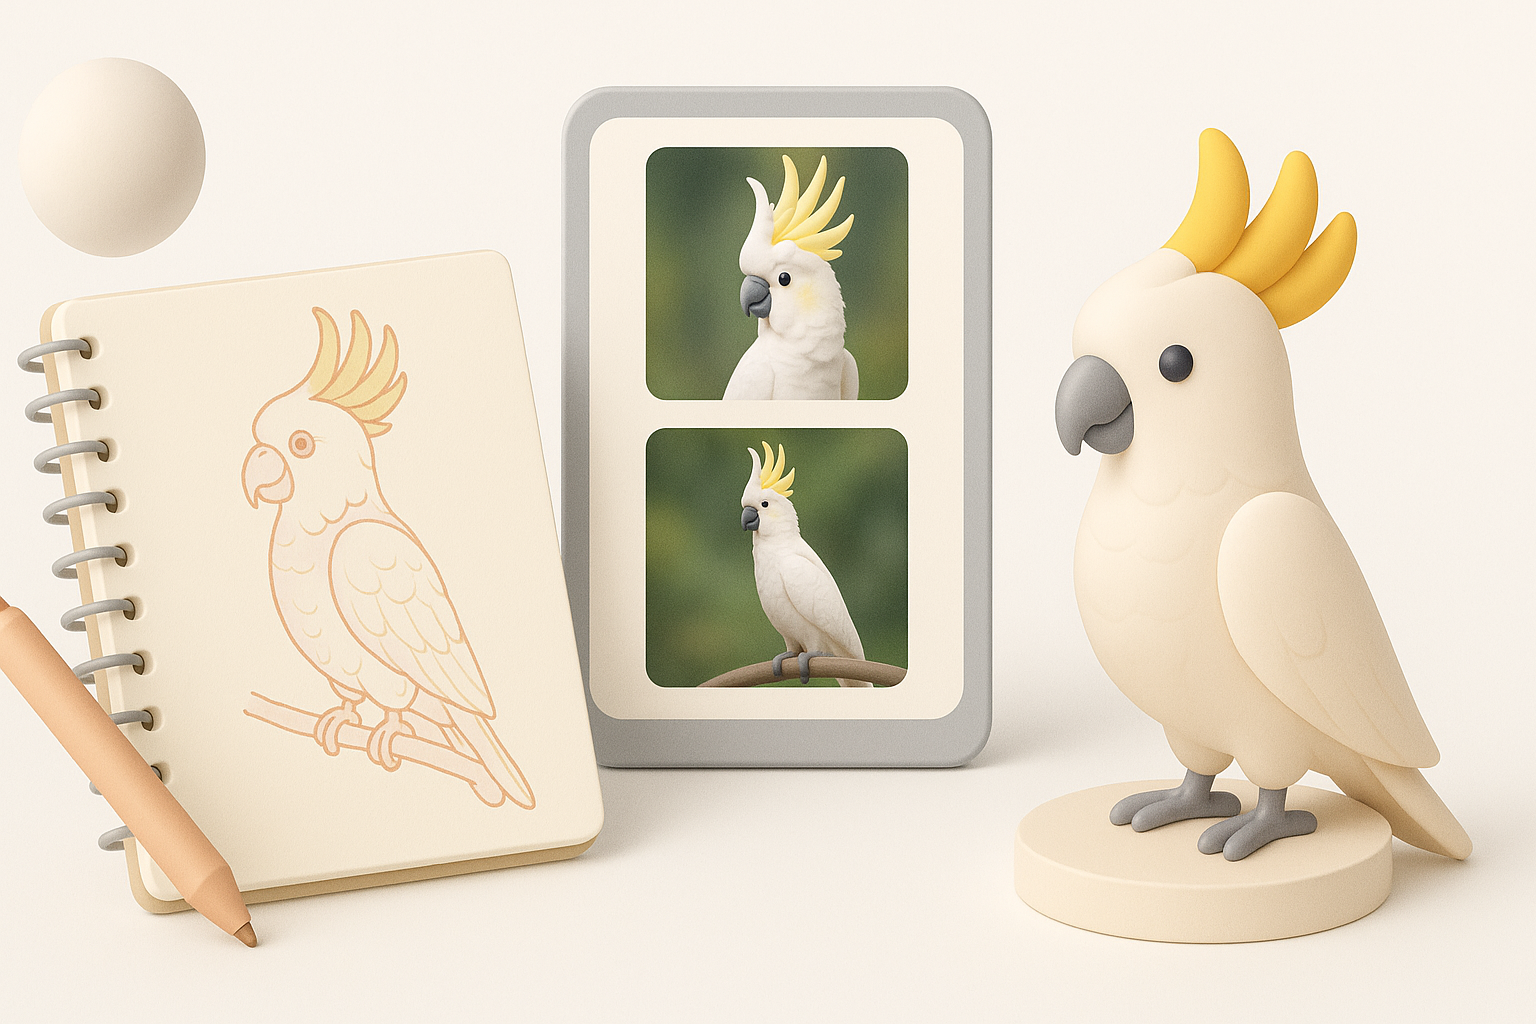
Choosing the right reference images and sketches
I always start by collecting high-resolution images of cockatoos from multiple angles—side, front, top, and close-ups of unique features like the crest and beak. If I’m aiming for a stylized look, I’ll include concept art or create quick sketches.
Checklist:
- Gather at least 5–10 clear reference images
- Include action poses and neutral stances
- Note feather patterns and color variations
Defining style, pose, and level of detail
Before modeling, I decide on the artistic style (realistic, stylized, low-poly) and the cockatoo’s pose—perched, flying, or idle. This informs both the modeling and rigging steps. I also set the target level of detail based on the final use (game, film, XR).
Pitfall: Skipping this planning phase often leads to wasted time reworking geometry or textures.
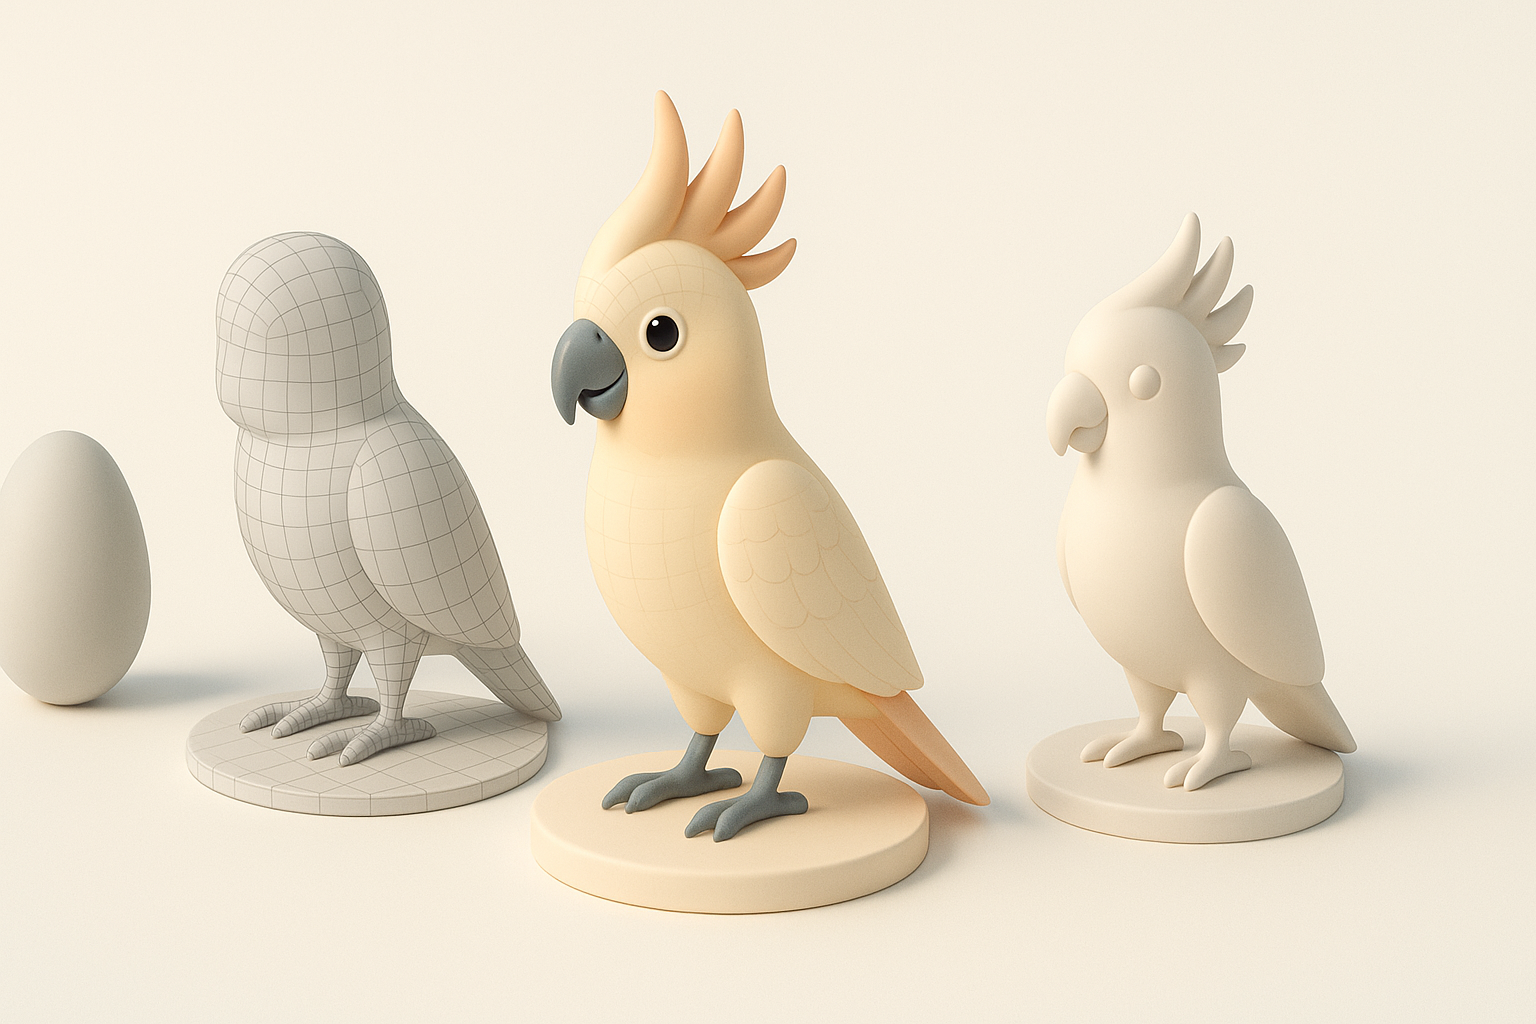
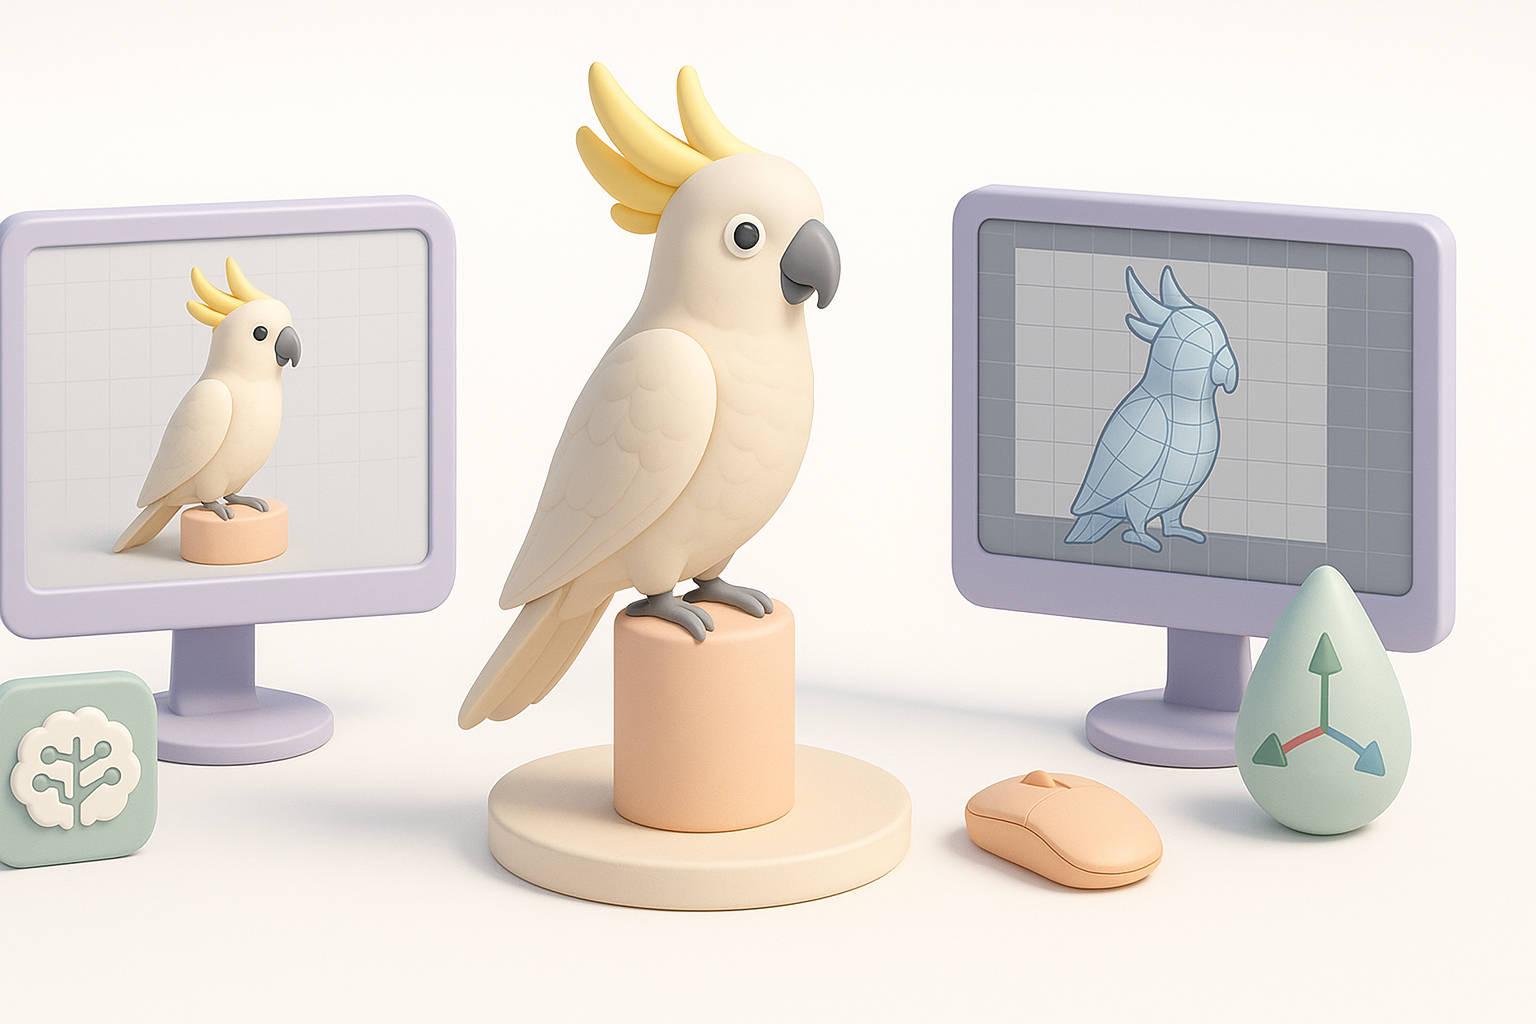
Blocking Out the Base Mesh: My Approach
Using AI-powered tools for rapid base mesh creation
With Tripo, I input a text prompt (“white cockatoo perched, wings folded”) and upload my main reference image. The platform generates a base mesh in seconds, complete with basic segmentation (body, wings, beak). This saves me the tedious work of manual box modeling.
Steps:
- Input prompt and upload reference.
- Review the generated mesh for proportion and silhouette.
- Export to my DCC (Digital Content Creation) tool for refinement.
Manual vs. automated blocking: pros and cons
Automated blocking is fast and consistent, especially for organic shapes like birds. However, I sometimes prefer manual blocking if I need precise control over topology or a unique pose. My rule: use AI for the base, then switch to manual for custom shapes or stylized models.
Tip: Always check for extra geometry or odd proportions in the generated mesh before moving on.
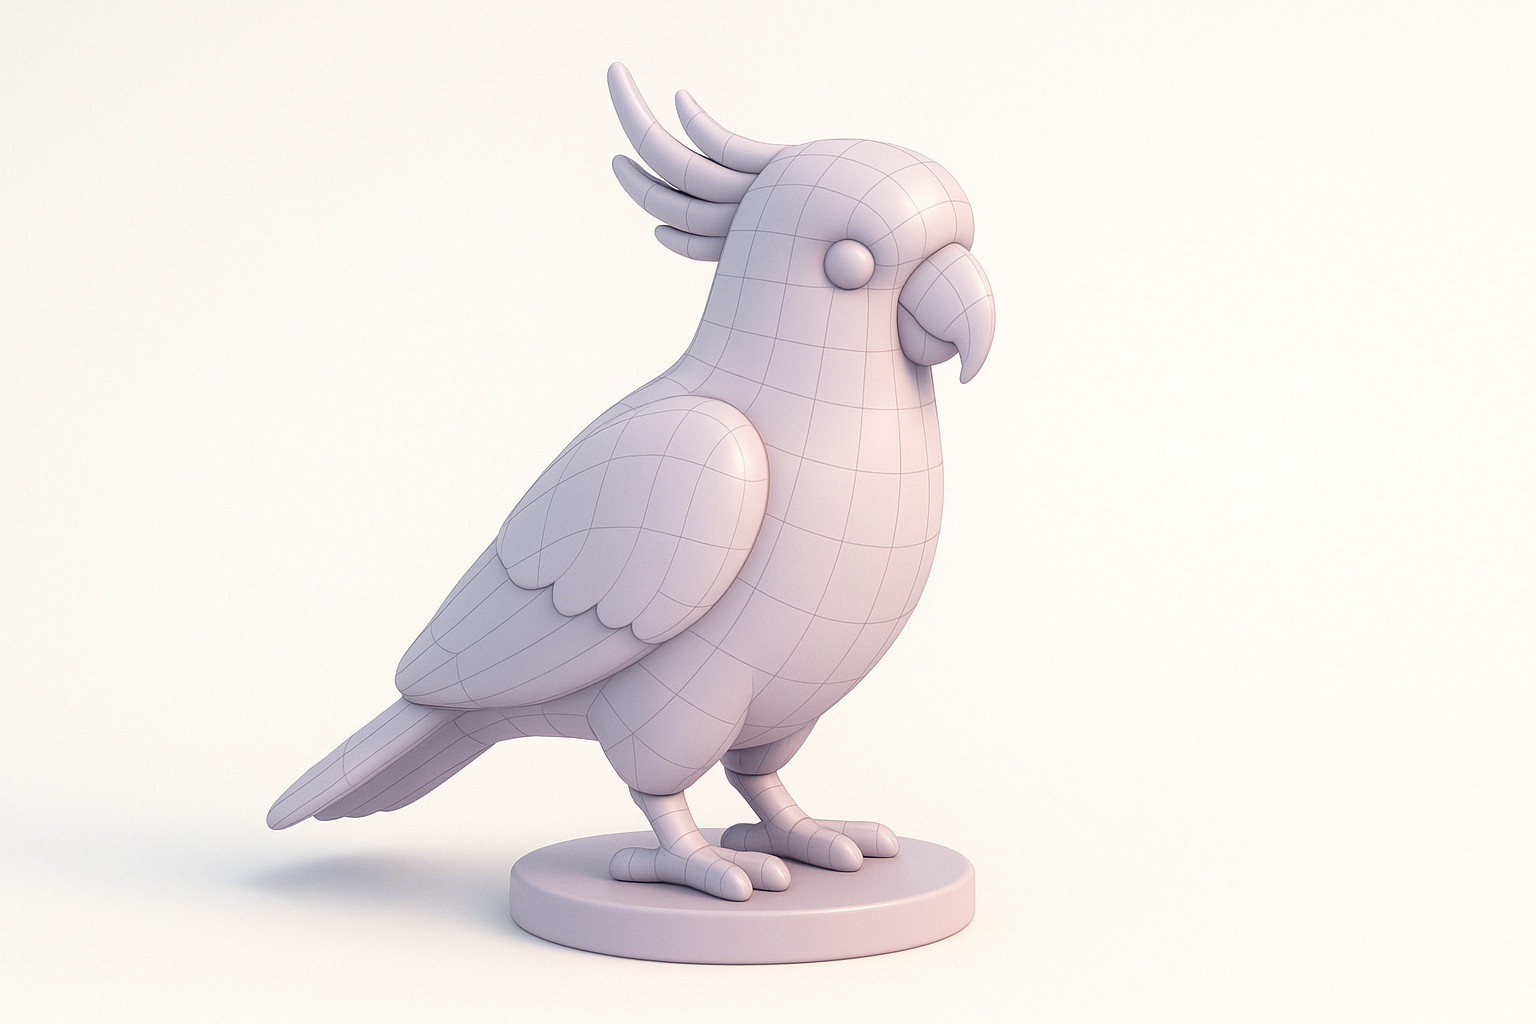
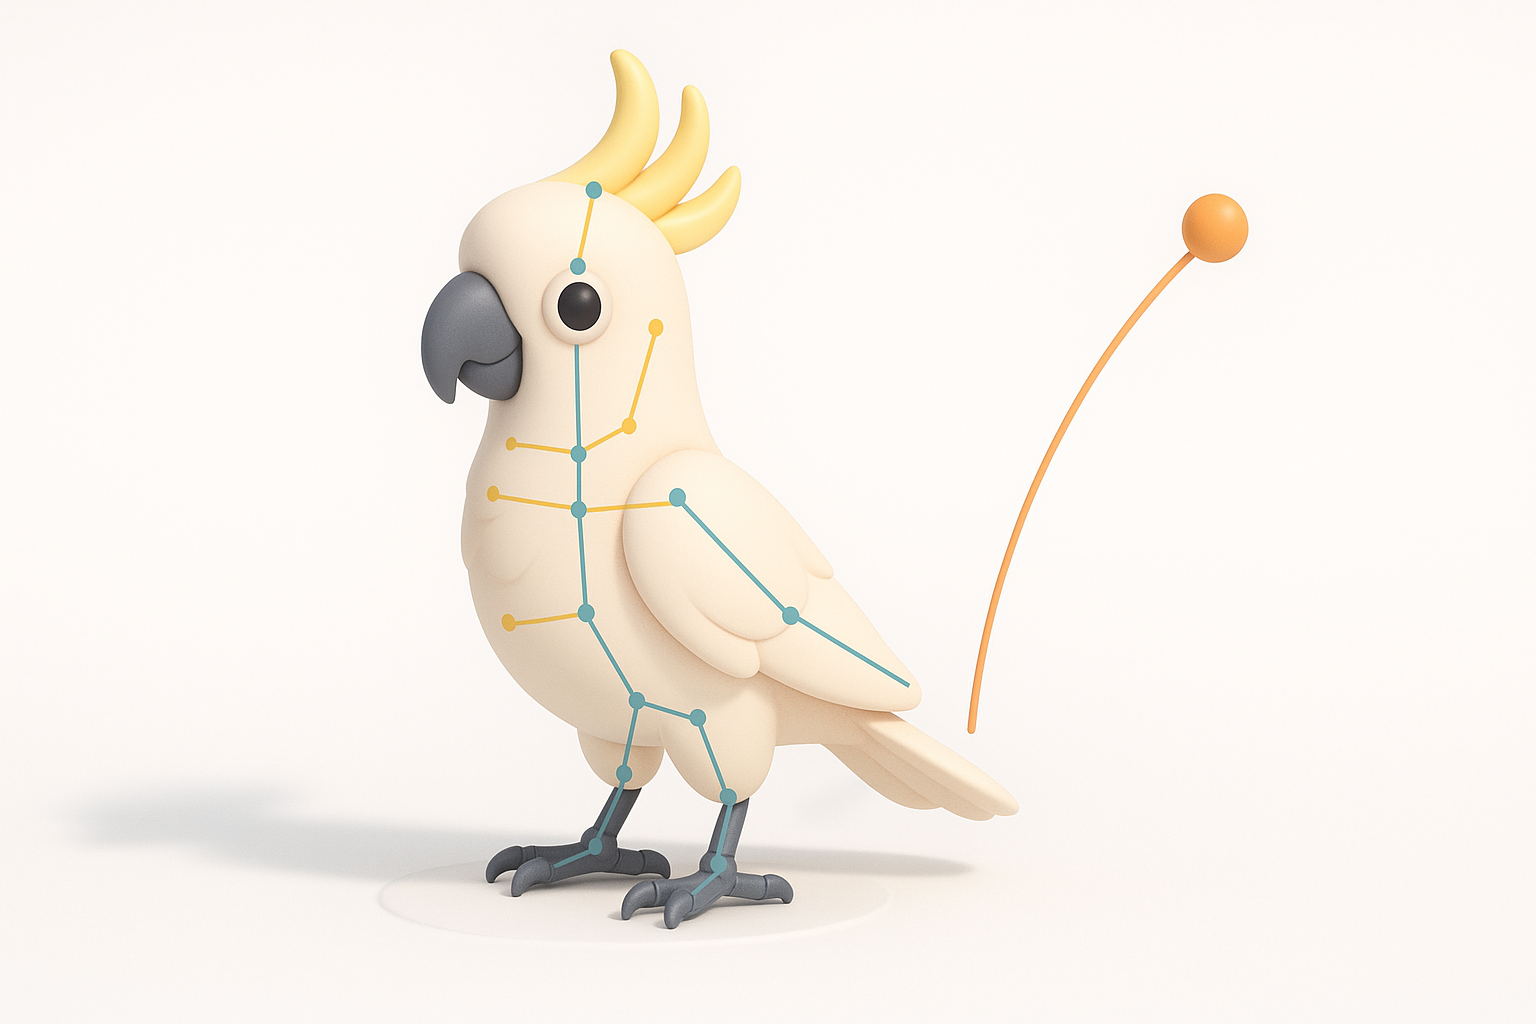
Refining Geometry and Sculpting Details
Sculpting feathers, beak, and anatomy
After importing the base mesh, I use sculpting tools to define the cockatoo’s anatomy—refining the beak curve, wing joints, and crest. For feathers, I sculpt major forms and use normal/displacement maps for finer details.
Checklist:
- Block out large feather groups (wings, tail, crest)
- Add secondary motion areas (neck, legs)
- Use symmetry tools for efficiency, then break symmetry for realism
Best practices for topology and mesh cleanliness
Clean topology is critical for animation and shading. I use Tripo’s retopology tools to generate quad-based, animation-friendly meshes, then manually tweak edge flow around joints and the beak.
Pitfall: Overly dense meshes slow down rigging and rendering. Optimize early.
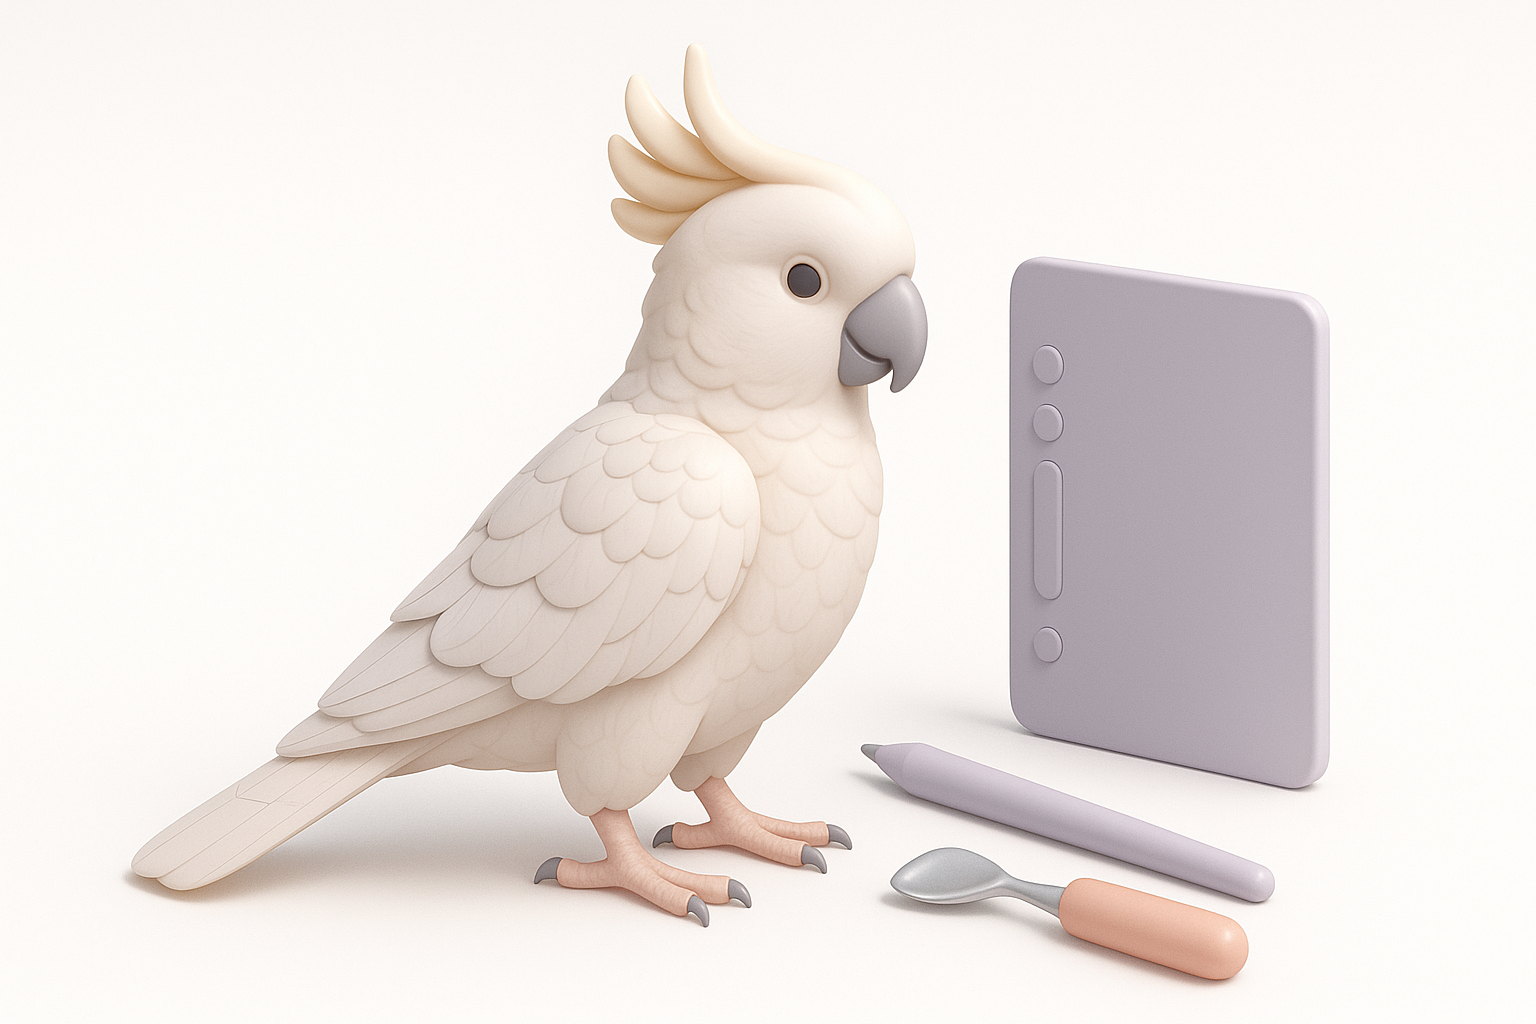
Texturing and Materials for Realistic Cockatoo Feathers
AI-assisted texturing workflows
Tripo’s AI texturing can auto-generate base feather patterns and color maps using your reference images. I typically start here, then export the maps for manual tweaks.
Steps:
- Apply AI-generated base textures.
- Review for color accuracy and feather alignment.
- Adjust in a painting tool if needed.
Hand-painting vs. procedural methods
For stylized or detailed work, I hand-paint feather highlights and shadows. For realism, I use procedural tools to add subtle variation and roughness. I often layer both approaches for best results.
Tip: Use opacity and normal maps to fake feather edges without heavy geometry.
Rigging and Animating the Cockatoo Model
Setting up a basic rig for posing or animation
I use auto-rigging tools to lay out the skeleton—spine, wings, legs, and beak. For production work, I manually adjust joint placement and add controls for wing folding and crest movement.
Checklist:
- Place joints at natural pivot points
- Test deformations with simple poses
- Add constraints for beak and wing mechanics
Tips for natural bird movement
Birds have unique joint limits and secondary motion (e.g., crest feathers, tail flicks). I study reference videos and add simple IK/FK switches for wings and legs.
Pitfall: Over-rigging can complicate animation—focus on essential controls.
Exporting, Optimization, and Integration
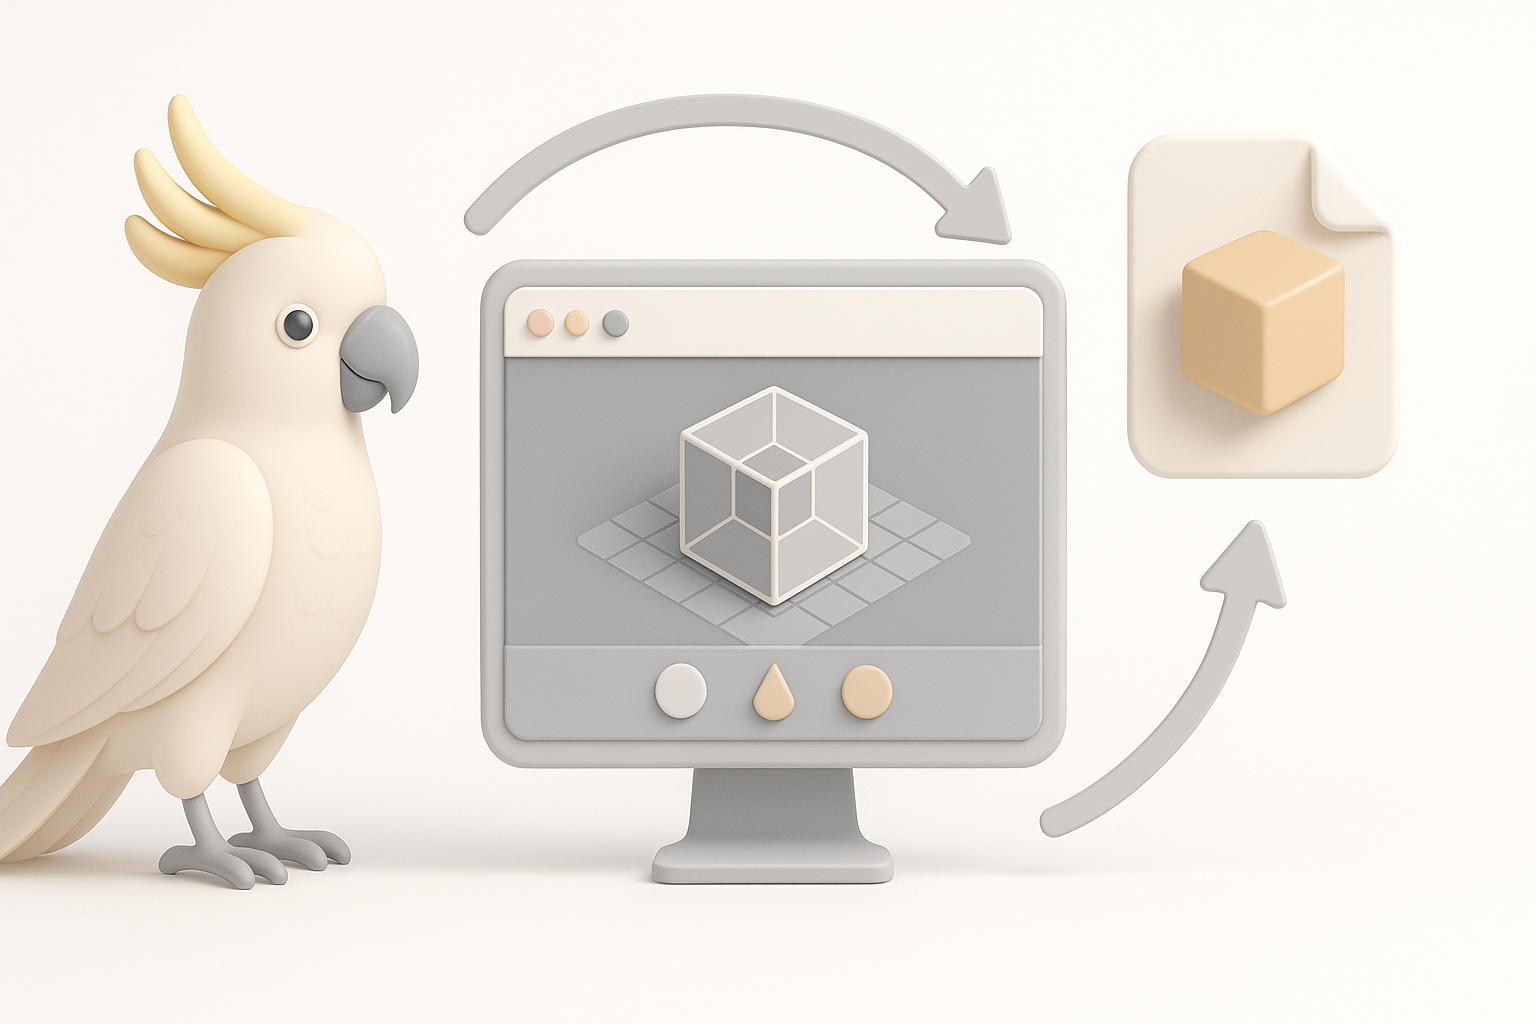
Preparing the model for games, film, or XR
I always check the target engine’s requirements (polycount, texture sizes, file formats). Tripo’s export settings let me bake maps and reduce mesh complexity as needed.
Checklist:
- Bake normal and AO maps for detail
- Export in FBX or GLTF for compatibility
- Test import in the target environment
Optimizing for performance and compatibility
I use mesh decimation and LODs (Levels of Detail) for real-time applications. For film, I maintain higher detail but still clean up unused geometry.
Tip: Preview the model in-engine to spot lighting or shading issues early.
Comparing AI-Powered and Traditional 3D Workflows
When to use AI tools vs. manual methods
In my experience, AI tools excel at rapid prototyping, base mesh creation, and repetitive tasks. Manual methods are better for unique shapes, stylized art, or when you need full creative control.
Guidelines:
- Use AI for speed and iteration.
- Switch to manual for final polish and artistic tweaks.
Lessons learned from real-world projects
Hybrid workflows consistently deliver the best results. Relying solely on automation can lead to generic or lifeless models; combining AI with hands-on artistry produces models that are both efficient and compelling.
Pitfall: Don’t skip manual cleanup—AI outputs often need human refinement for production quality.
By blending AI-powered automation with traditional artistry, I can create detailed, production-ready cockatoo models efficiently—freeing up more time for creativity and iteration.