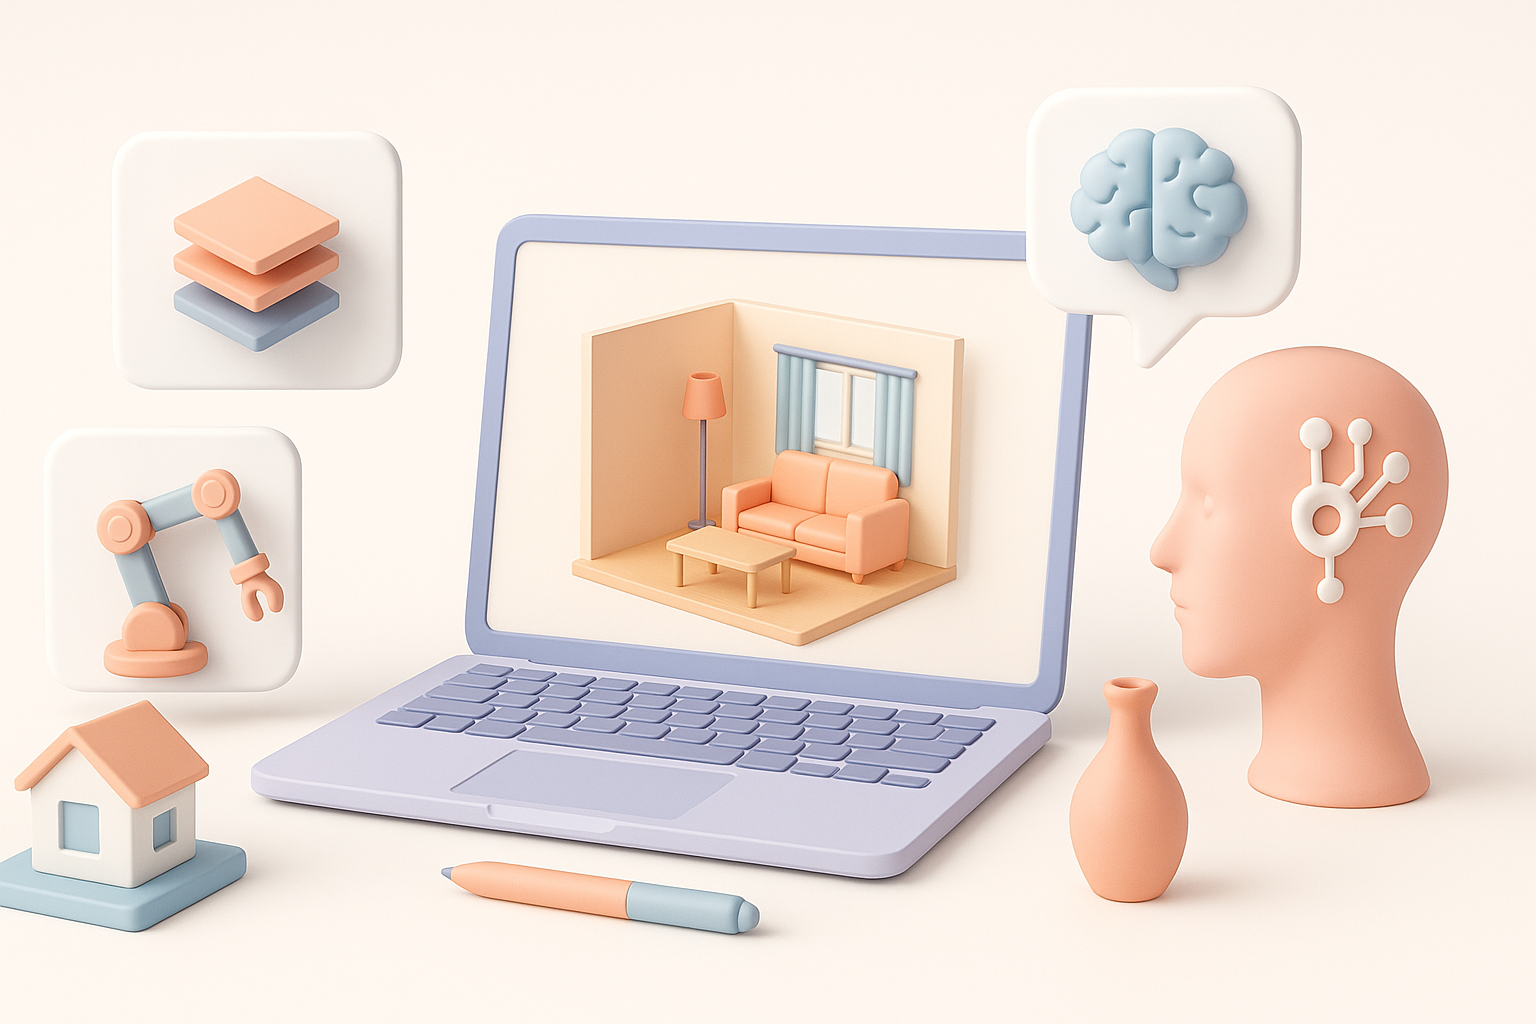
Creating High-Quality 3D Room Models: Expert Workflow & Tips
Building 3D room models has become dramatically faster and more accessible, but quality still demands a solid workflow and the right tools. In this guide, I’ll share my step-by-step process for creating production-ready 3D rooms, weaving in practical tips from years of hands-on experience. Whether you’re working in games, XR, or interior design, you’ll learn how I combine traditional techniques with AI-powered automation to speed up my pipeline—without sacrificing creative control or polish. This article is for artists, developers, and designers who want to produce professional 3D room assets efficiently.
Key Takeaways
- Start with clear references and block out your layout before adding detail.
- Use AI-powered tools to accelerate segmentation, retopology, and texturing.
- Lighting and consistent materials are critical for realism and mood.
- Optimize geometry and UVs for your target platform to avoid performance issues.
- Balance automation with manual tweaks to maintain quality and style.
- Troubleshoot artifacts early to prevent costly fixes later.
Understanding 3D Room Modeling: Concepts and Use Cases
What is a 3D Room Model?
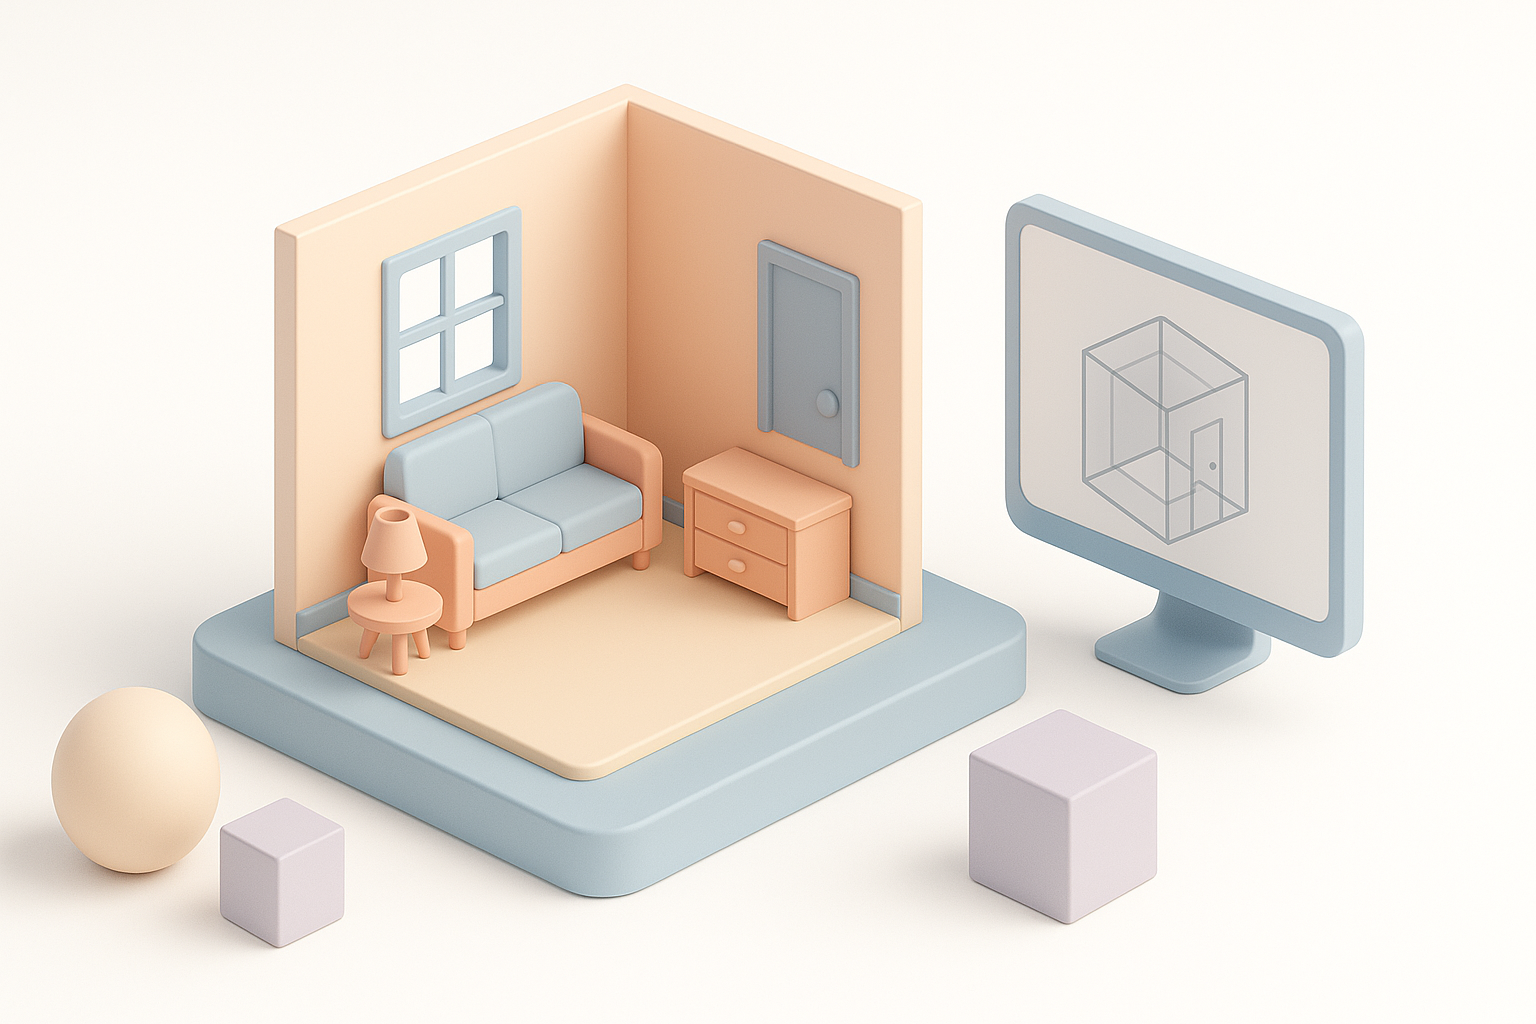
A 3D room model is a digital reconstruction of an interior space, including architectural features, furniture, lighting, and decor. I use these models as environments for games, virtual reality, animation, and visualization. The fidelity and complexity depend on the project—ranging from stylized dioramas to photorealistic architectural scenes.
Key elements:
- Accurate proportions and scale
- Logical asset grouping (walls, furniture, props)
- Modular components for reusability
Common Applications in Games, XR, and Design
In my experience, 3D room models are essential for:
- Games: Level design, interactive environments, escape rooms
- XR/VR/AR: Immersive walkthroughs, training simulations, virtual staging
- Design/Archviz: Interior design previews, real estate marketing, set design
Tip: I always clarify the project's primary use case before modeling—this drives decisions about detail level, optimization, and interactivity.
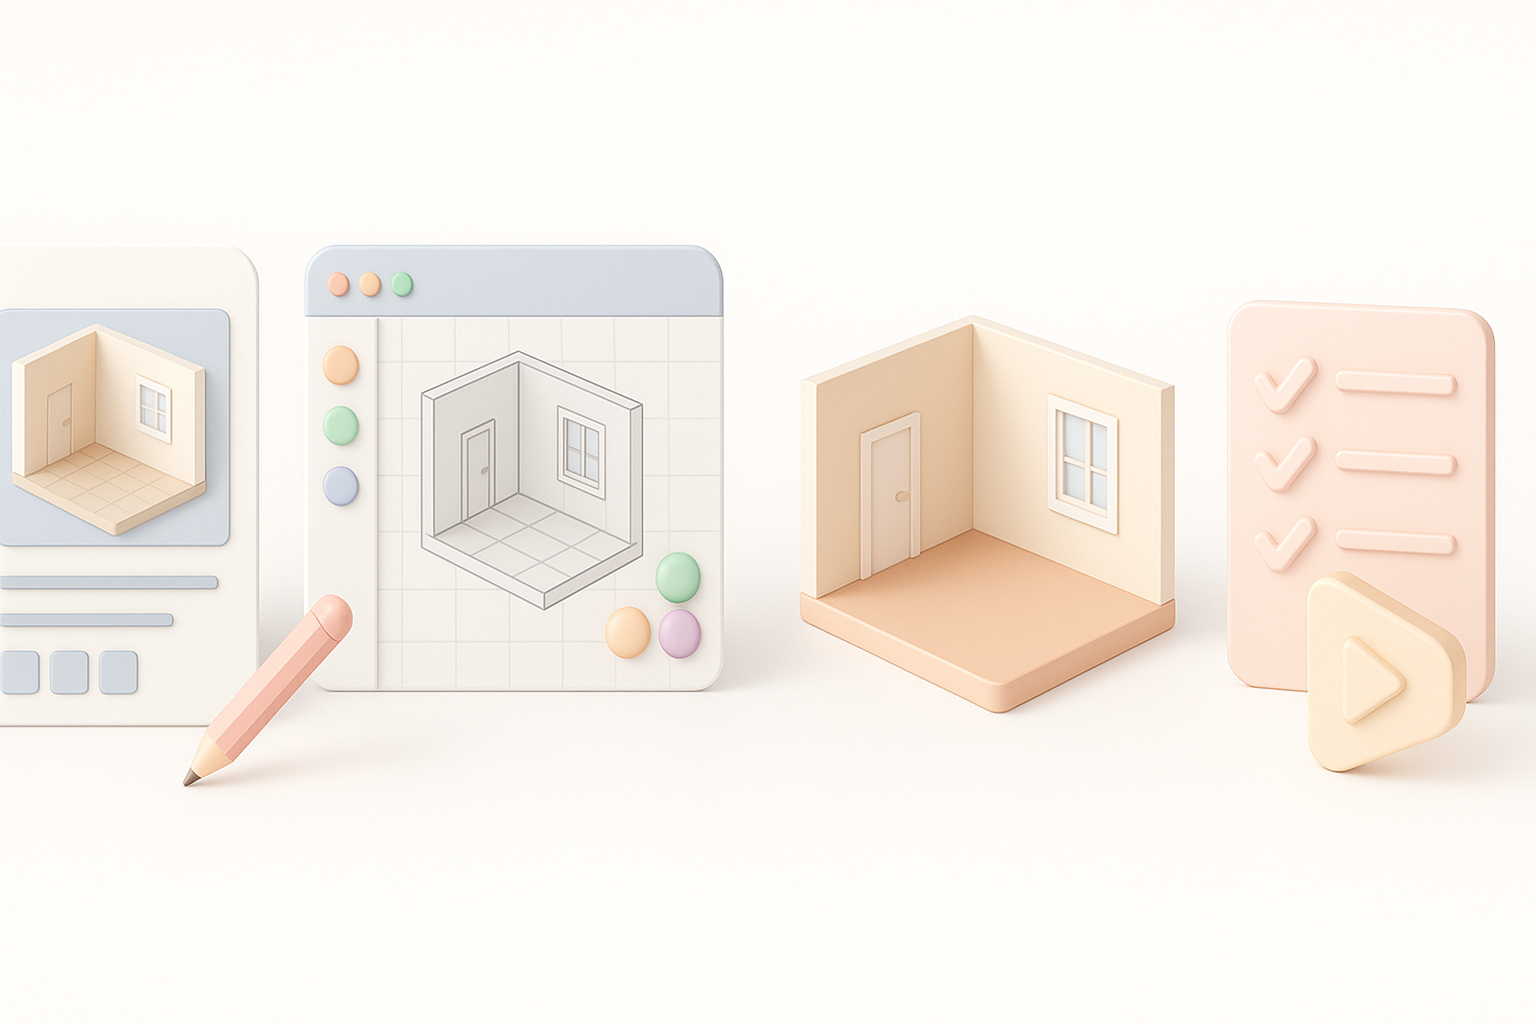
My Step-by-Step Workflow for Building 3D Room Models
Gathering References and Planning the Layout
I start every project by collecting reference images—photos, sketches, or mood boards. This helps me define the room’s style, function, and key features. I usually sketch a quick floor plan and annotate it with furniture placement and camera angles.
Checklist:
- Gather 10–20 reference images
- Sketch floor plan and elevations
- Define must-have props and focal points
Blocking Out Geometry and Setting Scale
Next, I block out the room using simple shapes (cubes, planes, cylinders) in my 3D software. Getting proportions right at this stage is critical. I use real-world measurements or import reference images as guides.
Steps:
- Block major elements (walls, floor, ceiling)
- Place large furniture as primitives
- Check scale with a human reference model
Pitfall: Don’t get bogged down in detail—focus on layout and walkability.
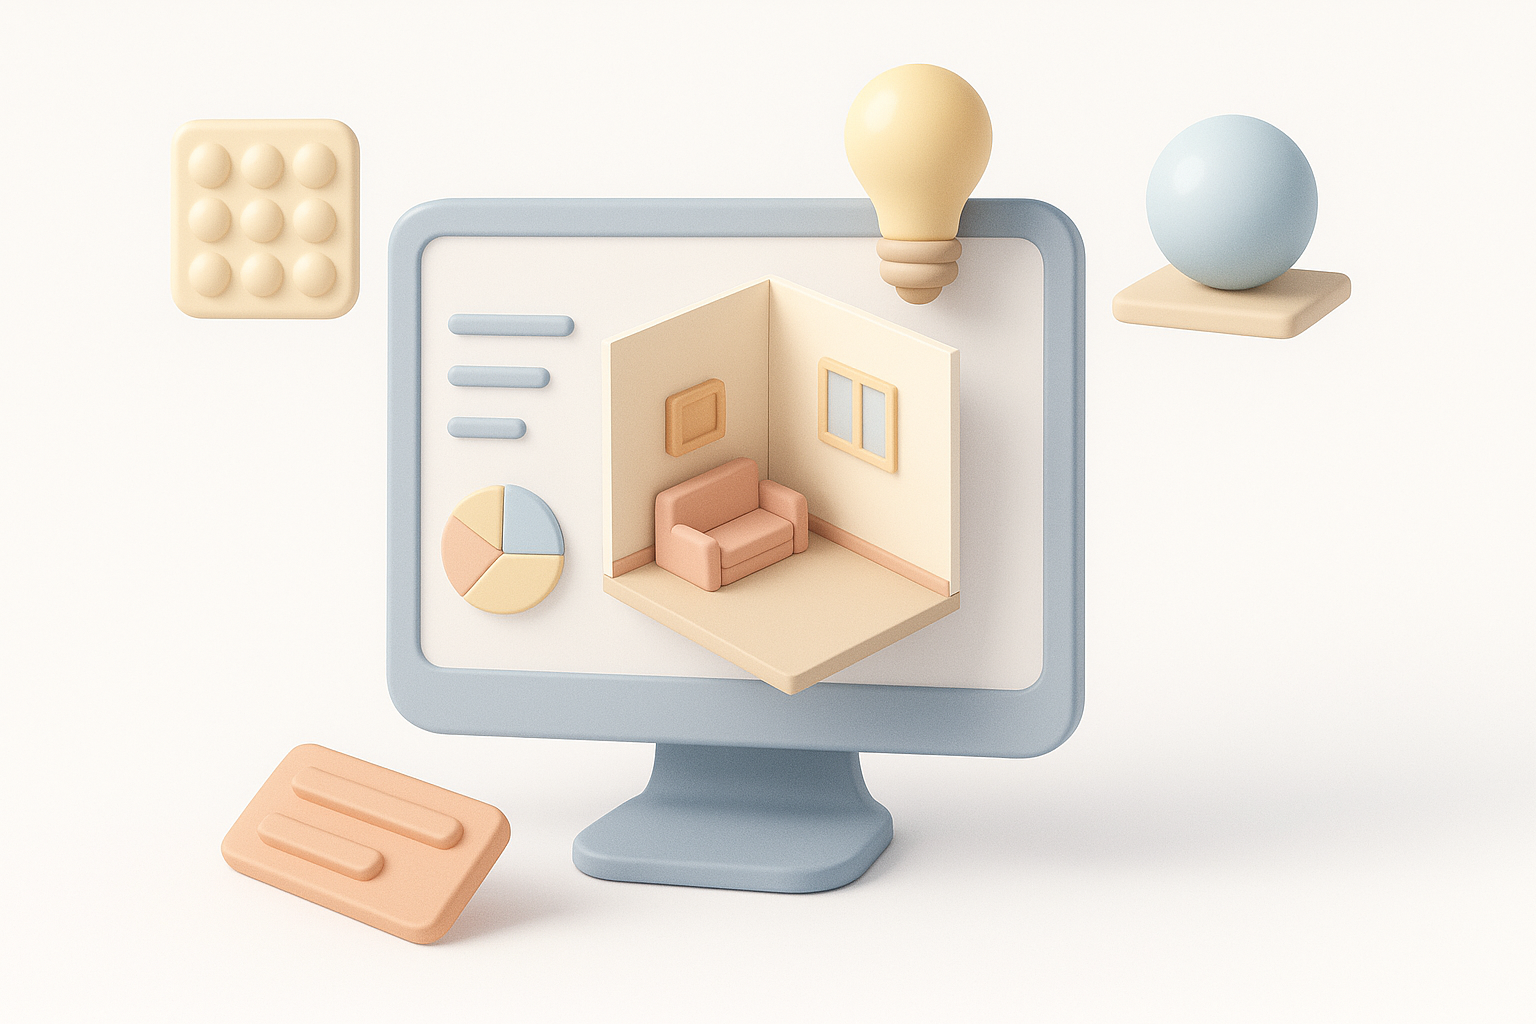
Texturing, Lighting, and Detailing Techniques
Applying Materials and Textures Efficiently
Once the blockout is approved, I assign basic materials and UVs. For speed, I often use AI-powered tools for automatic unwrapping and smart material assignment. Then, I refine textures using PBR maps or hand-painted details, depending on the style.
Tips:
- Use tiling textures for large surfaces
- Bake ambient occlusion for realism
- Organize materials by function (walls, wood, metal)
Lighting Strategies for Realism and Mood
Lighting sets the tone. I start with a basic three-point setup, then add area lights, emissive materials, or HDRIs for atmosphere. For game or XR projects, I optimize by baking lightmaps or using real-time lighting as needed.
Checklist:
- Test with neutral lighting first
- Add accent lights for focal areas
- Balance light color and intensity for natural results
Optimizing 3D Room Models for Production
Retopology and UV Mapping Best Practices
Clean topology and UVs are non-negotiable. I use automated retopology and UV mapping tools to speed up the process, but I always inspect and tweak results manually. Overlapping UVs, ngons, and excessive polycounts are common pitfalls.
Best practices:
- Keep polycount within project specs
- Ensure all UV shells are properly packed and scaled
- Avoid stretching and seams in visible areas
Exporting and Integrating with Pipelines
Before export, I check naming conventions, pivot points, and material assignments. I export in the format required by the target engine (FBX, OBJ, GLTF) and test the model in the destination pipeline—be it Unity, Unreal, or a custom viewer.
Steps:
- Freeze transforms and reset pivots
- Export with embedded textures if needed
- Test import for errors or missing assets
AI-Powered Tools and Automation in 3D Room Creation
How I Use AI Platforms for Faster Results
I rely on AI-powered platforms like Tripo for rapid segmentation, retopology, and procedural texturing. For example, I can generate a base mesh from a sketch or photo, then refine it manually. This shaves hours off my workflow, especially for iterative concepting or client previews.
Use cases:
- Auto-generating base geometry from references
- Quick UV unwrapping and material assignment
- Batch processing multiple props or rooms
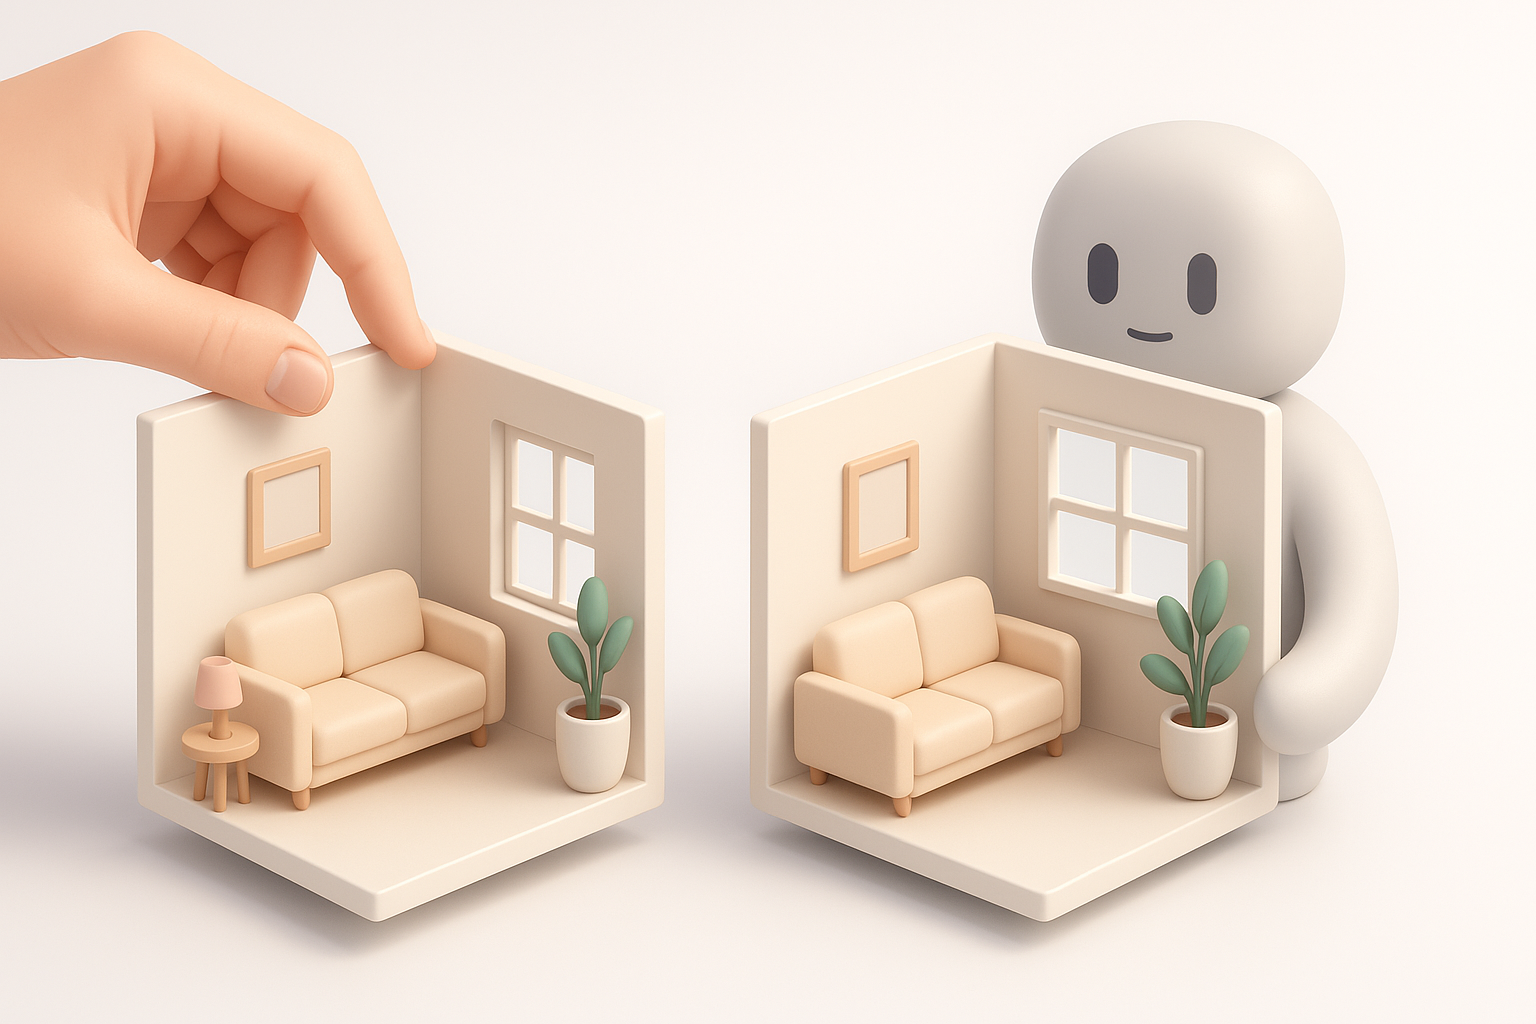
Balancing Automation with Creative Control
While automation accelerates production, I always review and adjust the results. AI tools can miss subtle style cues or create artifacts, so I blend automated outputs with manual tweaks to ensure quality and consistency.
My approach:
- Use AI for repetitive or technical tasks
- Reserve manual work for focal points and hero assets
- Regularly compare outputs to references
Comparing Manual and AI-Assisted Room Modeling Approaches
Pros and Cons from My Experience
Manual Modeling:
- Pros: Full creative control, precise style matching
- Cons: Time-consuming, repetitive for similar assets
AI-Assisted Modeling:
- Pros: Rapid prototyping, automates technical steps
- Cons: May require cleanup, less nuanced results
I choose the approach based on deadlines, asset complexity, and required polish.
Choosing the Right Method for Your Project
Decision factors:
- Tight deadlines: Lean on AI for speed
- Unique or hero assets: Go manual or heavily refine AI outputs
- Large asset libraries: Use automation for batch processing
Tip: I often blend both—AI for the base, manual for the finish.
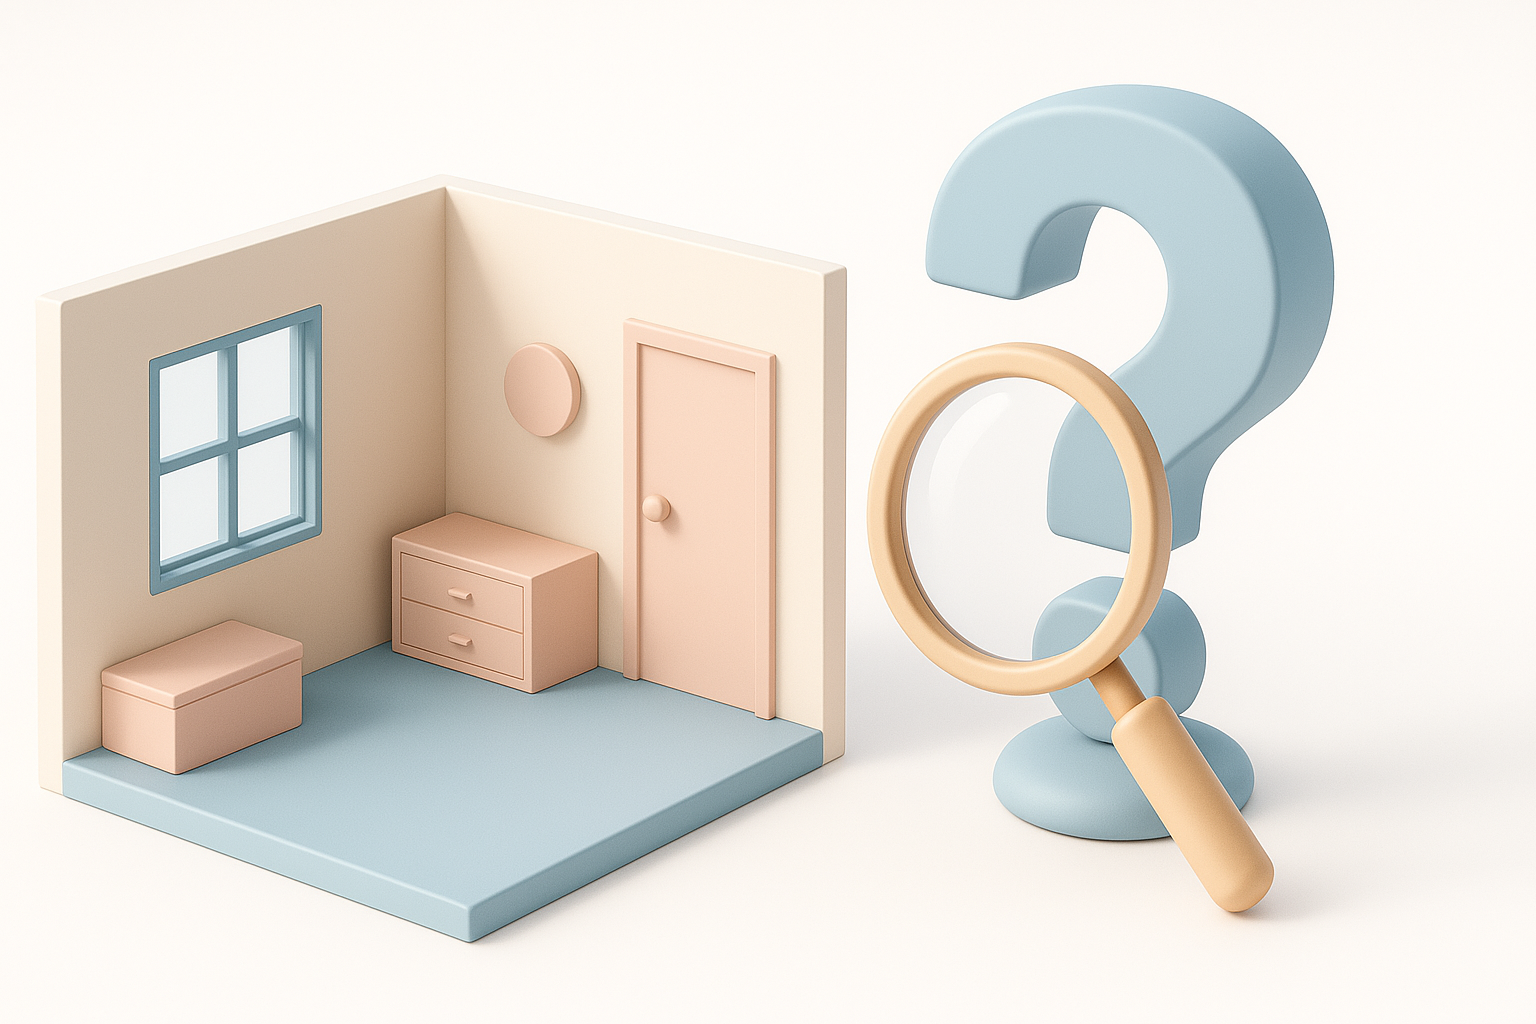
Troubleshooting and Common Challenges
Fixing Artifacts and Geometry Issues
Artifacts like flipped normals, stray vertices, or shading errors can creep in—especially with automated tools. I inspect models in wireframe and shaded modes, using cleanup tools or manual fixes.
Checklist:
- Check for non-manifold geometry
- Recalculate normals and merge doubles
- Test in target engine for lighting/shadow bugs
Ensuring Consistent Style and Quality
Maintaining a unified style across a room is critical. I standardize material palettes, lighting setups, and prop proportions. For team projects, I create a style guide and review assets regularly.
Tips:
- Use reference boards for color/material consistency
- Review all assets in context before final export
- Get feedback early to catch inconsistencies
With these strategies, I consistently deliver high-quality 3D room models—whether working solo or in a team, for games, XR, or design. The right blend of AI automation and hands-on artistry is the key to both speed and standout results.