Creating 3D Printed Model Trains: Expert Workflow & Tips
скачать 3d модель для chicken gun
Designing and producing 3D printed model trains has transformed the way I approach model railroading. With the right workflow, I can turn digital concepts into detailed, durable models faster and with more creative control than ever. This guide is for hobbyists and professionals who want reliable, production-ready results—whether you’re new to 3D printing or looking to integrate AI into your process. I’ll share my proven methods, practical tips, and lessons learned from years of hands-on experience.
Key takeaways:
- 3D printing unlocks custom, detailed model train parts with rapid iteration.
- Accurate scale and thoughtful segmentation are crucial for print success.
- AI tools, like Tripo, can automate complex modeling steps and boost productivity.
- Material and printer choices directly impact durability and finish.
- Careful post-processing and assembly make the difference between “good” and “great.”
- Troubleshooting and learning from failures is part of mastering the workflow.
Overview of 3D Printed Model Trains
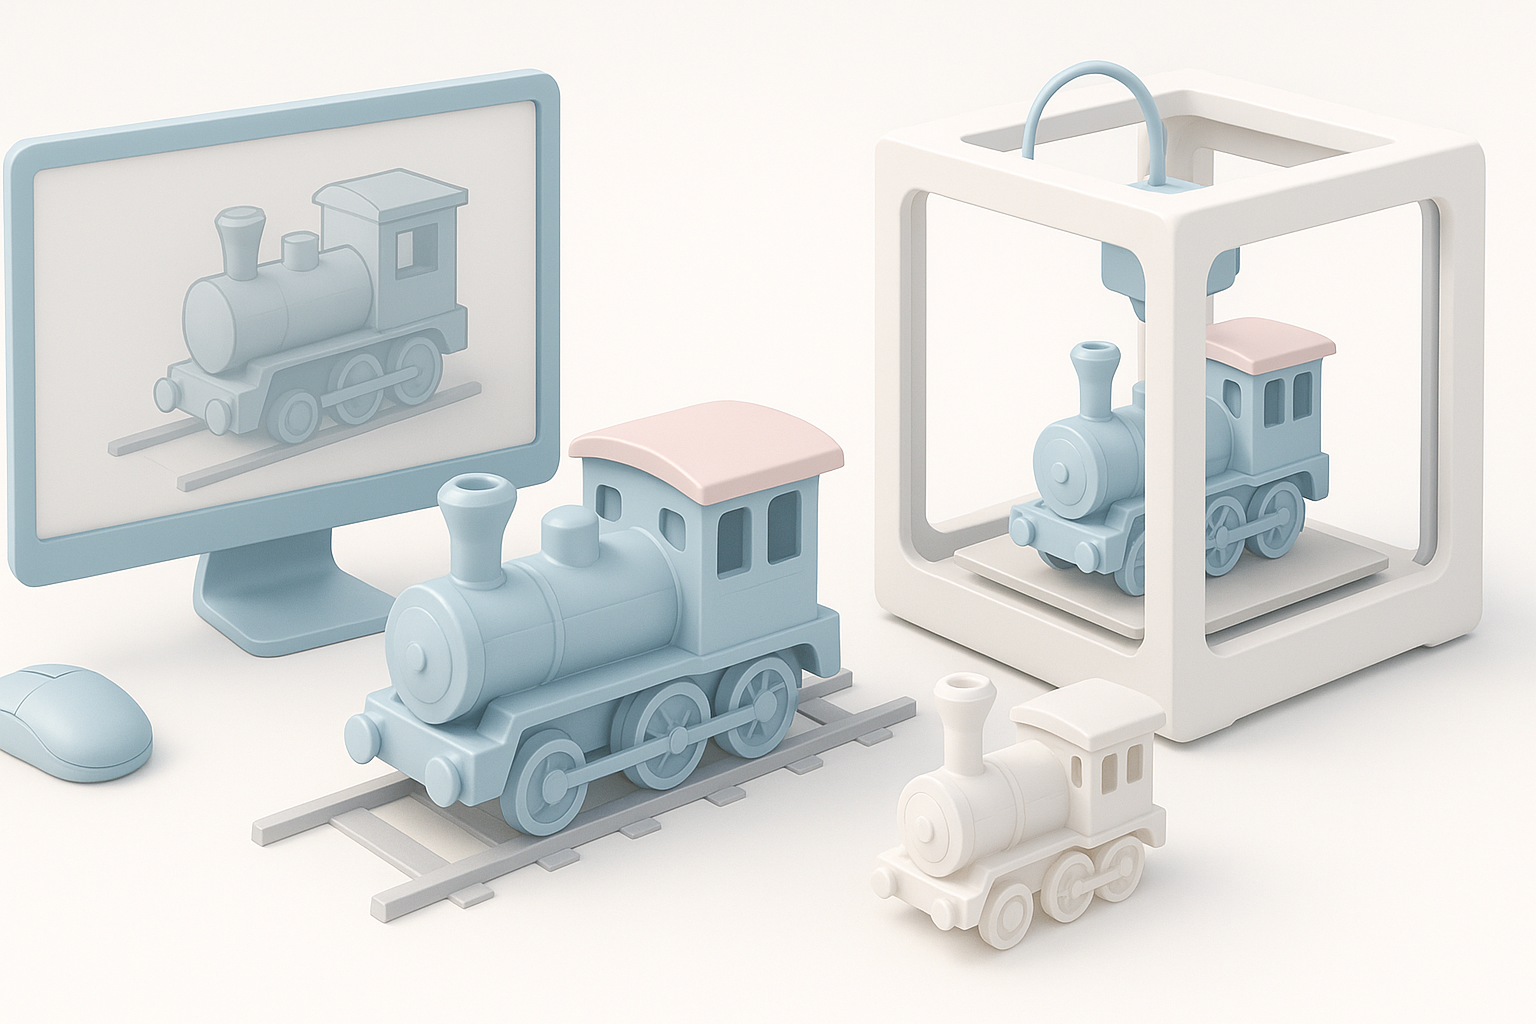
What Makes 3D Printing Ideal for Model Trains
From my experience, 3D printing is a game-changer for model train enthusiasts. It allows me to design custom locomotives, rolling stock, and scenery parts that would be impossible—or prohibitively expensive—to source otherwise. The flexibility to iterate, modify, and print on demand means I can experiment with rare prototypes or unique scales.
Key advantages include:
- Customization: Easily design or tweak components for unique layouts.
- Rapid prototyping: Test fit and function before committing to final prints.
- Cost efficiency: Print only what you need, when you need it.
Key Takeaways from My Experience
- Start simple: Begin with small, single-part prints before tackling complex assemblies.
- Document your settings: Keep notes on what works for each material and printer.
- Embrace iteration: Expect to refine your models and print settings over multiple runs.
Designing Model Train Components for 3D Printing
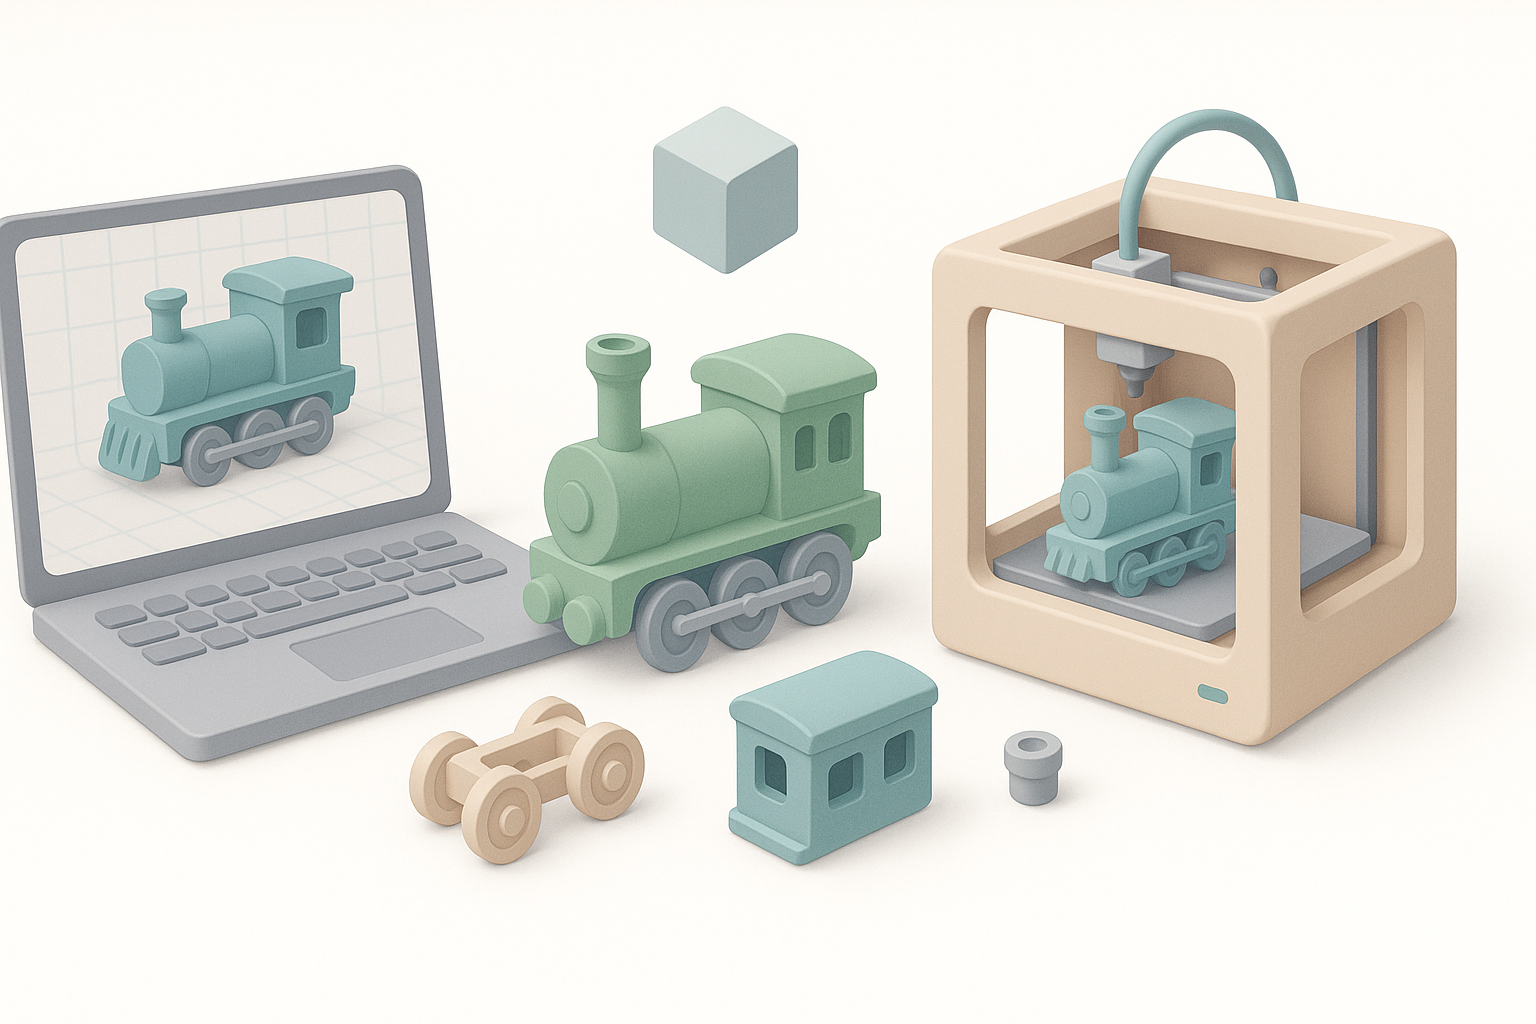
Choosing the Right Software and Tools
I’ve found that the right software stack saves hours of frustration. For CAD and mesh modeling, I use a mix of parametric and sculpting tools, depending on the part. When I need to accelerate the process or generate organic shapes, AI-powered platforms like Tripo are invaluable—they quickly turn sketches or references into workable 3D assets.
Checklist:
- Use CAD for chassis and mechanical parts.
- Use mesh sculpting for organic details (e.g., figures, scenery).
- Leverage AI tools for rapid prototyping and complex detailing.
Best Practices for Accurate Scale and Detail
Model trains demand precision. I always start by locking in the correct scale (e.g., HO, N, O) in my modeling software. Consistent measurement references are a must—double check all dimensions against real-world prototypes.
Tips:
- Model at 1:1 scale, then scale down for printing.
- Add exaggerated details for small scales; fine features may not print well.
- Use reference photos and blueprints wherever possible.
Preparing Files for 3D Printing
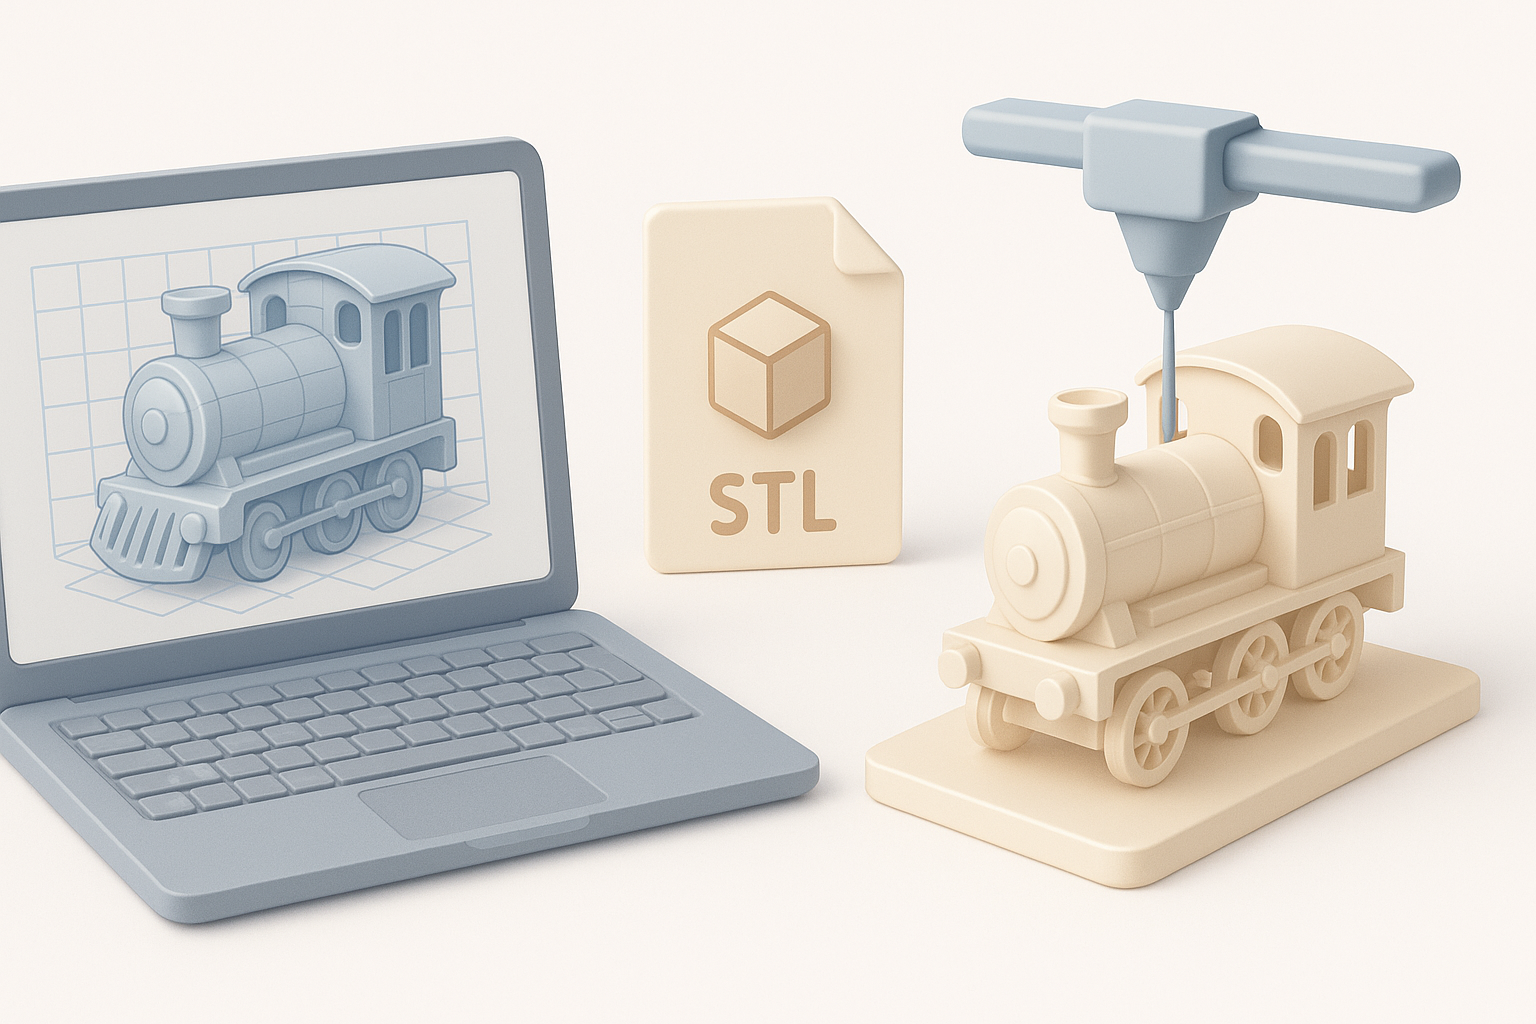
Optimizing Models for Printability
Before exporting, I inspect every model for printability. This means checking wall thickness, minimizing overhangs, and ensuring all geometry is manifold (watertight). I also hollow larger parts to save material and reduce warping.
Pitfalls to avoid:
- Thin walls (<1mm) can lead to fragile prints.
- Overhangs >45° may require supports—plan accordingly.
Segmentation, Retopology, and Texturing Tips
Complex models often need to be split into multiple parts for better printing and assembly. I use segmentation tools to break up models logically (e.g., separating the body, chassis, and small details). Retopology—especially with AI-powered tools—helps reduce mesh complexity without sacrificing detail, making slicing and printing more reliable.
Workflow:
- Segment models by color/material or assembly step.
- Use retopology to optimize mesh for faster slicing.
- Apply base textures or color guides for easier painting later.
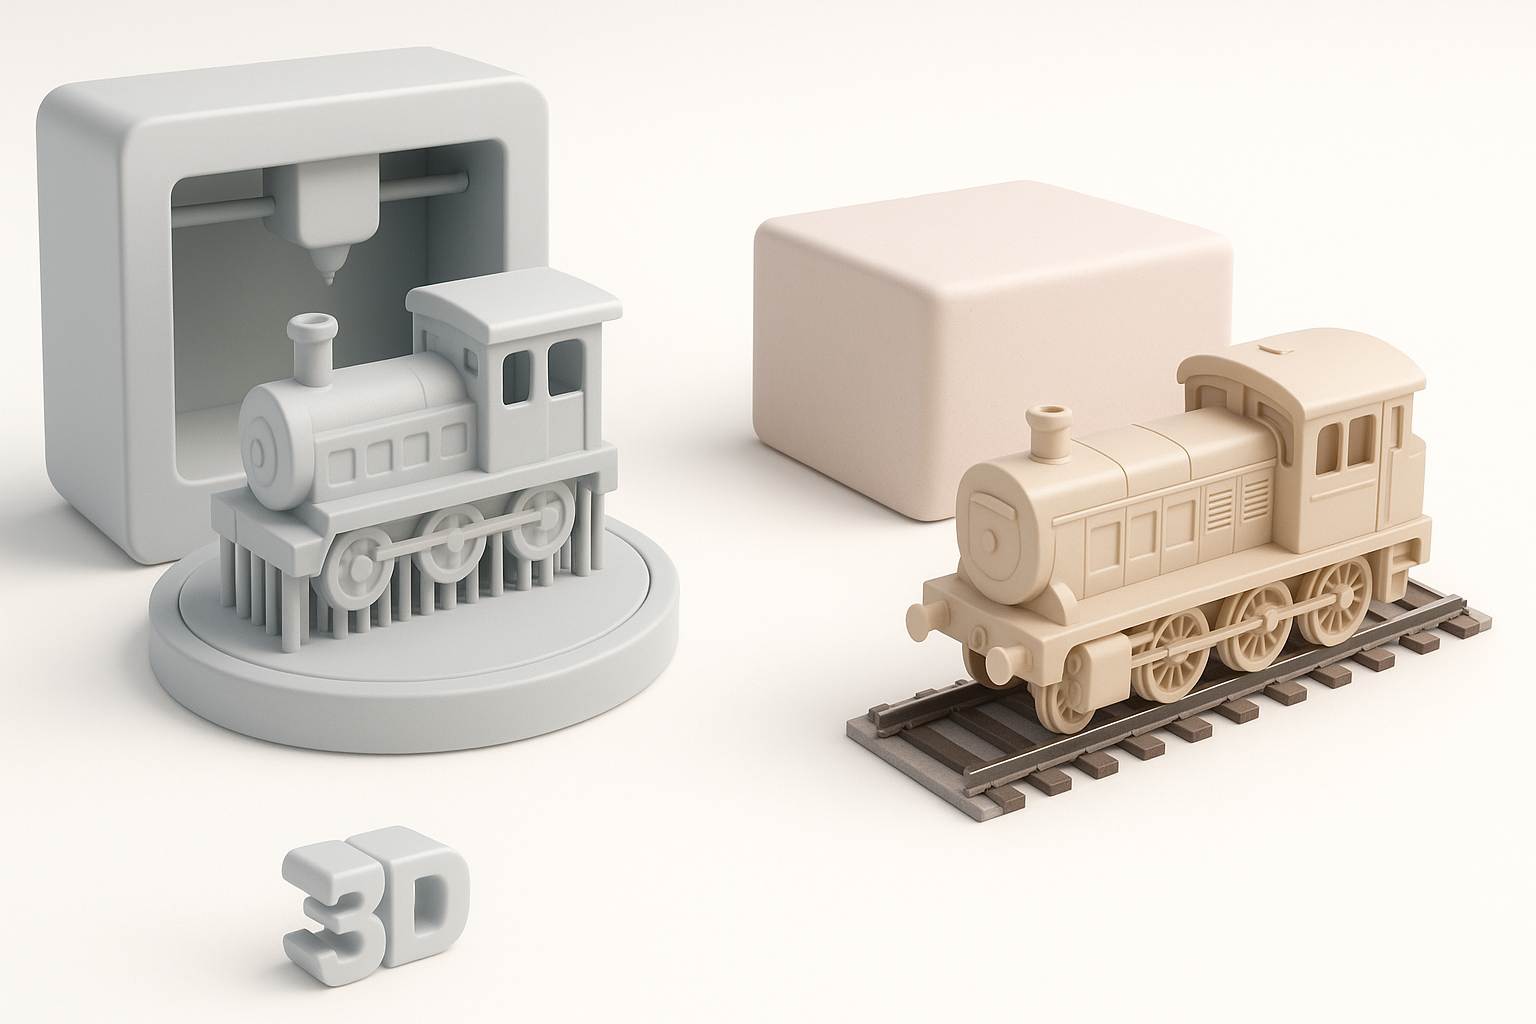
Selecting Materials and Printers
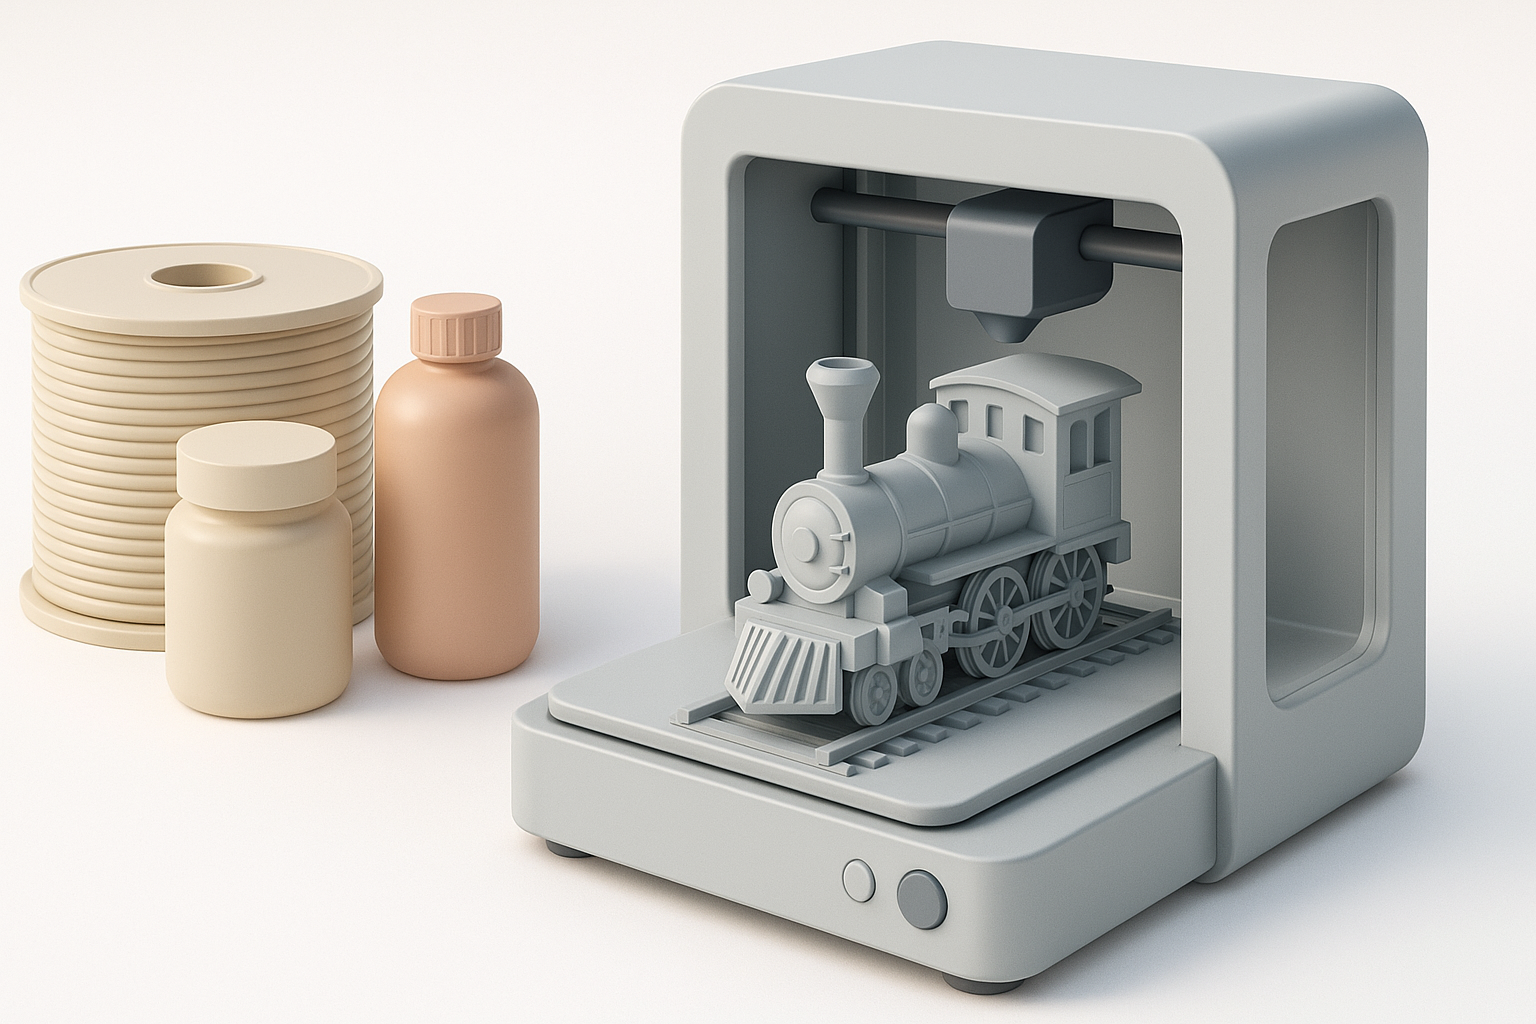
Comparing Filament Types and Print Technologies
I’ve tested a range of materials and printers for model trains. PLA is easy to print and works for most decorative parts, but I switch to ABS or PETG for parts needing more strength or heat resistance. For ultra-fine detail, resin printers (SLA/DLP) outperform FDM, though they require more post-processing.
Comparison:
- PLA: Easy, inexpensive, good for display models.
- ABS/PETG: Stronger, better for functional parts.
- Resin: Best for small, highly detailed parts.
What I’ve Learned About Durability and Finish
Durability comes down to both material and print orientation. I orient parts to minimize layer stress and use thicker walls for load-bearing components. For a smooth finish, post-processing is key—resin prints need less sanding, but all prints benefit from careful priming and painting.
Post-Processing and Assembly
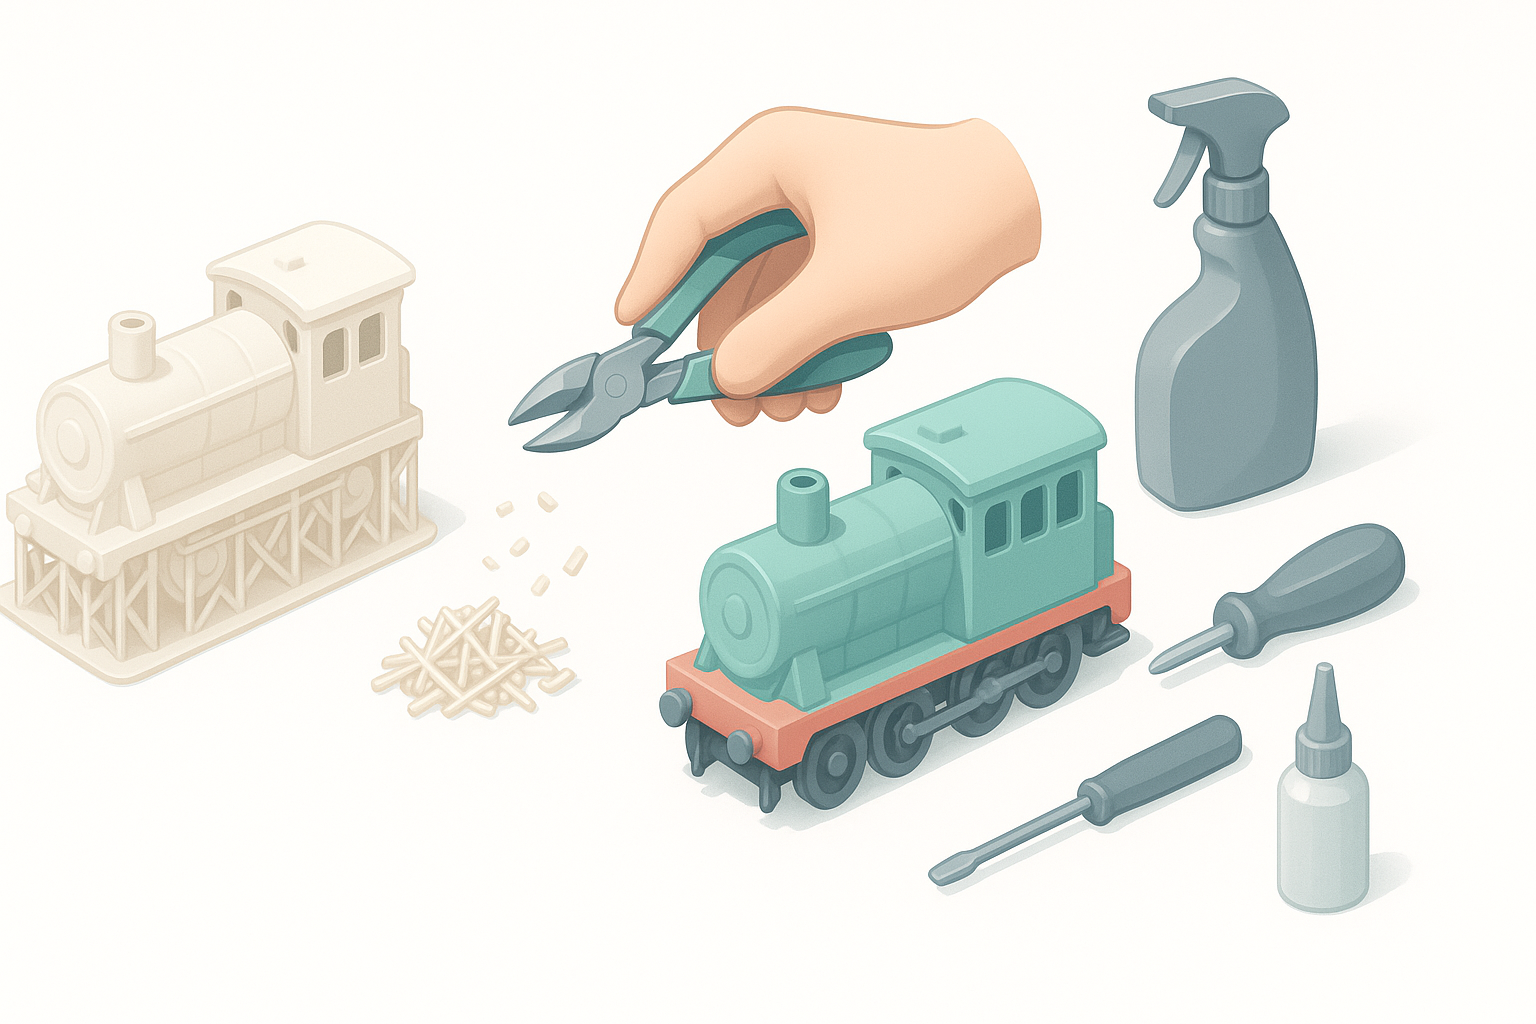
Cleaning, Painting, and Detailing Techniques
Cleaning up prints is a must. I remove supports, sand rough spots, and wash resin prints before priming. For painting, I use airbrushes for large surfaces and fine brushes for details. Weathering powders and washes bring realism to the finish.
Tips:
- Wash resin prints in isopropyl alcohol and cure fully.
- Use filler primer to smooth FDM layer lines.
- Seal painted models with a matte or gloss clear coat.
Assembly Workflow: My Step-by-Step Approach
I always dry-fit parts before gluing. For complex assemblies, I use alignment pins or tabs modeled into the parts. Cyanoacrylate (super glue) works well, but for larger surfaces, two-part epoxy gives a stronger bond.
My workflow:
- Dry-fit all parts.
- Sand and adjust joints as needed.
- Glue in stages, allowing each section to cure.
- Touch up paint and add decals last.
Integrating AI Tools into the Workflow
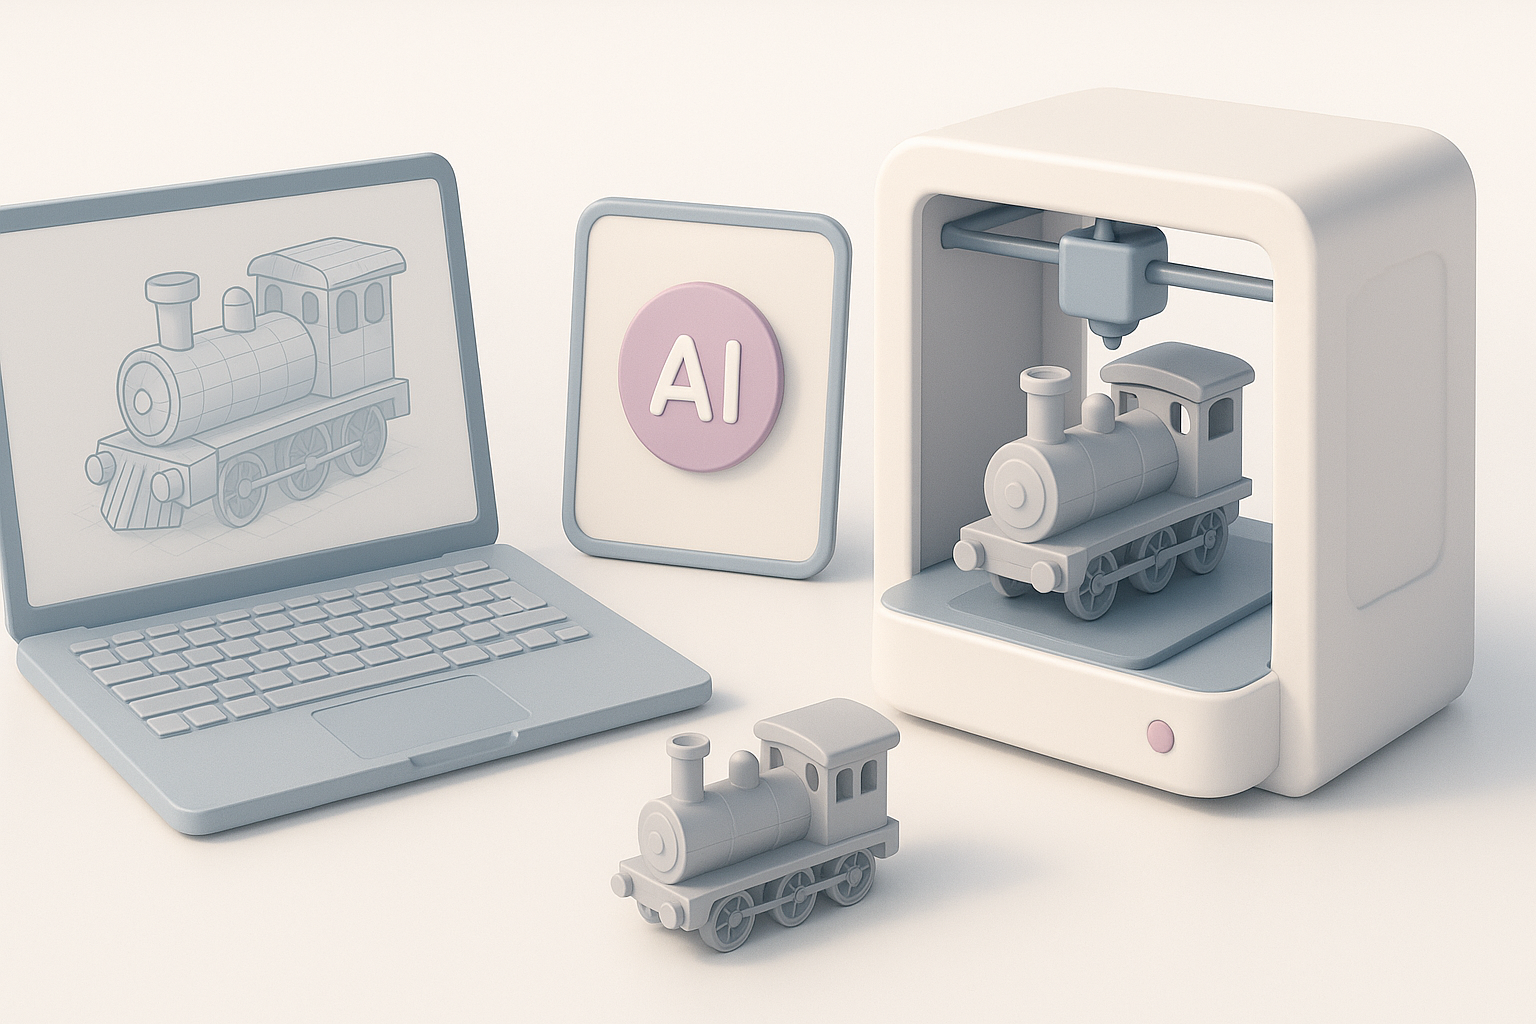
How AI Streamlines Model Creation
AI platforms like Tripo have become a regular part of my workflow. They can generate base meshes from sketches or photos, automate segmentation, and even suggest optimal print orientations. This saves hours, especially when iterating on complex designs.
Tips for Using AI Platforms Effectively
- Provide clear input: Clean sketches or reference images yield better results.
- Review and edit AI-generated models—don’t assume perfection.
- Use AI for repetitive or tedious tasks (e.g., retopology, basic rigging), but add final touches manually for best results.
Common Challenges and Solutions
Troubleshooting Print Issues
Print failures are inevitable. Common issues I’ve faced include warping, stringing, and poor adhesion. Each problem has a solution—often involving tweaks to bed leveling, temperature, or print speed.
Quick fixes:
- Warping: Use a heated bed and brim/raft.
- Stringing: Lower print temperature and enable retraction.
- Poor adhesion: Clean the bed and adjust first layer settings.
Lessons Learned from Failed Prints
Every failed print is a learning opportunity. I keep a log of what went wrong and what fixed it. Most problems trace back to model errors, incorrect settings, or material issues. Iteration and patience are key.
Comparing 3D Printing to Traditional Model Train Methods
Pros and Cons Based on My Experience
3D printing offers unmatched flexibility and speed for custom parts, but it’s not always the best choice for every job. Traditional methods—like kitbashing or scratch-building—still excel for certain textures and materials.
Pros:
- Customization and rapid prototyping.
- Cost-effective for small runs or unique parts.
Cons:
- Surface finish may require extra work.
- Not all materials (e.g., metals, flexible parts) are easily printable.
When to Use 3D Printing vs. Other Techniques
I use 3D printing for bespoke or hard-to-find components, especially when I need multiple identical parts. For large, simple shapes or classic materials (wood, metal), traditional methods are often faster and more authentic.
Rule of thumb:
If you need detail, customization, or rapid iteration—go digital. For classic craftsmanship or bulk materials, stick with traditional techniques.
By combining modern 3D printing and AI tools with tried-and-true modeling skills, I’ve unlocked new creative possibilities in model railroading. The key is to keep experimenting, learning, and refining your workflow with every project.