Creating Realistic 3D Skin Models: Techniques and Best Practices
Creating lifelike 3D skin is one of the most challenging—and rewarding—tasks in digital modeling. In my experience, nailing the look of skin requires a blend of anatomical knowledge, attention to detail, and the right tools. This guide is for artists, developers, and anyone aiming to elevate their 3D characters or assets with convincing skin. I’ll share what works, common mistakes, and how I leverage AI-powered tools like Tripo to streamline my workflow without sacrificing quality.
Key takeaways:
- Strong anatomical understanding is essential for believable skin.
- High-quality references and research drive realism.
- Layered workflows (sculpting, texturing, shading) yield the best results.
- Subsurface scattering is critical for lifelike skin appearance.
- AI tools can accelerate workflows but require critical oversight.
- Troubleshooting and optimization are ongoing parts of the process.
Executive Summary: Key Insights on 3D Skin Modeling
What I’ve Learned About Realistic Skin in 3D
Realistic 3D skin is all about subtlety. Over the years, I’ve learned that small details—like pore direction and micro-breakups in color—make or break believability. It’s not just about sculpting bumps or painting colors; it’s about layering the right details at the right stage. I always emphasize the importance of understanding how light interacts with skin, which often means spending extra time on shading and subsurface scattering.
Common Pitfalls and How to Avoid Them
The most common traps I see (and have fallen into myself) include over-detailing at the wrong scale, neglecting reference, and skipping proper shading setup. To avoid these:
- Always start broad, then add detail.
- Use references for both color and structure.
- Test skin under varied lighting early and often.
- Don’t rely solely on texture maps—shading is just as important.
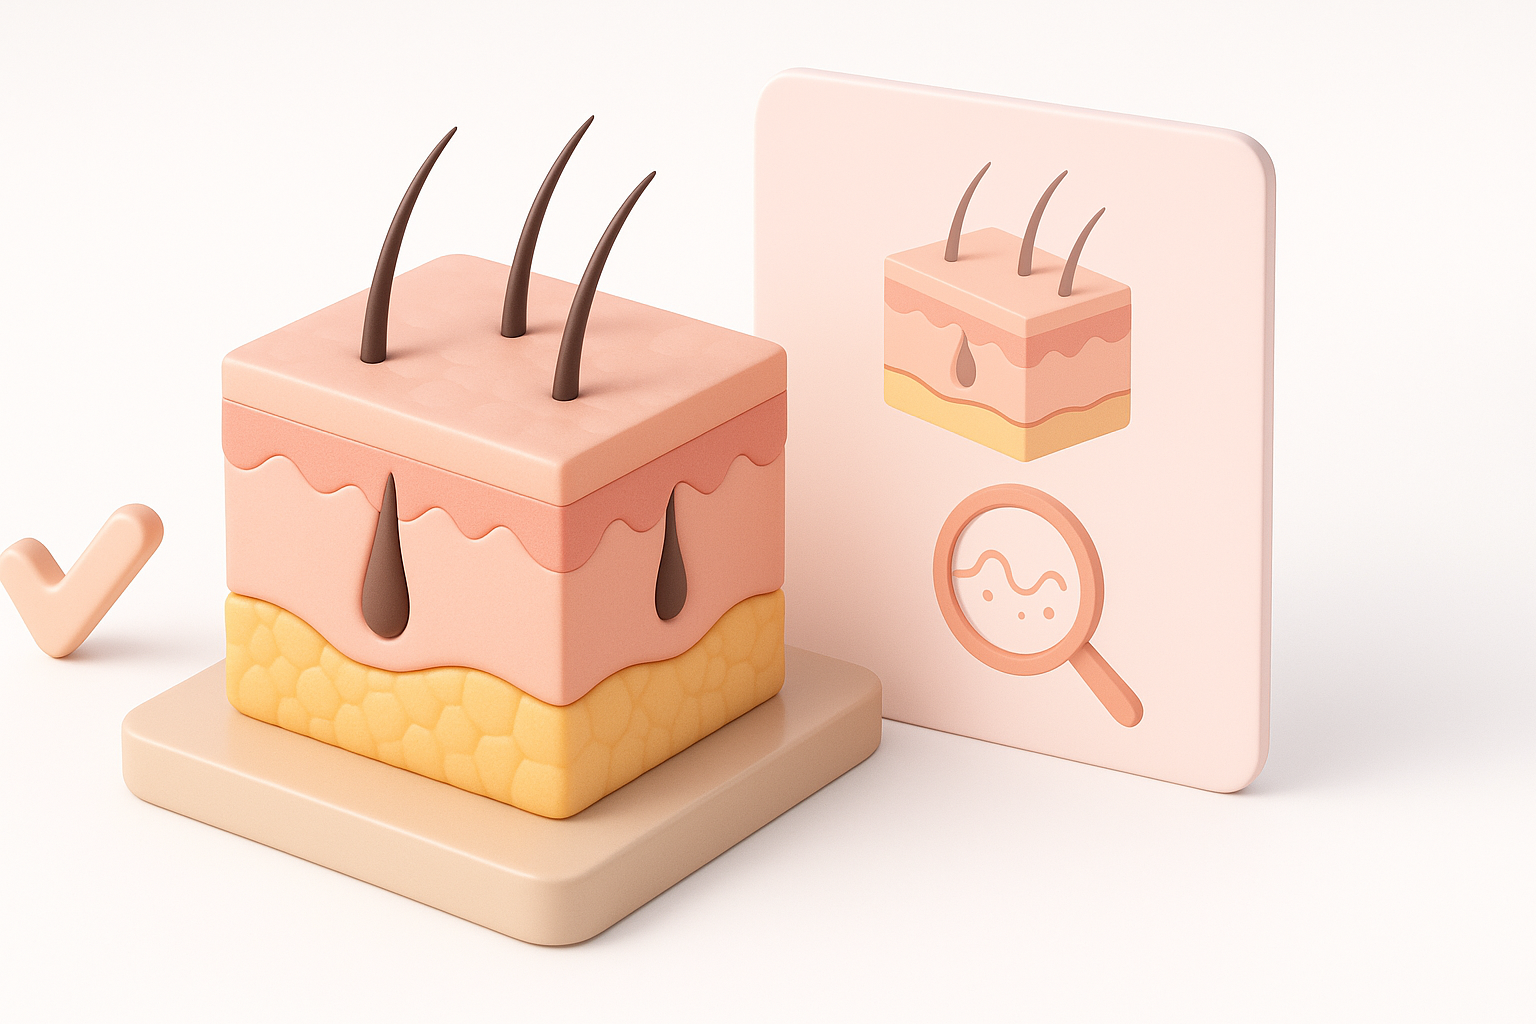
Understanding the Fundamentals of 3D Skin Modeling
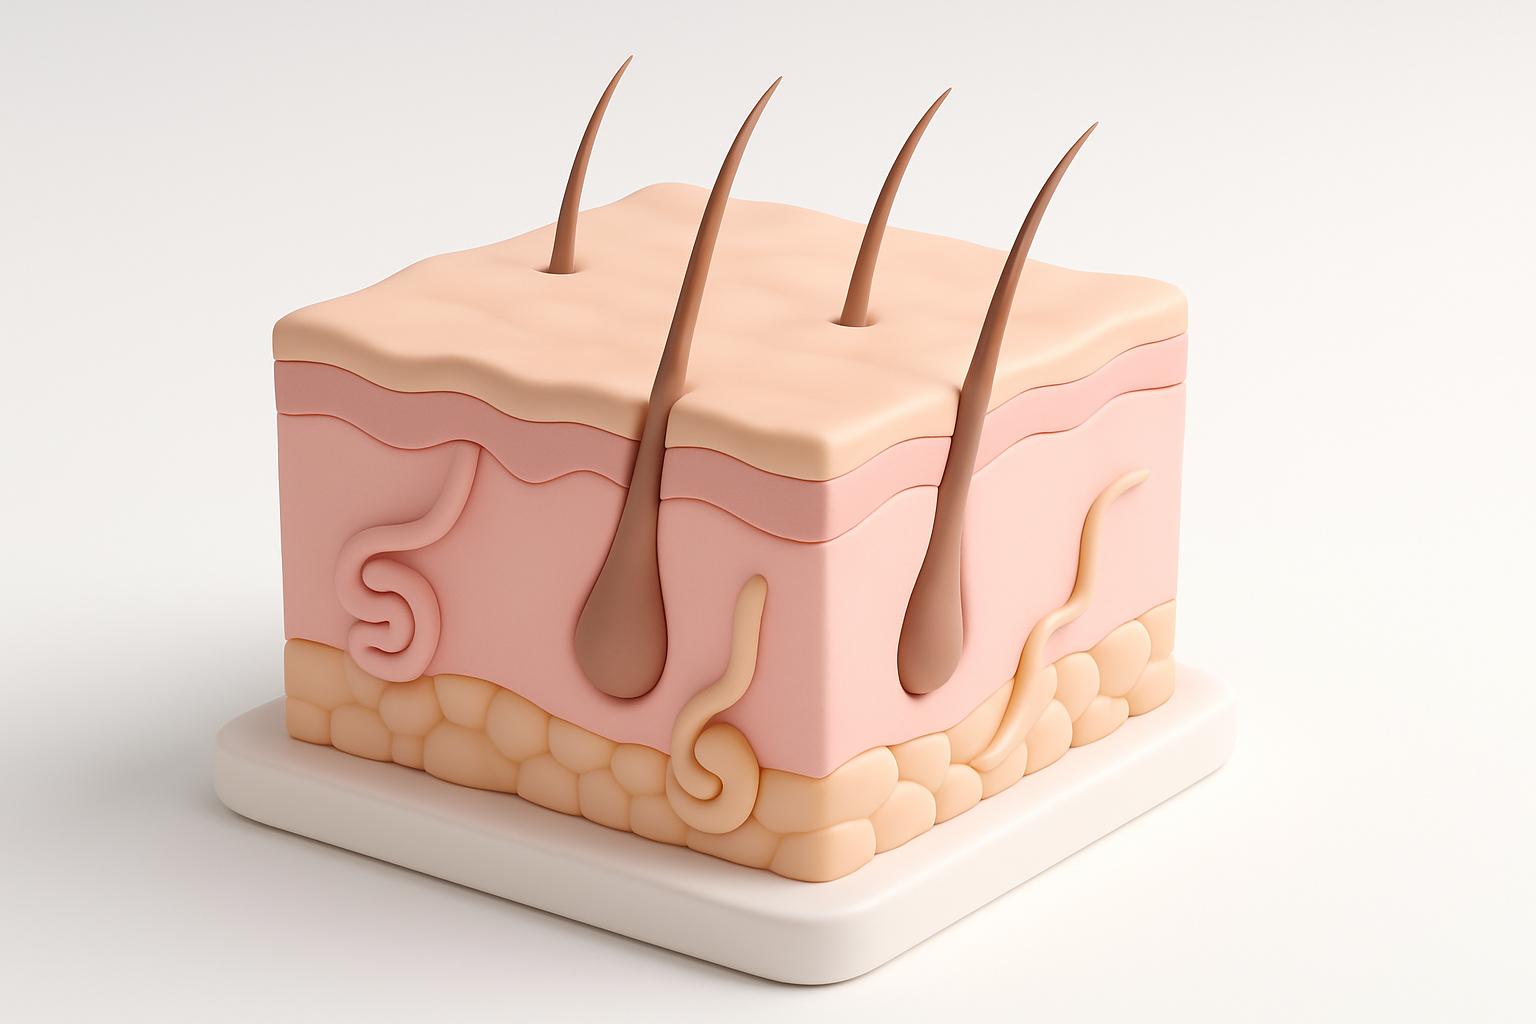
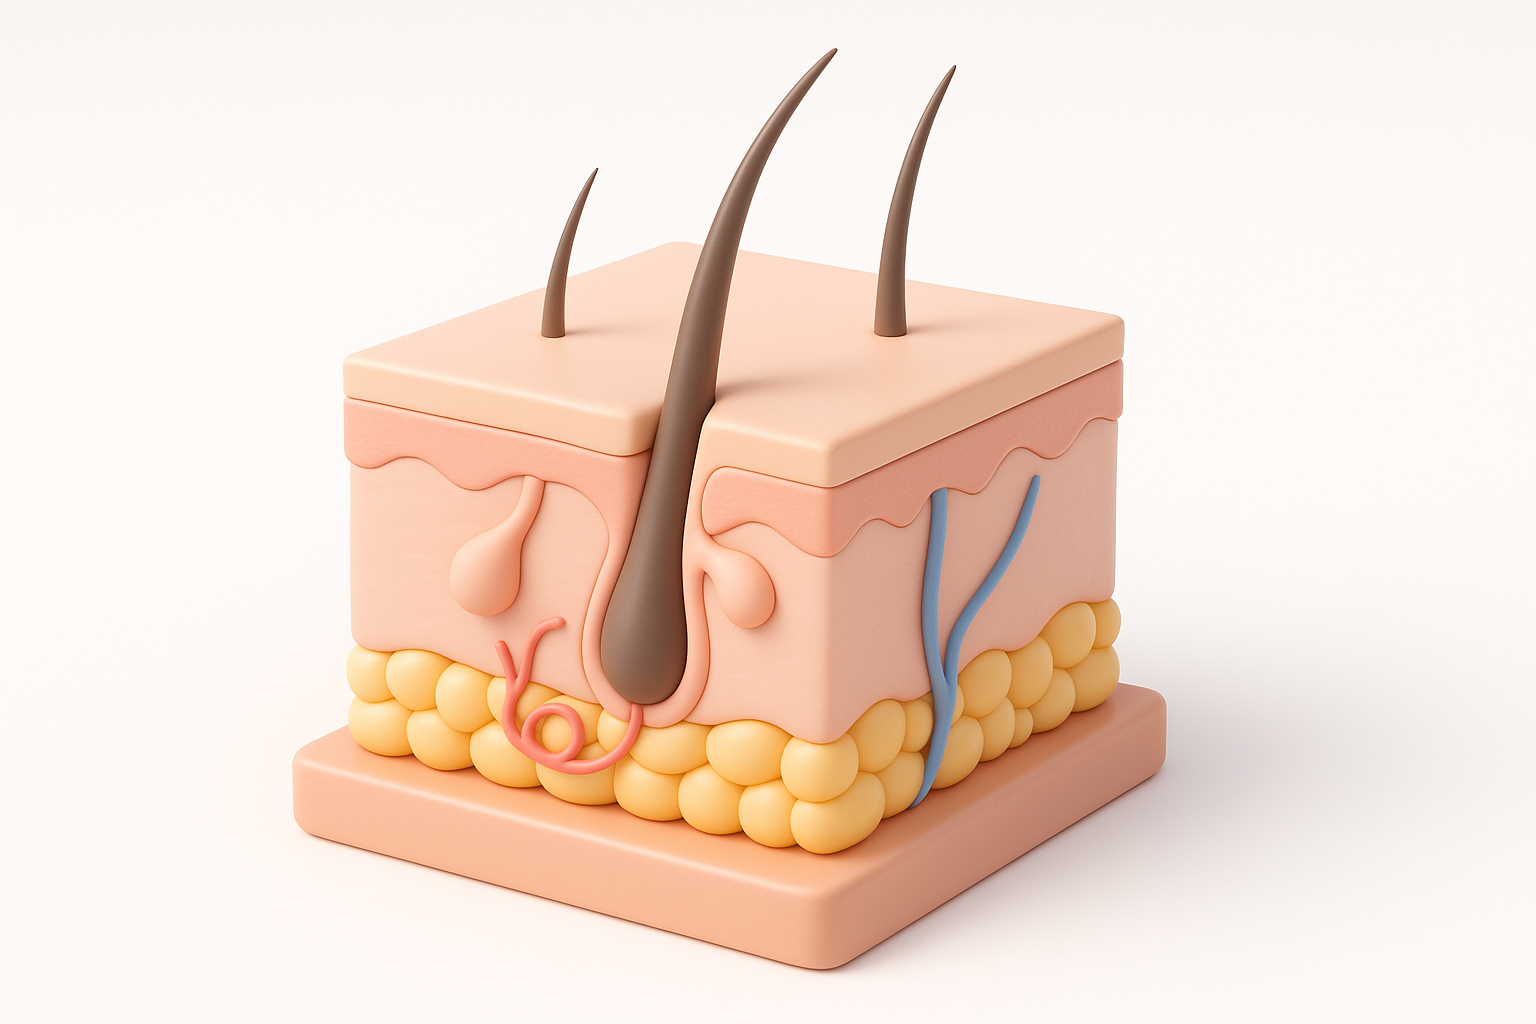
Essential Anatomy and Surface Details
I’ve found that realistic skin starts with solid anatomical foundations. Knowing where bone, fat, and muscle sit beneath the surface changes how skin stretches and folds. I regularly review anatomy charts and study real-life photos to inform my sculpting. Key surface details to focus on:
- Pore patterns (vary by area)
- Wrinkles and folds (especially around joints and facial features)
- Micro-roughness (tiny irregularities, not just big pores)
Mini-checklist:
- Block out main forms before adding detail
- Identify high-movement areas for extra attention
- Observe how skin transitions (e.g., from cheek to nose)
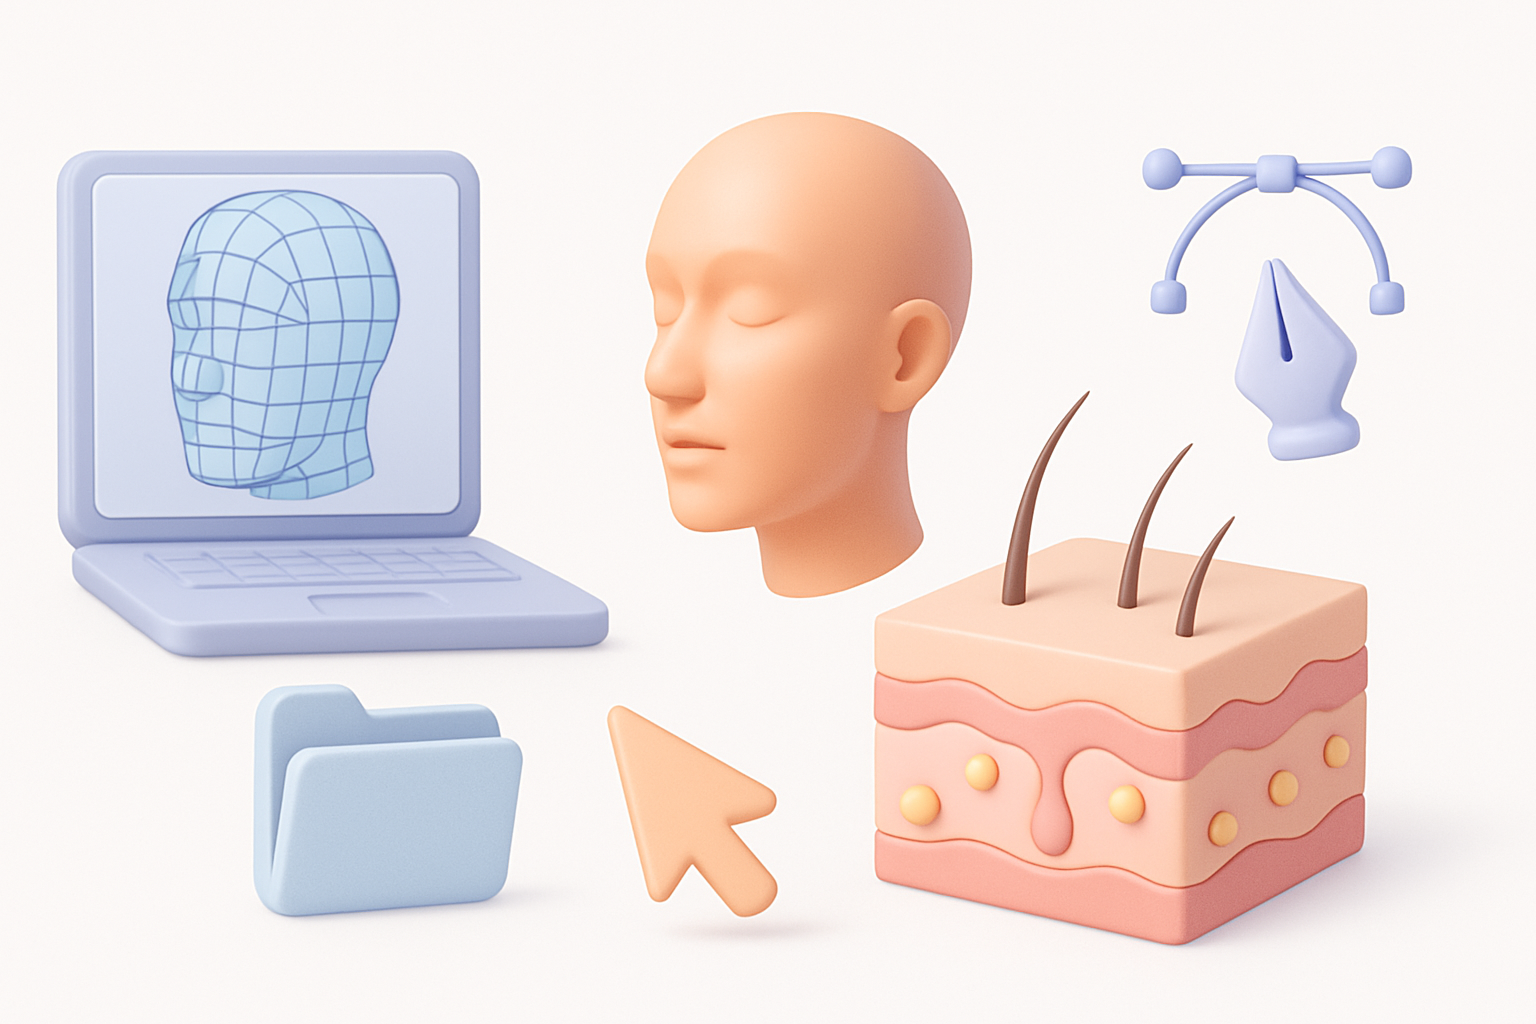
Reference Gathering and Research Tips
Quality references are non-negotiable. I build moodboards with high-res photos, medical diagrams, and even macro shots of skin. When possible, I photograph my own references under controlled light. For texturing, I look for images with neutral lighting to avoid baked-in shadows.
Reference tips:
- Use diverse skin tones and ages for variety
- Study real-time footage to see how skin deforms
- Annotate references to track unique features
Step-by-Step Workflow: Building a 3D Skin Model
Blocking Out the Base Mesh
I always start with a clean, well-proportioned base mesh. Whether I create it from scratch or use a template, the focus is on topology that supports deformation and detail. In Tripo, I can generate a base mesh from text prompts or sketches, which speeds up this initial stage.
Steps:
- Define major forms (head, limbs, torso) with simple geometry.
- Check edge flow around joints and facial features.
- Keep subdivisions low until the silhouette is solid.
Sculpting Fine Details and Pores
Once the base is solid, I subdivide and start layering details. I use custom alphas and brushes for pores and wrinkles, varying intensity based on reference. In my experience, less is more—overdoing pores makes skin look artificial.
Tips:
- Use multi-resolution sculpting for flexibility.
- Apply details in passes: primary, secondary, tertiary.
- Frequently toggle between different zoom levels to check detail scale.
Texturing and Shading for Lifelike Skin
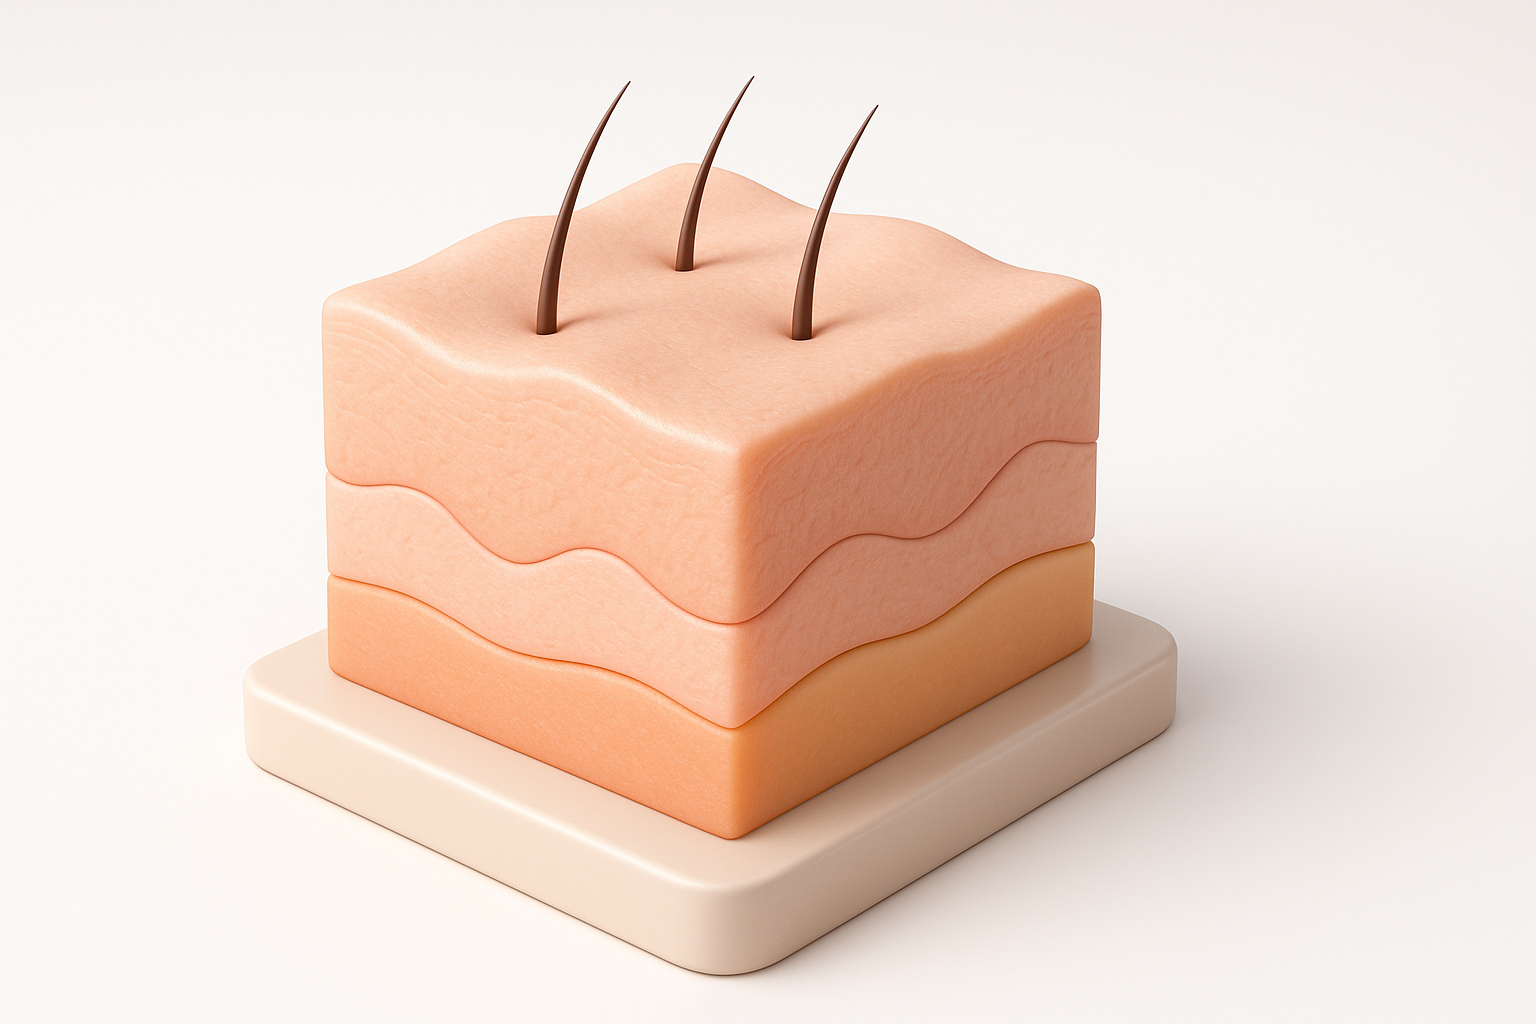
Painting Textures and Using Maps
I paint skin textures in layers—diffuse/albedo, subsurface, roughness, and sometimes specular. For color, I avoid flat tones and instead use subtle reds, yellows, and blues to mimic real skin. I often bake high-frequency details (like pores) into normal or displacement maps.
Texture map checklist:
- Diffuse/albedo: base color, freckles, veins
- Subsurface: deeper reds for blood-rich areas
- Roughness: varies by oiliness and moisture
- Normal/displacement: captures micro-details
Setting Up Subsurface Scattering
Subsurface scattering (SSS) is what gives skin its signature “glow.” I set up SSS early in shading, adjusting scale and color to match my references. Testing under different lighting scenarios is crucial—what looks good in one light may fail in another.
SSS setup tips:
- Use reference photos with backlighting to tune parameters.
- Adjust SSS radius to avoid waxy or muddy results.
- Layer SSS with surface specular for realism.
AI-Powered Tools and Automation in Skin Modeling
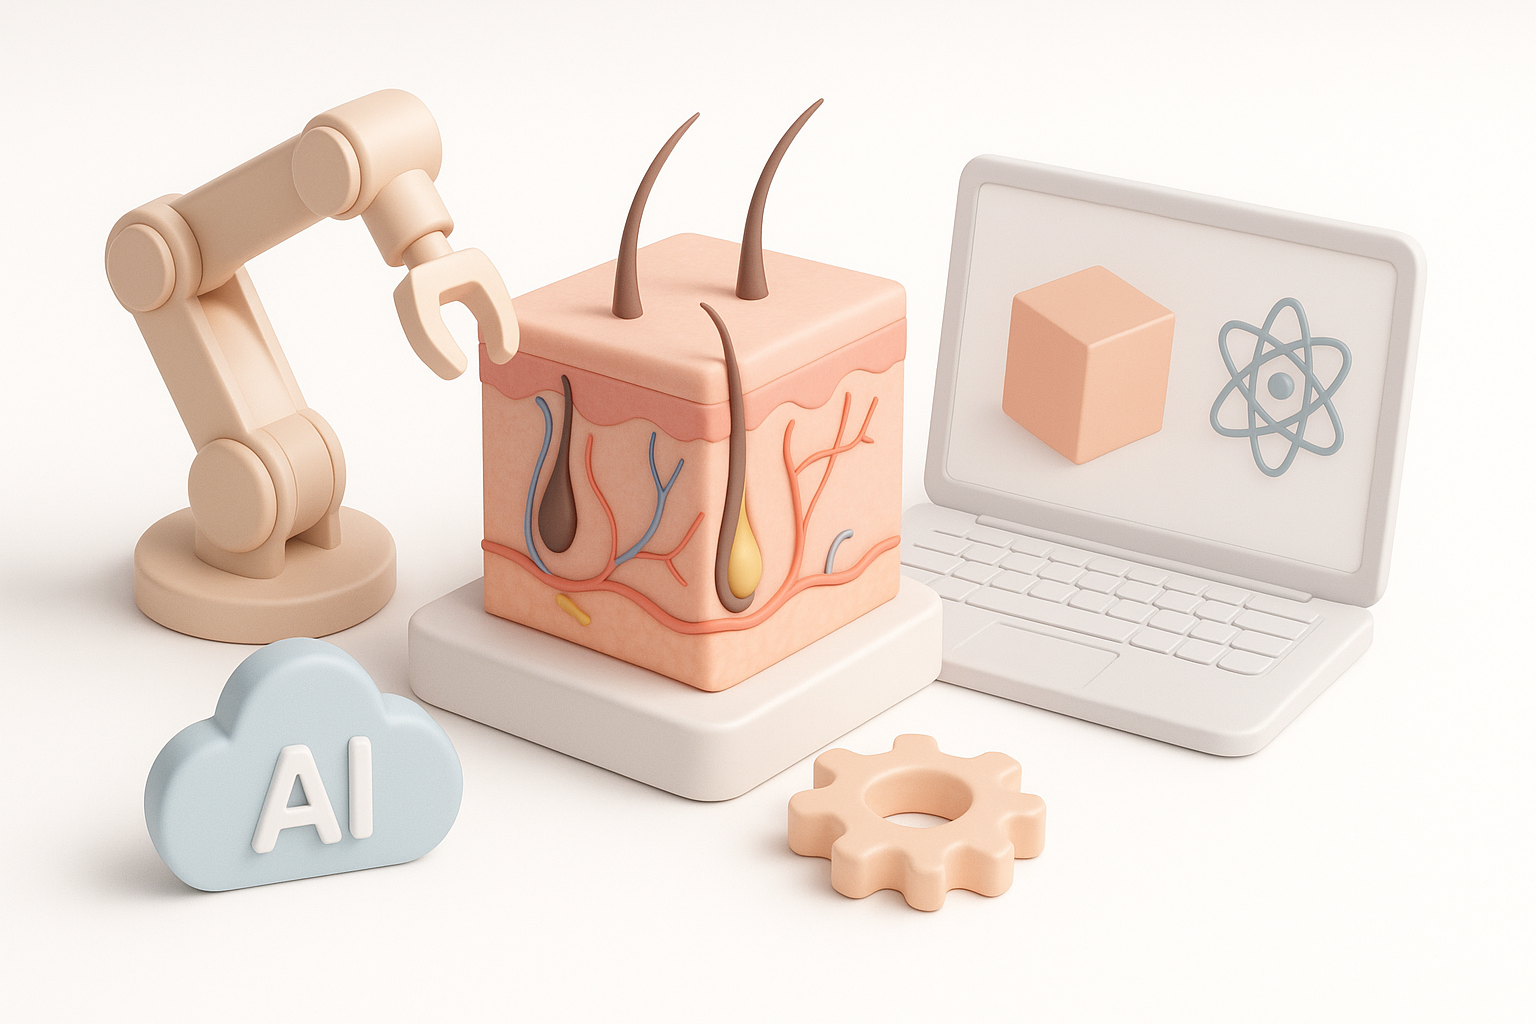
How I Use Tripo for Fast, High-Quality Results
Tripo’s AI generation is a major time-saver in my pipeline. I use it to quickly generate base meshes or textured variants from text or sketches, then refine as needed. The built-in segmentation and retopology tools help me get production-ready assets without manual cleanup.
My workflow:
- Input a prompt or sketch for base mesh generation.
- Use auto-segmentation to isolate skin regions.
- Apply AI-assisted texturing, then hand-paint or tweak for custom details.
Comparing Manual and Automated Approaches
While AI tools accelerate repetitive tasks, manual intervention is still essential for fine-tuning. I rely on automation for blocking and initial passes, but always review and adjust details, especially for hero assets. Automated results are best when used as a foundation, not a final product.
Pros and cons:
- AI tools: Fast, consistent, great for iteration.
- Manual work: Ultimate control, necessary for subtlety and uniqueness.
Best Practices and Troubleshooting Tips
Optimizing for Real-Time and Offline Rendering
For real-time (games, XR), I keep mesh density low and bake details into normal maps. For offline (film, high-res stills), I use higher poly counts and displacement. I always check assets in the target engine or renderer to catch issues early.
Optimization checklist:
- Bake micro-details for real-time workflows.
- Use LODs and texture atlases for performance.
- Test shading in both preview and final environments.
Fixing Common Artifacts and Issues
Artifacts like seams, stretching, or unnatural highlights are common. When I encounter them, I:
- Check UVs for distortion or overlap.
- Adjust normal and roughness maps for smooth transitions.
- Revisit SSS and specular settings if skin looks waxy or flat.
Troubleshooting tips:
- Use render passes to isolate issues.
- Compare with reference at every stage.
- Iterate—sometimes small tweaks make a big difference.
By combining anatomical knowledge, careful reference, layered workflows, and the right mix of manual and AI-powered tools, I consistently achieve realistic 3D skin. The process rewards patience and iteration—but the results are worth it.