How to Create a 3D Model of a Man: Expert Workflow & Tips
Creating a 3D model of a man—ready for production in games, film, or XR—has never been more efficient. In my experience, combining AI-powered platforms with hands-on sculpting and texturing delivers the best results: fast, accurate, and flexible. This guide covers my full workflow, from concept to export, and highlights practical choices, common pitfalls, and the best ways to leverage automation without sacrificing quality. Whether you’re a solo creator or part of a studio, these steps will help you streamline your process and avoid typical headaches.
Key takeaways
- Start with a clear concept and reference images for accuracy.
- Use AI-powered tools to quickly generate a base mesh and accelerate routine tasks.
- Manual refinement is essential for anatomy, proportions, and unique details.
- Prioritize clean topology for easy rigging and animation.
- Texture and rig with production-ready standards in mind.
- Always test exports in your target platform to catch issues early.
Overview: 3D Model Man Creation Process
Key steps from concept to production-ready model
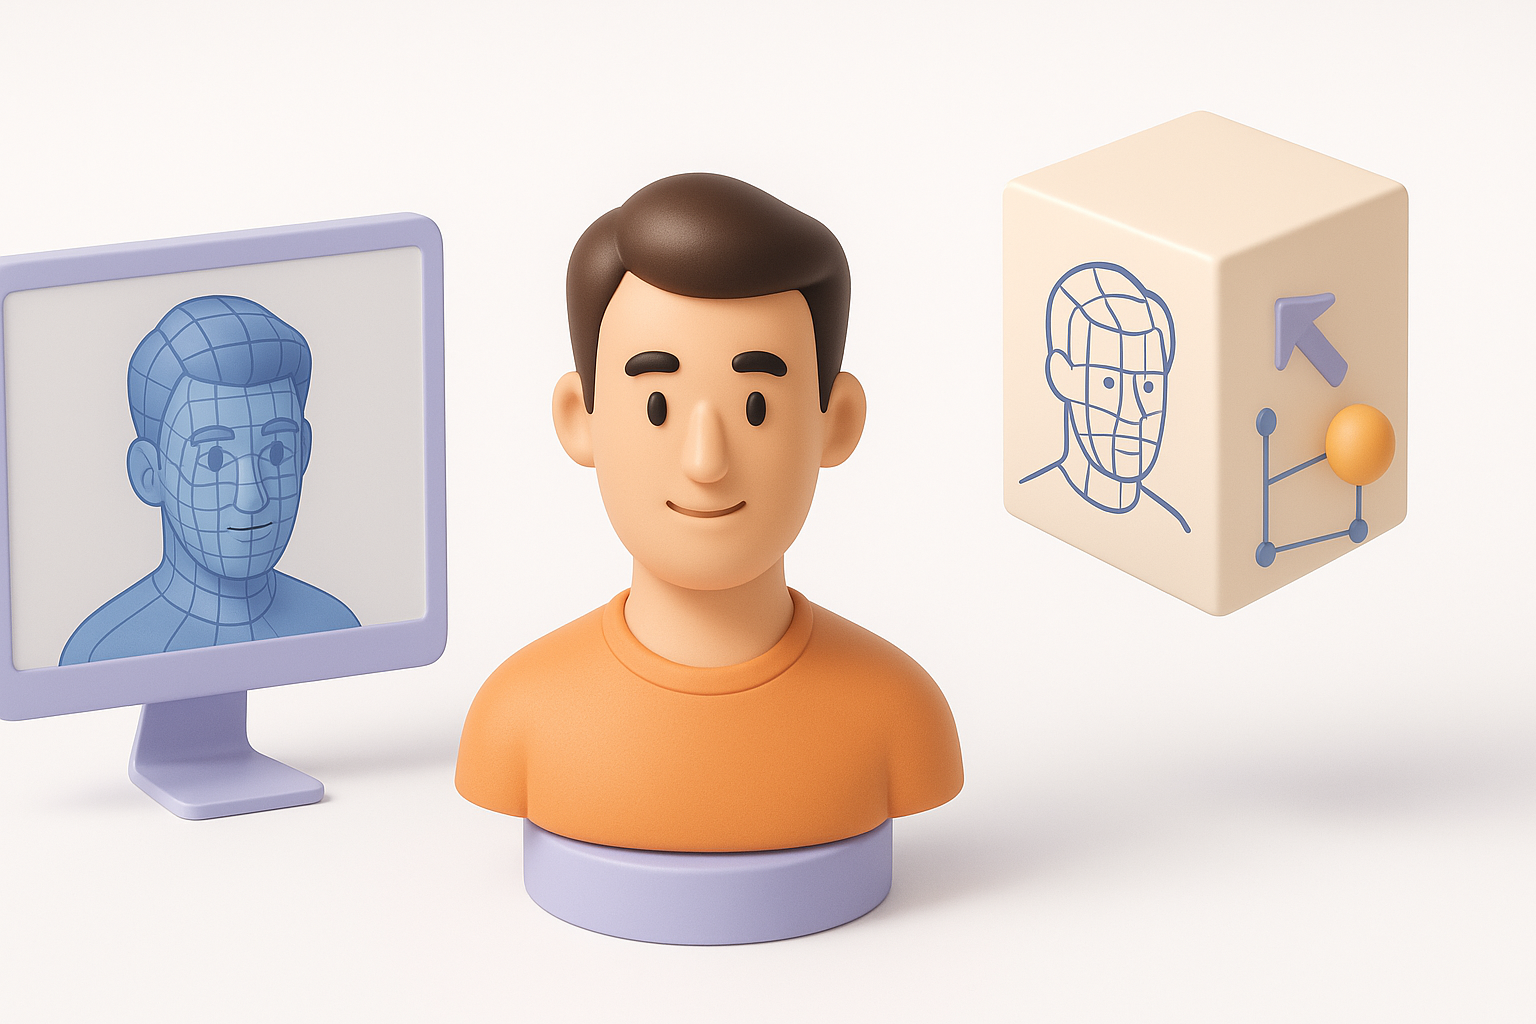
My typical process begins with gathering strong reference images—front, side, and sometimes three-quarter views. This foundation is crucial for anatomical accuracy and style consistency. I then use an AI-powered platform or traditional modeling software to generate a base mesh, followed by manual sculpting and retopology.
The workflow moves through these phases:
- Concept/reference gathering
- Base mesh generation (AI or manual)
- Sculpting and refining anatomy
- Retopology for clean mesh
- UV unwrapping and texturing
- Rigging and basic animation
- Export and integration
What I’ve learned from real-world projects
In real projects, speed and iteration matter. AI-powered tools have cut my base mesh creation time from hours to minutes, freeing me to focus on the creative aspects. However, I never skip manual passes for anatomy and topology—AI gets me close, but human touch delivers polish and believability.
Checklist:
- Always back up your base mesh before major changes.
- Reference real-world anatomy, not just stylized art.
- Test early and often in your target engine or renderer.
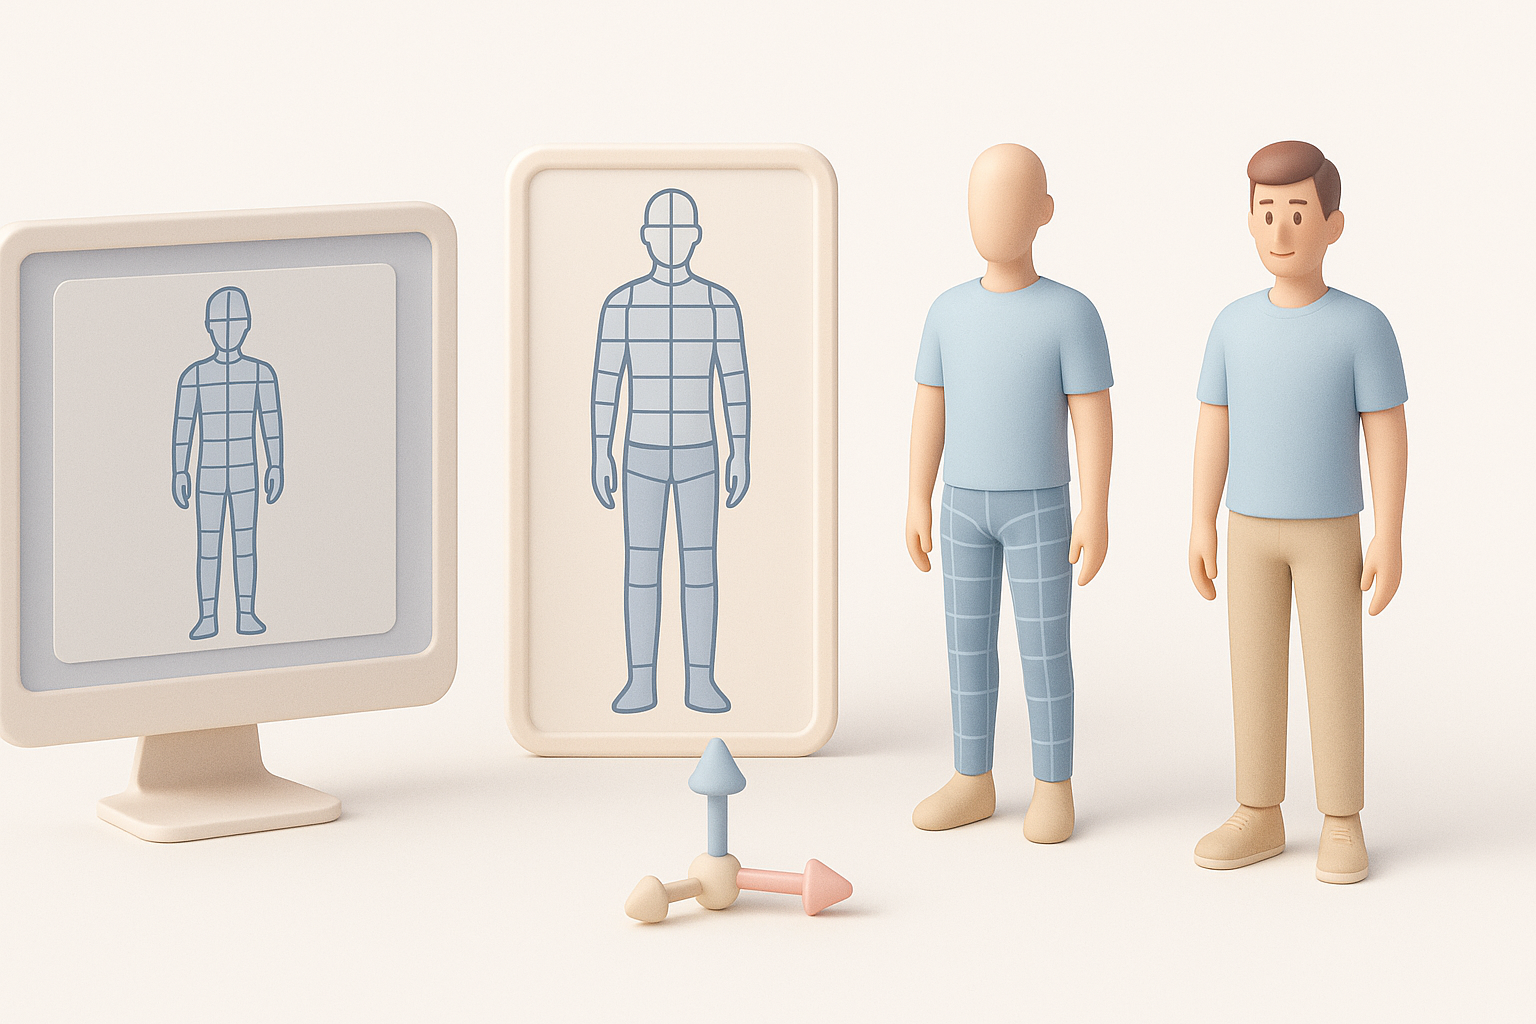
Choosing the Right Tools for 3D Human Modeling
AI-powered platforms vs. traditional software
AI platforms like Tripo AI have transformed my workflow, especially for generating base meshes and auto-segmenting body parts. Compared to traditional 3D software, these tools dramatically reduce repetitive tasks. However, for high-detail sculpting or stylized characters, I still rely on manual tools for full control.
Pros of AI-powered tools:
- Speed: Get a solid base mesh in seconds.
- Automation: Instant UVs, auto-retopology, and basic texturing.
- Accessibility: Lower technical barriers for new artists.
Cons:
- Less control over fine details.
- May require manual cleanup for production use.
Why I prefer certain workflows for efficiency
I typically start with an AI-generated base, then switch to manual sculpting for anatomy and expression. This hybrid approach gives me the best of both worlds: rapid iteration with the precision needed for professional results.
Tips:
- Use AI for blocking and rough passes.
- Switch to manual tools for details, topology, and creative tweaks.
- Save incremental versions at key stages.
Step-by-Step: My Workflow for Modeling a 3D Man
Blocking out the base mesh and proportions
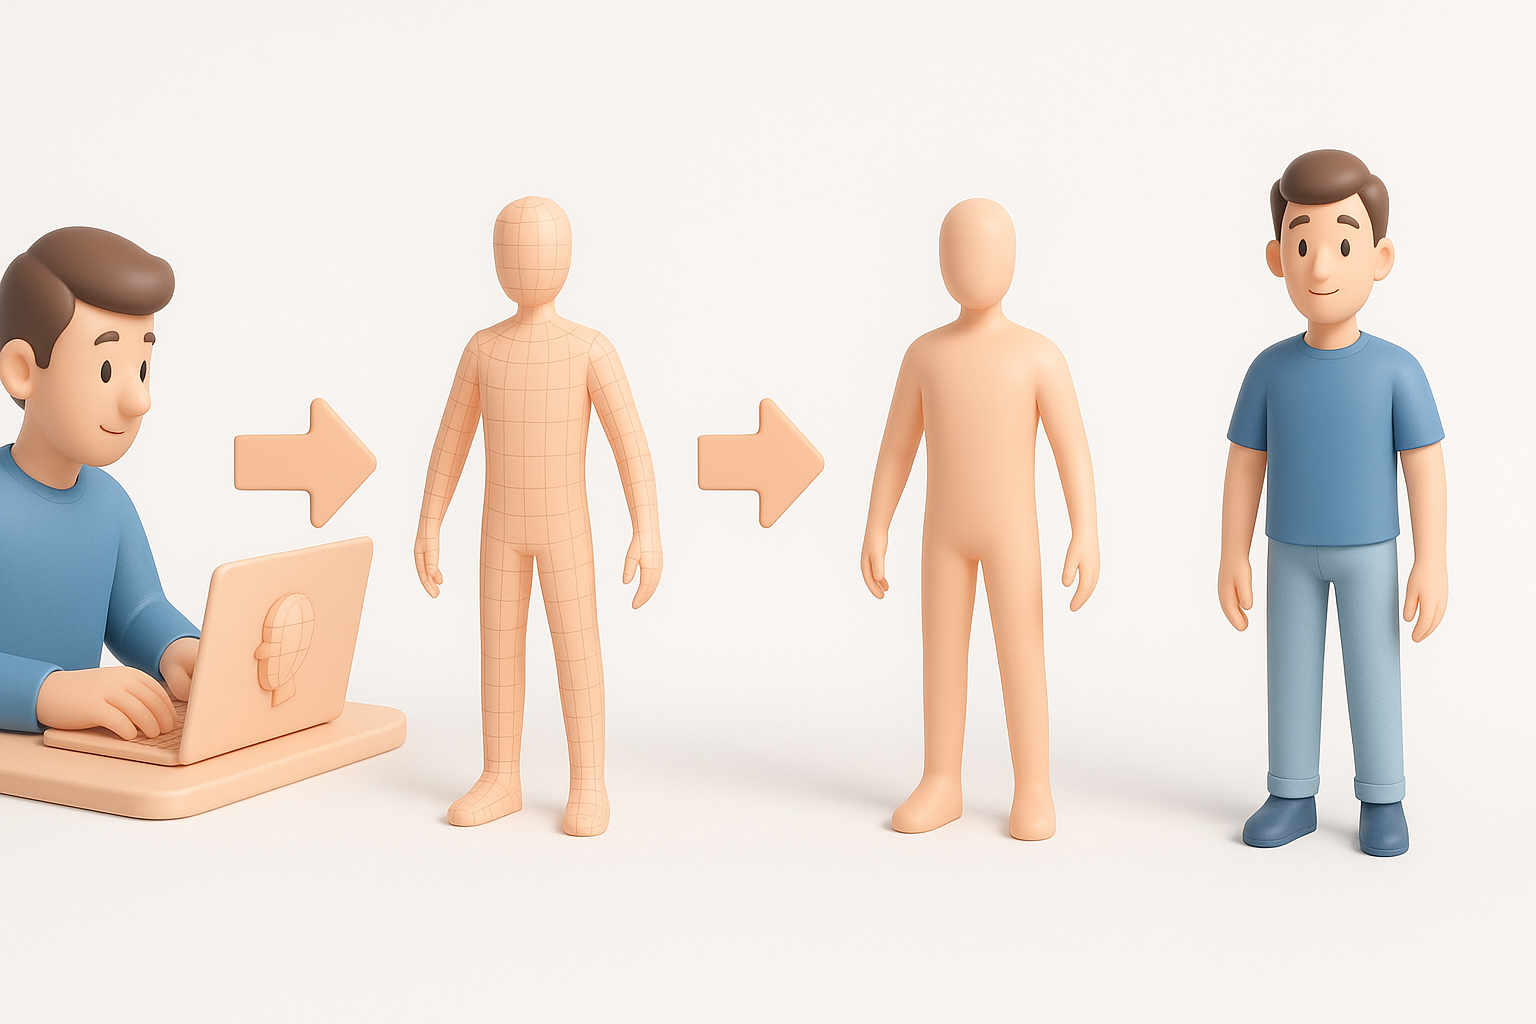
I begin by inputting a text prompt or reference sketches into Tripo AI to generate a base mesh. This step gives me a solid starting point with correct general proportions.
Steps:
- Gather high-quality references.
- Use an AI tool to generate a base mesh.
- Check proportions against references and adjust as needed.
Pitfalls to avoid:
- Relying solely on AI output—always verify anatomy.
- Ignoring silhouette and overall gesture at this stage.
Refining anatomy, details, and topology
With the base mesh in place, I move to sculpting tools for muscle definition, facial features, and hands. Clean topology is essential for rigging, so I either use built-in retopology tools or perform a manual retopo pass.
Checklist:
- Refine face, hands, and joints—these areas are most scrutinized.
- Ensure edge loops follow muscle flow for natural deformation.
- Optimize polycount for your target platform (games vs. film).
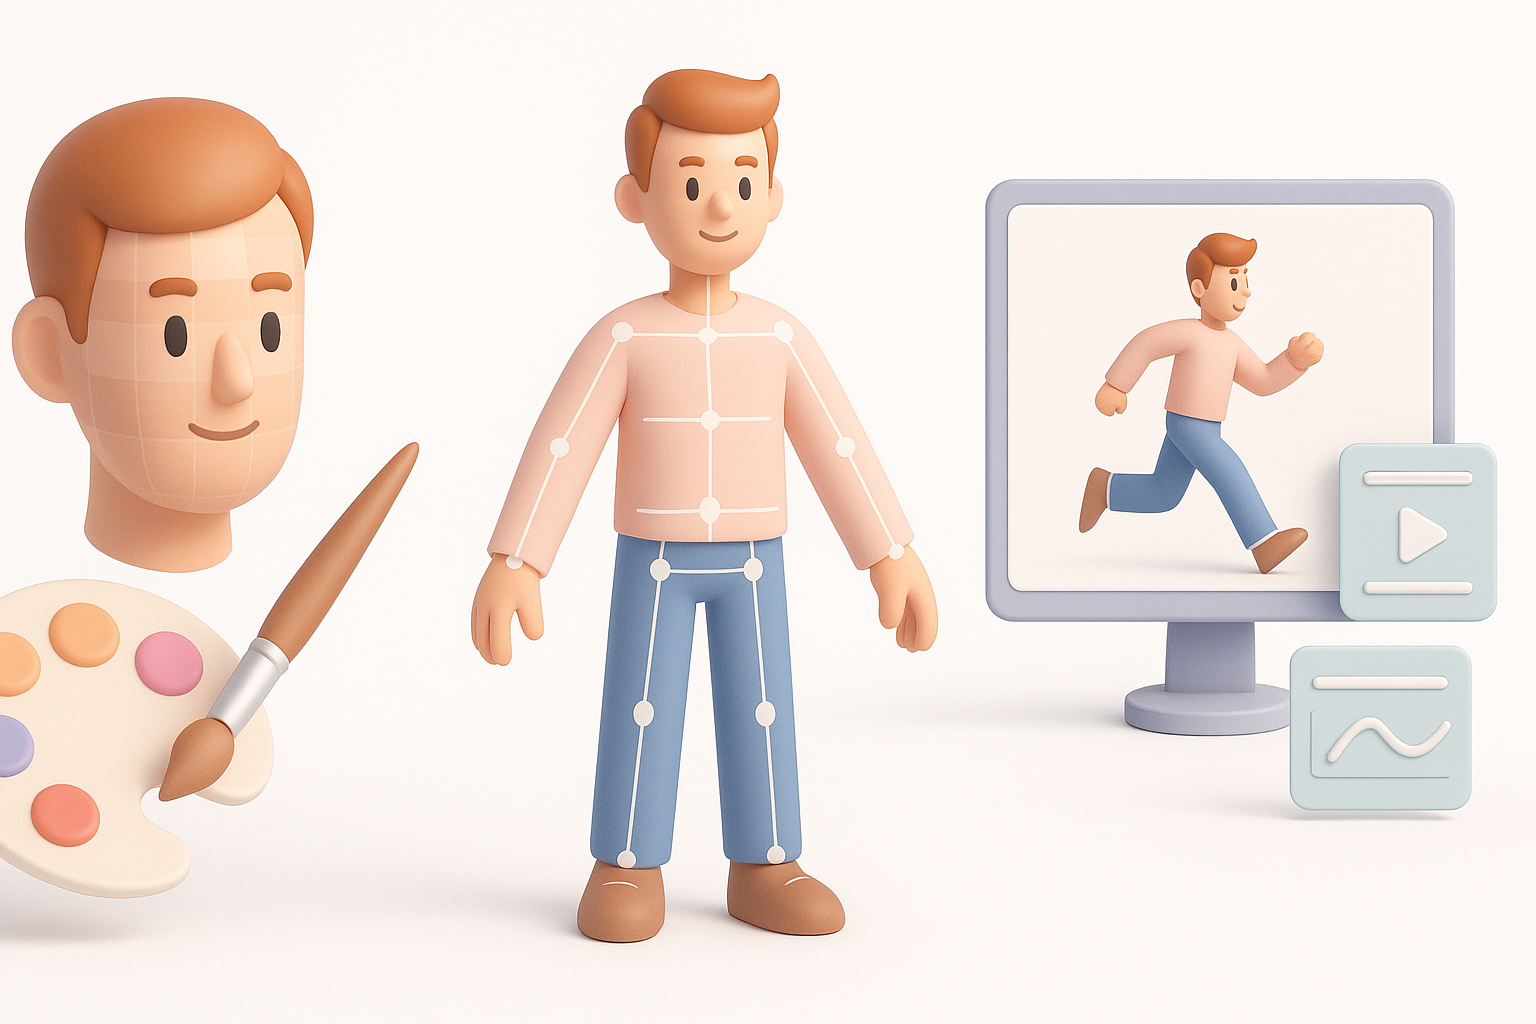
Texturing, Rigging, and Animating the 3D Model

Best practices for realistic skin and clothing textures
For texturing, I bake normal and ambient occlusion maps, then paint or generate skin and clothing textures. AI texturing tools can auto-generate base skins, but I often tweak in a paint program for realism.
Tips:
- Use high-res photo references for skin.
- Layer color, roughness, and normal maps for depth.
- Test textures under different lighting setups.
My approach to rigging and basic animation setup
I use auto-rigging tools for a quick skeleton, then manually adjust weight painting—especially around shoulders and hips. For basic animation, I test with pre-made walk cycles to spot deformation issues.
Steps:
- Auto-rig the mesh.
- Adjust bone placement and weights.
- Test with simple animations and fix problem areas.
Exporting and Integrating the 3D Model
Optimizing for games, film, and XR applications
Export settings matter. I always check polygon count, texture sizes, and file formats based on the target platform (FBX for games, OBJ for film, GLTF for XR). LODs (Levels of Detail) are important for real-time applications.
Checklist:
- Bake all maps (normal, AO, roughness).
- Test the model in the target engine before final delivery.
- Verify scale and orientation.
Troubleshooting common export issues
Common problems include missing textures, flipped normals, or broken rigs. I always do a test import and check for:
- Texture path issues
- Incorrect axis orientation
- Animation glitches (especially with auto-rigged models)
Quick fixes:
- Reapply textures if missing.
- Check normals and recalculate if needed.
- Re-export with different settings if animations break.
Comparing AI-Driven and Manual 3D Modeling Methods
When to use AI-powered tools for speed and quality
In my experience, AI tools excel at rapid prototyping and basic asset creation. They’re perfect for quick iterations, concept validation, or creating background characters. For hero assets or unique designs, manual modeling remains essential.
Best use cases for AI:
- Fast turnaround projects
- Bulk asset creation
- Early-stage concepting
Lessons from blending manual and automated workflows
The most effective workflow I’ve found is blending AI and manual methods. Start with AI for speed, refine manually for quality, and always validate at each stage. This approach saves time without compromising on detail or control.
Key lessons:
- Don’t skip manual passes for anatomy and topology.
- Use AI as a creative partner, not a replacement.
- Test, iterate, and refine at every step.
In summary: Creating a 3D model of a man is faster and more accessible than ever, thanks to the synergy of AI and manual techniques. Use the strengths of each, stay vigilant for common pitfalls, and always aim for clean, production-ready results.