How to Create a 3D Chibi Model: Workflow, Tips, and Tools
Creating 3D chibi models is faster and more accessible than ever, thanks to AI-driven platforms and streamlined workflows. In this guide, I’ll walk through my practical approach—from concepting and blocking out to texturing, rigging, and exporting for games or XR. Whether you’re an artist aiming for stylized charm or a developer needing production-ready assets, I’ll share actionable steps, essential tips, and common pitfalls. I’ll also cover where manual expertise shines and when AI tools like Tripo save the most time.
Key takeaways
- Gather strong references and clarify your chibi style before modeling.
- Block out simple shapes first; focus on proportions and silhouette.
- Use AI platforms for rapid base mesh creation and retopology.
- Stylized texturing benefits from hand-painted details and smart UVs.
- Optimize polycount for your target platform without sacrificing style.
- Manual tweaks are often essential for animation and final polish.
Understanding 3D Chibi Models
What Makes a Model 'Chibi'?
Chibi models are defined by their exaggerated proportions—large heads, small bodies, and simplified features. In my experience, the key is balancing cuteness with expressiveness: oversized eyes, stubby limbs, and a minimalistic approach to detail. Consistency in proportions is crucial; even slight deviations can make the model look off.
Chibi style checklist:
- Head-to-body ratio: usually 1:2 or 1:3
- Simple, rounded shapes
- Minimal facial features with emphasis on eyes and mouth
Popular Uses for 3D Chibi Models
I regularly see chibi models used in mobile games, stylized indie titles, VR/AR avatars, and animated shorts. Their approachable style makes them perfect for social apps and collectibles. Chibi assets are also ideal for prototyping—quick to iterate and easy to animate.
Common applications:
- Game characters and NPCs
- XR avatars and stickers
- Animated emotes or cutscenes
My Step-by-Step Workflow for 3D Chibi Modeling
Concepting and Reference Gathering
I always start with a clear vision—sketches, mood boards, or reference sheets. Gathering references helps me lock down the proportions and style I want. If a client provides concept art, I clarify any ambiguities before modeling.
My reference workflow:
- Collect 5–10 images of chibi characters in similar style
- Note head-to-body ratios, color palettes, and key features
- Sketch a quick front and side view for modeling reference
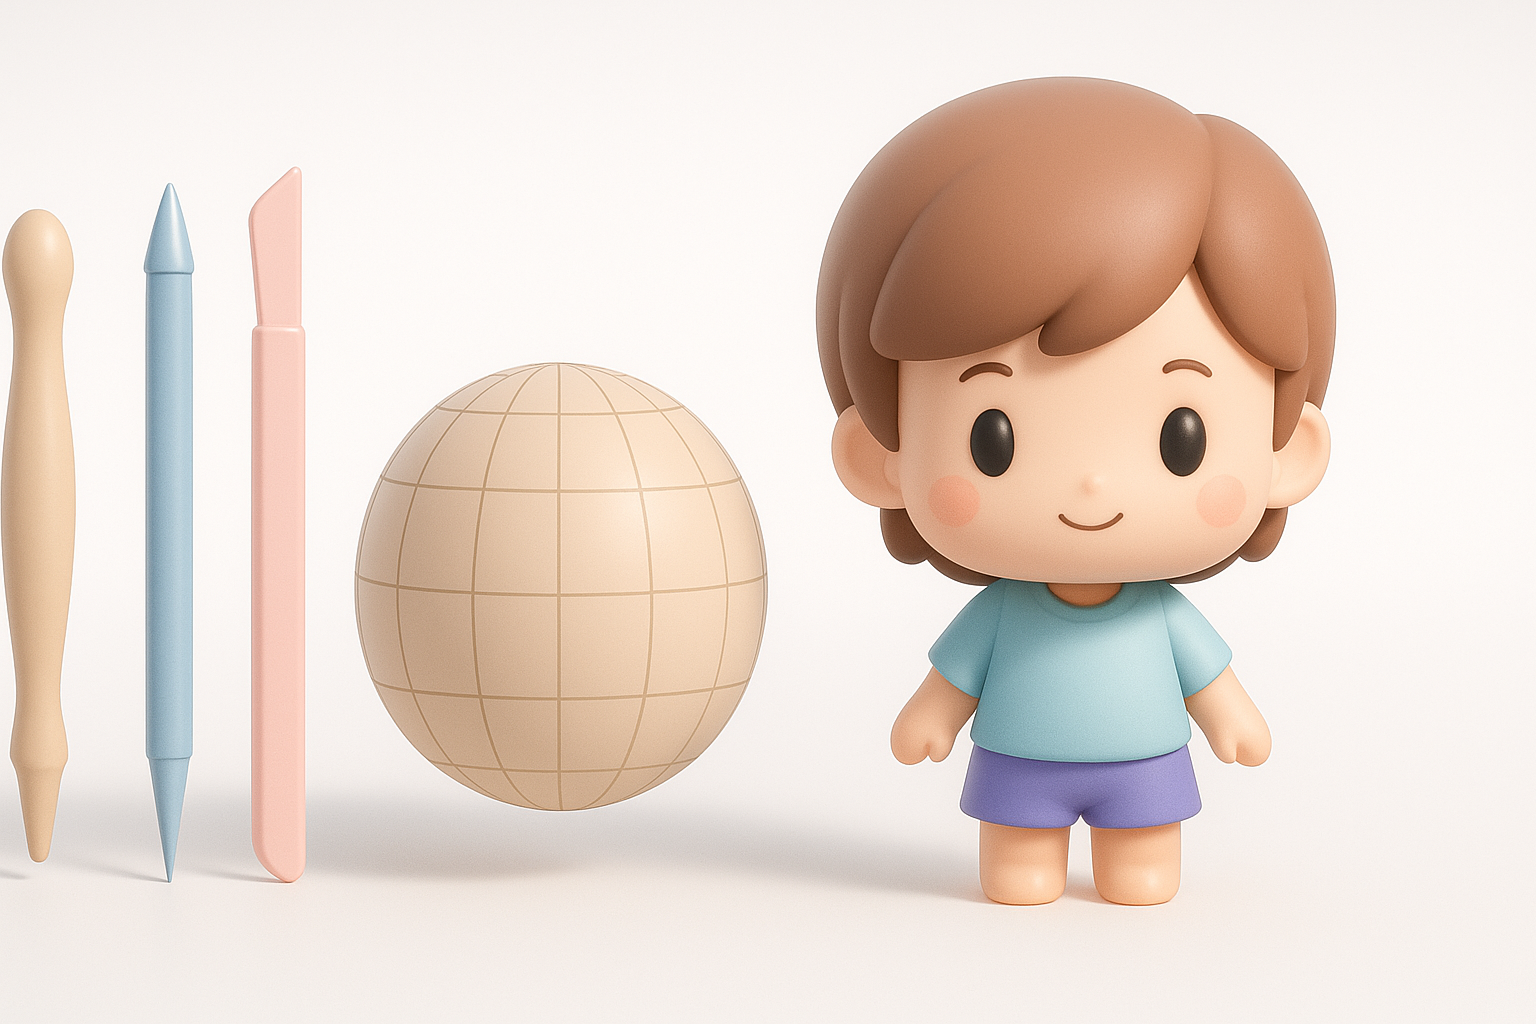
Blocking Out the Base Mesh
Blocking is about getting the big shapes right. I use basic primitives (spheres, cubes) to rough out the head, torso, and limbs. If I’m using an AI tool like Tripo, I input my references and prompts to generate a starting mesh, then adjust proportions as needed.
Blocking steps:
- Start with the head—get size and shape locked first
- Add torso and limbs, checking silhouette from all angles
- Merge or separate parts depending on animation needs
Pitfall: Rushing this stage leads to proportion issues that are hard to fix later.
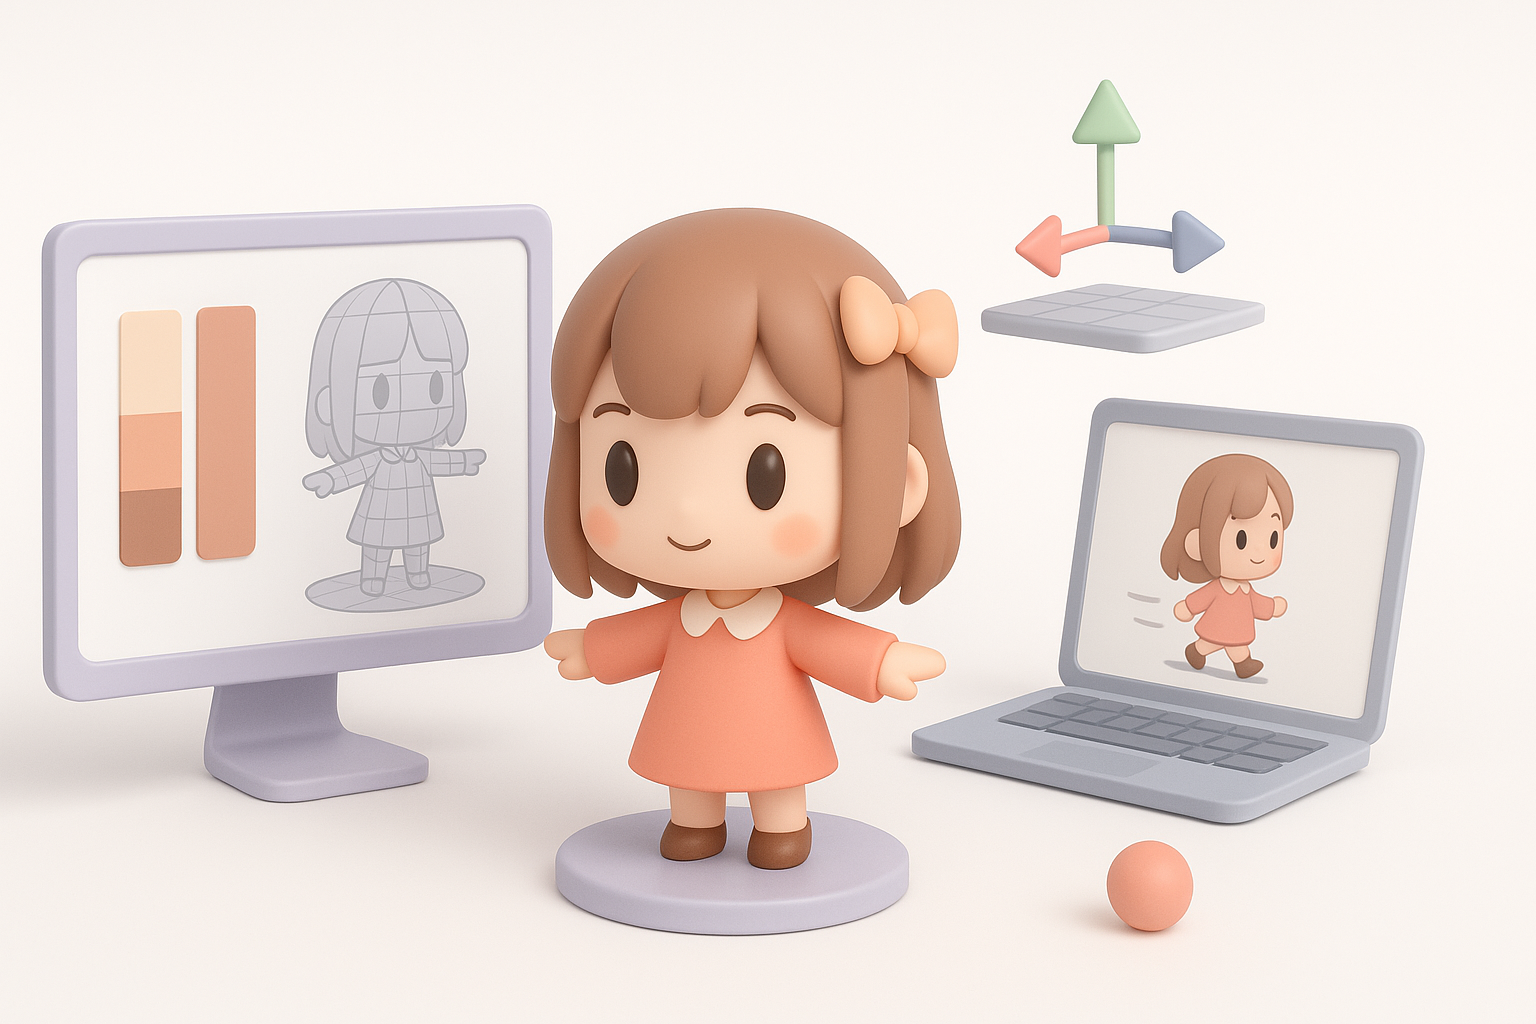
Texturing, Rigging, and Animating Chibi Models
Best Practices for Stylized Texturing
Chibi models thrive on bold, clean textures. I prefer hand-painting details or using stylized brushes for a soft, appealing look. Smart UV unwrapping is essential to avoid stretching, especially on the face.
Texturing tips:
- Use a limited, pastel-friendly palette
- Emphasize eyes and cheeks—these sell the expression
- Keep surface detail minimal to match the chibi aesthetic
Efficient Rigging and Animation Tips
Simple rigs work best for chibi models. I focus on clean joint placement and minimal controls for efficient animation. If I use Tripo’s auto-rigging, I always check deformation around the neck and shoulders, as chibi proportions can confuse auto-solvers.
Rigging checklist:
- Place joints at logical pivots (neck, shoulders, hips)
- Test basic animations (idle, walk, jump) early
- Limit facial rig complexity—blendshapes for expressions usually suffice
Using AI Tools for Chibi Model Creation
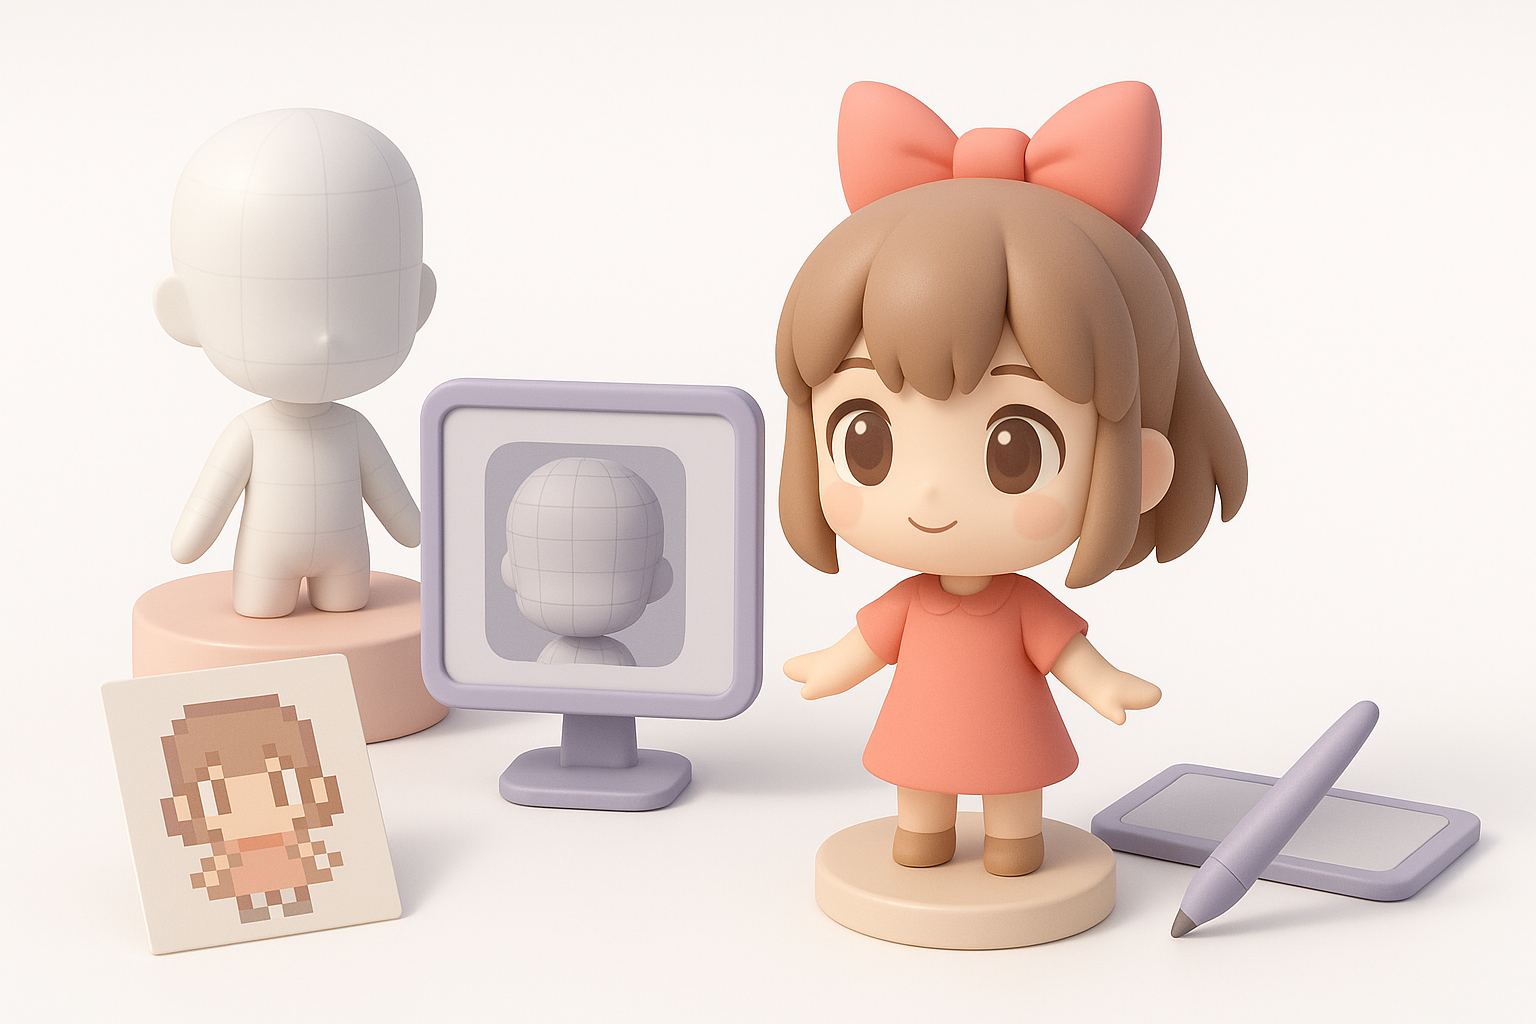
How I Integrate AI Platforms in My Workflow
AI platforms have sped up my workflow, especially for base mesh generation and retopology. With Tripo, I input a text prompt or sketch, tweak the output, and quickly move to detailing and texturing. This lets me focus on creative decisions rather than technical setup.
AI integration steps:
- Input references and style prompts
- Review and edit the generated mesh for accuracy
- Use built-in retopology and UV tools to prep for texturing
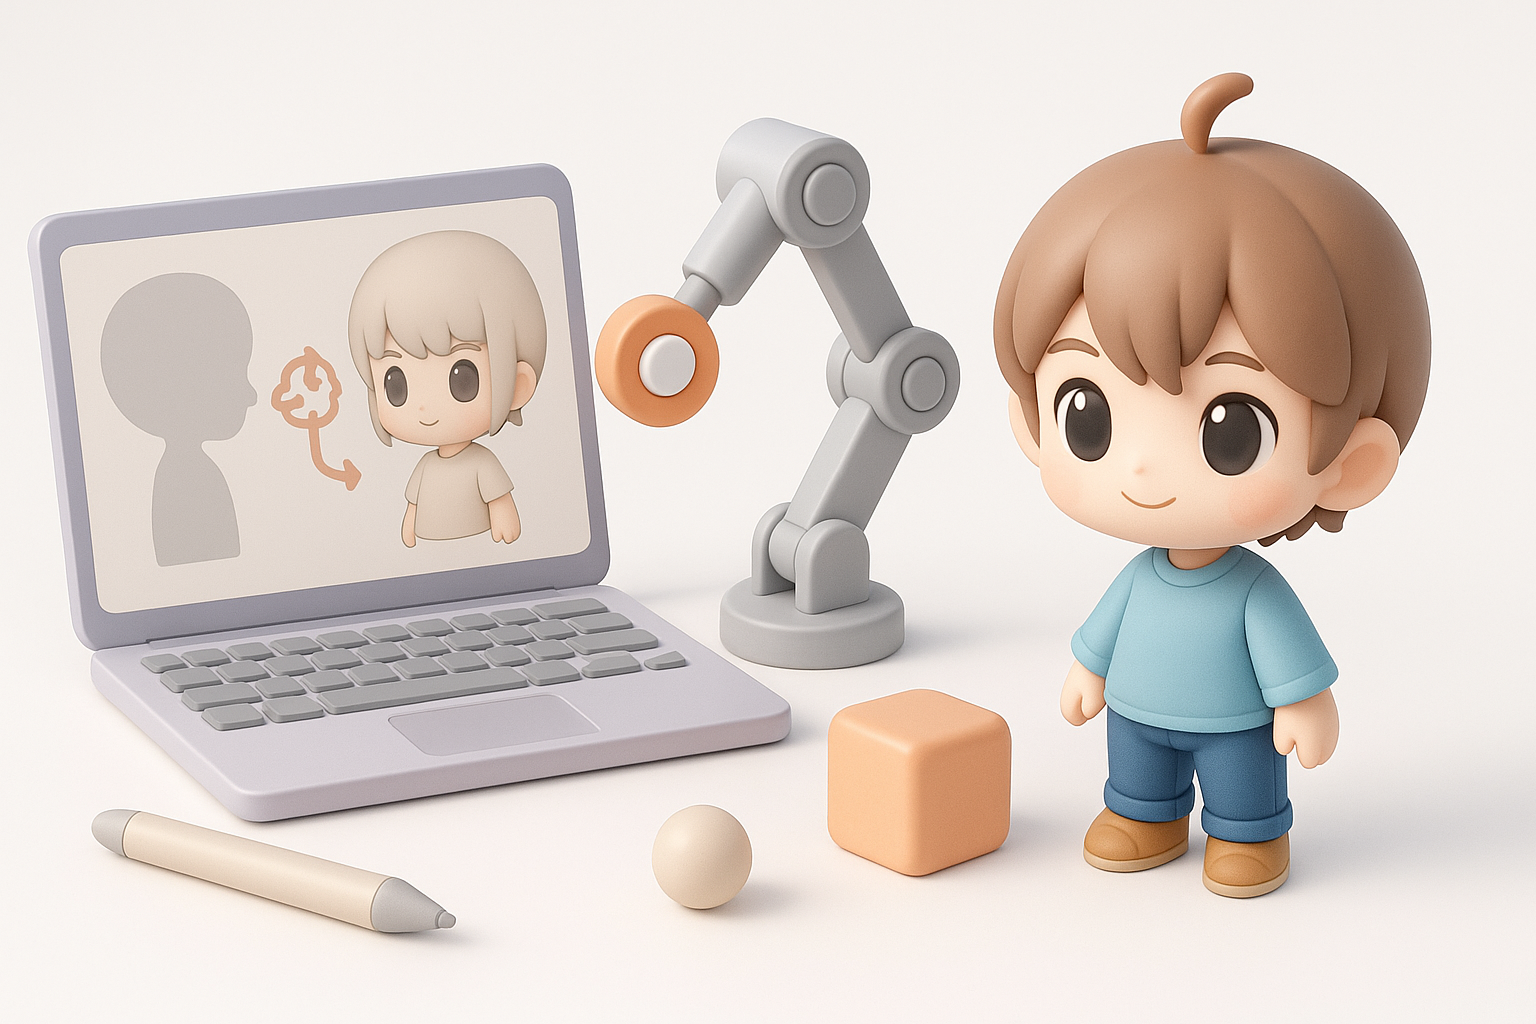
Pros, Cons, and Tips for AI-Assisted Modeling
AI tools are great for rapid prototyping and bulk asset creation. However, outputs often need manual cleanup—especially for stylized features or animation readiness.
Pros:
- Fast base mesh generation
- Automated retopology and UVs
- Good for quick iterations
Cons:
- May require manual proportion fixes
- Stylized details often need hand-tuning
- Rigging sometimes needs adjustment
Tips:
- Always review and tweak AI outputs
- Use AI for repetitive tasks, but don’t skip manual polish
Exporting and Optimizing Chibi Models for Different Platforms
Game Engines and XR Compatibility
Exporting for games or XR requires attention to format and scale. I typically use FBX or GLB/GLTF formats for broad compatibility. Tripo’s export options cover these needs, but I always double-check orientation and scale in the target engine.
Export checklist:
- Apply transforms and freeze scale before export
- Check materials and texture paths
- Test import in Unity, Unreal, or XR platform
Reducing Polycount Without Losing Style
Chibi models don’t need high polycounts. I use decimation tools and manual cleanup to keep assets lightweight. Focus on silhouette—most chibi charm comes from the outline, not fine detail.
Optimization tips:
- Remove unseen faces (inside the head, under hair)
- Bake details into textures, not geometry
- Aim for 2–5k tris for mobile, up to 10k for desktop XR
Comparing Manual and AI-Assisted Chibi Modeling
When to Use Traditional Methods
Manual modeling is best when you need full control—custom topology, precise stylization, or unique animation requirements. I use traditional sculpting and retopology for hero characters or when art direction is strict.
Best for:
- Unique, highly stylized characters
- Complex animation setups
- Projects with strict topology needs
When AI Tools Offer the Best Results
I reach for AI tools when speed is critical—prototyping, background characters, or when I need to batch-generate variations. They’re ideal for standard chibi styles and rapid iteration, letting me focus on creative refinement.
Best for:
- Quick base mesh creation
- Rapid prototyping and iteration
- Large asset libraries with consistent style
By combining manual expertise with AI-powered tools, I can create production-ready chibi models efficiently—balancing speed, quality, and creative control for any project.