How to Create an Accurate 3D Cell Model Project
Creating a scientifically accurate 3D cell model is easier than ever, thanks to modern AI-powered tools and streamlined workflows. In my experience, the key is balancing realism with clarity—ensuring the model is both visually compelling and educational. This guide is for educators, students, and science communicators who want to build detailed cell models for presentations, learning, or professional visualization. I’ll walk you through planning, tool selection, modeling steps, and best practices, drawing from real-world projects and hands-on lessons.
Key takeaways:
- Choose cell type and references carefully for scientific accuracy.
- AI-powered tools like Tripo AI accelerate modeling and reduce manual work.
- Focus on clarity when modeling organelles and labeling structures.
- Export models in formats optimized for your presentation platform.
- Common pitfalls include overcomplicating details and neglecting annotations.
Executive Summary and Key Takeaways
What you’ll learn from this guide
You’ll learn how to plan, model, texture, annotate, and export a 3D cell model that’s accurate and educational. I’ll cover tool selection, workflow steps, and practical tips to avoid common mistakes.
Essential tools and workflow overview
In my workflow, I combine AI-driven platforms like Tripo AI for rapid prototyping with traditional 3D software for refinement. This hybrid approach lets me quickly generate base meshes, apply textures, and add scientific labels, ensuring both speed and precision.
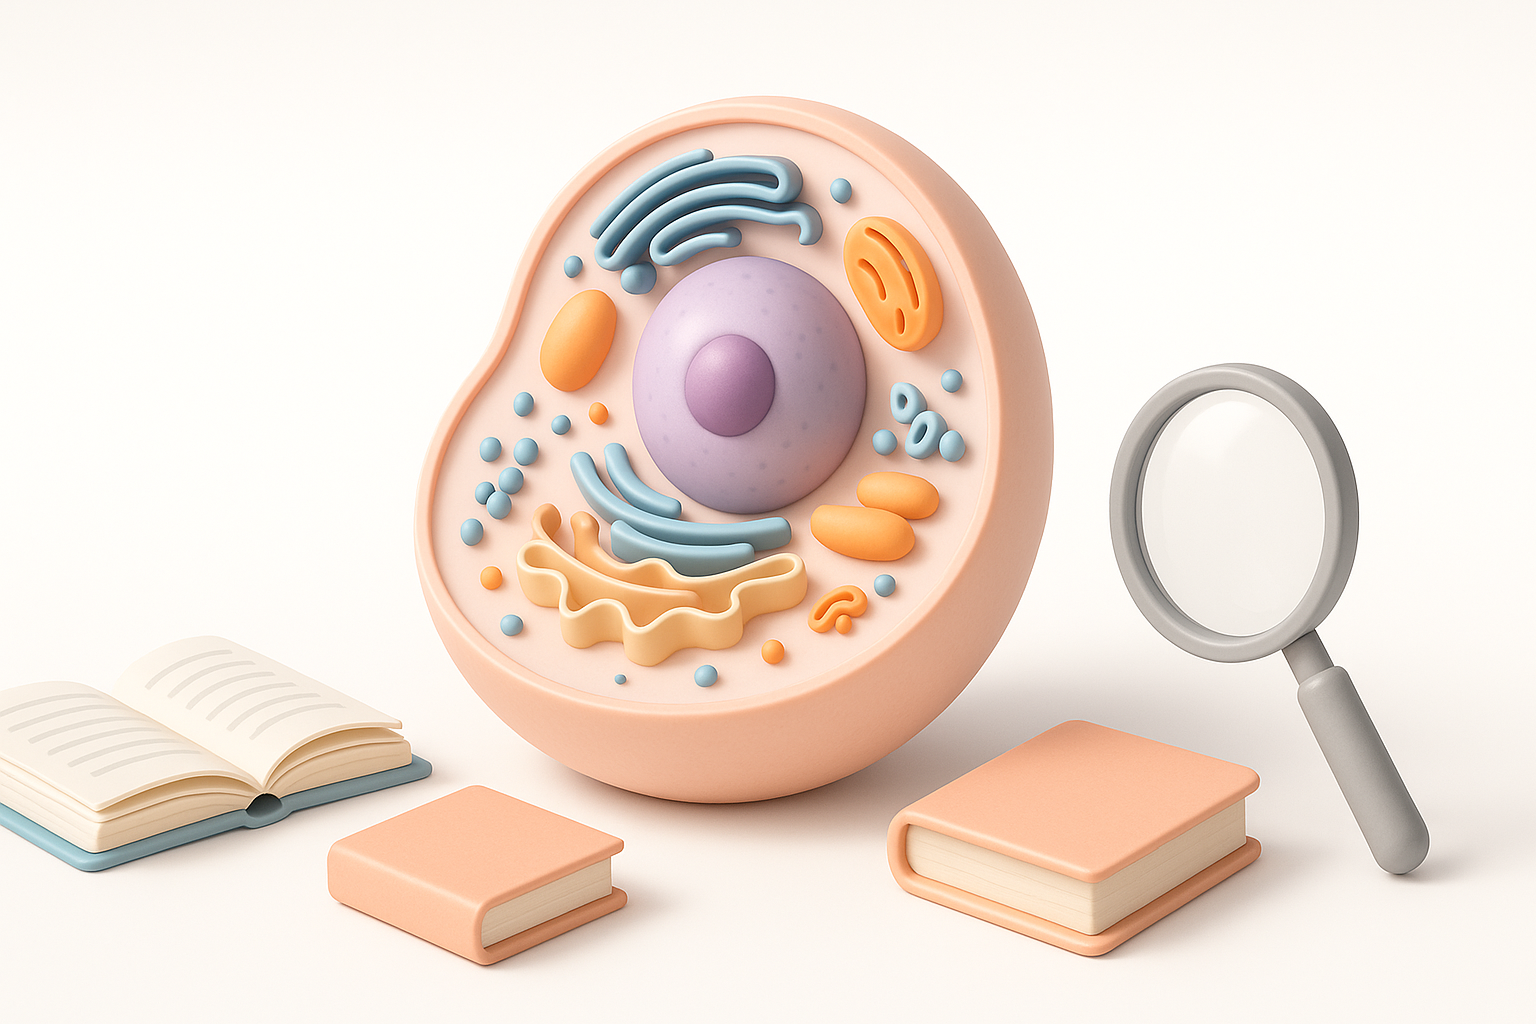
Planning Your 3D Cell Model: Research and References
Choosing the right cell type and structure
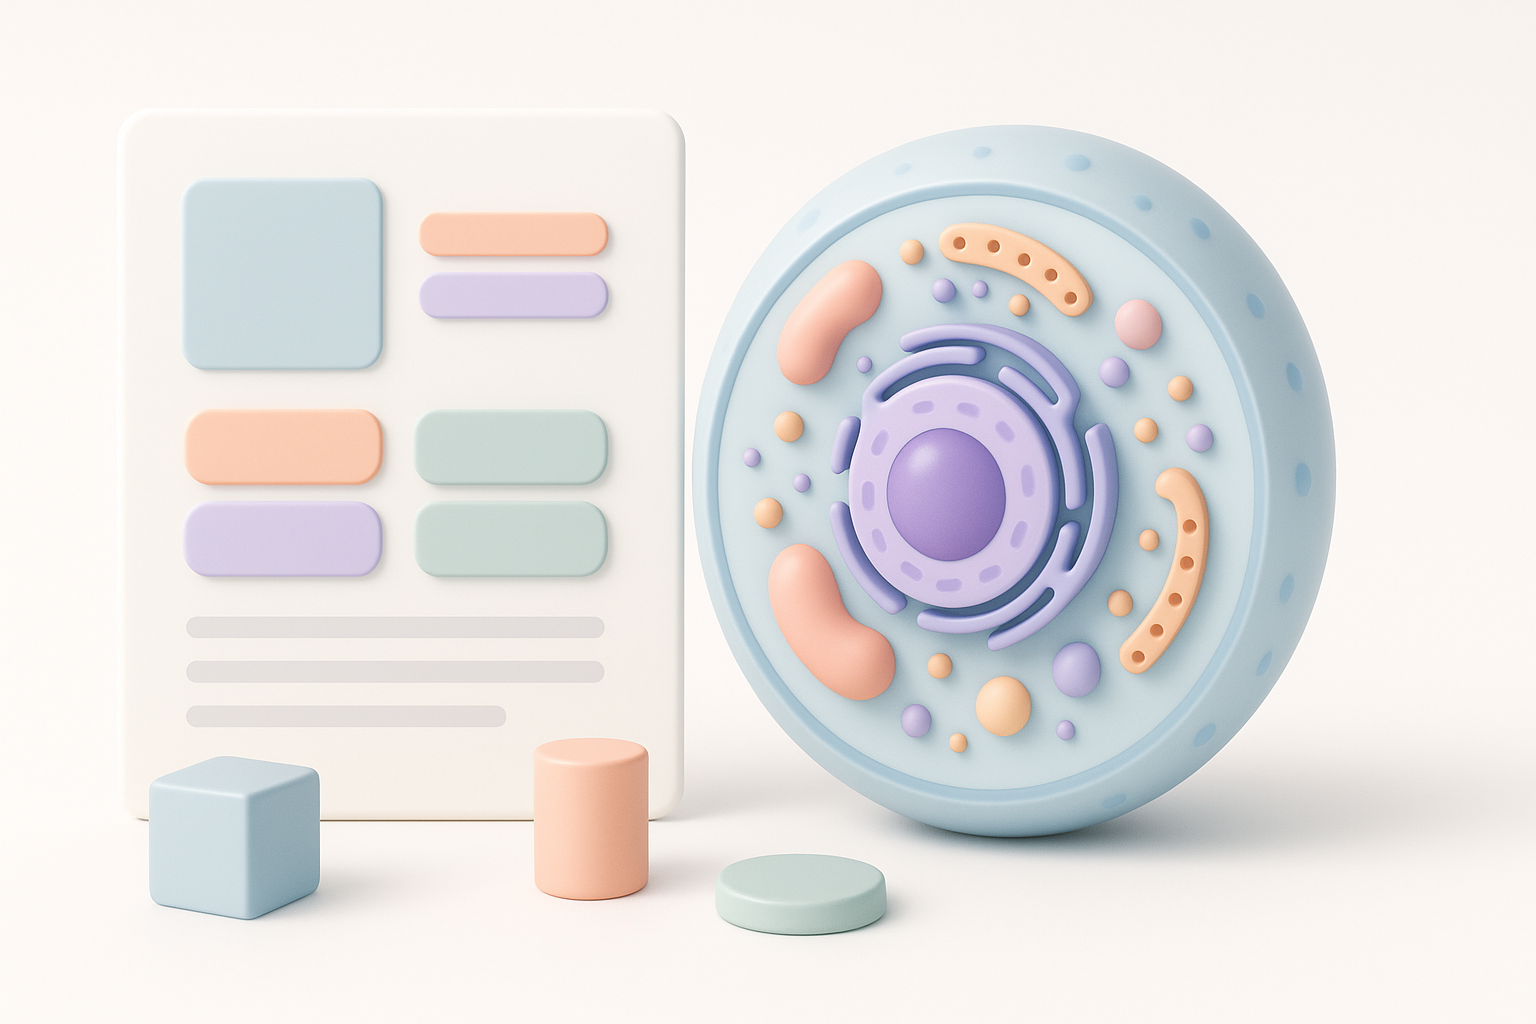
Start by deciding which cell type you want to model—animal, plant, or bacterial. Each has unique structures and organelles. For classroom projects, I often select animal cells for their variety, or plant cells to highlight chloroplasts and cell walls.
Checklist:
- Define your project goal (educational, presentation, research)
- Select cell type based on audience and requirements
- List key organelles to include (nucleus, mitochondria, etc.)
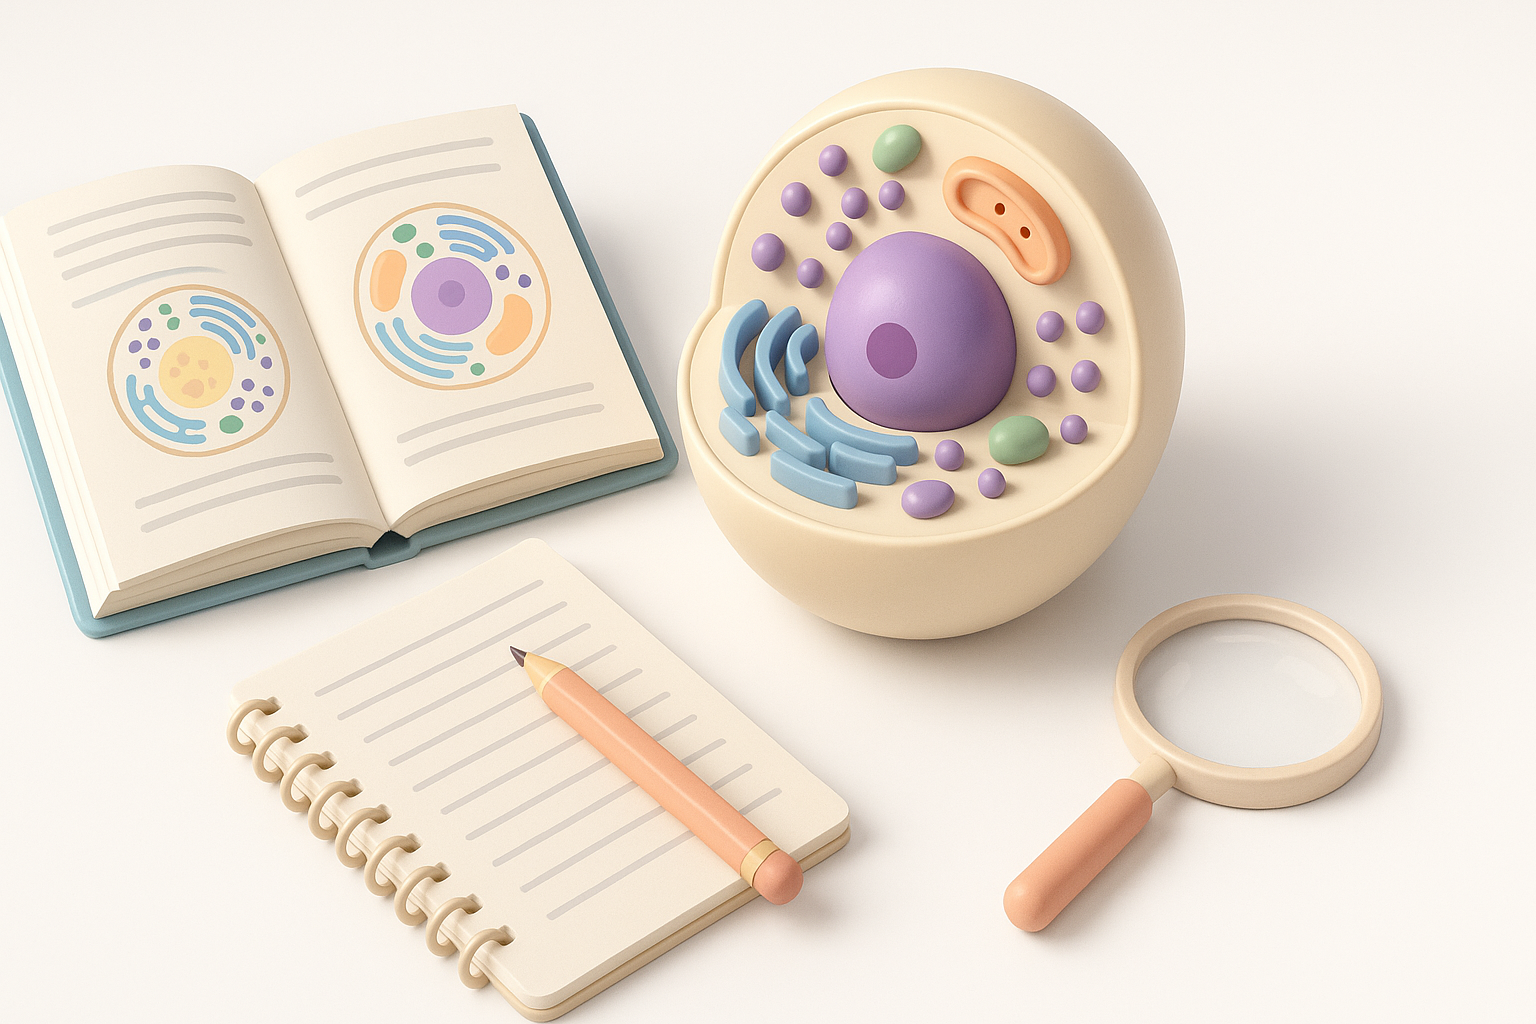
Gathering scientific references and visual guides
Accurate modeling relies on solid references. I gather high-resolution microscopy images, textbook diagrams, and scientific articles. Visual guides help clarify organelle shapes and spatial relationships.
Tips:
- Use reputable sources (journals, university websites)
- Cross-check organelle proportions and colors
- Sketch a rough layout before modeling
Selecting Tools and Platforms for 3D Cell Modeling
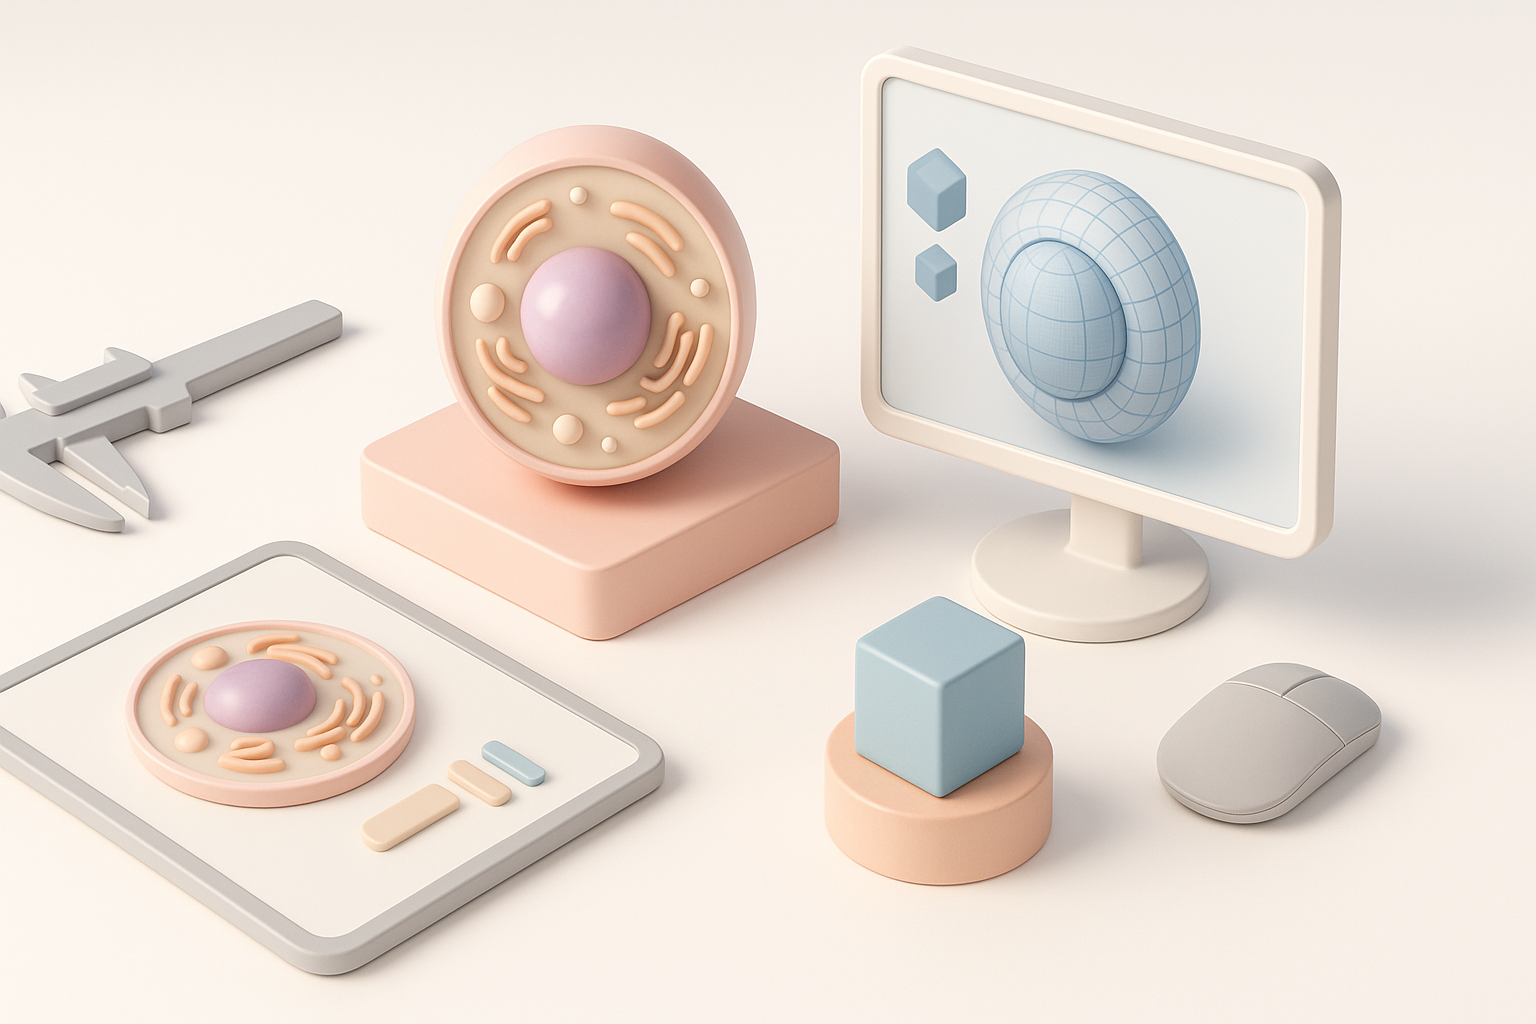
AI-powered solutions for rapid prototyping
AI platforms like Tripo AI can generate base cell models from text prompts or sketches in seconds. This saves hours of manual mesh creation. I use Tripo AI to quickly segment organelles and apply initial textures, then refine details as needed.
Advantages:
- Fast base mesh generation
- Built-in segmentation and texturing
- Easy export for further editing
Alternative methods and traditional software options
Traditional tools (e.g., generic 3D modeling software) offer granular control but require more time and expertise. For custom shapes or advanced animation, I may import AI-generated models into these tools for extra polish.
Pitfalls:
- Manual modeling is time-consuming
- Risk of inconsistent proportions
- Steeper learning curve for beginners
Step-by-Step Workflow: Building the 3D Cell Model
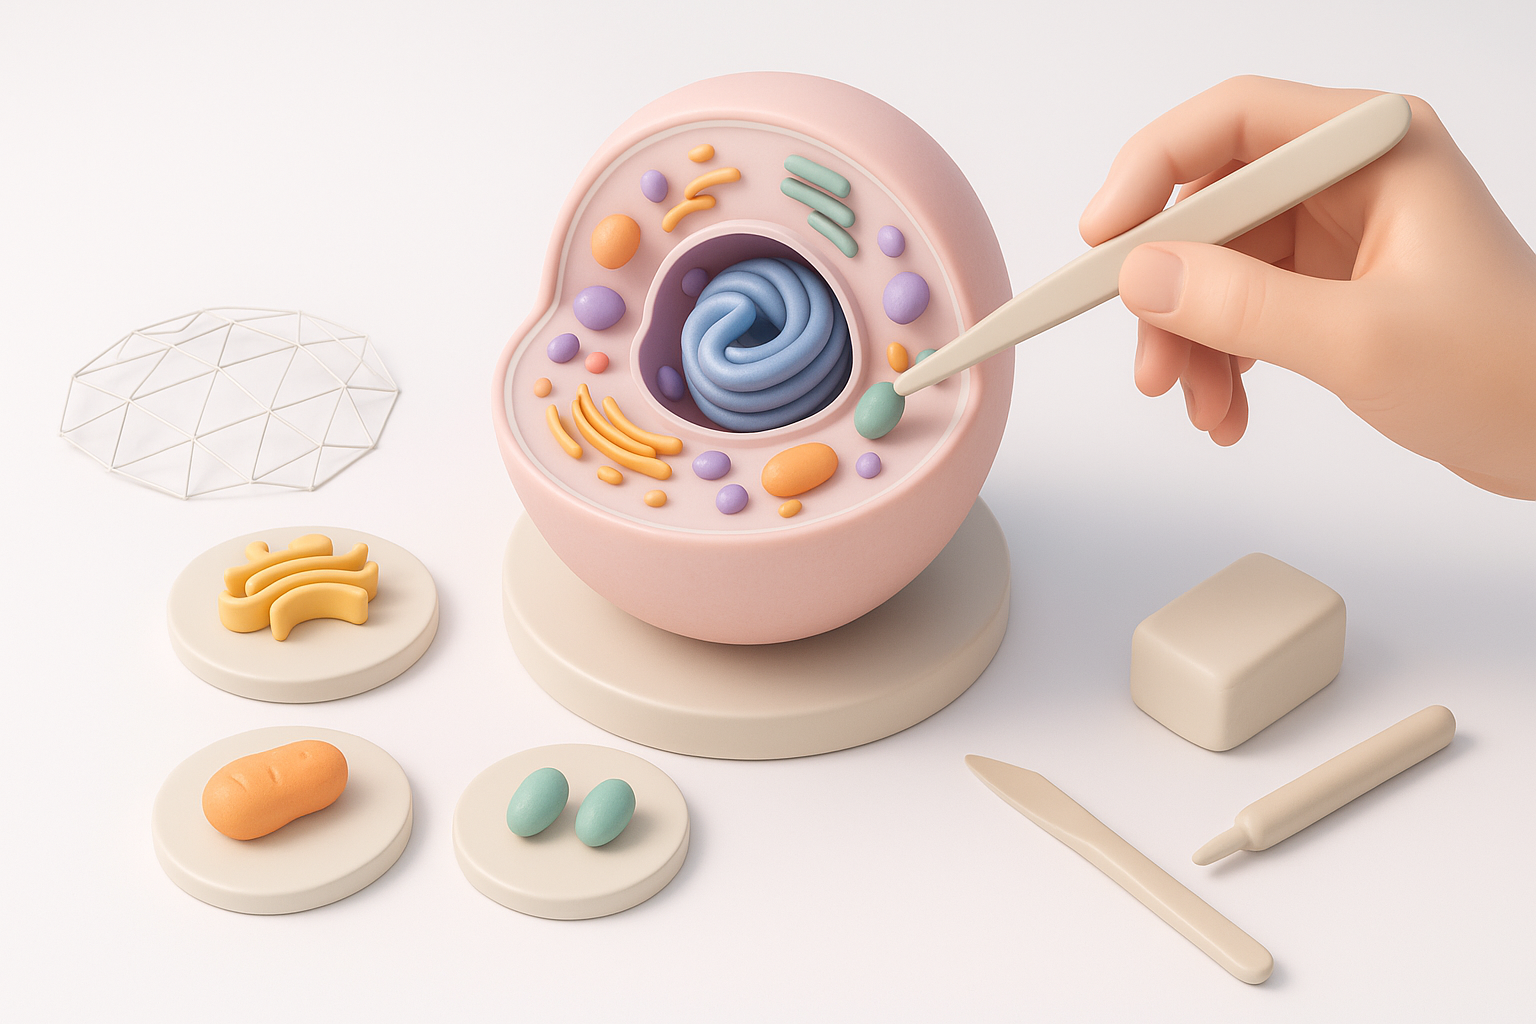
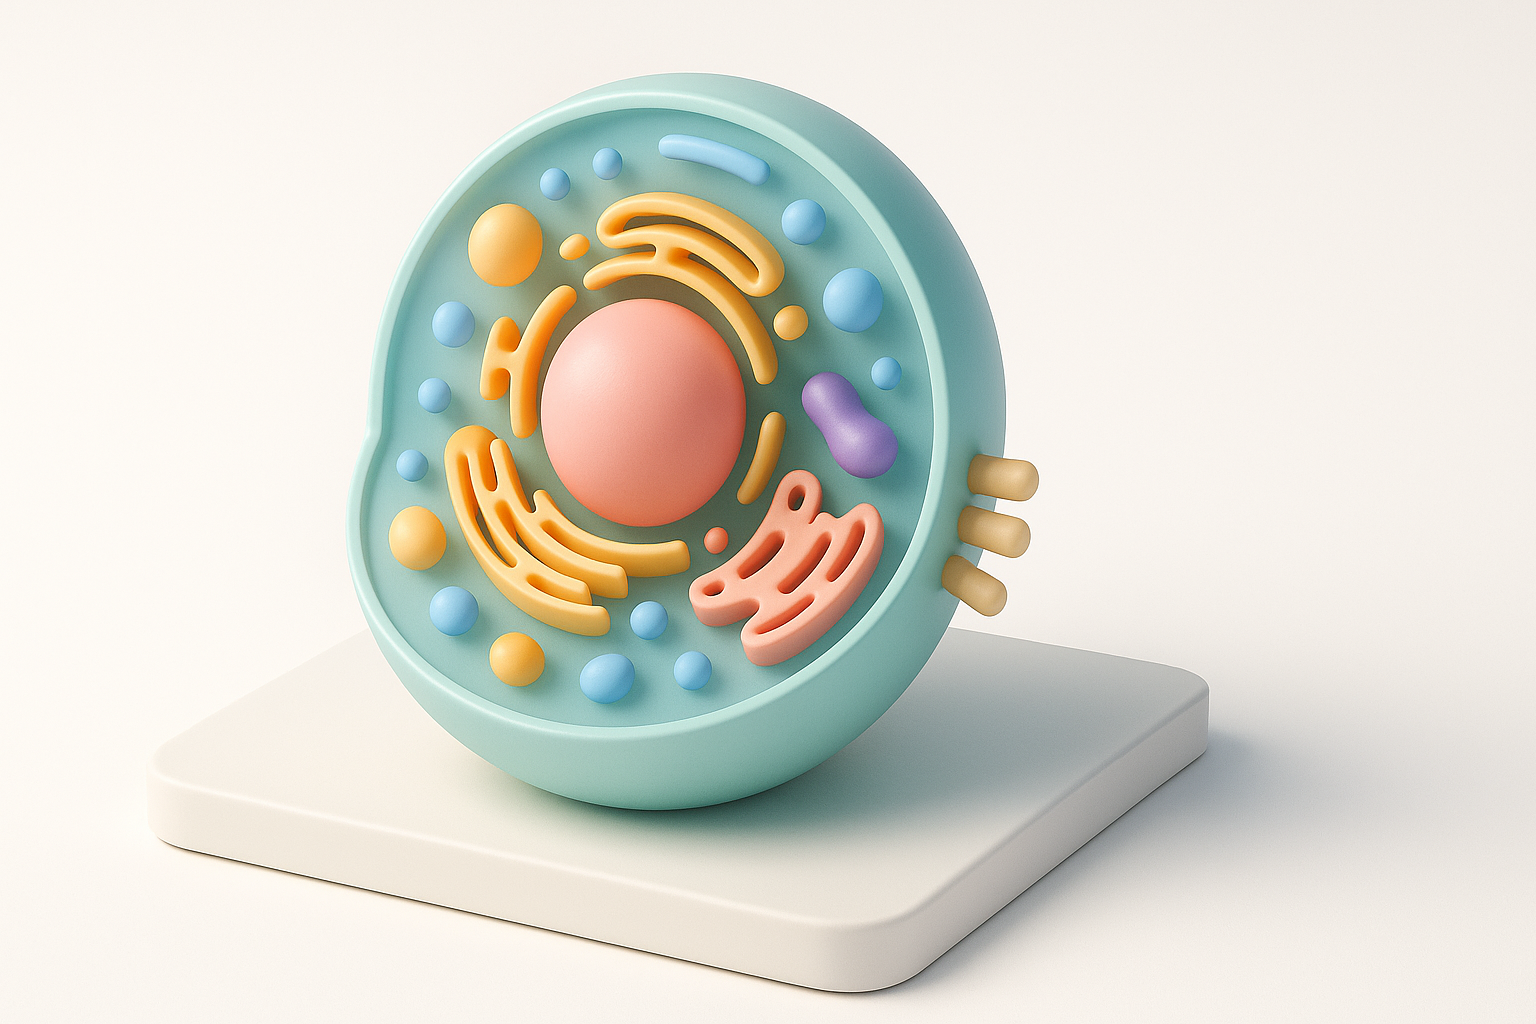
Modeling the cell membrane and organelles
I begin with the cell membrane, creating a slightly irregular sphere for realism. Next, I add organelles—nucleus, mitochondria, endoplasmic reticulum—using reference images for placement and scale.
Step-by-step:
- Generate base mesh (AI tool or manual)
- Sculpt cell membrane (add subtle imperfections)
- Place organelles (follow reference proportions)
- Group structures logically for easy editing
Applying textures, colors, and scientific accuracy
Texturing is crucial for educational clarity. I use Tripo AI’s smart texturing features to assign colors and surface details, matching scientific conventions (e.g., purple nucleus, green chloroplasts). For realism, I add slight translucency and bump maps.
Tips:
- Use standardized colors for organelles
- Apply subtle textures for realism
- Avoid overly glossy or distracting effects
Best Practices: Ensuring Realism and Educational Value
Balancing detail with clarity
Over-detailing can confuse viewers. I focus on clear shapes and distinct colors, omitting microscopic structures unless needed. For classroom models, simplicity aids understanding.
Guidelines:
- Prioritize key organelles
- Simplify shapes where possible
- Use contrasting colors for visibility
Tips for labeling and annotation
Labels and annotations transform a model into a teaching tool. I add 3D text or arrows, ensuring labels don’t obscure structures. Tripo AI lets me embed annotations directly into the model for interactive presentations.
Pitfalls:
- Overlapping labels reduce clarity
- Too many annotations overwhelm viewers
Exporting, Presenting, and Sharing Your 3D Cell Model
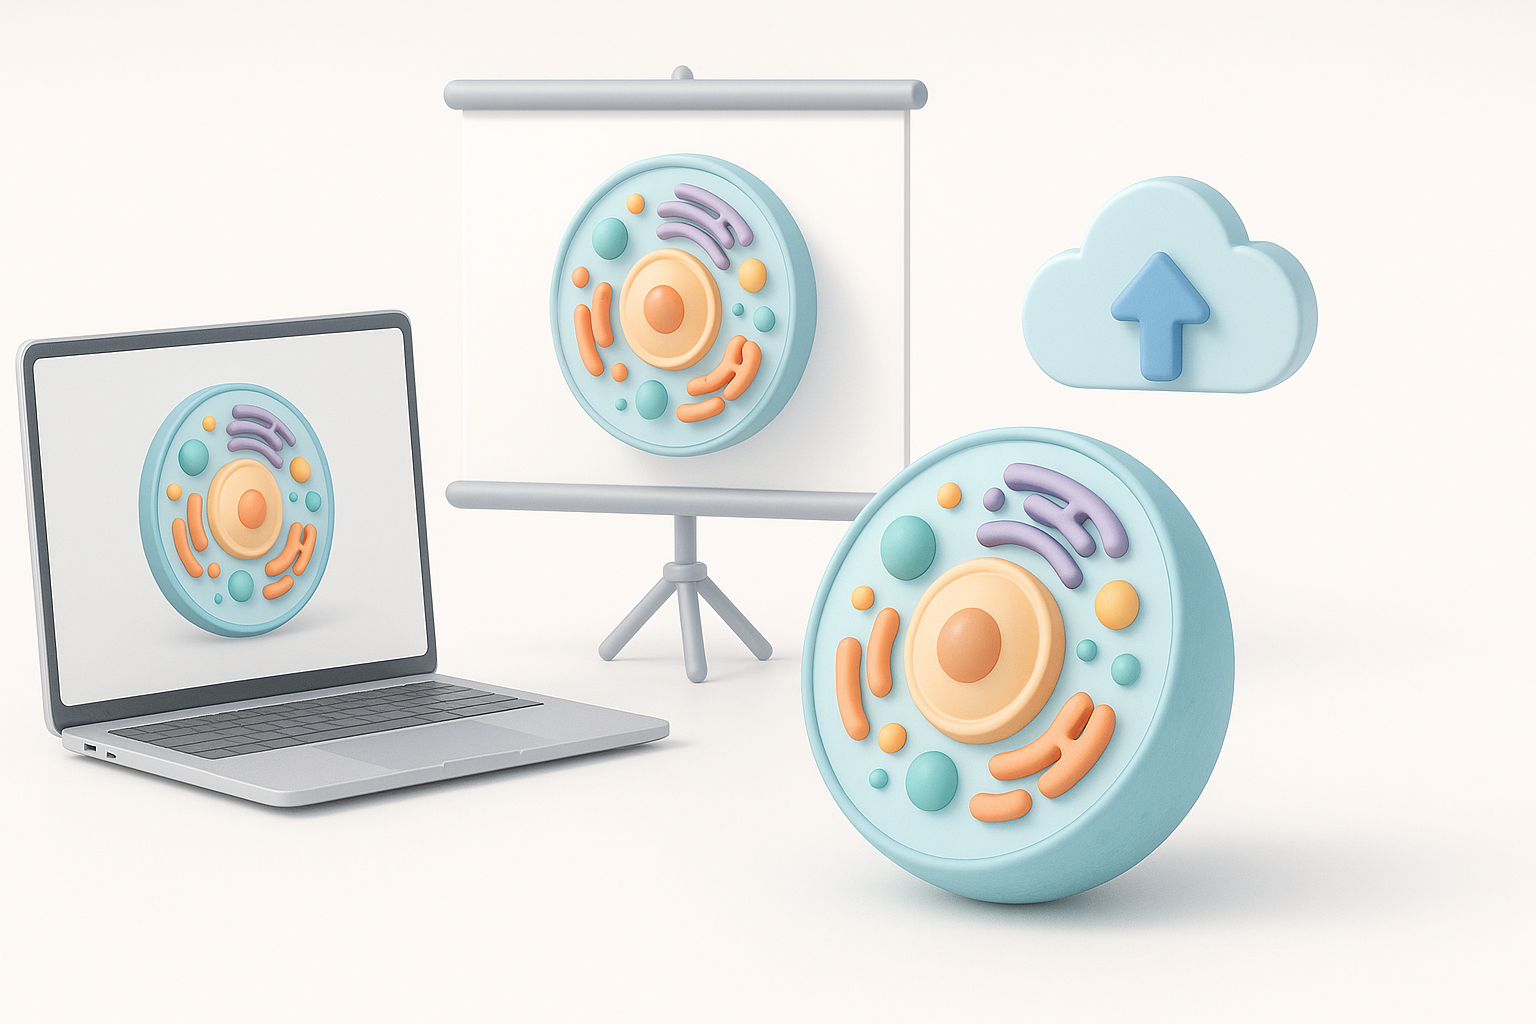
Optimizing for different platforms and formats
I export models in formats compatible with target platforms—GLTF for web, FBX for animation, OBJ for general use. Tripo AI supports multiple export options, making it easy to adapt for VR, AR, or desktop presentations.
Checklist:
- Choose export format based on audience
- Test model in presentation environment
- Compress textures for web use
Showcasing your project in educational or professional settings
For classroom or conference use, I prepare interactive demos or rendered images. Adding simple animations (e.g., rotating cell, highlighting organelles) enhances engagement. I often include a short explainer video alongside the model.
Tips:
- Use interactive viewers for web presentations
- Prepare static renders for print or slides
- Include a legend or key for annotations
Lessons Learned and Expert Tips
Common challenges and how I solve them
One recurring challenge is balancing scientific accuracy with visual simplicity. I’ve found that starting with AI-generated models and refining only what’s necessary saves time without sacrificing clarity. Another pitfall is inconsistent labeling—always double-check annotations against references.
Solutions:
- Use AI tools for rapid base creation
- Validate proportions and labels with multiple sources
- Iterate based on feedback from educators or peers
What I’ve learned from real-world 3D cell modeling projects
Real-world projects taught me that clear communication is as important as technical accuracy. Models that are visually clean and well-labeled consistently outperform more complex versions in educational settings. Iterative feedback and testing are crucial—never assume your first version is final.
Expert advice:
- Start simple, add detail only as needed
- Seek feedback early and often
- Use AI platforms to accelerate, not replace, creative decision-making
Meta Description:
Learn how to create a detailed 3D cell model project with expert tips, step-by-step workflow, and best practices for accuracy and presentation.
Keywords:
3d cell model, cell modeling workflow, ai 3d tools, science visualization, educational 3d project, tripo ai