Creating a Wuthering Waves Rover 3D Model: My Workflow & Tips
Creating a 3D model of the Wuthering Waves Rover is a rewarding challenge that combines reference gathering, modeling, texturing, and technical prep for games or XR. In this guide, I’ll walk through my complete workflow—what tools I use, how I approach each step, and practical tips that save time and avoid common pitfalls. Whether you’re a game developer or a hobbyist, you’ll find actionable advice and learn where AI-powered tools like Tripo can really make a difference.
Key takeaways:
- Start with solid references and a clear understanding of the Rover’s design language.
- Use AI-powered platforms for rapid base mesh creation and segmentation.
- Prioritize clean topology and efficient UVs for game/XR compatibility.
- Build a modular workflow—test exports early and often.
- Avoid over-detailing too soon; iterate with feedback loops.
Executive Summary & Key Takeaways
What to Expect from This Guide
This guide details my end-to-end process for creating a production-ready Wuthering Waves Rover 3D model. I’ll cover everything from reference collection to final export, sharing insights from real projects. Expect practical steps, tool recommendations, and lessons learned.
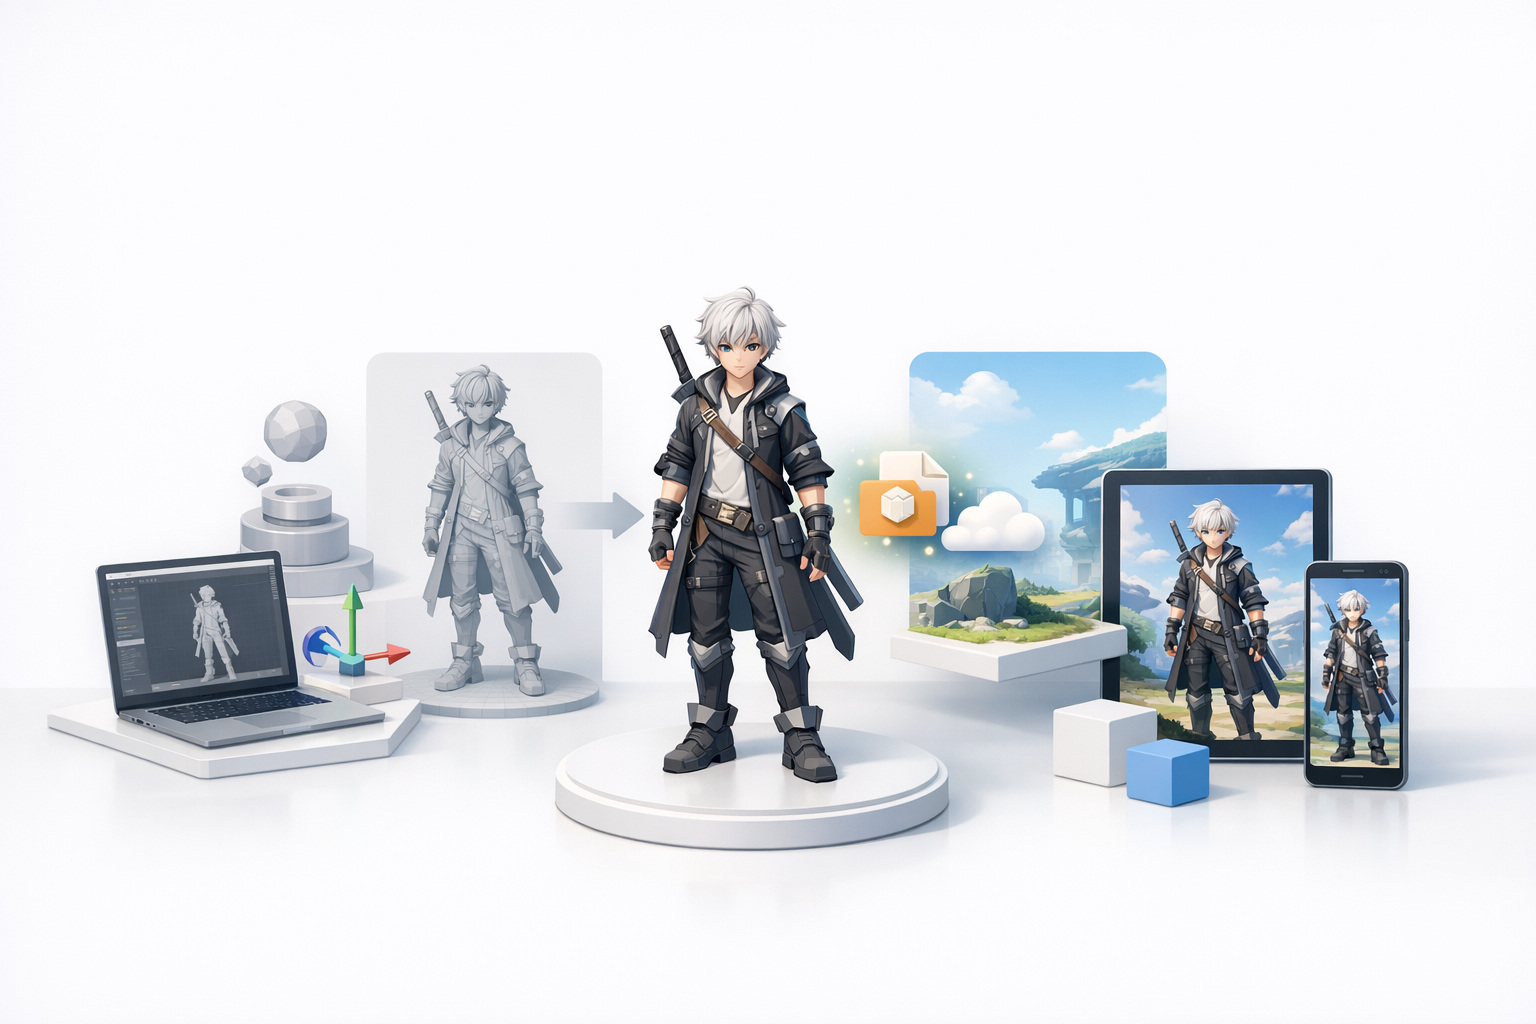
Summary of My Workflow
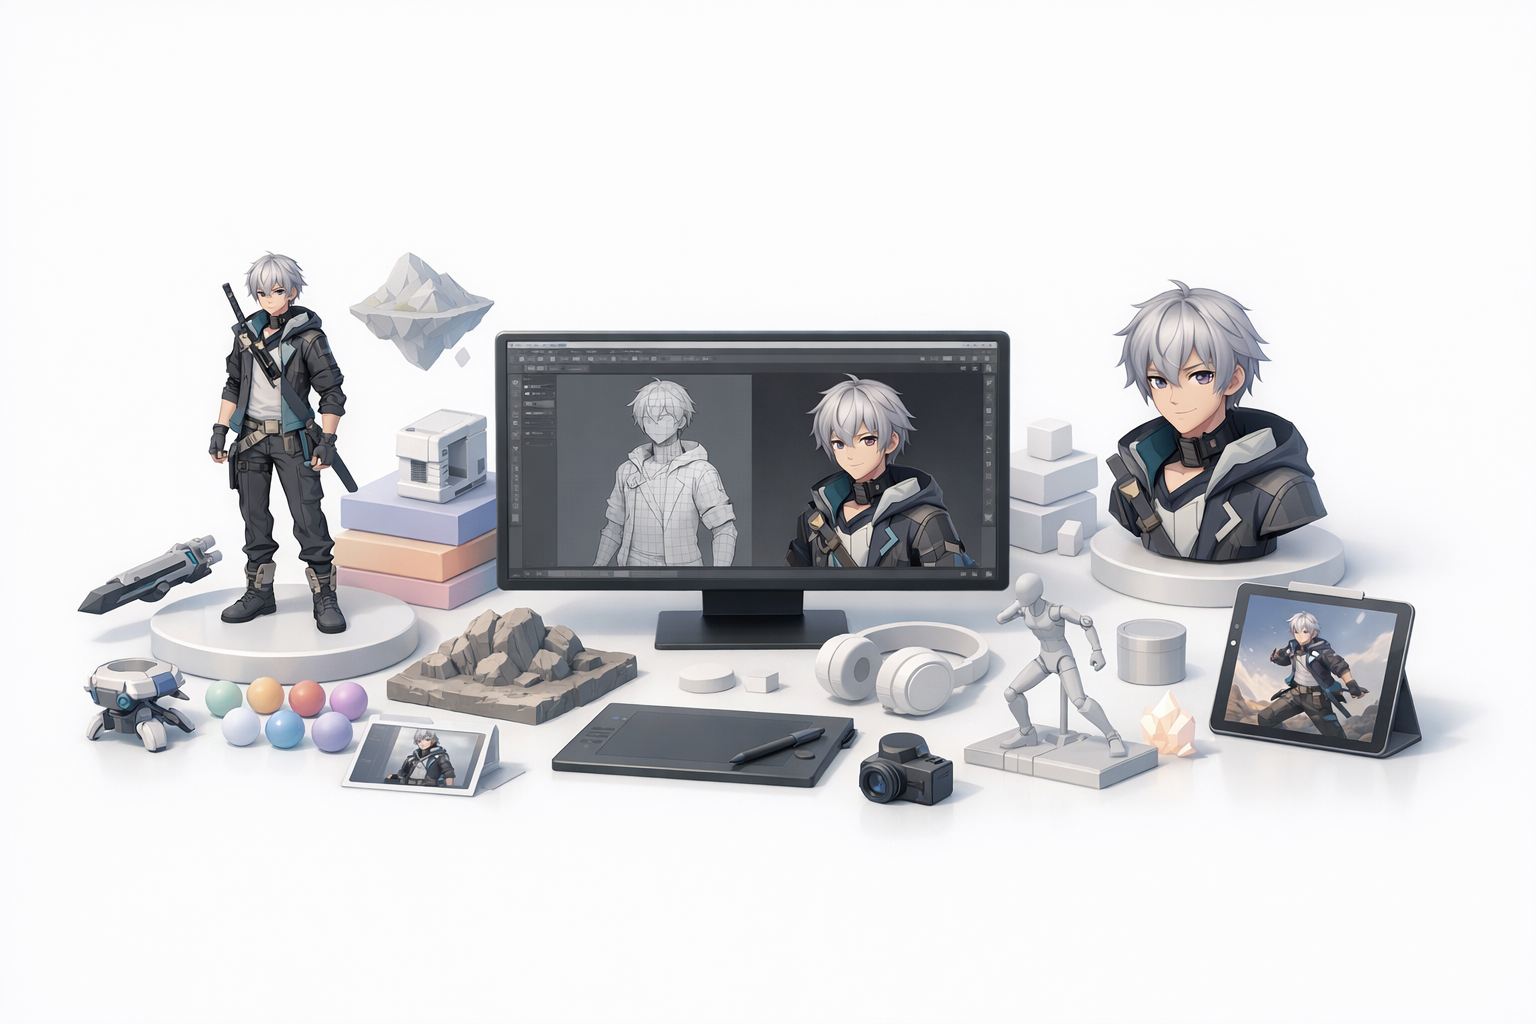
My workflow blends traditional modeling techniques with AI-powered tools for speed and consistency. I start with reference gathering, block out the base mesh (often using Tripo for fast iteration), refine and detail, then move to UVs, texturing, and rigging. Final steps include export and integration into the target engine, with regular testing throughout.
Understanding the Wuthering Waves Rover Design
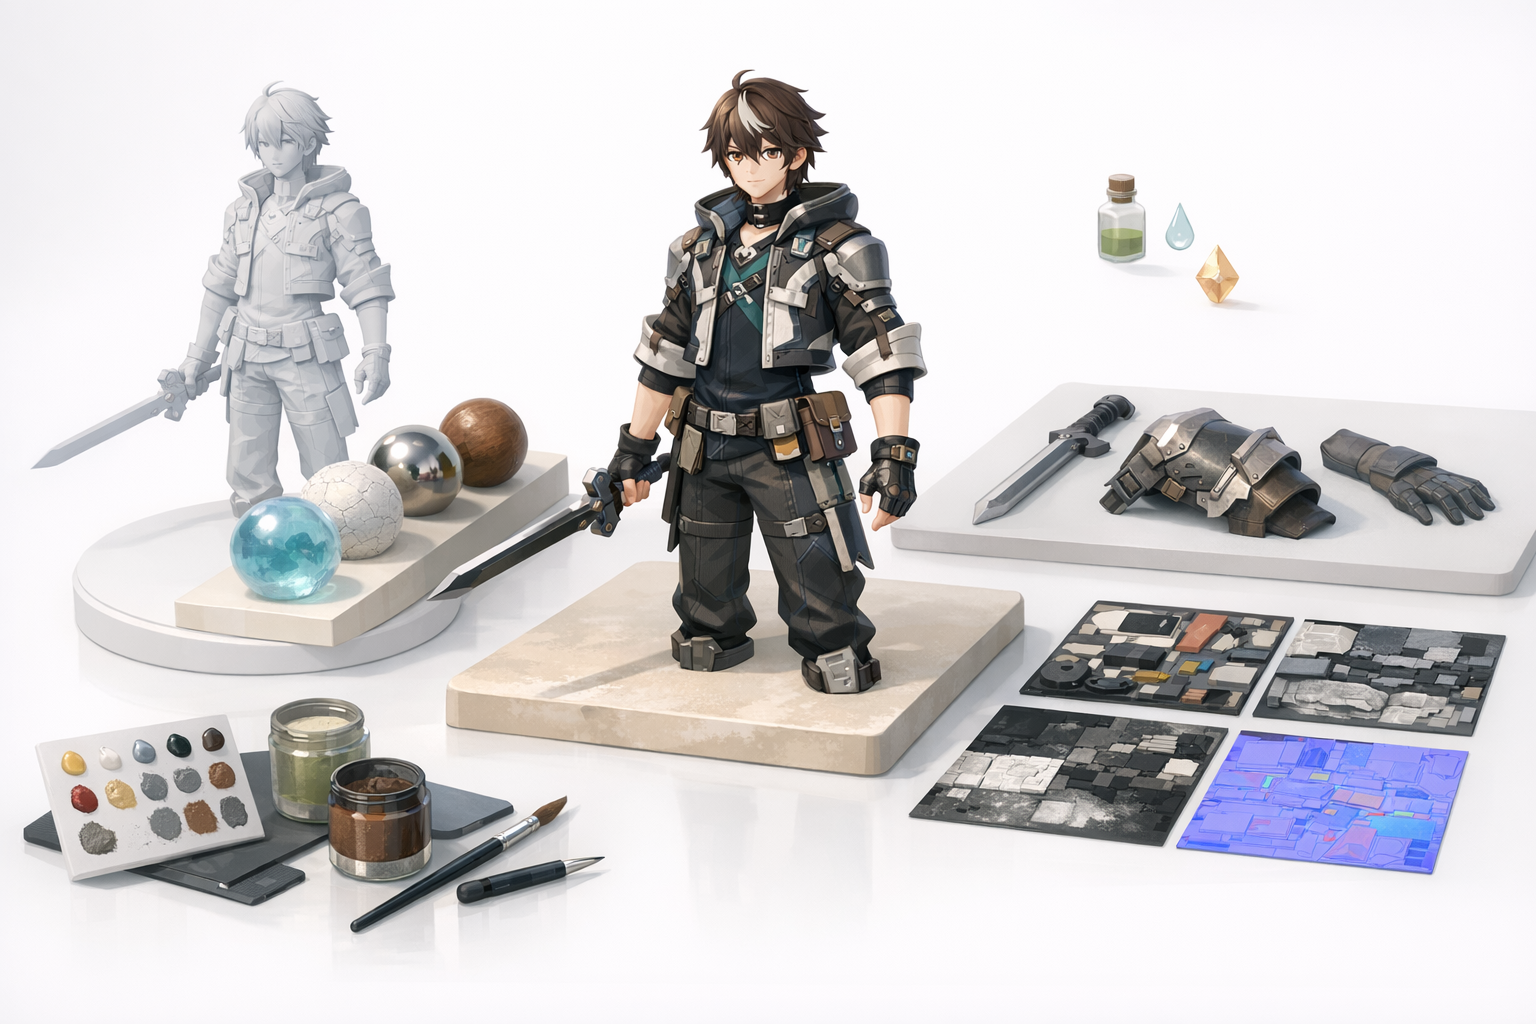
Key Visual Features
The Wuthering Waves Rover stands out with its sleek, futuristic silhouette, modular armor plates, and distinct color blocking. Key features I focus on:
- Symmetrical chassis with bold panel lines
- Subtle mechanical detailing (suspension, sensors)
- Contrasting materials: matte, gloss, and emissive elements
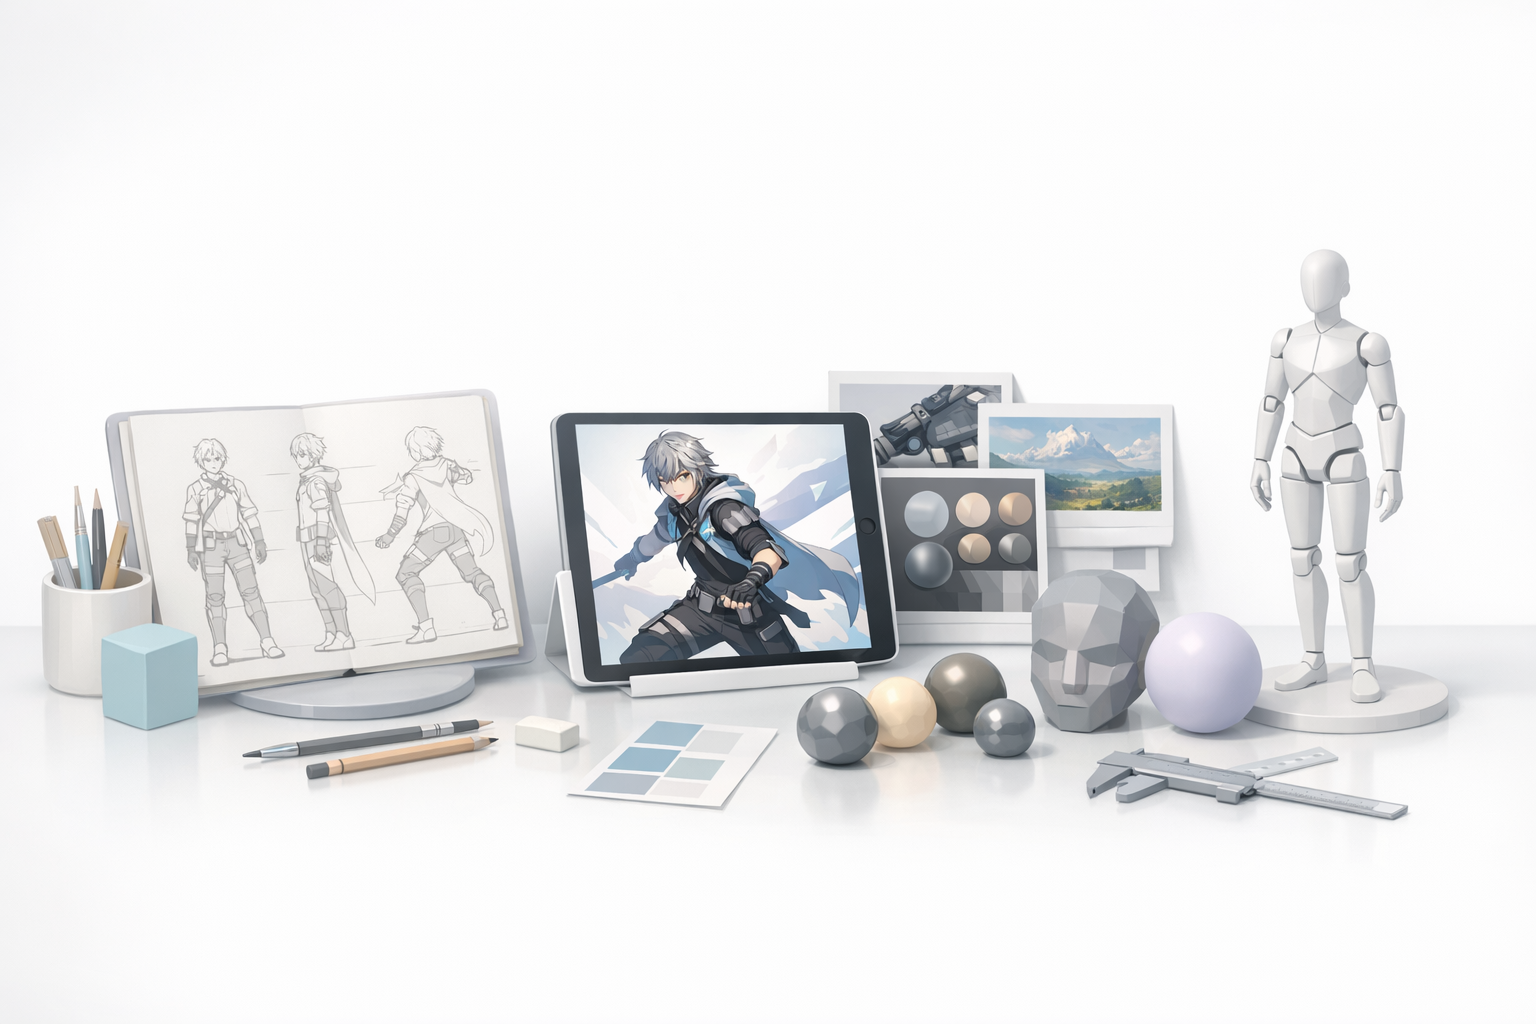
Reference Gathering Strategies
Good references make or break a model. Here’s my approach:
- Gather official art, in-game screenshots, and fan renders.
- Create a moodboard in PureRef or similar.
- Annotate key shapes, proportions, and surface details.
Checklist:
- Front/side/back views
- Close-ups of mechanical parts
- Texture/material references
Preparing for 3D Modeling
Choosing the Right Tools
I select tools based on the project’s target platform and my workflow needs:
- AI-powered modeling (Tripo): For rapid prototyping and segmentation.
- Traditional DCCs: Blender or Maya for manual tweaks and detailing.
- Texturing: Substance Painter for PBR workflow.
Setting Up Your Workspace
A clean, organized workspace speeds up iteration:
- Set up project folders: references, models, textures, exports.
- Configure units and grid to match target engine.
- Import references into your 3D viewport for direct comparison.
Step-by-Step 3D Modeling Process
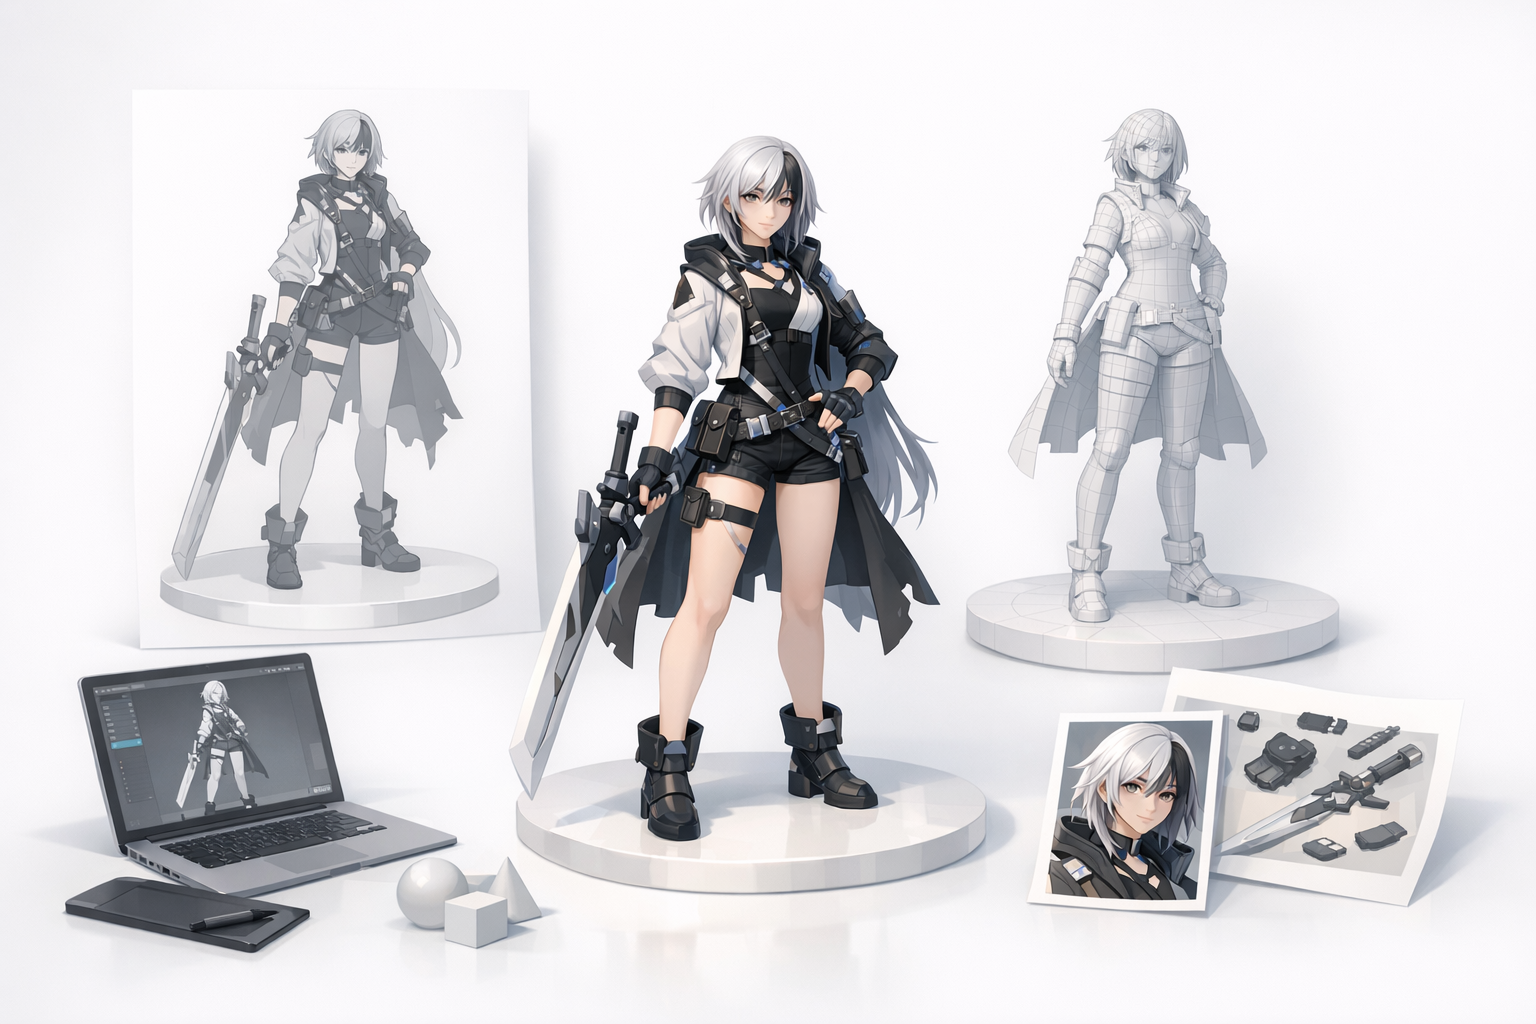
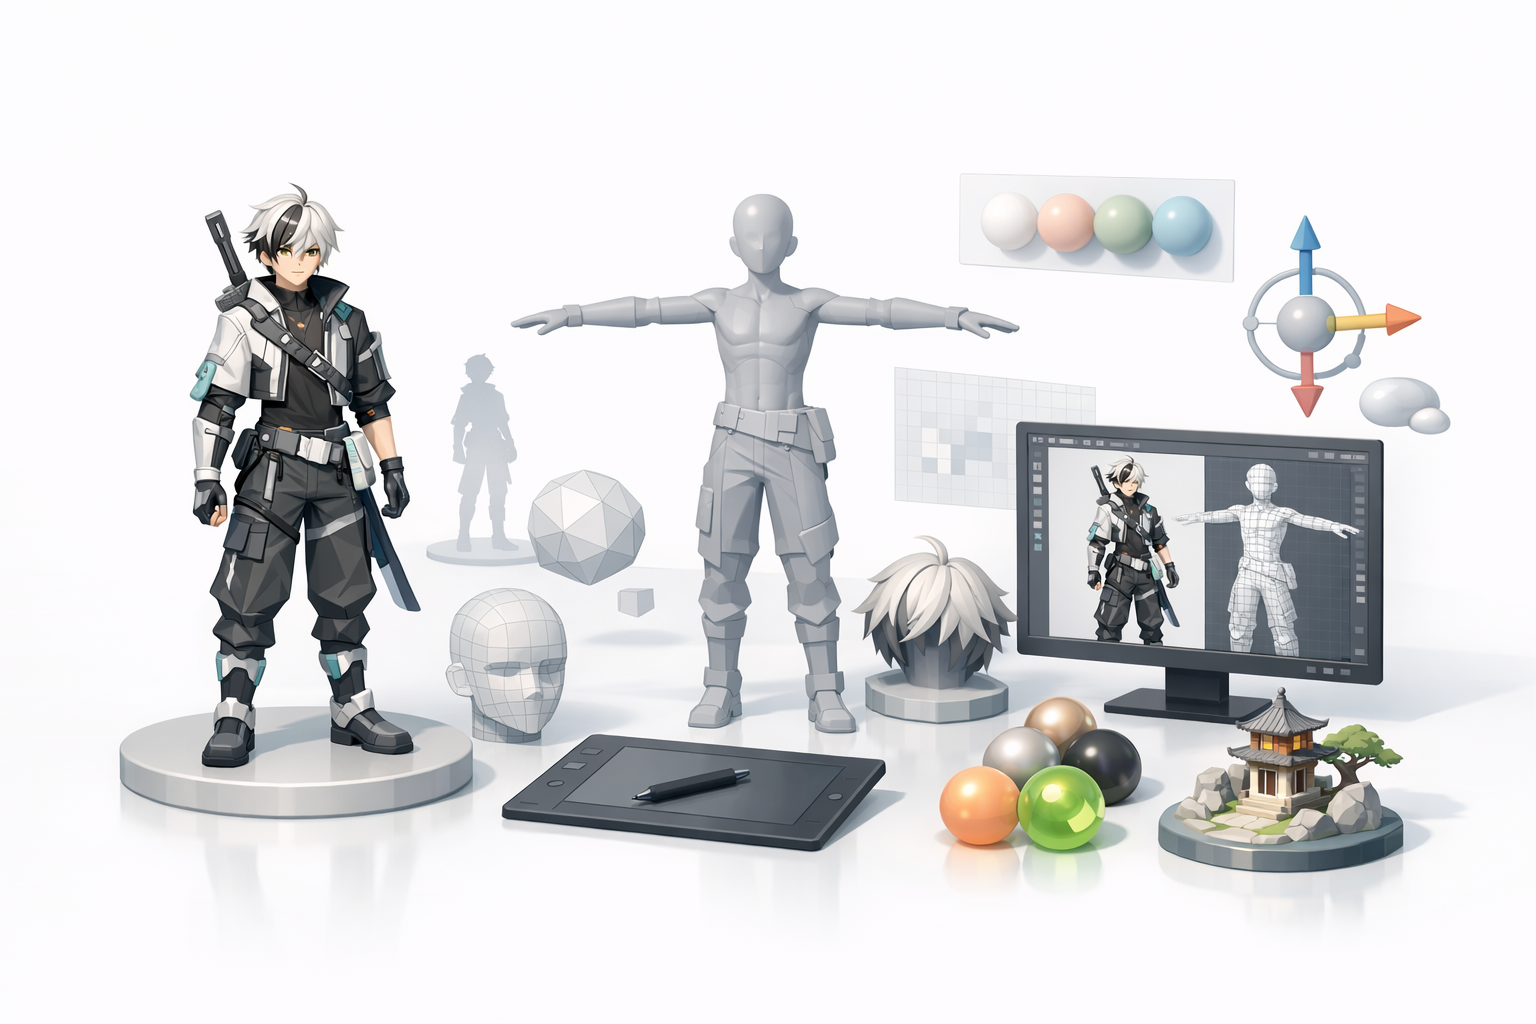
Blocking Out the Base Mesh
I start with a simple blockout to nail proportions:
- Use Tripo or similar AI tool to generate a rough base from sketches or text prompts.
- Refine primary shapes manually for accuracy.
- Keep geometry light—focus on silhouette and scale.
Tip: Don’t get bogged down in details early. Iterate on the overall form first.
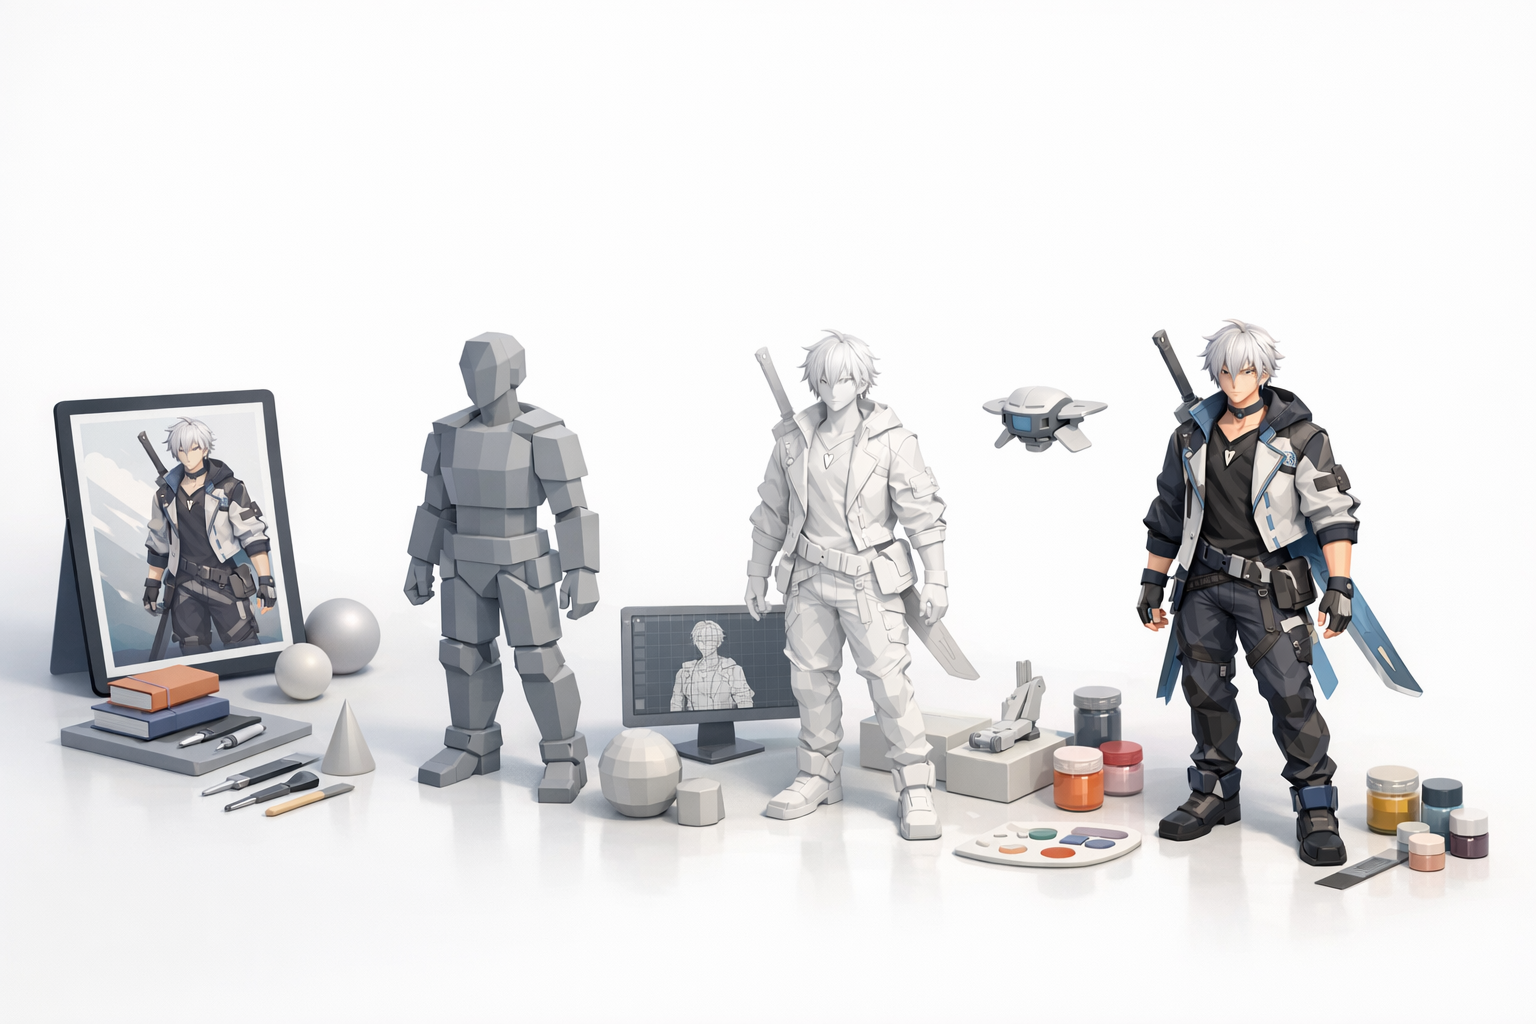
Adding Details and Refinements
Once the base mesh feels right:
- Add secondary forms: armor plates, vents, mechanical bits.
- Use non-destructive modifiers (bevel, subdivision) for flexibility.
- Regularly check against references.
Pitfall: Avoid adding small details before confirming proportions.
Texturing and Materials
UV Unwrapping Best Practices
Clean UVs are essential for good textures:
- Use auto-unwrap tools for quick results, but always check for stretching.
- Organize UV islands logically (by material or part).
- Pack UVs efficiently to maximize texture resolution.
Applying Realistic Textures
For the Rover, I focus on believable materials:
- Bake normal and AO maps for depth.
- Use PBR materials: mix of metal, plastic, emissive.
- Layer dirt, scratches, and edge wear for realism.
Mini-checklist:
- All UVs non-overlapping
- Consistent texel density
- Test materials in engine lighting
Rigging and Animation Preparation

Basic Rigging Steps
Even if the Rover is static, basic rigging helps for posing or animation:
- Add a simple skeleton for wheels, suspension, and moving parts.
- Use parenting and constraints for mechanical rigging.
Animation-Ready Model Tips
To keep the model animation-friendly:
- Maintain clean, quad-dominant topology.
- Separate moving parts into logical groups.
- Test deformations early.
Tip: Name bones and mesh parts clearly for easy export.
Exporting and Integrating the Model
Export Settings for Games and XR
Export settings make or break integration:
- Use FBX or GLTF for most engines.
- Set correct scale and orientation.
- Bake all transforms before export.
Testing in Target Environments
I always test the model early in the target engine:
- Import and check for scale, material issues, and animation playback.
- Fix any shading or normal errors immediately.
Pitfall: Skipping this step leads to time-consuming fixes later.
Best Practices and Lessons Learned
Common Pitfalls to Avoid
- Over-detailing before blocking out forms.
- Ignoring UV packing—leads to blurry textures.
- Not testing exports until late in the process.
My Top Tips for Efficiency
- Use AI tools for rapid iteration, but always review outputs.
- Modularize your workflow—work in layers: blockout, details, UVs, texture, rig.
- Save versions frequently and keep backups.
Comparing AI-Powered and Traditional 3D Workflows

Speed and Quality Differences
From my experience, AI-powered tools dramatically speed up early stages (blockout, segmentation, basic retopology). Manual refinement is still essential for high-quality results, especially for stylized or complex models.
When to Use AI Tools Like Tripo
I rely on AI tools when:
- I need a quick base mesh from a concept or sketch.
- Rapid prototyping is more important than pixel-perfect accuracy.
- Time constraints demand streamlined workflows.
For final detailing, texturing, and rigging, a hands-on approach remains crucial.
Summary:
With the right blend of AI assistance and manual craftsmanship, creating a Wuthering Waves Rover 3D model is efficient and rewarding. Focus on references, iterate often, and don’t be afraid to leverage new tools to speed up your workflow.