Creating a World Trade Center 3D Model: Expert Workflow & Tips
Building a production-ready 3D model of the World Trade Center is a rewarding but demanding process. In my experience, success hinges on a solid reference base, a structured workflow, and the smart use of AI-powered tools to accelerate repetitive tasks. Whether you’re a game developer, architectural visualizer, or XR creator, this guide shares my hands-on workflow, practical tips, and lessons learned for modeling iconic structures efficiently—without sacrificing quality.
Key takeaways
- Comprehensive references are essential for accuracy and realism.
- Blocking out main forms before detailing saves time and avoids rework.
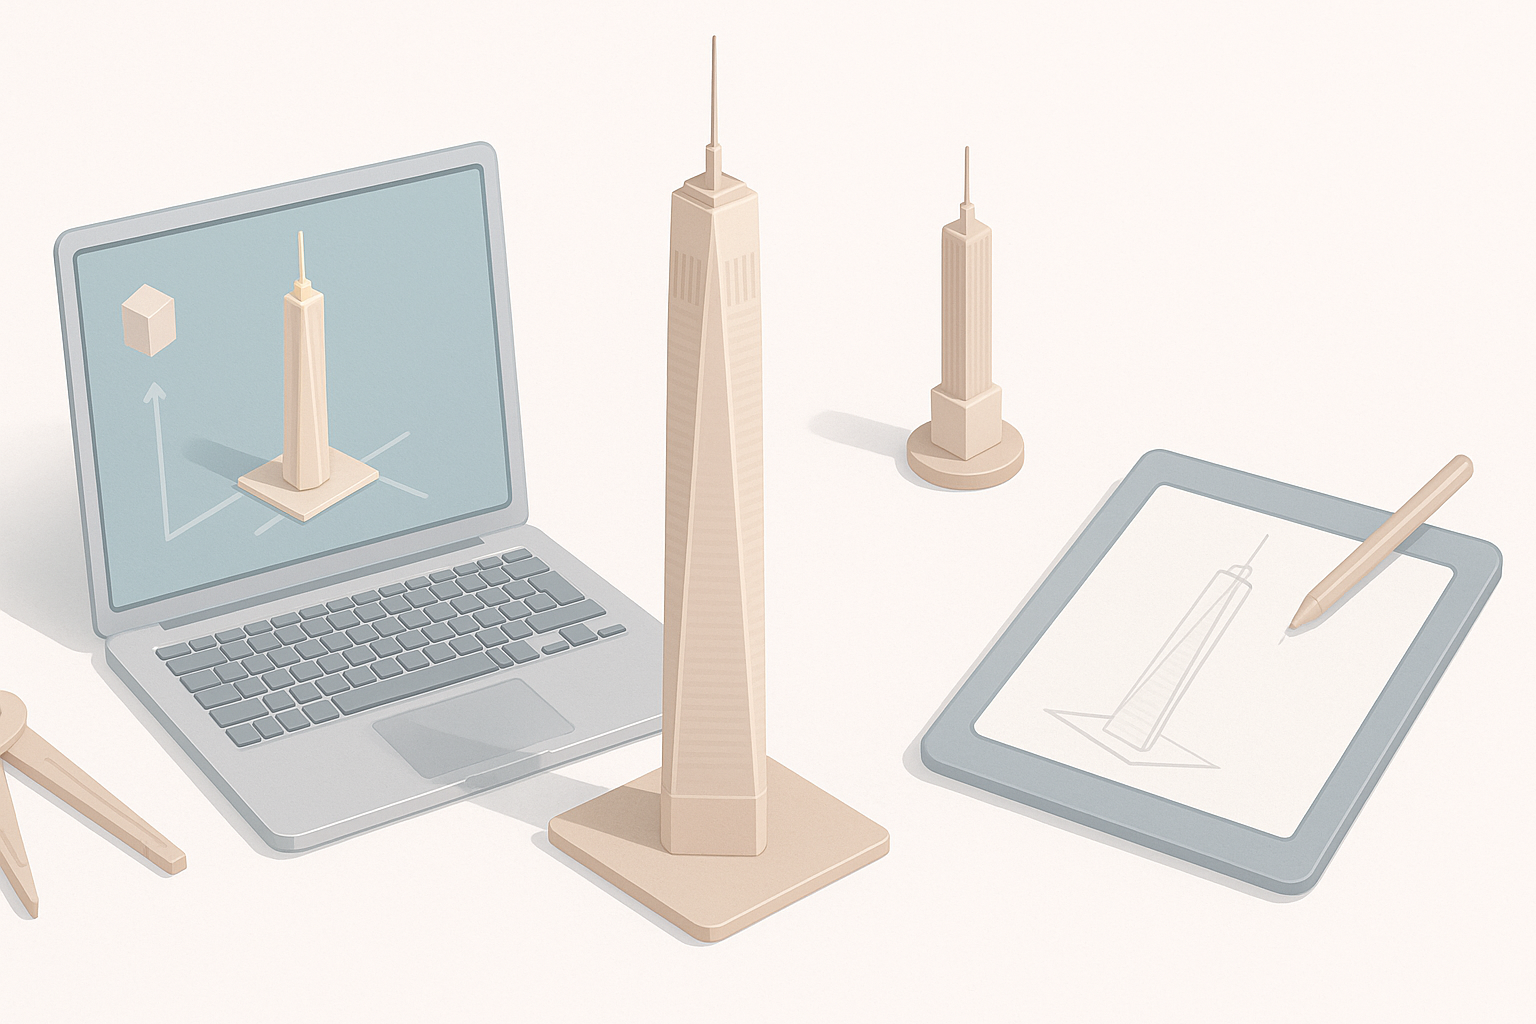
- AI-driven platforms like Tripo can automate segmentation, retopology, and texturing.
- Mesh optimization is critical for performance and cross-platform use.
- Export settings and file formats should match your intended use case.
- Anticipate and avoid common pitfalls by planning and iterative testing.
Overview of World Trade Center 3D Modeling
Why Model the World Trade Center in 3D?
The World Trade Center is an iconic subject for 3D modeling—ideal for historical visualization, games, VR/AR experiences, or architectural studies. I’ve found that recreating such landmarks not only sharpens my technical skills but also challenges my attention to detail and accuracy. The complexity of the structures makes it a great learning project for both beginners and seasoned artists.
Key Features and Reference Materials
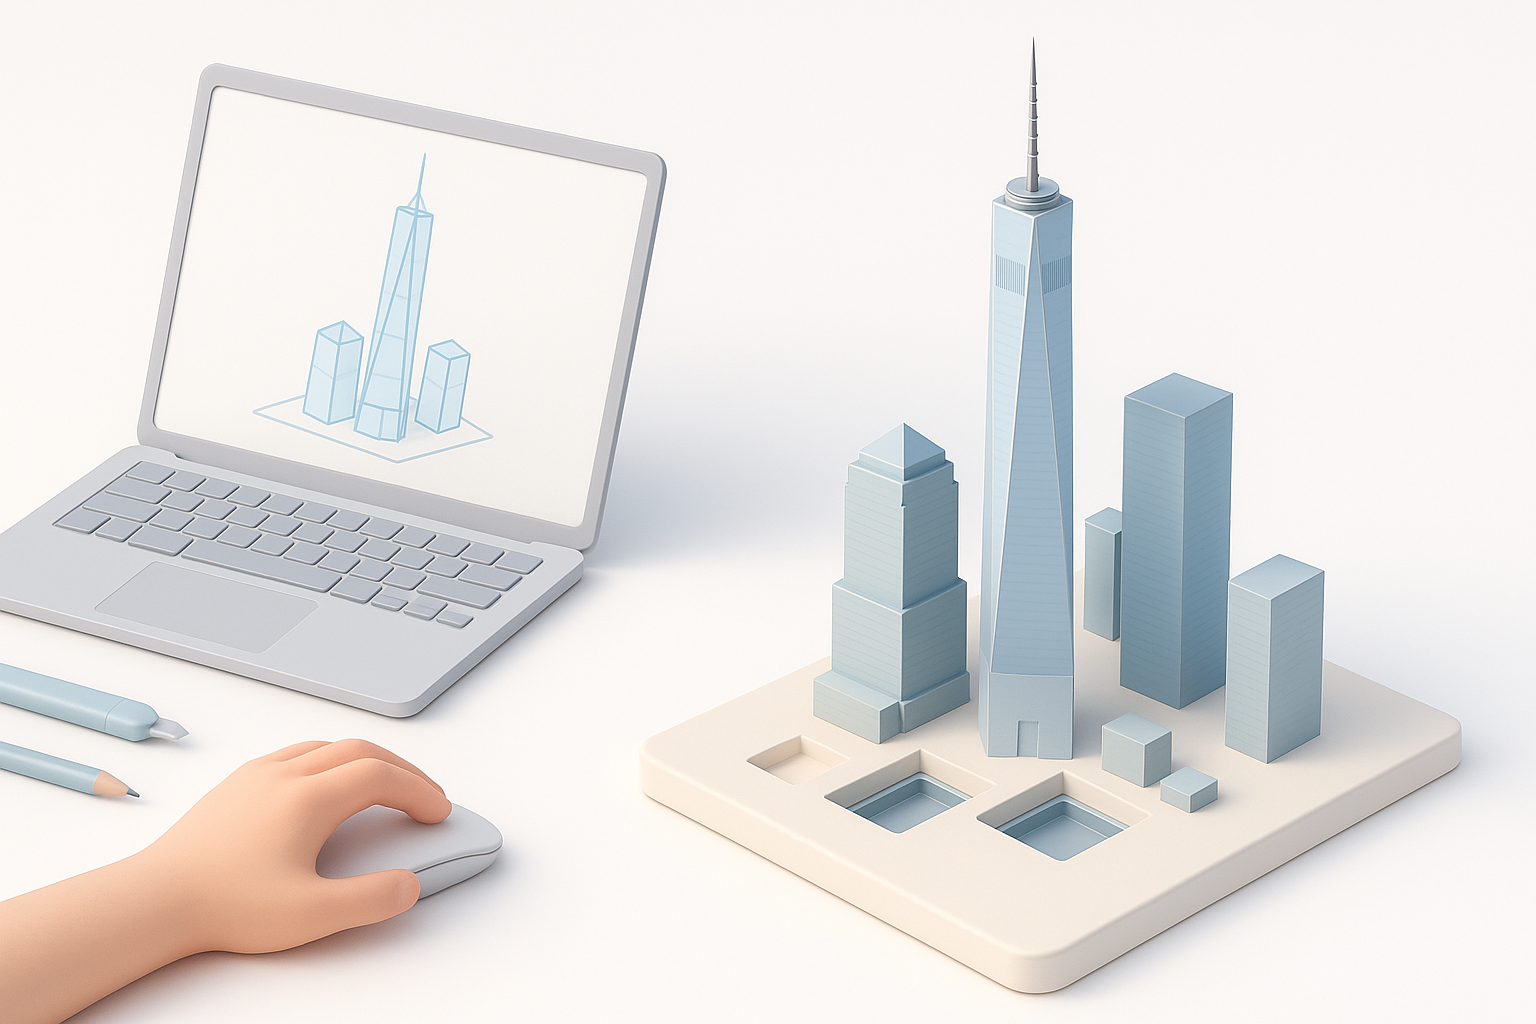
Accurate modeling starts with high-quality references. For the World Trade Center, I rely on:
- Archival blueprints, site plans, and elevation drawings
- Historical and contemporary photographs (aerial, street-level, interiors)
- Satellite imagery and 3D scans, when available
Checklist for references:
- Multiple angles and close-ups
- Structural details (windows, facade patterns, roof features)
- Scale indicators (people, vehicles, adjacent buildings)
Step-by-Step Workflow for Building the Model
Gathering References and Planning
I always begin by organizing reference images and blueprints in a dedicated folder. This helps me quickly switch views and check proportions. Planning includes:
- Deciding on the level of detail (LOD) based on the target platform
- Sketching or annotating main volumes and unique features
- Setting up reference planes in my 3D software for alignment
Tip: Don’t skip this step—poor planning leads to proportion errors and wasted time.
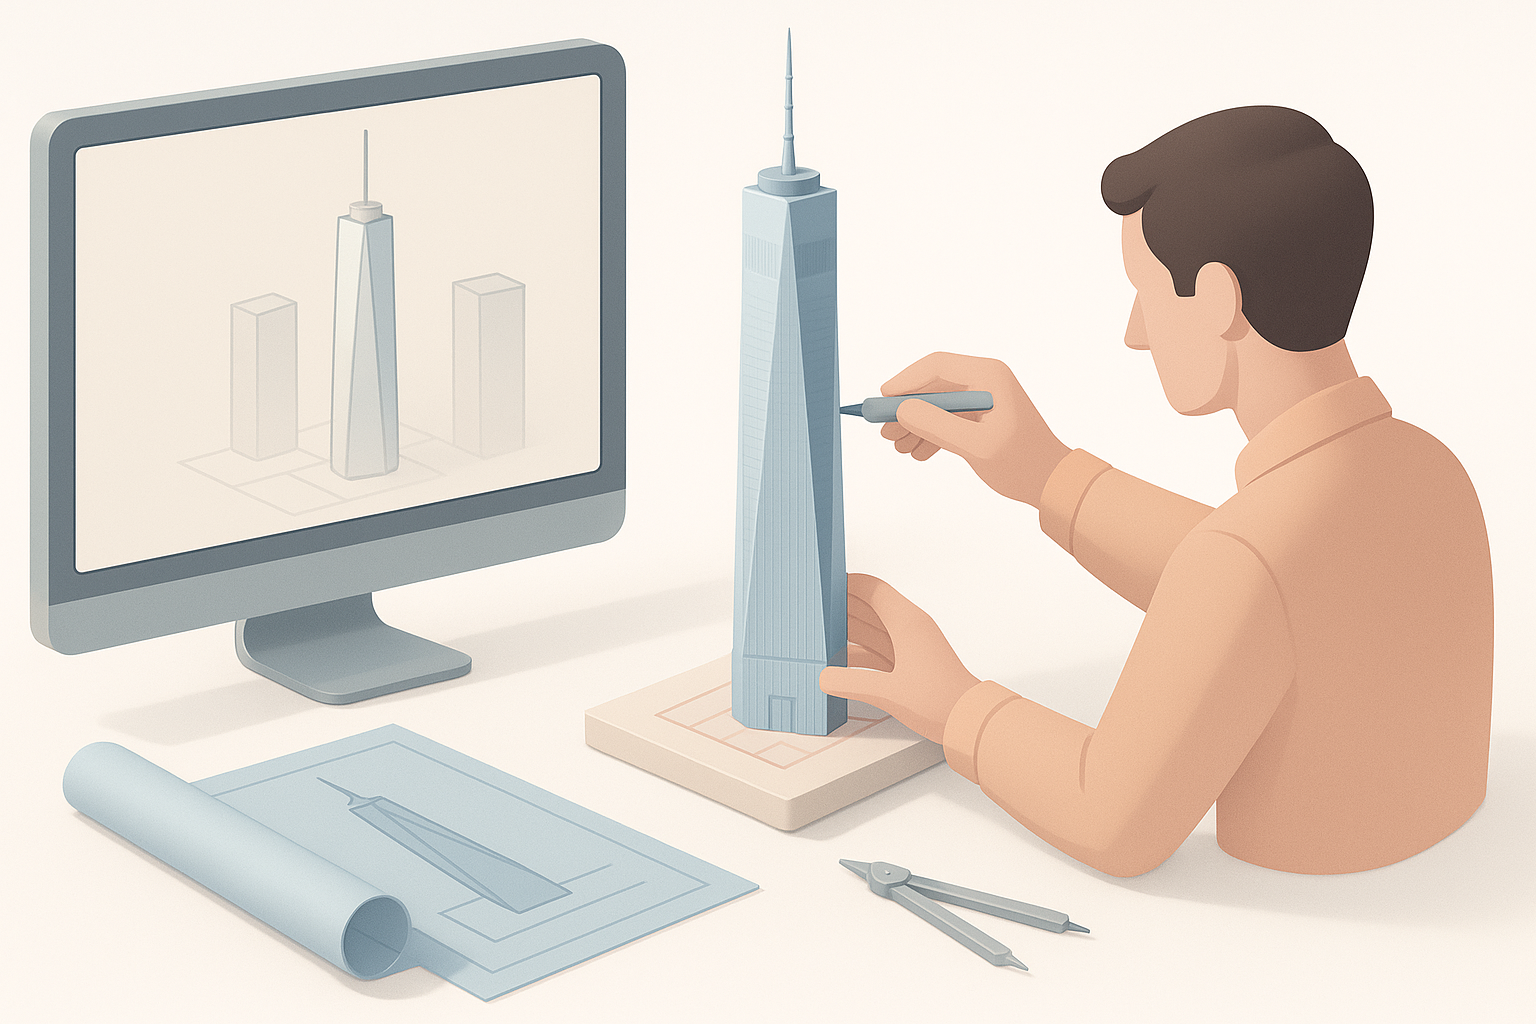
Blocking Out the Main Structures
I start by blocking out the primary volumes—the towers, plaza, and surrounding buildings—using simple primitives (cubes, cylinders). This stage is about getting the scale and silhouette right.
Steps:
- Import reference planes or images into the viewport.
- Block out each building with basic shapes.
- Adjust proportions to match references before adding details.
Pitfall to avoid: Jumping into detailing too early. I’ve learned that it’s much harder to fix scale issues after investing time in modeling windows or facade details.
Texturing, Detailing, and Optimization

Applying Realistic Textures and Materials
Texturing is where the model comes alive. I use high-resolution photos for facades, windows, and ground surfaces. With AI-powered tools like Tripo, I can generate and apply seamless, PBR-ready textures quickly.
Best practices:
- Use UV unwrapping to avoid stretching and seams.
- Bake ambient occlusion and normal maps for added realism.
- Reference real-world materials for color and reflectivity.
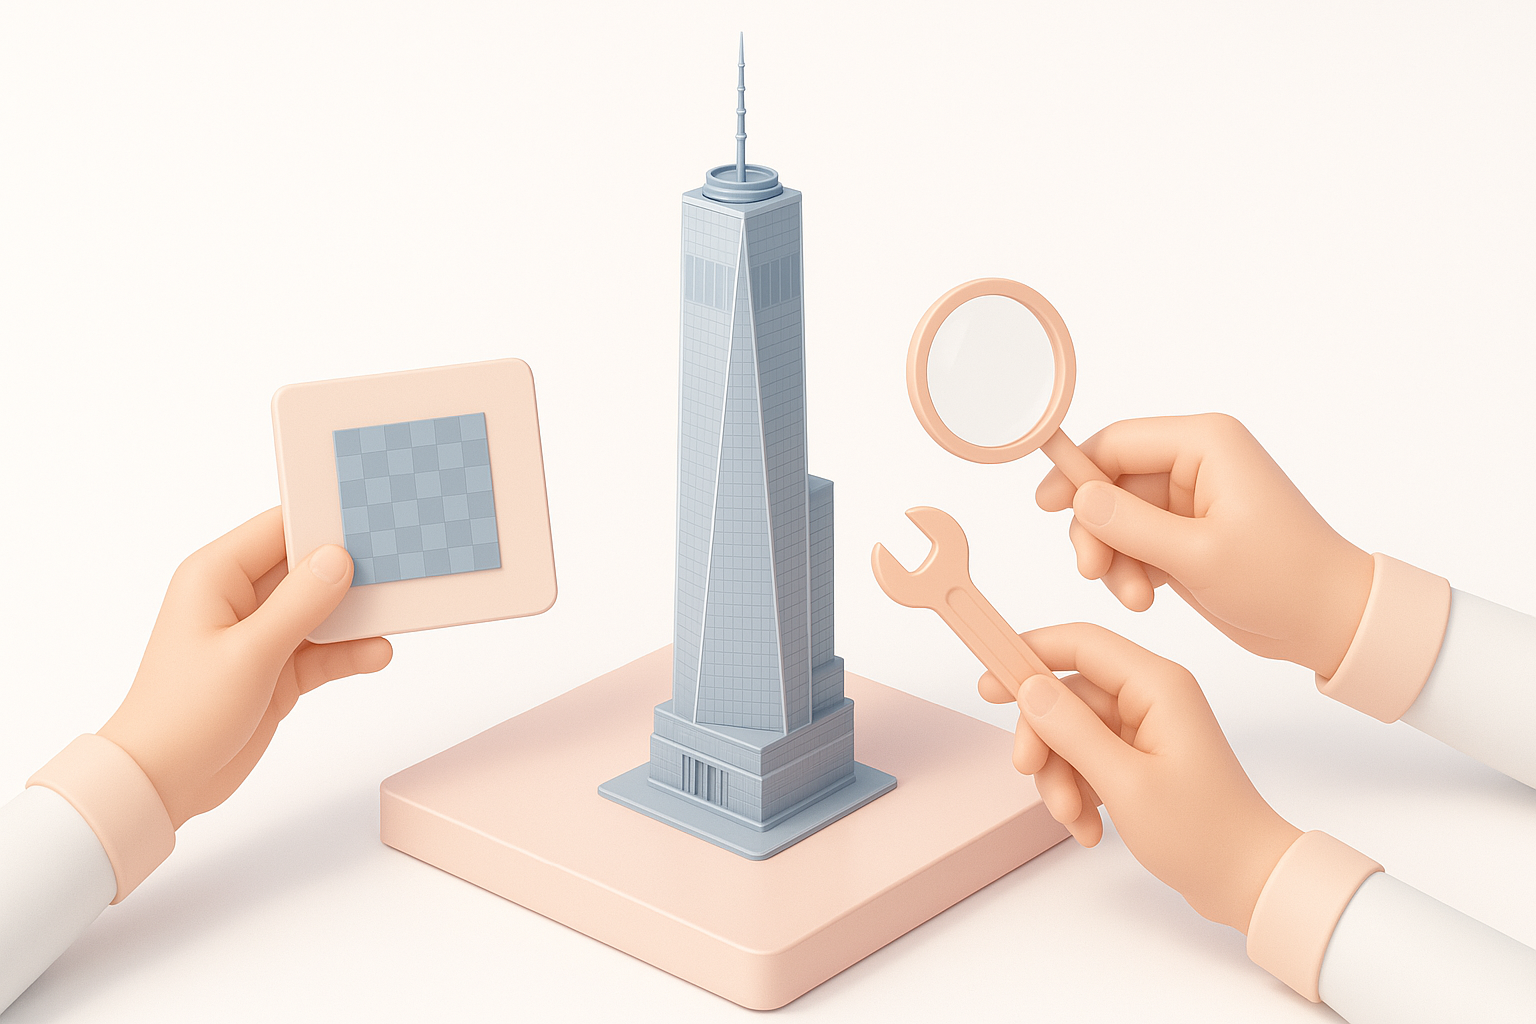
Retopology and Mesh Optimization
Efficient topology is crucial for performance, especially in real-time applications. I leverage automated retopology features in Tripo to generate clean, quad-based meshes.
Optimization steps:
- Remove hidden faces and unnecessary edge loops.
- Merge duplicate vertices and check for non-manifold geometry.
- Use LODs for large scenes to maintain frame rates.
Pitfall: Overlooking mesh cleanup can lead to bloated files and rendering issues. I always run a final check with mesh validation tools.
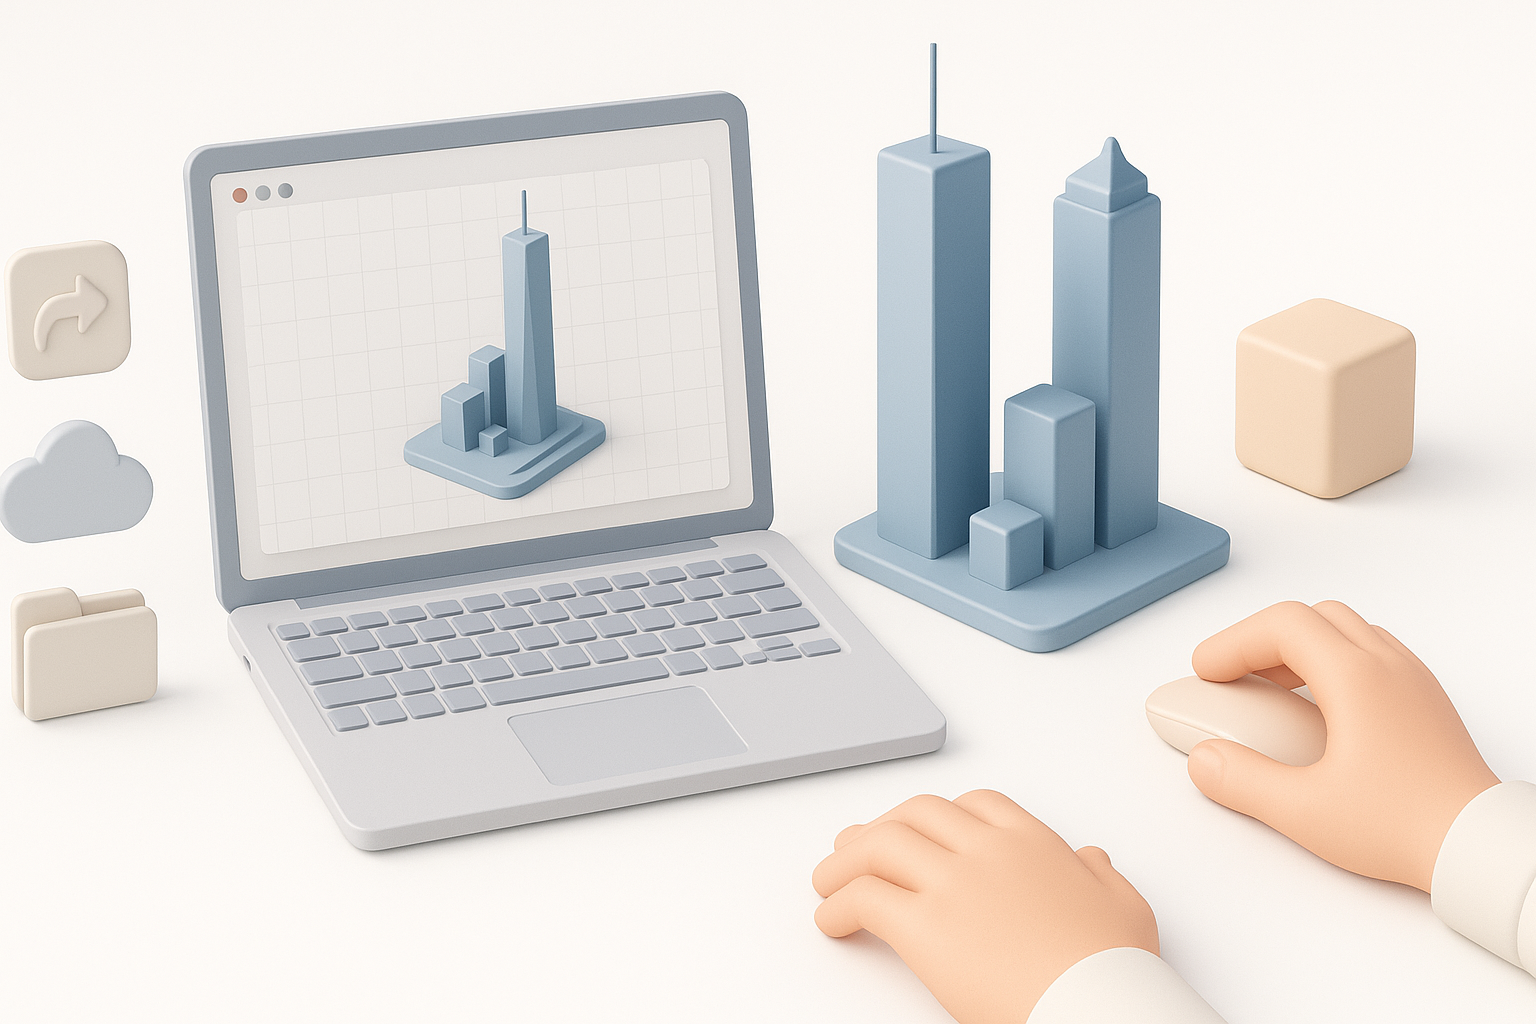
Using AI Tools for Efficient 3D Creation
Integrating AI-Powered Platforms in My Workflow
AI platforms like Tripo have streamlined my workflow considerably. I use them for:
- Rapidly generating base meshes from text or image prompts
- Automatic segmentation and classification of building parts
- One-click retopology and texturing
This allows me to focus more on creative decisions and less on repetitive manual tasks.
Tips for Leveraging Automation and Speed
- Always review AI-generated outputs—manual tweaks are often needed for accuracy.
- Use AI for repetitive elements (windows, facade tiles) and manual modeling for unique or complex features.
- Batch process similar assets to maximize efficiency.
Checklist:
- Validate geometry after AI processing
- Adjust textures to match lighting and context
- Integrate AI models into the broader scene carefully
Exporting, Sharing, and Best Practices
Preparing the Model for Different Platforms
Export settings vary by target platform (game engine, XR, render). I typically:
- Choose the appropriate file format (FBX, OBJ, GLTF)
- Apply scale and axis corrections
- Embed or package textures as needed
Tip: Test imports in the target application to catch scale or material issues early.
My Lessons Learned and Common Pitfalls
- Don’t underestimate the value of reference alignment—small errors compound.
- Keep your scene organized with naming conventions and layers.
- Regularly back up your work and use version control, especially for large projects.
Pitfalls to avoid:
- Overcomplicating geometry at the expense of performance
- Relying solely on AI outputs without manual review
- Ignoring platform-specific requirements (polycount, texture size)
Comparison of Methods and Tools
Manual vs. AI-Assisted Modeling
Manual modeling offers ultimate control, but it’s time-consuming—especially for repetitive details. AI-assisted tools like Tripo accelerate base mesh creation, segmentation, and texturing. In my experience, the best results come from a hybrid approach: use AI for speed, then refine manually for precision and uniqueness.
Pros of manual:
- Full control over every detail
- Customization for unique features
Pros of AI-assisted:
- Rapid iteration and prototyping
- Automation of routine tasks
Choosing the Right Approach for Your Needs
- For tight deadlines or large-scale projects, AI-assisted workflows are invaluable.
- For hero assets or close-up shots, manual refinement is essential.
- Always match your method to the project’s requirements, your skill level, and the end-use.
Final tip: Stay flexible—integrating AI tools doesn’t replace traditional skills, but enhances your creative potential and efficiency.