The Sims 4 3D Model: Creation, Export, and Best Practices
скачать 3d модель для chicken gun
Creating custom 3D models for The Sims 4 has never been more accessible, thanks to a combination of streamlined workflows and AI-powered tools. In this guide, I’ll walk you through the entire process—from modeling and texturing to export and import—while sharing practical tips I’ve learned firsthand. Whether you’re a modder, game artist, or hobbyist, you’ll find actionable advice for making game-ready assets that look great and perform well in The Sims 4. I’ll also highlight how I use Tripo AI to accelerate my workflow and avoid common pitfalls.
Key takeaways
- The Sims 4 uses specific file formats and has unique requirements for 3D assets.
- Clean topology, proper UVs, and optimized textures are essential for game-ready models.
- Export settings and polygon count directly impact game performance.
- AI tools like Tripo can automate and simplify complex modeling tasks.
- Troubleshooting import errors early saves hours of rework.
- Consistent testing in-game is crucial for quality assurance.
Understanding The Sims 4 3D Model Workflow
How The Sims 4 Uses 3D Models
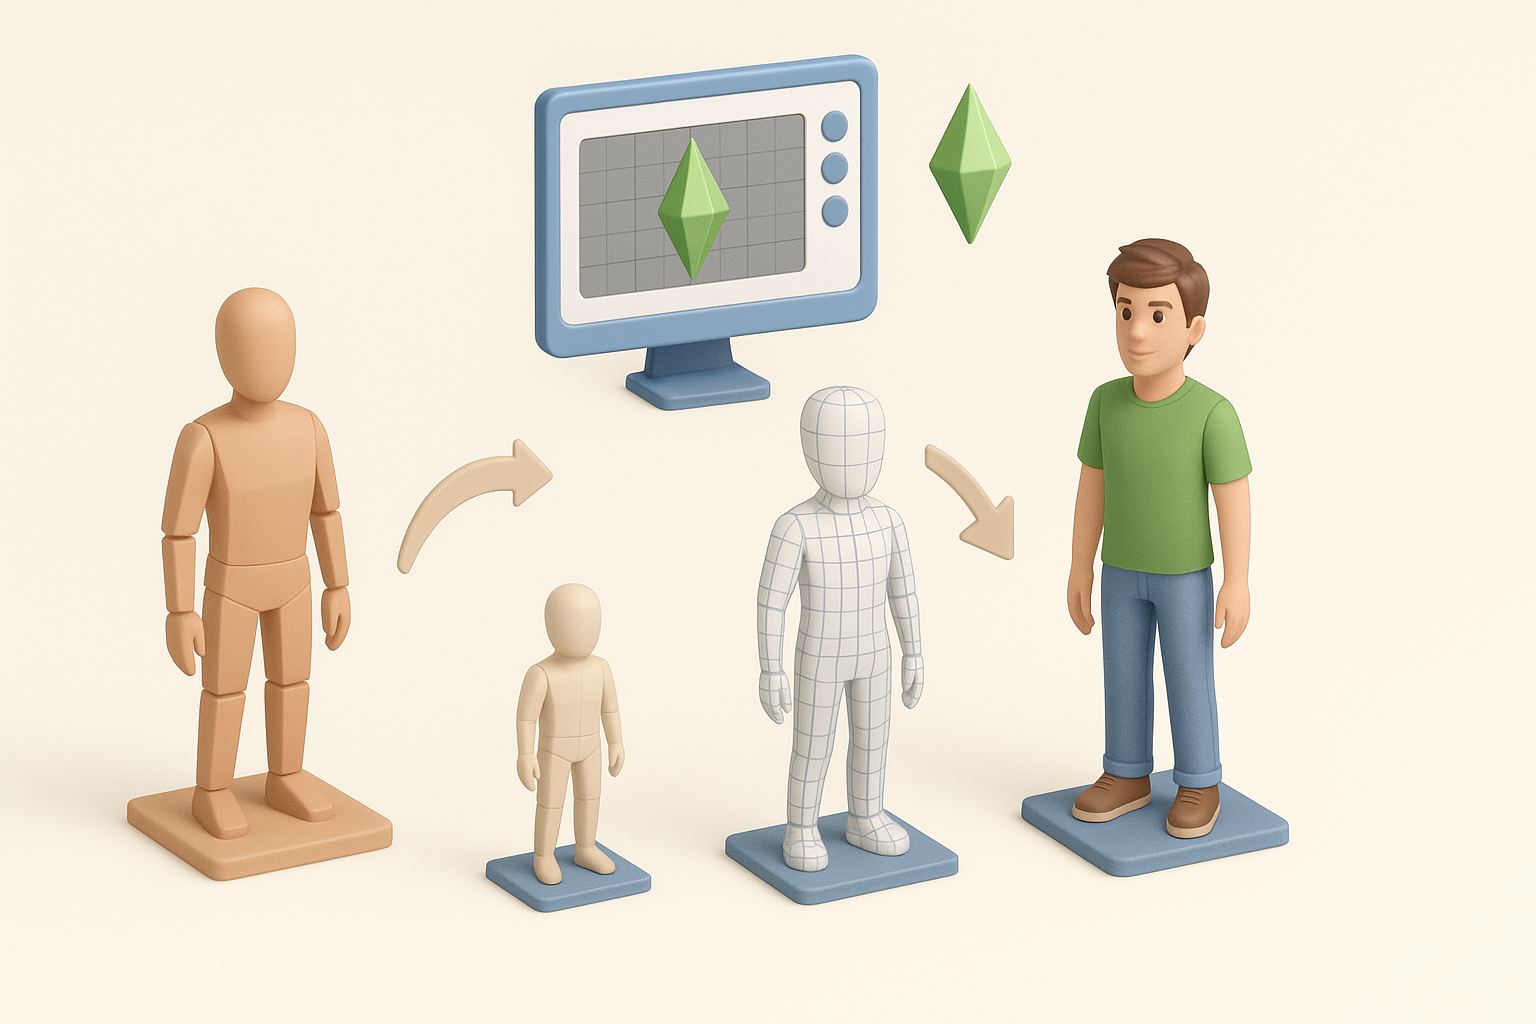
The Sims 4 relies on 3D meshes for everything from characters to furniture. Each in-game object is a combination of a mesh, textures, and often a rig for animation. In my experience, the game expects assets to be lightweight and efficiently mapped to avoid lag or glitches. Custom content (CC) creators need to match EA’s standards for scale, orientation, and mesh complexity.
Practical tip: I always reference base game meshes for scale and orientation before starting a new asset.
File Formats and Compatibility
The Sims 4 primarily uses the .package format for game content, but 3D meshes are typically created in formats like .obj or .fbx before being imported and converted. I build and export my models in Blender or similar DCC tools, then use Sims-specific utilities (like Sims 4 Studio) for conversion.
Checklist:
- Model:
.objor.fbx - Textures:
.pngor.dds - Final package:
.package(via Sims 4 Studio or similar)
Creating Custom 3D Models for The Sims 4
My Step-by-Step Modeling Process
- Reference gathering: I start with clear concept art or in-game screenshots.
- Base mesh: I build the mesh in Blender, keeping the polycount low (under 5k tris for most objects).
- UV unwrapping: Clean UVs are a must for seamless texturing.
- Export: I export the mesh as
.objfor compatibility.
Pro tip: When I need to iterate quickly, I use Tripo AI to generate a base mesh from text or sketches, then refine it manually.
Best Practices for Game-Ready Assets
- Low polycount: The game engine favors efficiency.
- No n-gons: Stick to quads and tris.
- Consistent scale: Match EA’s mesh sizes.
- Single material slot: Helps with compatibility.
- Origin point: Set to the base for proper placement.
Pitfalls to avoid: Overly dense meshes, overlapping UVs, and excessive materials will cause import errors or in-game artifacts.
Exporting and Importing 3D Models

Export Settings and Optimization
When exporting from Blender or similar tools, I use the following settings:
- Scale: Match Sims 4 units (typically meters).
- Apply all transforms.
- Triangulate mesh if required.
- Remove unused vertex groups.
Optimization steps:
- Check for stray vertices.
- Bake normals if needed.
- Compress textures without visible quality loss.
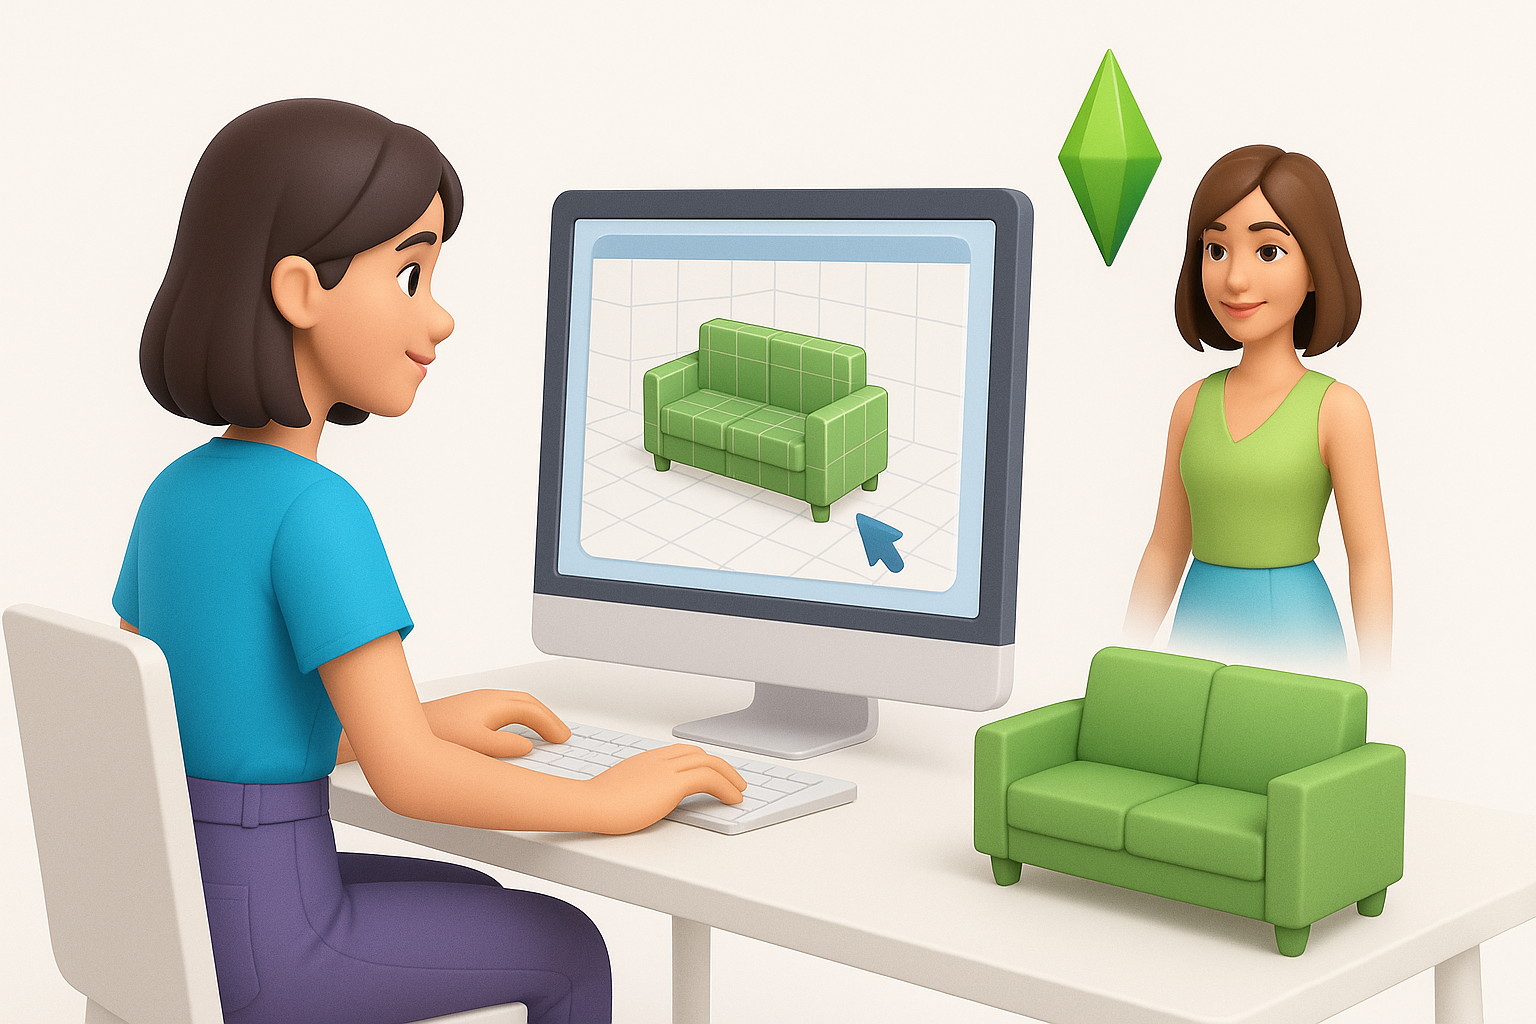
Importing Models into The Sims 4
I use Sims 4 Studio to replace an existing mesh with my custom model:
- Open the target package.
- Import mesh (
.objor.fbx). - Assign textures.
- Save and test in-game.
Mini-checklist:
- Test for correct orientation and scale.
- Verify texture alignment.
- Check for shading issues.
Texturing, Rigging, and Animation Tips
Efficient Texturing Workflows
For most objects, I use a single UV map and bake ambient occlusion for depth. I create textures in Substance Painter or Photoshop, then export as .png or .dds. Tripo AI’s auto-UV and texturing tools help speed up repetitive tasks.
Tips:
- Use 512x512 or 1024x1024 textures for props.
- Avoid large, uncompressed textures.
- Test for seams and stretching.
Rigging and Animation Considerations
For animated objects (like doors or Sims), I ensure the skeleton matches the game’s rig structure. I use Blender’s rigging tools and keep bone counts minimal.
Checklist:
- Match EA’s bone naming.
- Test simple animations before export.
- Avoid unnecessary bones.
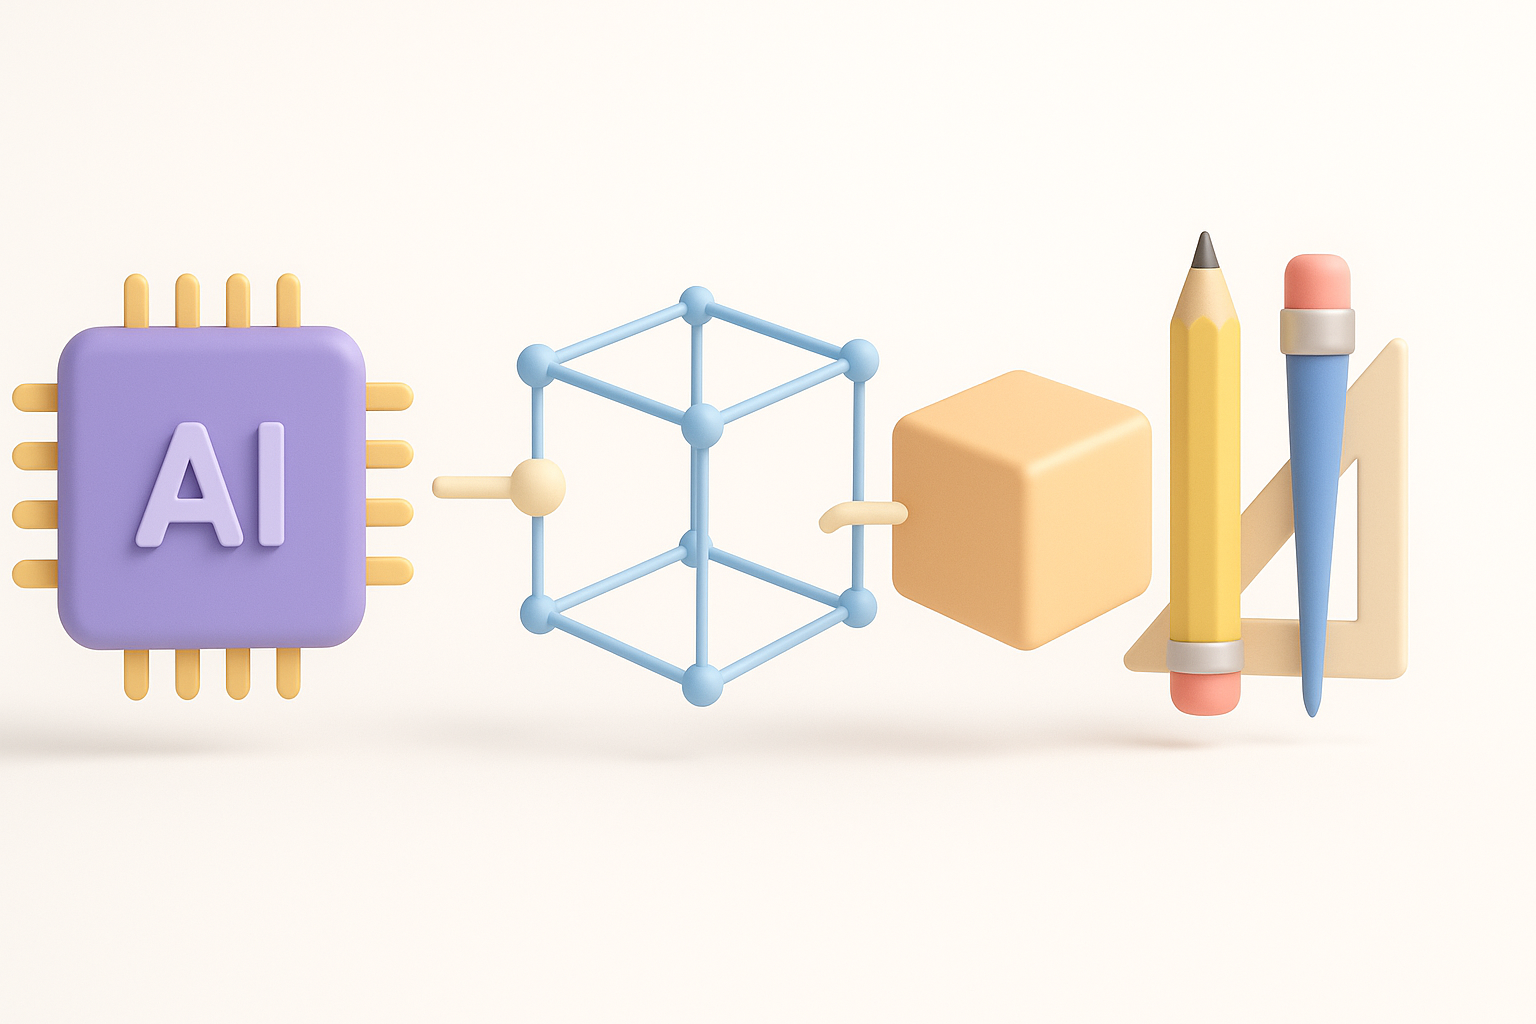
AI Tools and Alternative Methods for 3D Model Creation

How I Use Tripo AI in My Workflow
Tripo AI lets me generate base meshes from text prompts or sketches, which I then refine in Blender. I use its segmentation and auto-retopology features to quickly clean up geometry. For simple props, I sometimes go straight from Tripo to texturing and export.
Workflow:
- Generate base mesh with Tripo.
- Refine topology and UVs.
- Export to Blender for final tweaks.
- Import into Sims 4 Studio.
Comparing Manual and AI-Assisted Approaches
Manual modeling offers full control and precision, but it’s time-consuming. AI-assisted workflows, like those with Tripo, drastically reduce setup time and are ideal for prototyping or batch asset creation.
My findings:
- AI is best for quick iterations and basic shapes.
- Manual is necessary for complex, stylized, or animated assets.
- Combining both yields the best results for most projects.
Troubleshooting and Common Challenges
Fixing Import Errors
Common import errors include missing textures, flipped normals, or scale mismatches. I always double-check UVs and normals before export, and use Sims 4 Studio’s preview to catch issues early.
Steps to resolve:
- Recalculate normals (Blender: Shift+N).
- Re-export with correct scale.
- Ensure all textures are assigned and paths are correct.
Optimizing for Performance
High-poly models or large textures can tank in-game performance. I keep assets lean by decimating unnecessary geometry and compressing textures. Regular in-game testing is essential.
Performance tips:
- Stay under 5k tris for props.
- Use texture atlases for multi-part objects.
- Profile FPS with large scenes.
By following these steps and integrating AI tools where appropriate, I consistently create custom Sims 4 assets that are both visually appealing and game-ready—without the headaches of traditional workflows.