Creating Elder Scrolls Online 3D Models: Expert Workflow & Tips
As someone who’s created 3D models for Elder Scrolls Online (ESO) mods and XR projects, I know how crucial it is to balance visual fidelity with production efficiency. In this article, I’ll walk through my proven workflow for generating ESO-style assets, highlight practical best practices, and compare AI-powered and traditional methods. Whether you’re a game developer, modder, or XR creator, you’ll find actionable tips for getting production-ready results—fast.
Key takeaways
- Reference gathering and concepting are essential for authentic ESO-style assets.
- AI-powered tools like Tripo can dramatically speed up model generation and iteration.
- Intelligent segmentation, retopology, and efficient texturing are critical for game-ready assets.
- Manual refinement is often needed for animation, rigging, and final polish.
- Always optimize models for your target engine to ensure compatibility and performance.
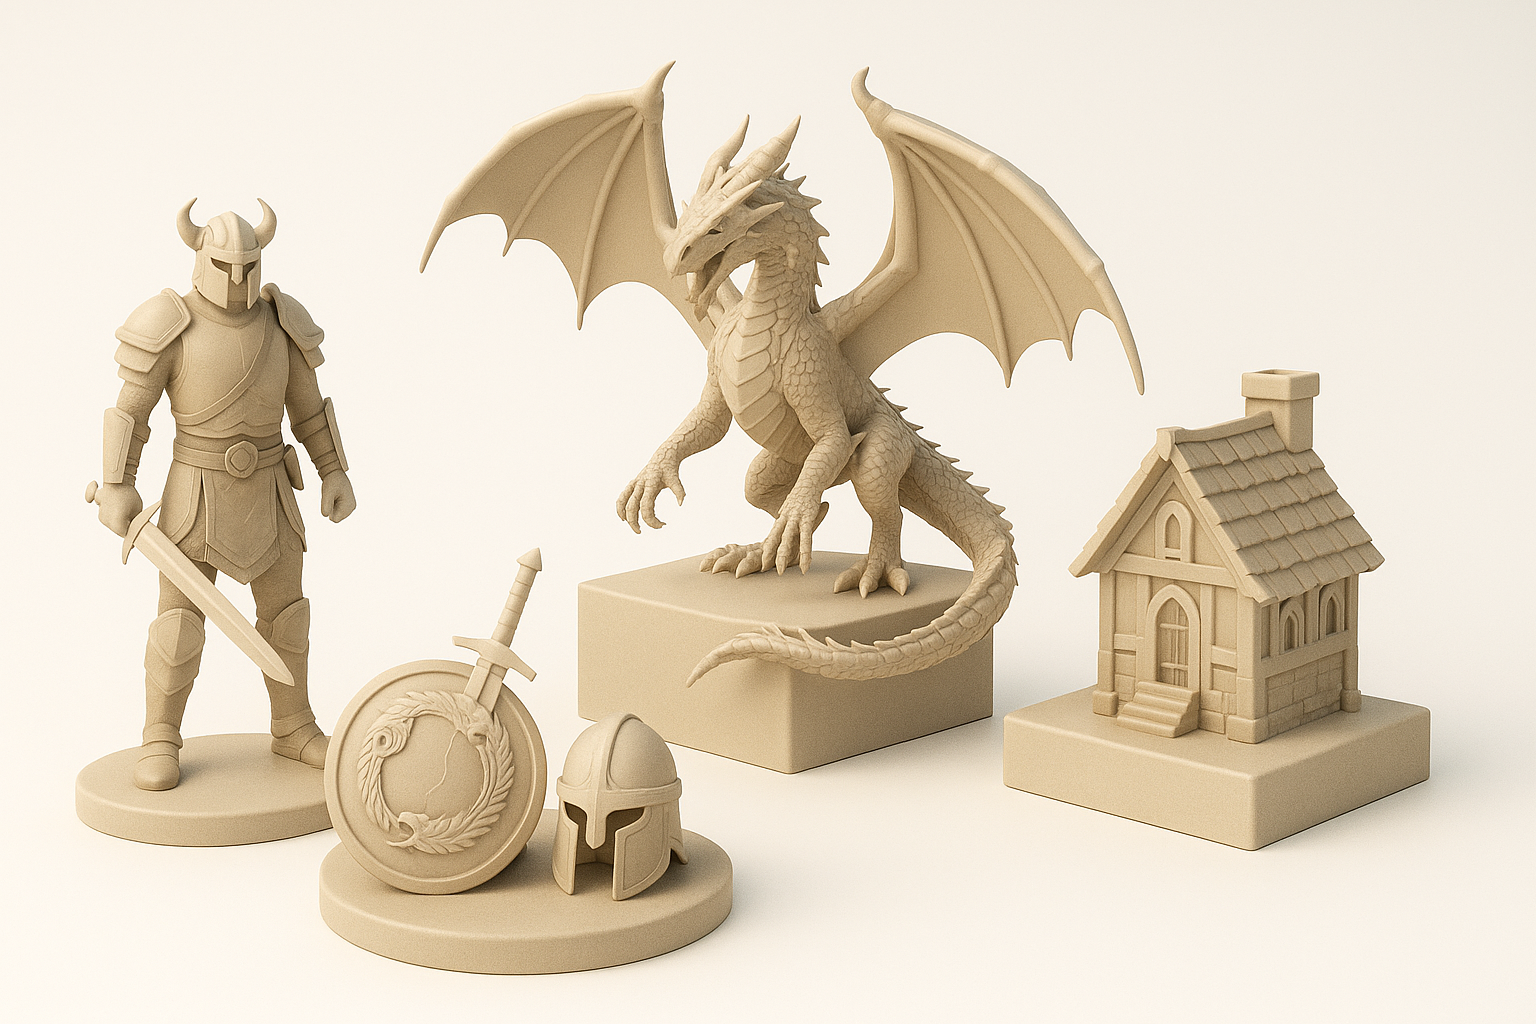
Overview of Elder Scrolls Online 3D Models
Key features and characteristics
Elder Scrolls Online models are known for their stylized realism—detailed enough for immersion, but optimized for real-time rendering. What I’ve noticed is that ESO assets often use a blend of hand-painted and PBR textures, with moderate poly counts and clean topology to balance performance and aesthetics.
- Stylized, but grounded in realism
- Modular design for armor, weapons, props, and architecture
- Balanced poly counts (typically 5k–20k for characters/creatures)
- Consistent texture resolution and material usage
Common use cases in gaming and XR
I’ve used ESO-style models in several contexts:
- Game mods and add-ons (characters, items, environments)
- Cinematic cutscenes and trailers
- XR/VR experiences where stylized realism boosts immersion
- Rapid prototyping for new quests or zones
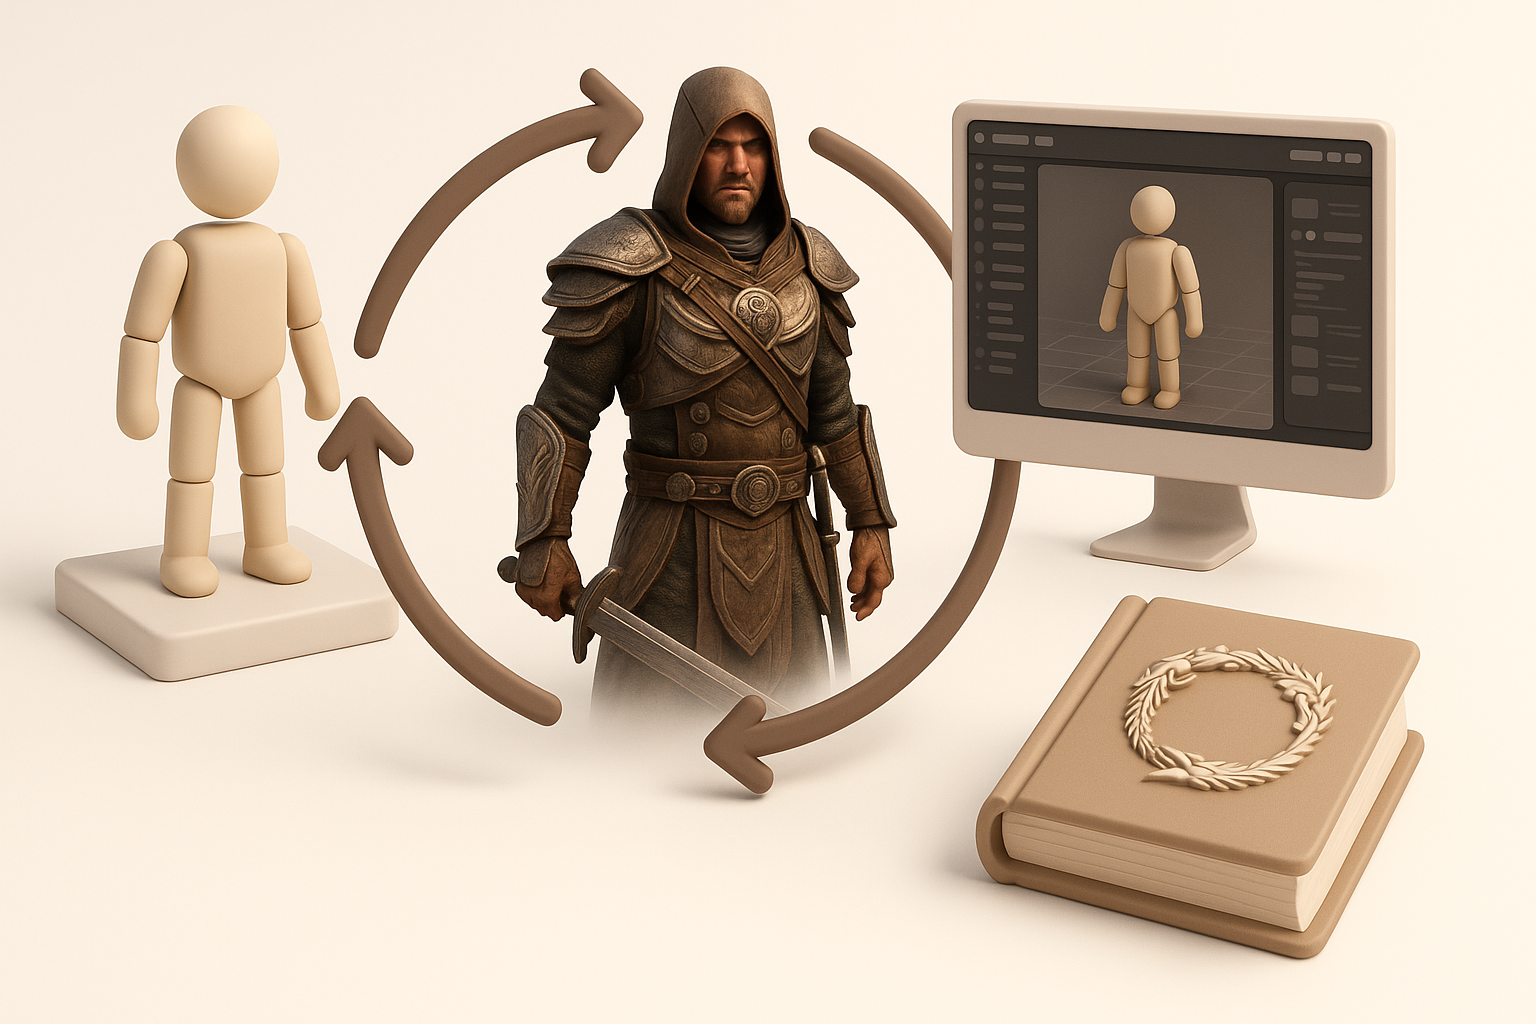
My Workflow for Generating Elder Scrolls Online 3D Models
Concepting and reference gathering
Every project starts with research. I collect official ESO concept art, in-game screenshots, and lore references. This helps me capture the right proportions, motifs, and color palettes.
My steps:
- Gather references from ESO art books, wikis, and in-game captures
- Sketch rough concepts or annotate references to clarify details
- Define key silhouette and material callouts
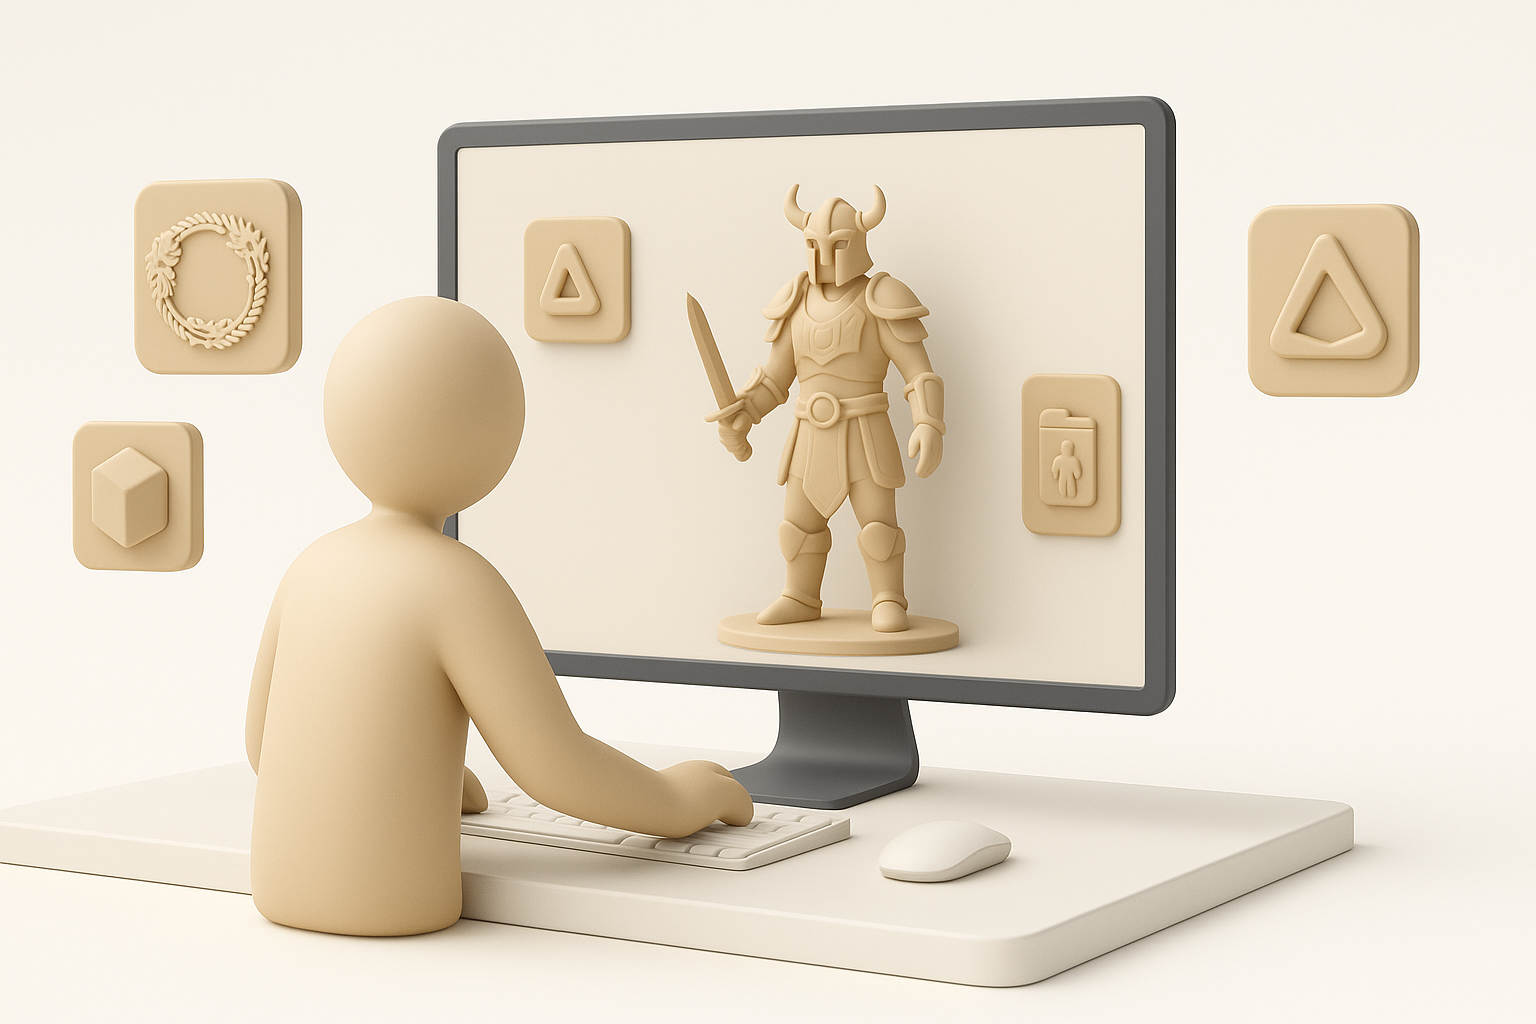
Text, image, and sketch-based model generation
For rapid iteration, I leverage AI-powered tools like Tripo. I’ve found that starting with a detailed prompt or reference image gives the best results. When needed, I’ll sketch over a screenshot and feed it into the tool for more control.
What works for me:
- Use descriptive text prompts: “Nordic iron helmet, worn, ornate, ESO style”
- Upload annotated sketches for custom shapes
- Refine outputs by adjusting prompt details or blending multiple generations
Pitfall: Overly generic prompts can yield bland or off-style results. Always be specific.
Best Practices for Production-Ready Models

Intelligent segmentation and retopology
AI tools can automate segmentation and generate clean base meshes, but I always double-check the topology. For game assets, edge flow and UVs must be optimized for deformation and texturing.
Checklist:
- Inspect auto-segmented parts; merge or split as needed
- Use retopology tools for clean, quad-based geometry
- Check UV layout for stretching and wasted space
Efficient texturing, rigging, and animation
I rely on built-in texturing tools for base maps, then hand-paint details or tweak PBR parameters. For rigging, auto-riggers are a good start, but manual weight painting is often needed for complex characters.
My approach:
- Generate base textures, then refine in a 2D editor if needed
- Use auto-rigging for bipeds; manually adjust weights for armor or creatures
- Test simple animations early to catch deformation issues
Tip: Save frequent iterations—undoing is faster than redoing.
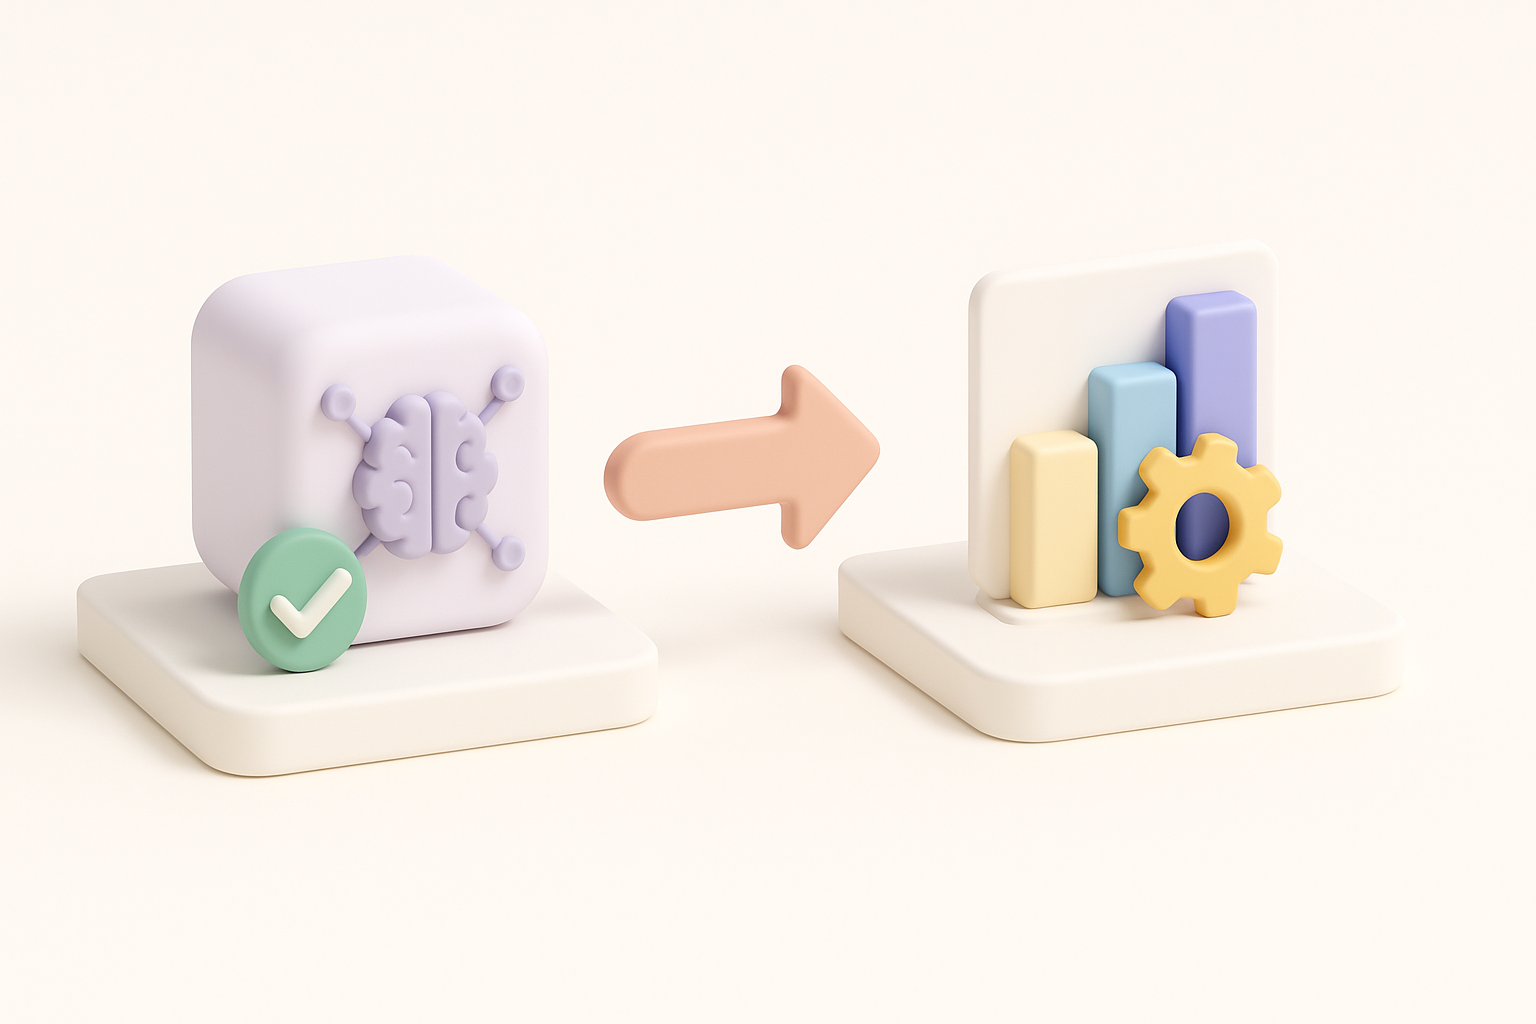
Comparing AI-Powered and Traditional 3D Creation Methods
Speed, quality, and flexibility
AI-driven workflows (like Tripo) let me generate base models in seconds, which is a game-changer for prototyping and ideation. However, for hero assets or highly stylized props, I still rely on manual sculpting and texturing for maximum control.
Pros of AI-powered tools:
- Rapid iteration and concept validation
- Decent base meshes for most props and creatures
- Useful for batch asset generation
Cons:
- May require manual cleanup for topology and UVs
- Style consistency sometimes needs extra tweaking
When to use AI tools vs. manual workflows
- AI tools: Early prototyping, background assets, quick variants
- Manual workflows: Main characters, unique props, animation-heavy assets
Tip: I often blend both—start with AI for the base, finish by hand.
Tips for Integrating Models into Elder Scrolls Online Projects
Optimizing for game engines
ESO mods and similar projects have strict performance requirements. I always check polycount, texture size, and material complexity before export.
Optimization steps:
- Decimate unnecessary geometry while preserving silhouette
- Bake high-res details into normal maps
- Limit texture sets and atlas where possible
Ensuring compatibility and performance
I export in formats compatible with the ESO modding toolkit or target engine (usually FBX or OBJ). Testing in-engine is essential—what looks good in a 3D viewer might break in-game.
Pitfalls to avoid:
- Overly dense meshes causing frame drops
- Incorrect rig hierarchies leading to animation glitches
- Missing or misaligned pivot points
Final tip: Always test assets in a staging environment before full deployment.
By following this workflow and leveraging both AI and manual techniques, I consistently deliver Elder Scrolls Online 3D models that meet both creative and technical demands. Whether you’re building a mod, a cinematic, or an XR experience, these principles will help you create assets that are both beautiful and game-ready.