Creating Tengami-Style 3D Models: Techniques and Best Practices
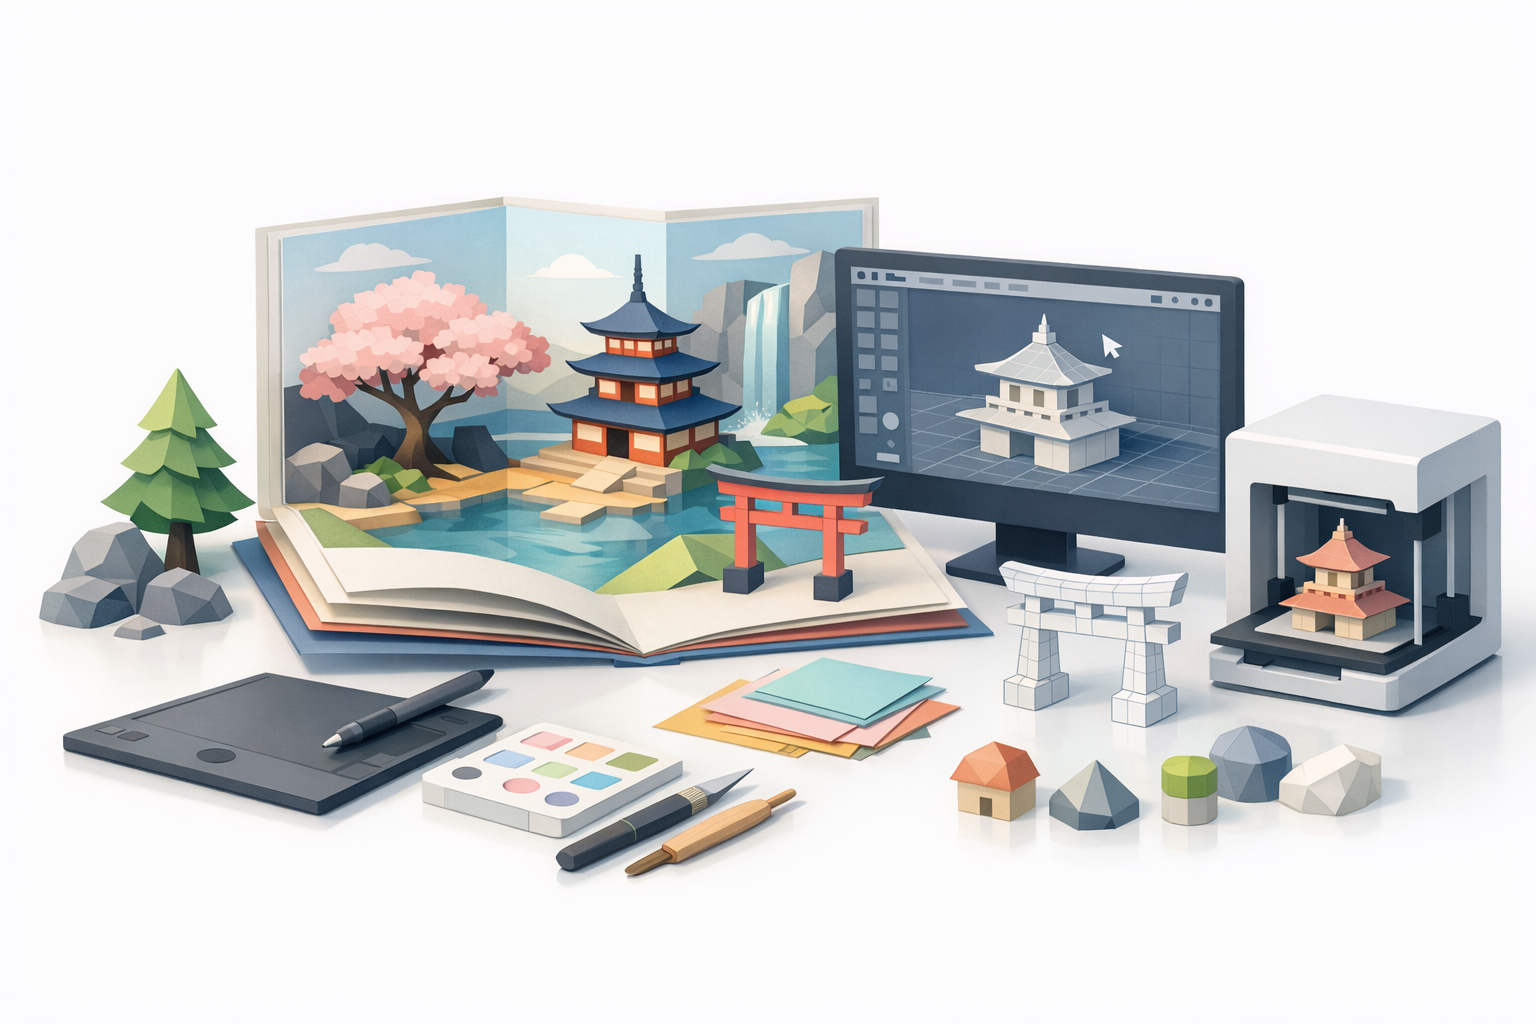
Creating Tengami-style 3D models means mastering the pop-up book aesthetic—distinctive, tactile, and visually poetic. In my experience, success hinges on nailing the paper-like textures, clever folding mechanics, and efficient workflows that keep production fast but authentic. This guide is for 3D artists, game designers, and anyone aiming to replicate or riff on Tengami’s unique look, whether for games, XR, or digital art projects. I’ll walk through my full pipeline, from concept to export, highlighting practical tips and pitfalls I’ve learned along the way.
Key takeaways

- Reference is everything: Study real pop-up books and Tengami’s art for authentic results.
- Workflow matters: Start with clear silhouettes and block-outs before diving into detail.
- Textures make the style: Custom paper textures and edge wear are essential.
- AI tools accelerate: Platforms like Tripo AI can rapidly prototype and handle technical steps.
- Optimize for performance: Retopology and UV mapping are crucial for real-time use.
- Export with care: Proper preparation ensures models work seamlessly in engines and XR.
Understanding Tengami’s Unique 3D Art Style

Key visual elements and inspirations
Tengami’s art style draws heavily from traditional Japanese paper craft and pop-up books. The look is defined by:
- Flat, layered paper planes for everything from environments to characters.
- Subtle gradients and watercolor textures that evoke hand-painted illustrations.
- Visible folds and seams that reinforce the tactile, constructed feel.
What I’ve found most useful is to gather references not just from Tengami itself, but from physical pop-up books and kirigami. These sources provide a deep well of ideas for how paper can bend, layer, and reveal.
How the pop-up book aesthetic is achieved
The pop-up effect in Tengami is more than just visual—it's structural. Models are designed to fold, unfold, and pivot just like real paper mechanisms. Achieving this involves:
- Segmenting models into panels that can rotate or hinge.
- Designing joints and pivots as you would in physical paper engineering.
- Animating with slow, deliberate movements to mimic the feel of unfolding paper.
In practice, I always sketch out how each element will move before modeling, to avoid technical headaches later.
My Workflow for Designing Tengami-Inspired 3D Models

Concepting and reference gathering
I start every project by assembling a reference board: screenshots from Tengami, scans of pop-up books, and photos of real paper textures. This keeps the visual language consistent and helps avoid generic 3D shapes.
Checklist:
- Collect at least 10–15 reference images.
- Sketch key forms and folding mechanisms on paper or digitally.
- Note color palettes and lighting styles.
Blocking out forms and silhouette
The next step is rough block-outs. I focus on big shapes and how they’ll fold, ignoring fine detail at this stage. In my experience, a solid silhouette is crucial for the pop-up effect to read well.
Steps:
- Use simple planes and cubes to block out major elements.
- Test folding/rotation early (even with basic rigs).
- Get feedback on the silhouette before adding detail.
Pitfall: Don’t jump into details too soon—a weak silhouette can’t be fixed with texture alone.
Texturing and Materials: Achieving the Paper Look
Creating custom textures and shaders
The heart of the Tengami style is convincing paper textures. I usually scan real watercolor paper or use high-res photos, then process them into seamless textures. In the material editor, I adjust roughness and subsurface scattering to get that soft, fibrous quality.
Tips:
- Use layered textures: base color, subtle stains, and faint fibers.
- Keep normal maps subtle—too much depth breaks the illusion.
- For stylized looks, hand-paint shadows and highlights.
Tips for realistic paper folds and edges
Edges and folds sell the illusion. I create custom edge maps to simulate frayed or worn paper, and use slightly offset normals or geometry for raised creases.
Checklist:
- Add a faint dark line or shadow at fold locations.
- Slightly bevel or displace edges for thickness.
- Overlay subtle noise to break up perfect surfaces.
Pitfall: Overly sharp or clean folds feel digital. Imperfection is key.
Efficient 3D Production: Tools and Techniques I Use
Leveraging AI-powered platforms for rapid prototyping
For speed, I often use AI-powered platforms like Tripo AI to generate base meshes from sketches or concept art. This lets me iterate quickly and focus on creative decisions, not technical setup.
Workflow:
- Input concept sketches or reference images.
- Use segmentation tools to define foldable panels.
- Export a base mesh and refine manually as needed.
This approach is especially useful for rapid prototyping or when working with non-technical collaborators.
Retopology, UV mapping, and optimization tips
Once the base is set, I always retopologize for clean, animation-friendly geometry. Efficient UVs are critical for texture detail and performance.
Tips:
- Keep polycount low, especially for mobile/XR.
- Unwrap UVs with seams along natural folds.
- Use texture atlases to minimize draw calls.
Pitfall: Skipping retopology can lead to ugly deformations when folding or animating.
Exporting and Integrating Tengami-Style Models

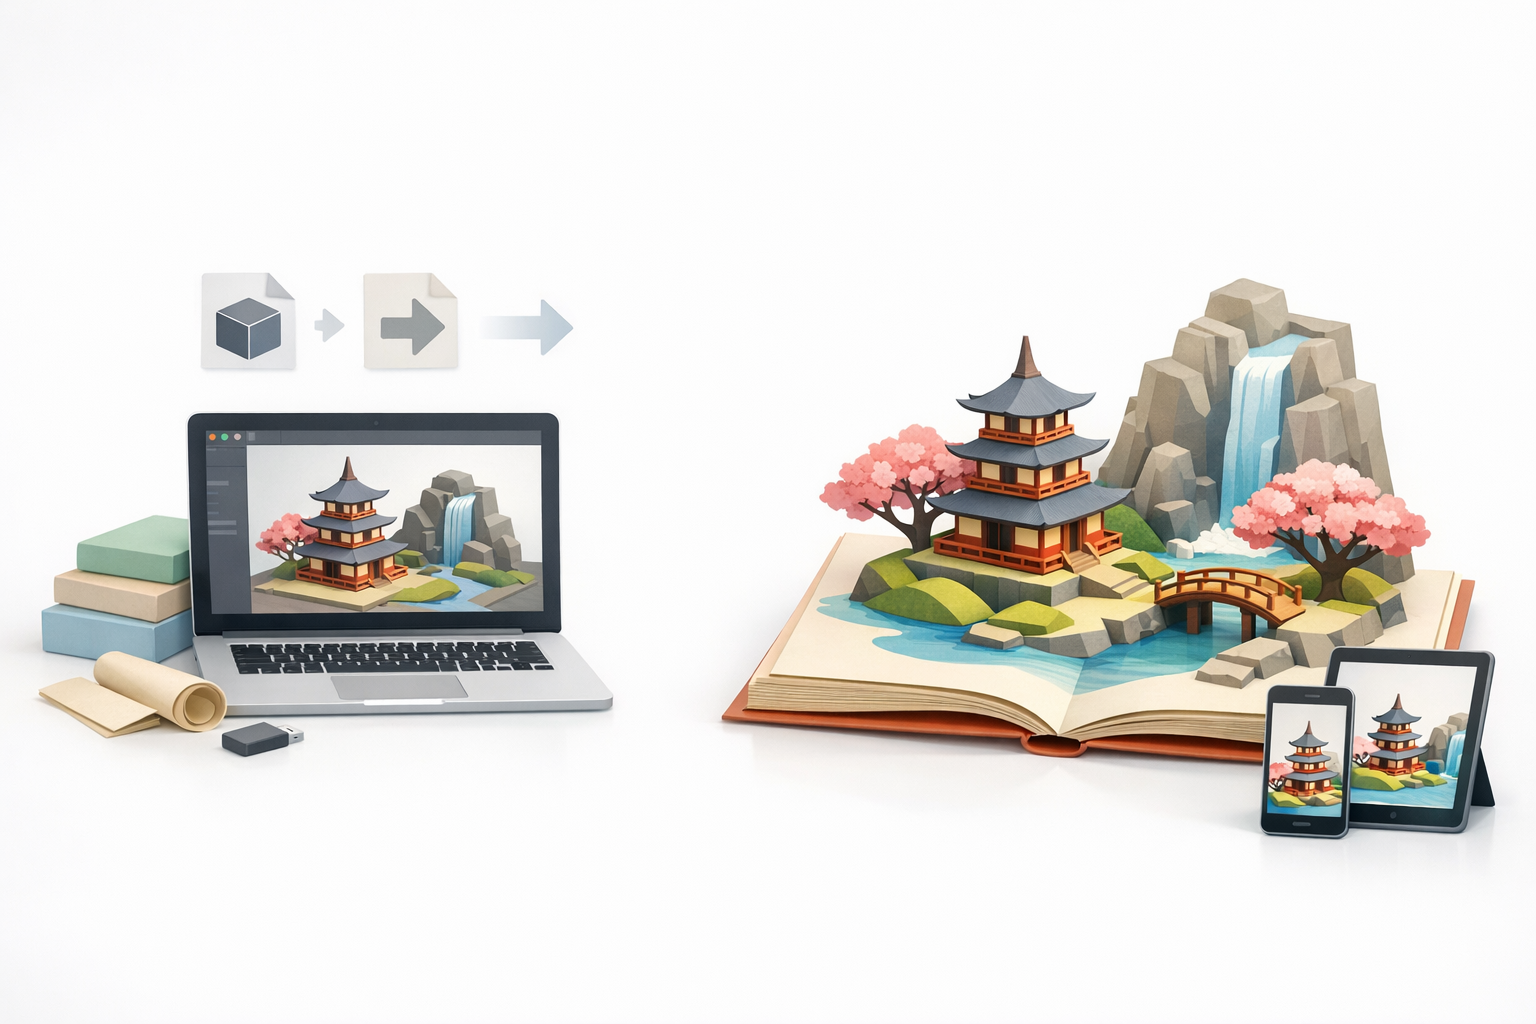
Preparing assets for game engines and XR
Exporting is more than just hitting “export.” I always test assets in the target engine (Unity, Unreal, etc.) to ensure scaling, normals, and textures import correctly.
Checklist:
- Freeze transforms and apply scale.
- Check texture resolution and compression.
- Test fold animations in-engine for accuracy.
For XR, keep models lightweight and avoid heavy shaders.
Best practices for animation and interactivity
Animating pop-up mechanics requires careful rigging. I use simple bones or constraints, and animate with slow, deliberate timings to mimic manual page turns.
Tips:
- Use parent-child hierarchies for panel folds.
- Avoid overcomplicating rigs—simplicity aids performance.
- Test interactivity early (clicks, drags, triggers).
Pitfall: Overly complex rigs can break in real-time environments.
Comparing Workflows: AI Tools vs. Traditional Methods
Speed, quality, and creative control
From my experience, AI-powered tools drastically cut down on repetitive setup and base modeling. I can go from concept to prototype in minutes, not hours. However, fine-tuning and artistic control still benefit from manual intervention.
Comparison:
- AI tools: Fast, great for ideation and batch work, but may need manual cleanup.
- Traditional methods: More control and polish, but slower and more technical.
When to choose AI-powered solutions
I reach for AI tools when:
- Prototyping new ideas or iterating quickly.
- Working with limited resources or tight deadlines.
- Collaborating with non-3D specialists.
For final, hero assets or highly custom mechanics, I still prefer a hybrid approach—AI for the base, hand-crafted for the finish.
If you’re aiming for Tengami’s pop-up magic, focus on reference, texture, and smart use of modern tools. With the right workflow, the tactile, storybook world is well within reach.