Creating a Realistic T. Rex 3D Model: My Workflow & Tips
скачать 3d модели для chicken gun
Building a production-ready T. Rex 3D model is easier and faster than ever, thanks to advances in AI-powered tools. In my workflow, I prioritize rapid prototyping, efficient detail refinement, and export-ready optimization—balancing speed with realism. Whether you’re a solo artist or part of a game or XR team, these steps will help you streamline the process and avoid common pitfalls. Below, I break down my approach from reference gathering to final export, with practical tips for each stage.
Key Takeaways
- Start with solid references and a clear purpose for the model.
- Use AI tools for quick base mesh generation; refine manually for realism.
- Prioritize clean topology for animation and game-readiness.
- Combine AI-assisted and hand-painted texturing for best results.
- Test rigs early to avoid deformation issues later.
- Export with target platform requirements in mind.
Executive Summary: Key Steps for T. Rex 3D Modeling
What I Prioritize for Fast, High-Quality Results
In my experience, the fastest path to a high-quality T. Rex model is leveraging AI for the initial base, then focusing my manual effort on areas where detail and control matter most. I always keep the final use case in mind—whether it’s real-time games, film, or XR—so I can tailor topology, texture resolution, and rig complexity accordingly.
Essential Takeaways for Beginners and Pros
- Beginners: Don’t skip planning and reference gathering; it saves time later.
- Pros: Use AI for grunt work, but always refine critical anatomy and topology by hand.
- Everyone: Test your model in its final environment early to catch issues before they snowball.
Planning and References for a T. Rex Model
Gathering Accurate Visual References
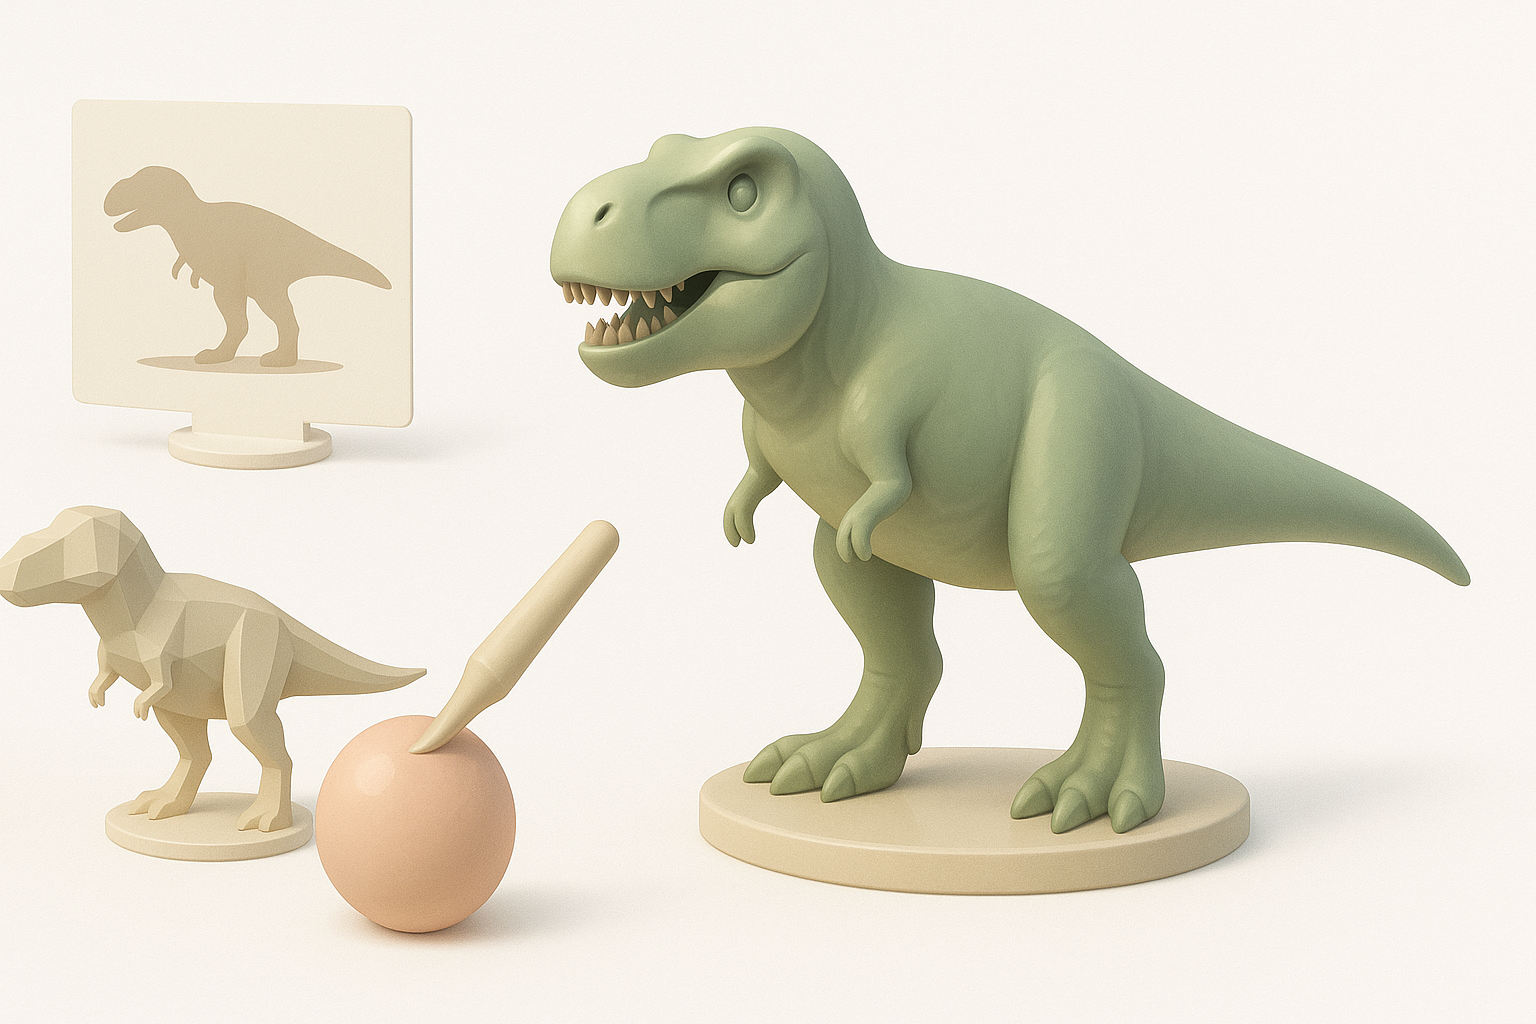
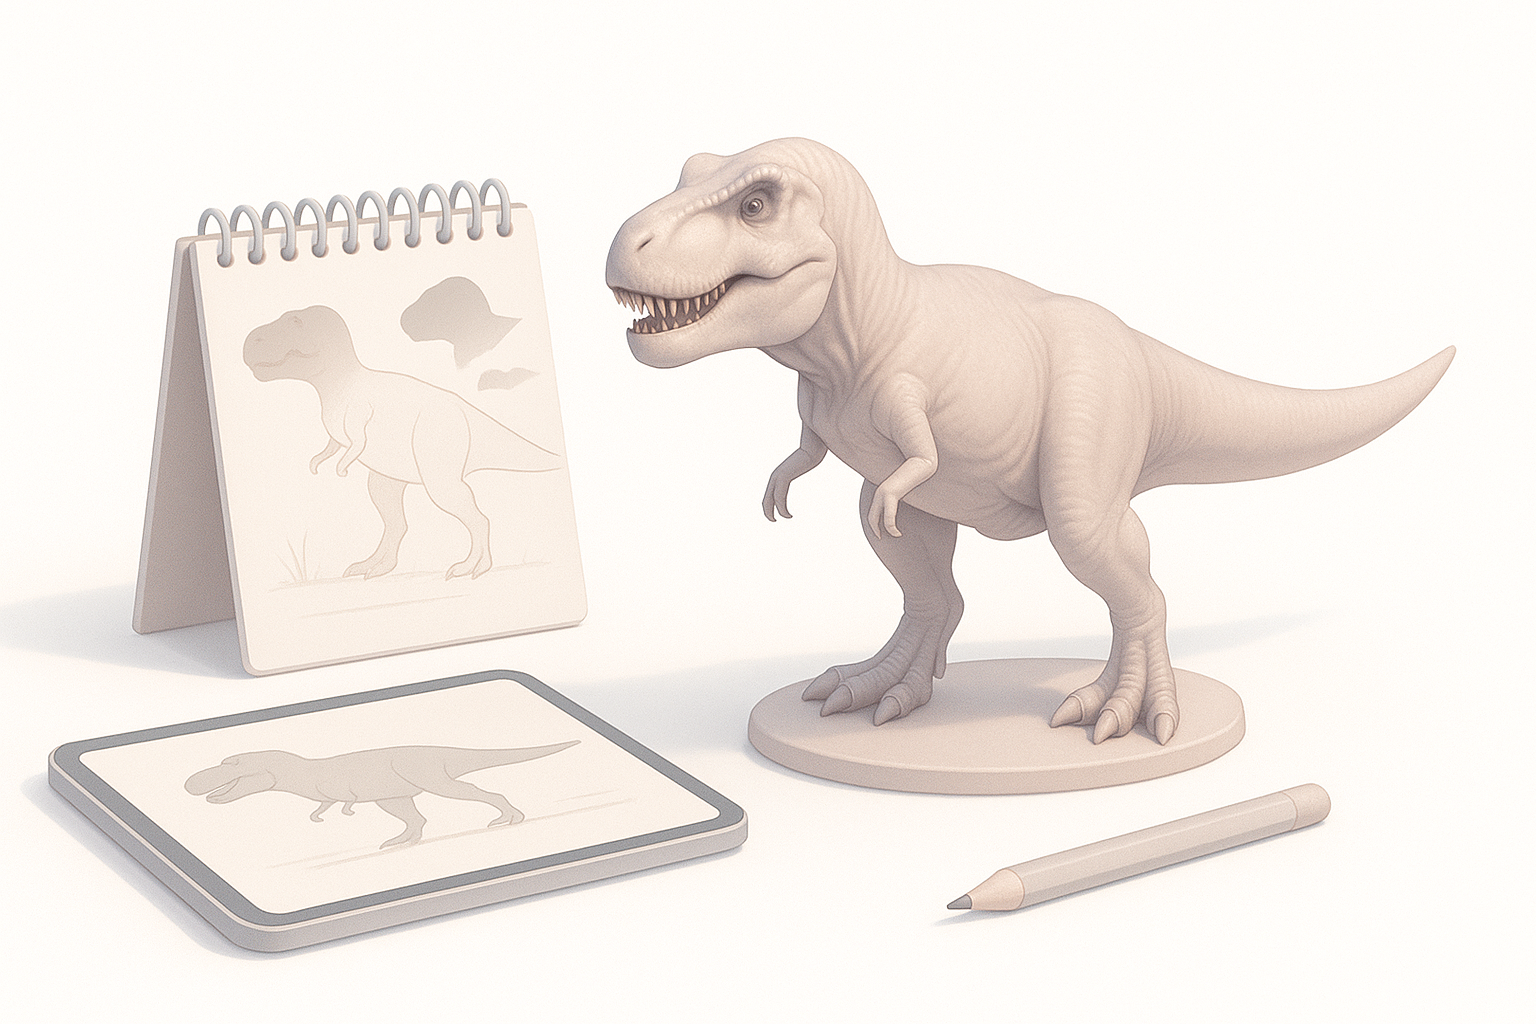
I always begin by collecting high-quality references: paleontology diagrams, museum photos, and scientific reconstructions. Multiple angles are crucial—side, front, top, and close-ups of skin and muscle structure. I organize these in a reference board for easy access during modeling.
Checklist:
- At least 3–5 orthographic views
- Close-ups of skin, teeth, claws
- Skeletal and muscular diagrams
Defining the Model’s Purpose and Level of Detail
Before modeling, I clarify the end use. For real-time applications, I target lower poly counts and efficient UV layouts. For cinematic shots, I allow more geometry and larger textures. This decision shapes every subsequent step.
Tip:
Ask stakeholders for target platforms, camera distance, and animation requirements up front.
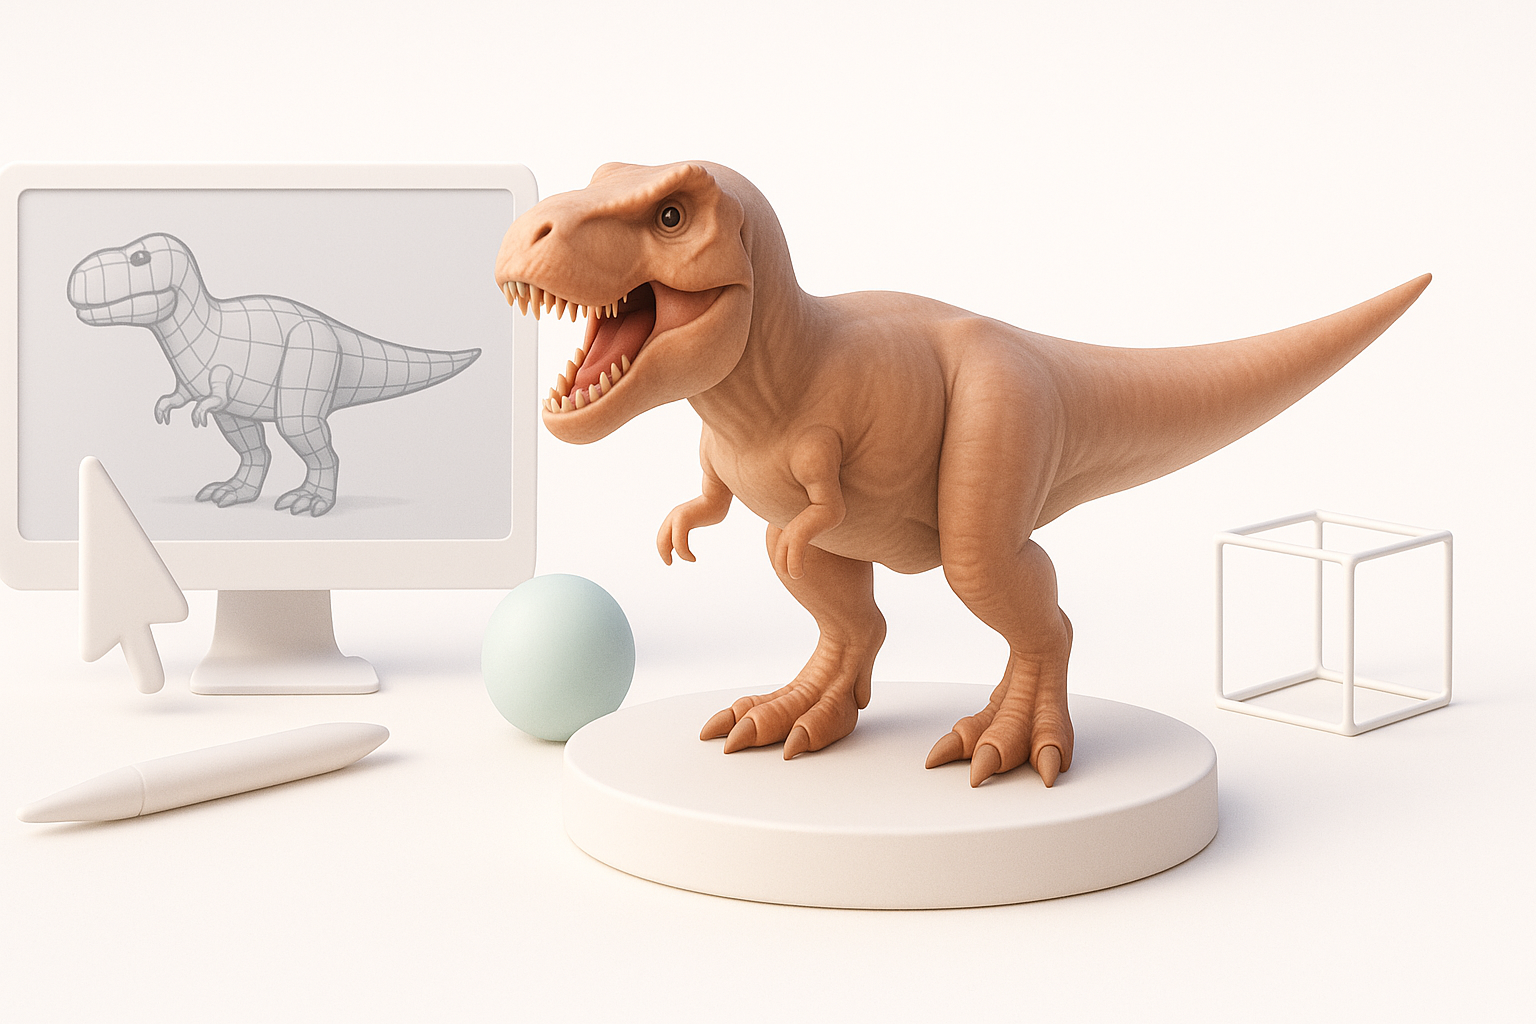
Generating the Base T. Rex Model
Using AI-Powered Tools for Rapid Prototyping
I often start with an AI-powered 3D generator like Tripo AI. With a well-crafted text prompt (e.g., “realistic T. Rex, standing pose, mouth open”), I get a base mesh in seconds. This speeds up ideation and lets me quickly iterate on proportions and overall form.
My workflow:
- Input text or sketch references into Tripo AI
- Review and select the best base mesh
- Export for further refinement
Manual Blocking Techniques and When I Use Them
If I need very specific anatomy or pose, I’ll block out the T. Rex manually using simple shapes in my DCC tool. This gives me more control but takes longer. I sometimes blend AI-generated and hand-blocked meshes for best results.
Pitfall:
Don’t skip manual adjustments if the AI base mesh has anatomical errors—fix these early.
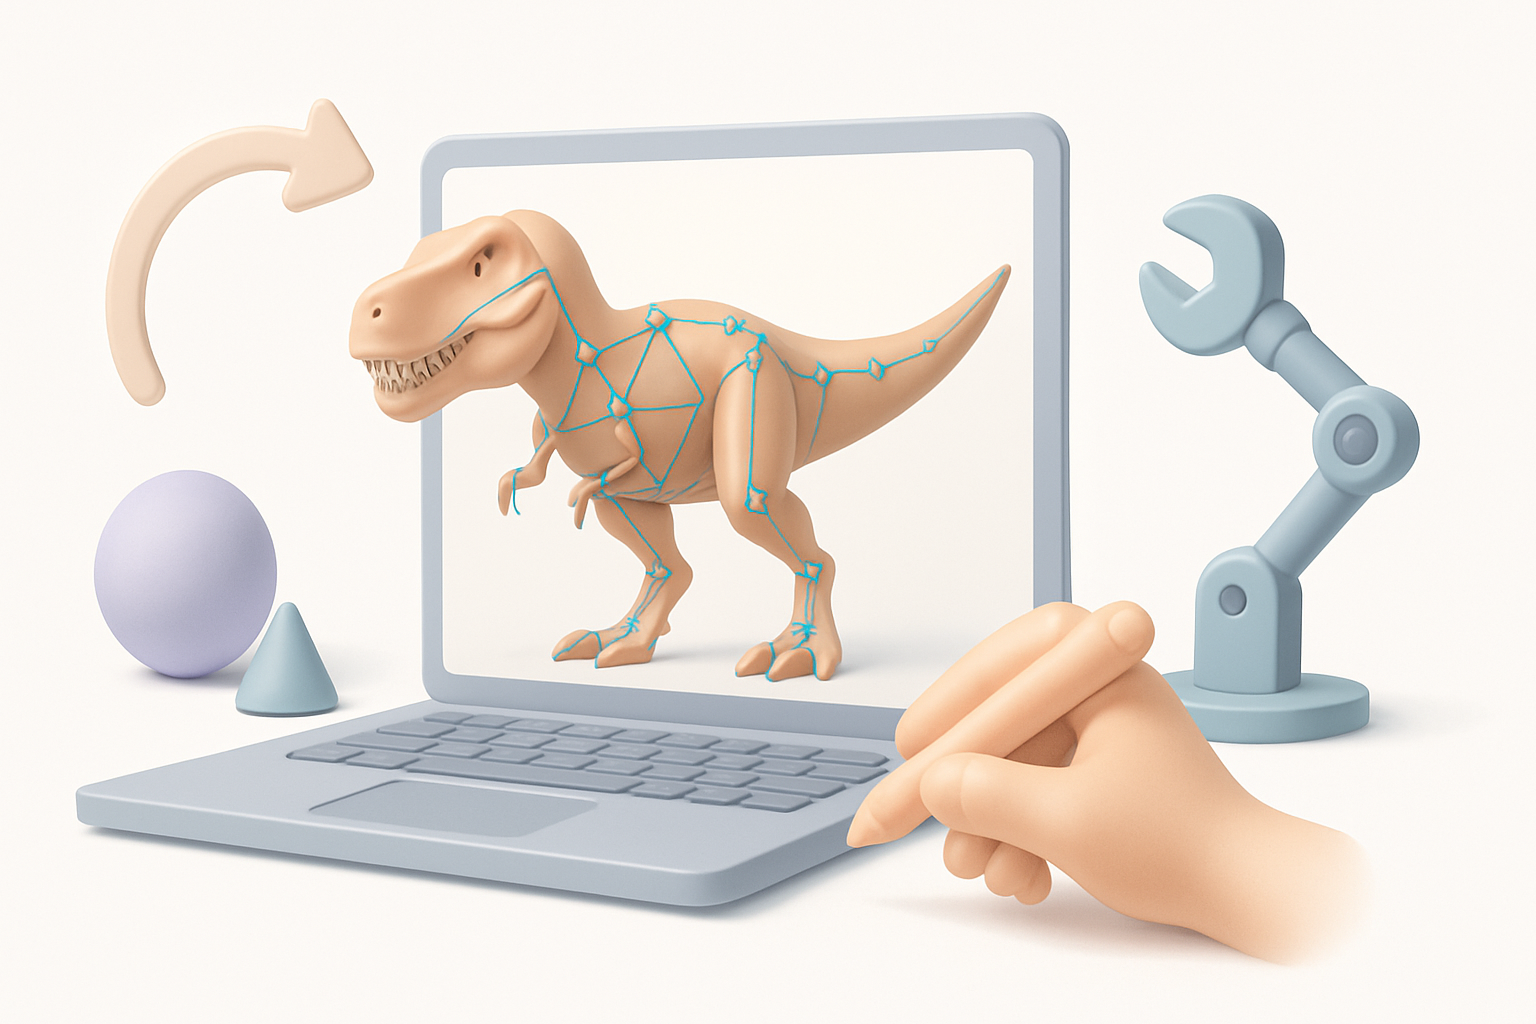
Refining Geometry: Sculpting and Retopology
My Approach to Sculpting Realistic Details
I import the base mesh into a sculpting tool and focus on secondary forms—muscle bulges, bone landmarks, and skin folds. I use symmetry for efficiency, then break it for realism. I keep detail levels manageable until retopology is done.
Checklist:
- Block in large muscle groups first
- Add wrinkles and scales last
- Use real-world reference for anatomy
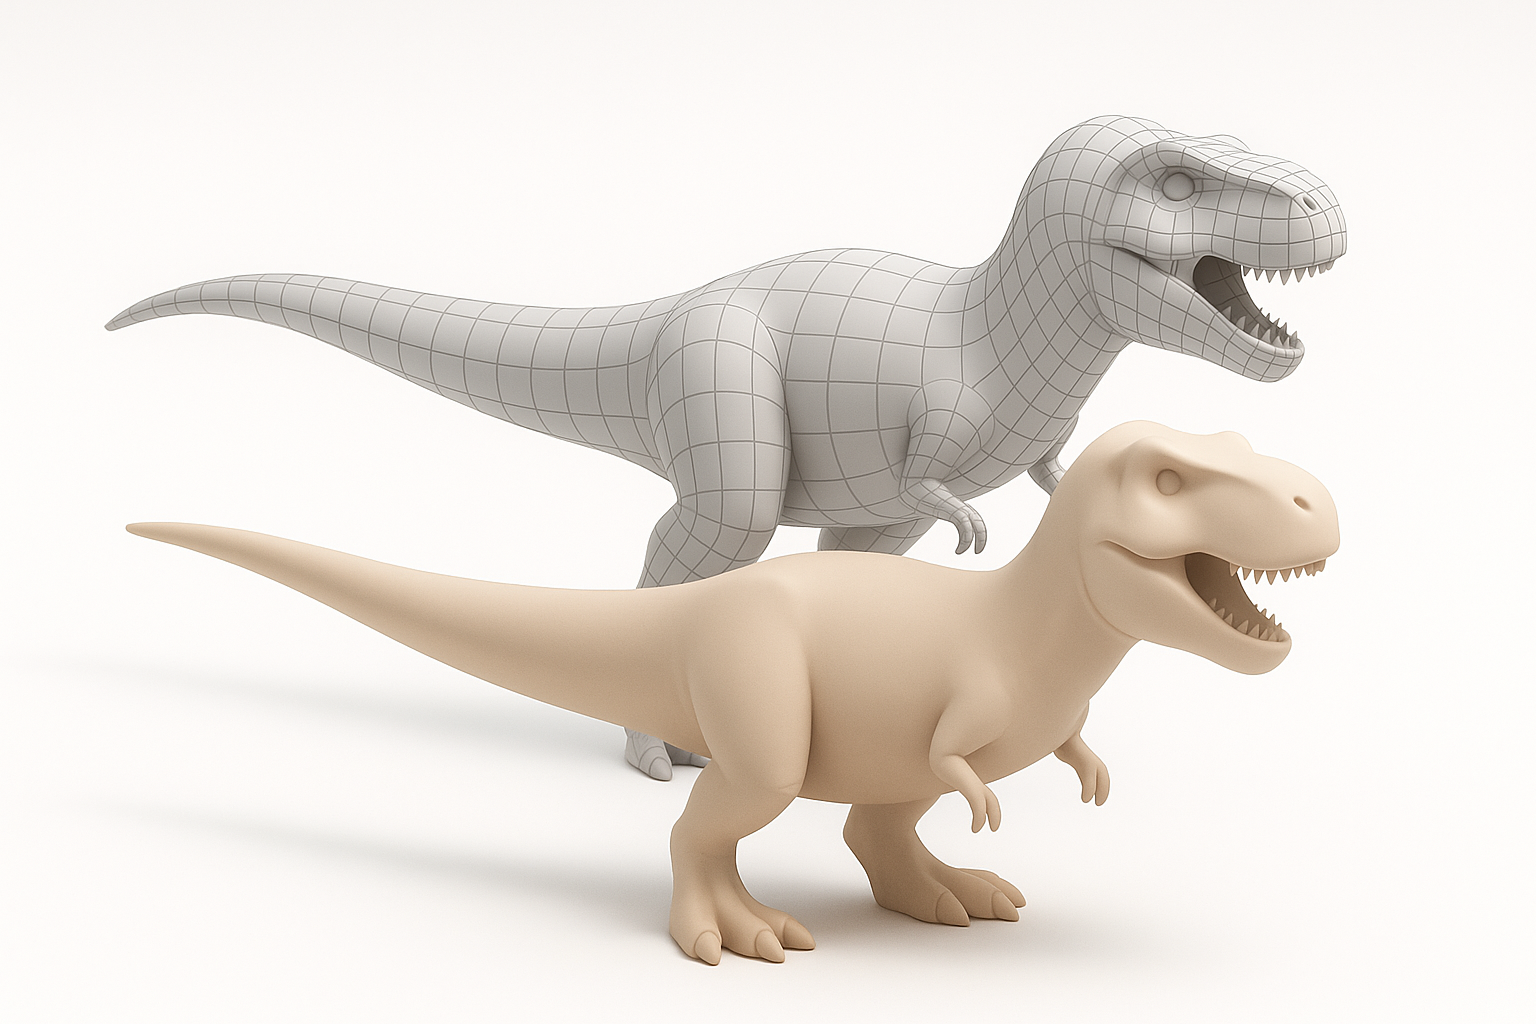
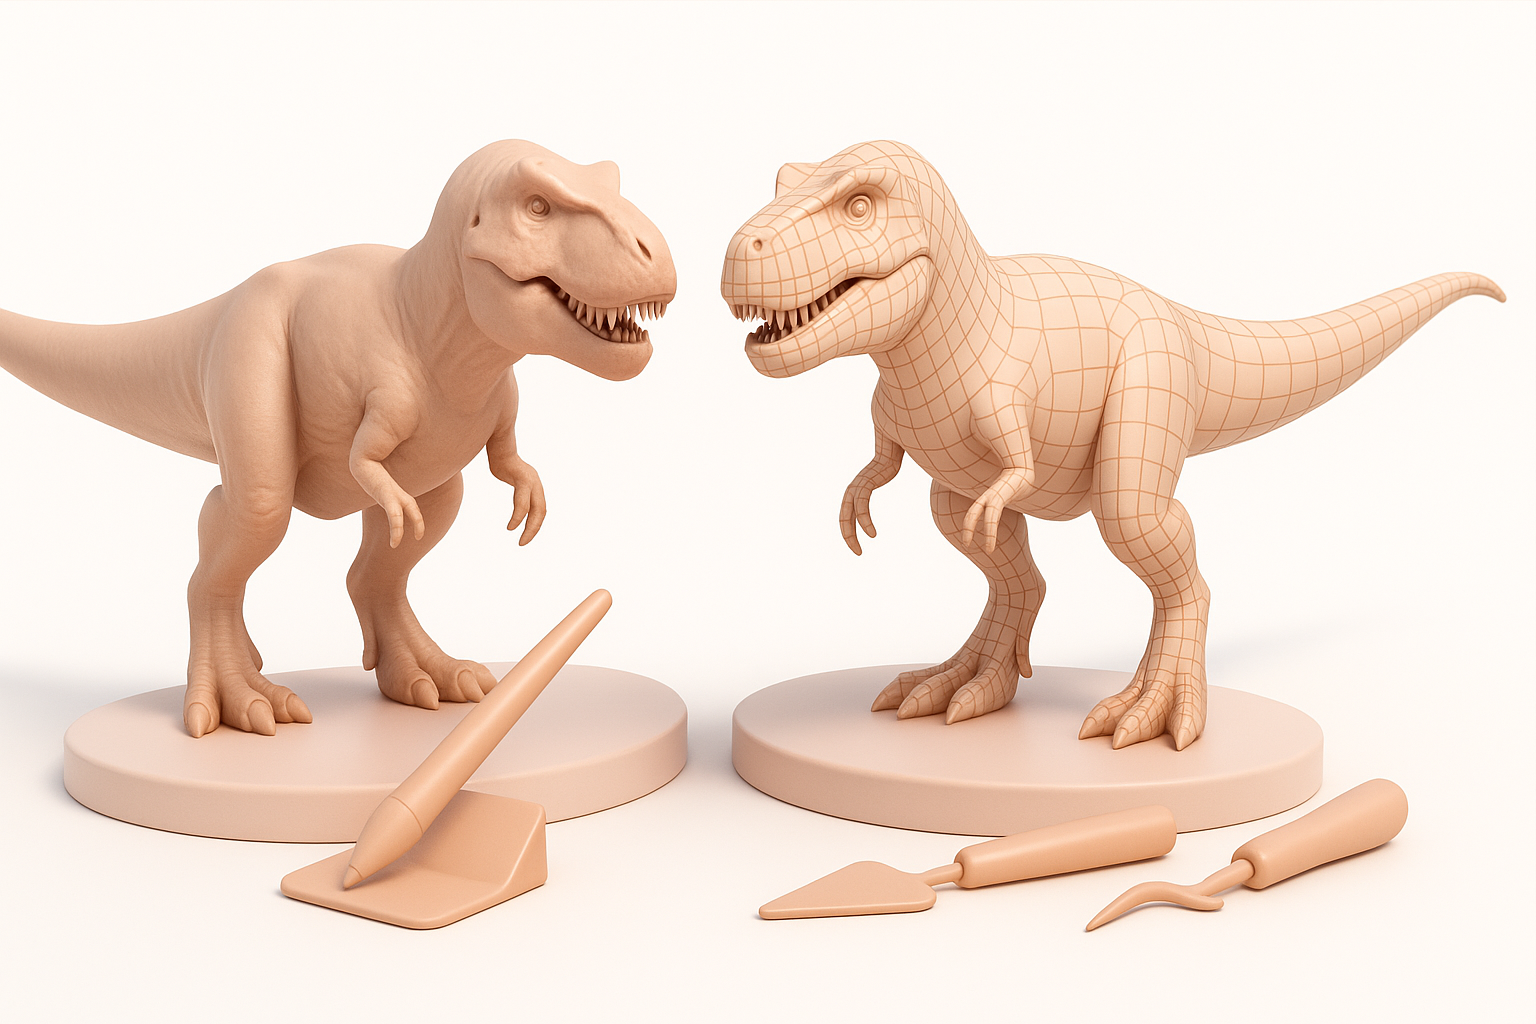
Efficient Retopology for Animation and Games
Retopology is critical if the model will be rigged or animated. I use built-in retopology tools or Tripo’s automated features, then manually tweak edge flow around joints and the mouth.
Tips:
- Keep edge loops clean around shoulders, hips, and jaw
- Target 5–10k tris for real-time, higher for film
- Test deformations with simple rigs before moving on
Texturing and Materials for Lifelike Results
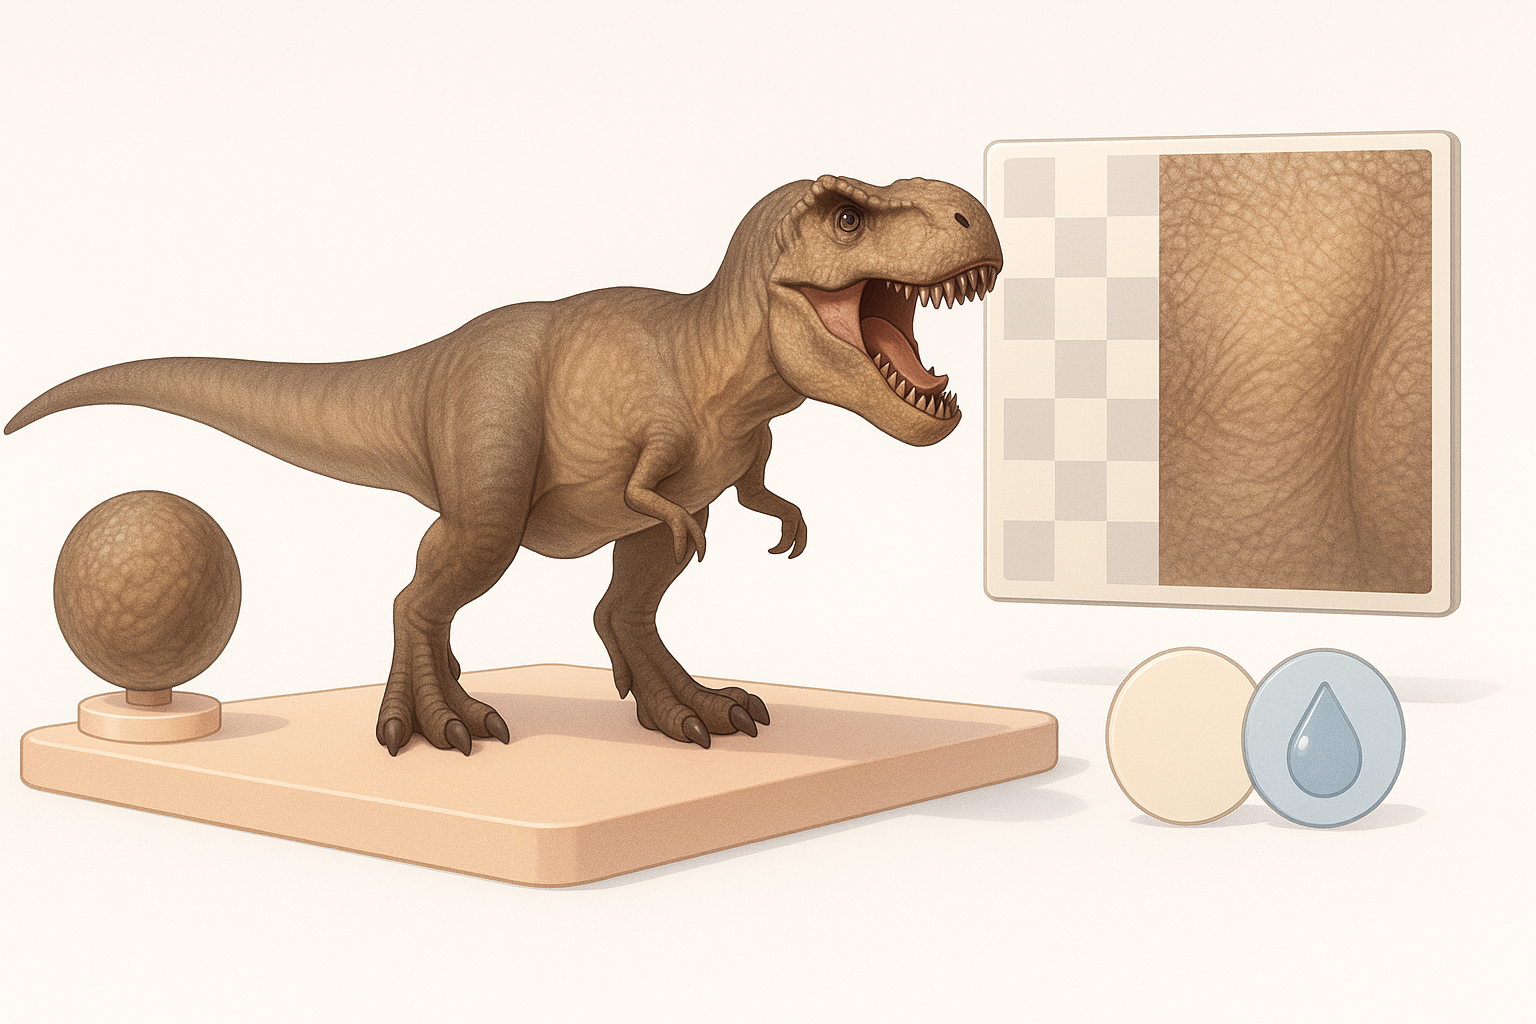
AI-Assisted Texturing Workflows
I often use AI-assisted texturing to quickly generate base color, normal, and roughness maps. Feeding reference images into Tripo or similar tools gives me a solid starting point, especially for complex skin patterns.
Steps:
- Generate base maps with AI
- Export and refine in a painting tool
Hand-Painting vs. Procedural Textures: My Preferences
For hero assets, I hand-paint details like scars, color variation, and dirt. For background or crowd models, procedural textures are faster and more consistent. I blend both approaches for best results.
Pitfall:
Avoid relying solely on AI textures—manual tweaks are essential for realism and uniqueness.
Rigging and Animation Preparation
Automated Rigging Tools and My Setup Process
I use automated rigging tools to generate a basic skeleton, then adjust bone placement for accurate T. Rex anatomy. I weight-paint major joints (jaw, neck, tail) by hand for smooth deformations.
Checklist:
- Place bones at anatomical pivot points
- Test open/close jaw and tail sway
- Use symmetry for initial weights
Testing Deformations and Animation Readiness
Before final export, I run quick pose tests—walking, roaring, tail swinging—to check for mesh stretching or collapsing. I fix any issues now to avoid headaches during animation.
Tip:
Save test animations and review in your target engine or viewer.
Exporting and Integrating the T. Rex Model
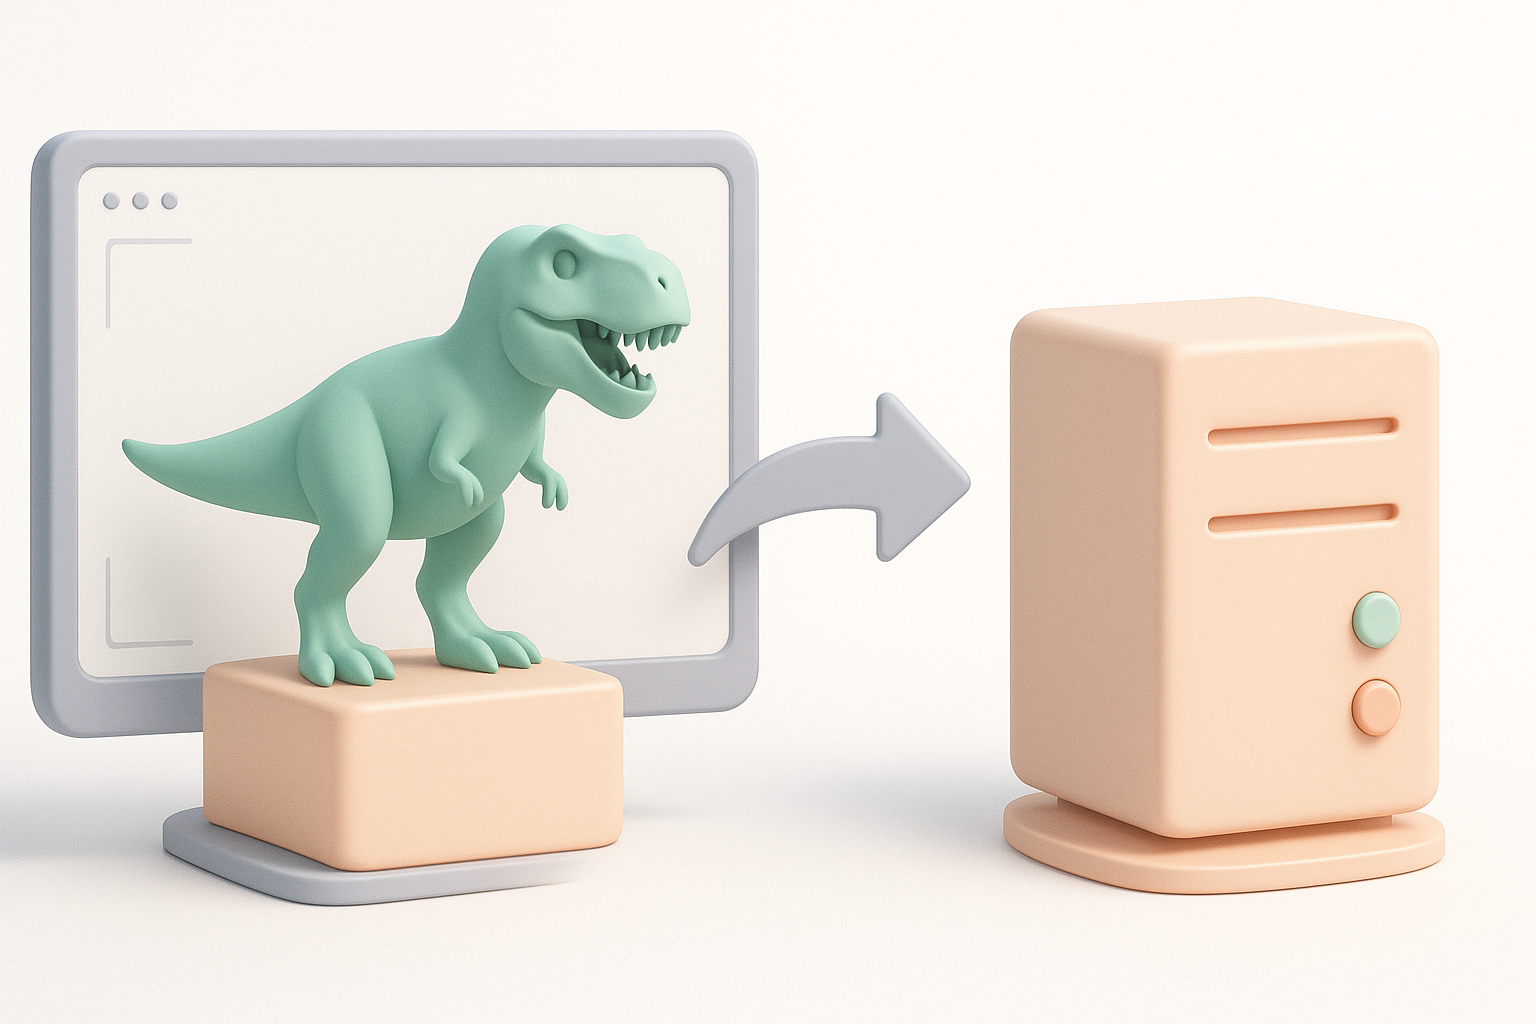
Optimizing for Game Engines and XR
I always optimize textures and meshes for the target platform. That means baking maps, reducing polycount, and packing efficient UVs. I test imports in the actual engine (e.g., Unreal, Unity, or XR platform) to check scale and materials.
Checklist:
- Apply triangulation if required
- Bake maps for PBR workflows
- Test for real-time performance
File Formats and Compatibility Tips
I typically export in FBX or GLB/GLTF, as these are widely supported and preserve materials, rigs, and animations. I double-check compatibility and fix any scale or orientation mismatches before delivery.
Tip:
Always include a readme with export settings and version info for clients or collaborators.
Best Practices and Common Pitfalls
What I’ve Learned from Past Projects
- Don’t rush the reference stage—bad input leads to bad output.
- Test the model in its final context early and often.
- Keep backup versions at every major milestone.
Troubleshooting Common Issues
- Weird deformations? Check weight painting and edge flow.
- Texture seams? Revisit UV layout and padding.
- Export errors? Double-check scale, axis orientation, and file format settings.
Comparing AI Tools and Alternative Methods

When I Choose AI vs. Manual Workflows
I use AI tools for speed and ideation, especially for base meshes and initial textures. For hero assets or when accuracy is critical, I rely more on manual sculpting and texturing. The key is knowing when to switch between methods.
Pros and Cons Based on My Experience
AI Tools:
- Pros: Fast, great for iteration, lowers technical barriers.
- Cons: May need manual fixes; not perfect for all anatomy.
Manual Methods:
- Pros: Total control, best for unique or complex assets.
- Cons: Time-consuming, requires more skill.
My advice:
Mix and match—let AI handle the repetitive work, and use your expertise to polish and perfect.
By following this workflow, you can create a T. Rex 3D model that’s both production-ready and visually compelling—without getting bogged down in technical hurdles.