Creating a Subway Cart 3D Model: Expert Workflow & Tips
Designing a production-ready subway cart 3D model is a blend of precise planning, efficient tool selection, and hands-on artistic judgment. In my experience, leveraging AI-driven platforms like Tripo alongside traditional modeling techniques dramatically accelerates the workflow while maintaining high visual fidelity. This guide is for 3D artists, game developers, and XR creators who want to streamline their modeling process, from initial references to optimized, export-ready assets. Below, I break down my proven workflow, highlight common pitfalls, and share actionable tips for each stage.
Key Takeaways
- Efficient reference gathering and scope definition save hours later in the process.
- AI-powered platforms like Tripo can automate segmentation, retopology, and texturing for faster iteration.
- Clean topology and proper UV mapping are essential for realism and performance.
- Integrating manual and AI workflows balances speed with creative control.
- Planning for export targets (games, XR, film) early prevents rework.
- Troubleshooting and iteration are part of every successful project.
Executive Summary: Key Takeaways for Subway Cart Modeling

What I’ve learned from real-world projects
From my hands-on work, subway carts demand attention to scale, modularity, and real-world references. Over-detailing can slow production, while under-detailing impacts realism. Balancing these factors is crucial, and I’ve found that starting with a clear vision and references prevents costly revisions.
Essential tools and workflows
I typically combine AI-powered modeling platforms with traditional DCC (Digital Content Creation) software. Tripo accelerates asset generation, especially for base meshes and texturing, while manual tweaks in Blender or Maya allow for fine-tuning and animation setup.
Planning and Reference Gathering for Subway Cart Models
How I source accurate references
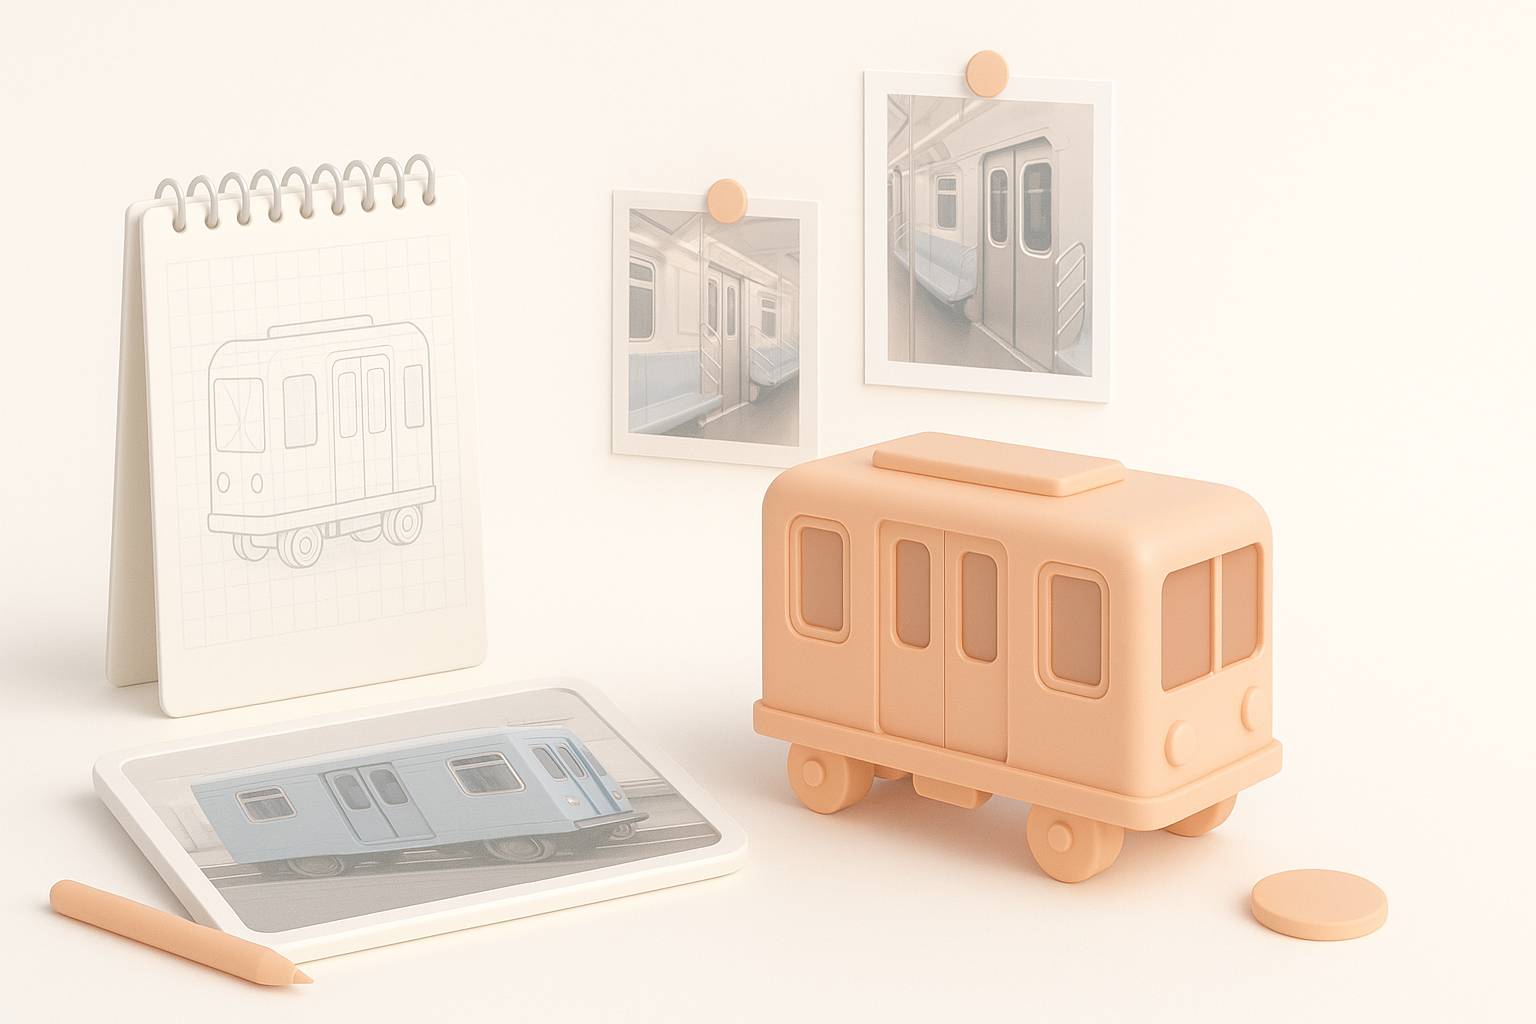
I always start by collecting high-resolution photos, blueprints, and videos of real subway carts—public transit websites and rail enthusiast forums are goldmines. I organize these references in PureRef or similar tools for quick access during modeling.
Checklist:
- Gather exterior and interior shots (seats, doors, signage)
- Find technical drawings or blueprints
- Note regional variations (NYC subway vs. London Tube)
Defining scope and level of detail
Before opening any software, I define the target platform and use case. For games, I prioritize modularity and performance; for film, it’s all about detail. I set a polycount budget and decide which features (e.g., animated doors, interior lighting) are must-haves.
Pitfalls to avoid:
- Overcommitting to unnecessary details
- Ignoring platform-specific constraints (e.g., mobile vs. PC)
Choosing the Right Tools and AI Platforms
Why I select specific platforms for efficiency
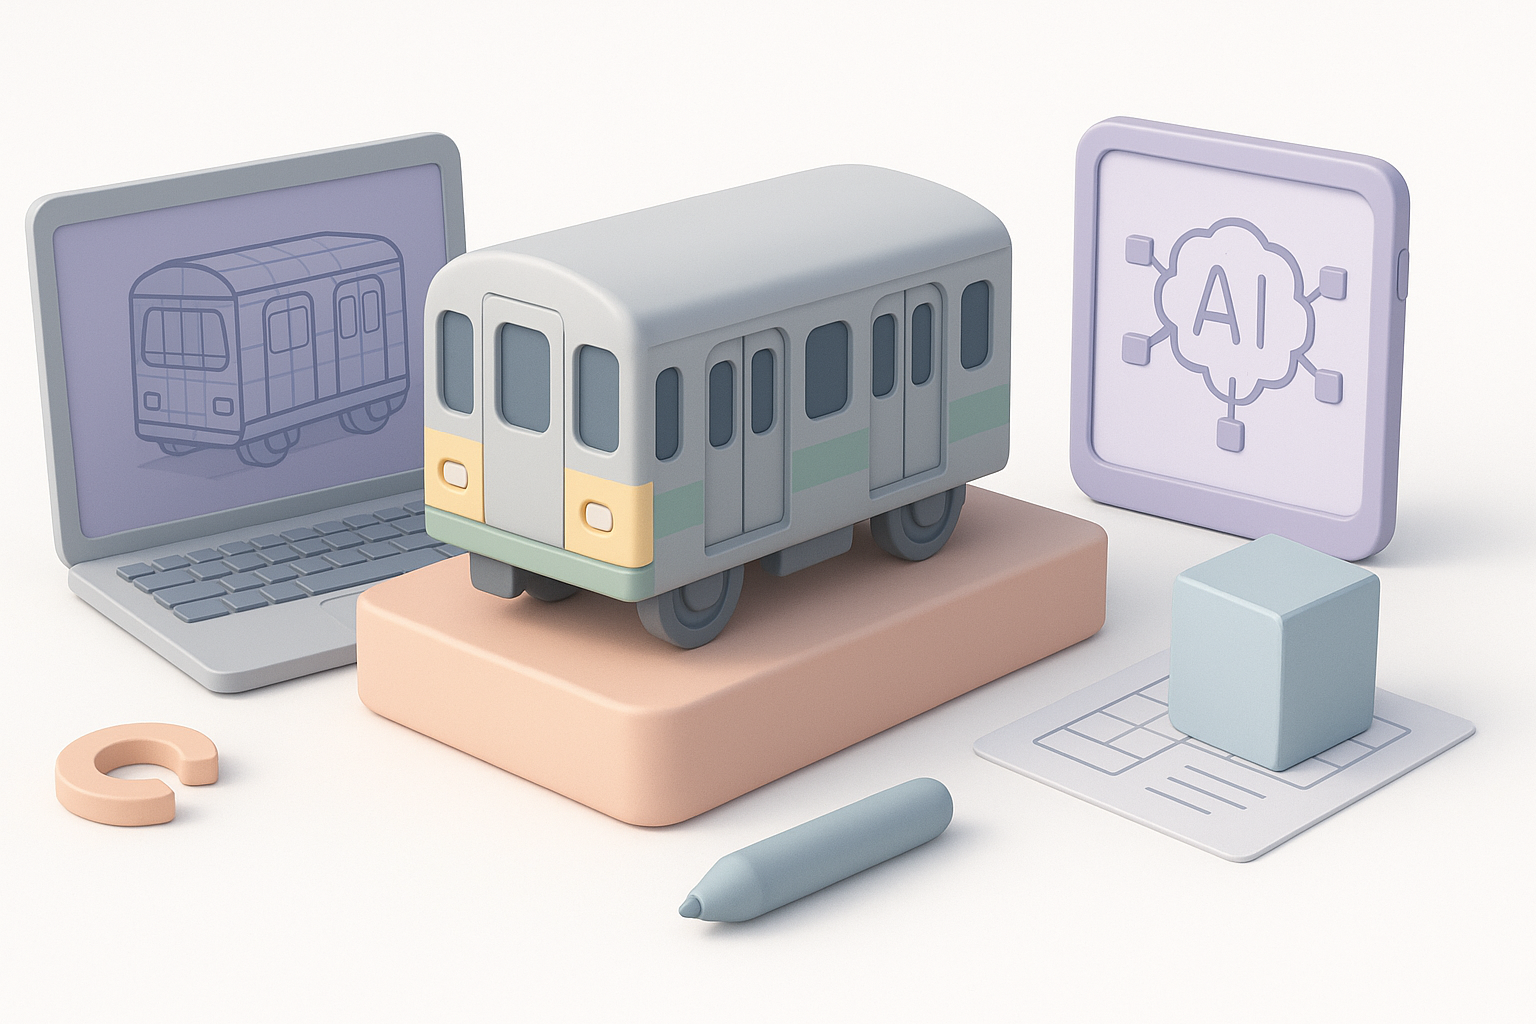
I choose tools based on project needs. For quick base meshes, Tripo’s text-to-3D and image-to-3D features save hours. For complex edits, I switch to Blender or Maya. This hybrid approach lets me focus on creative decisions rather than repetitive tasks.
Comparing AI-powered and traditional workflows
AI tools excel at rapid prototyping and automating tedious steps like retopology and segmentation. However, for final polish and animation setup, traditional DCCs still offer unmatched control. I blend both: generate, refine, and then finalize.
Mini-checklist:
- Use AI for base mesh, segmentation, and texturing
- Refine geometry and UVs manually as needed
Step-by-Step Subway Cart 3D Modeling Process
Blocking out the main shapes
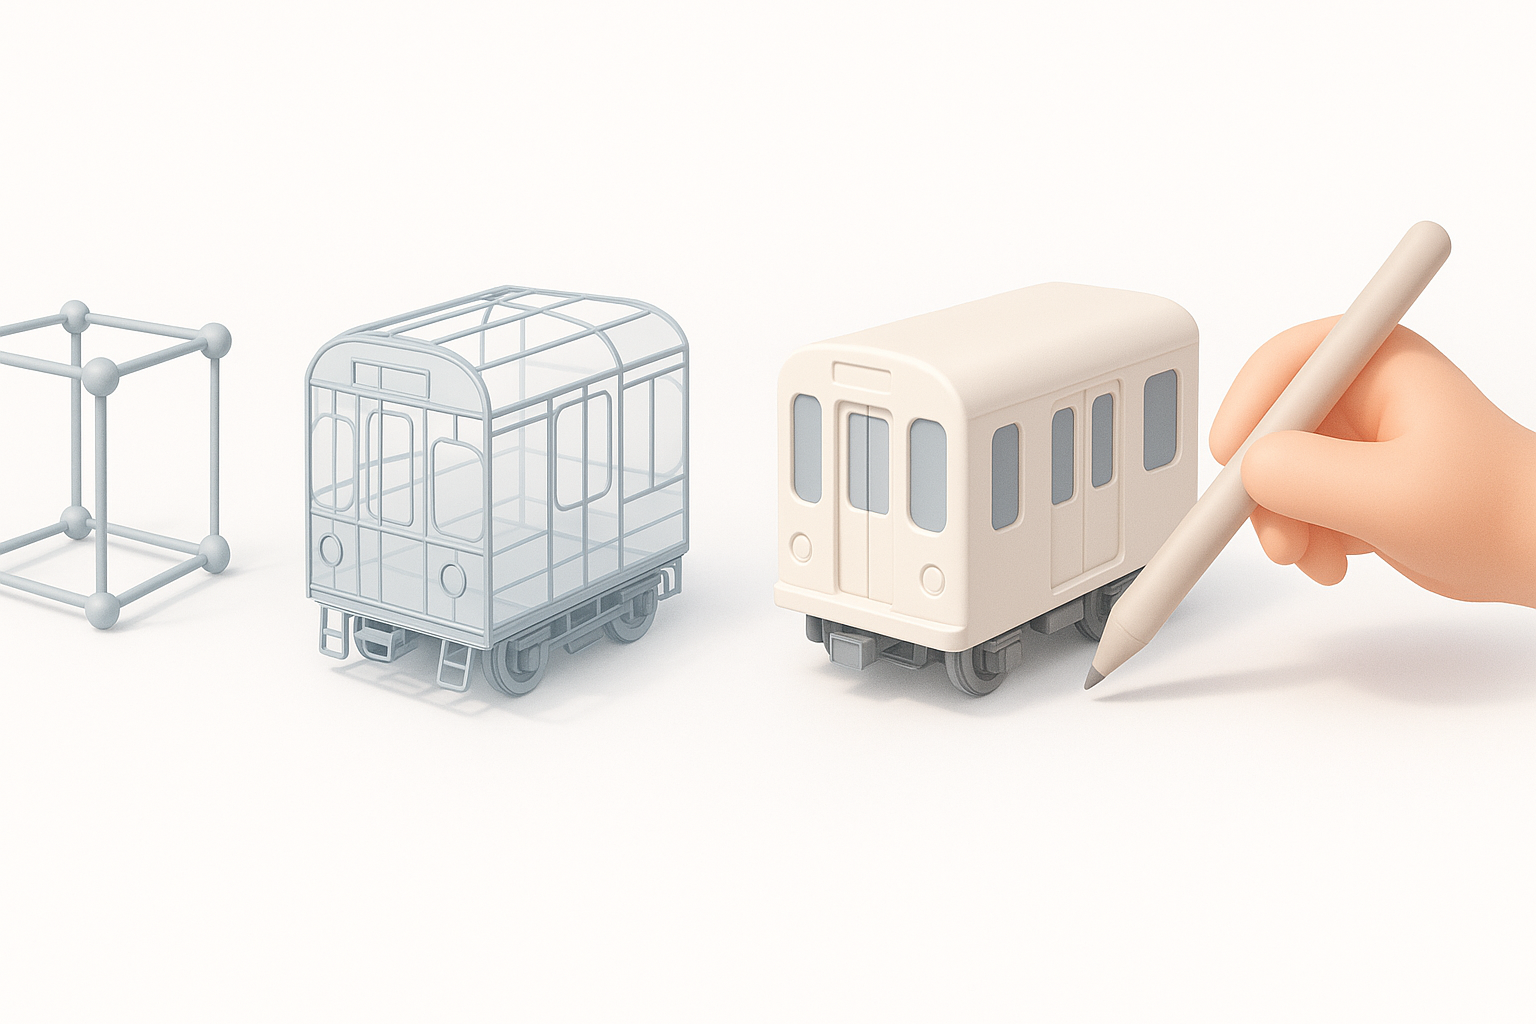
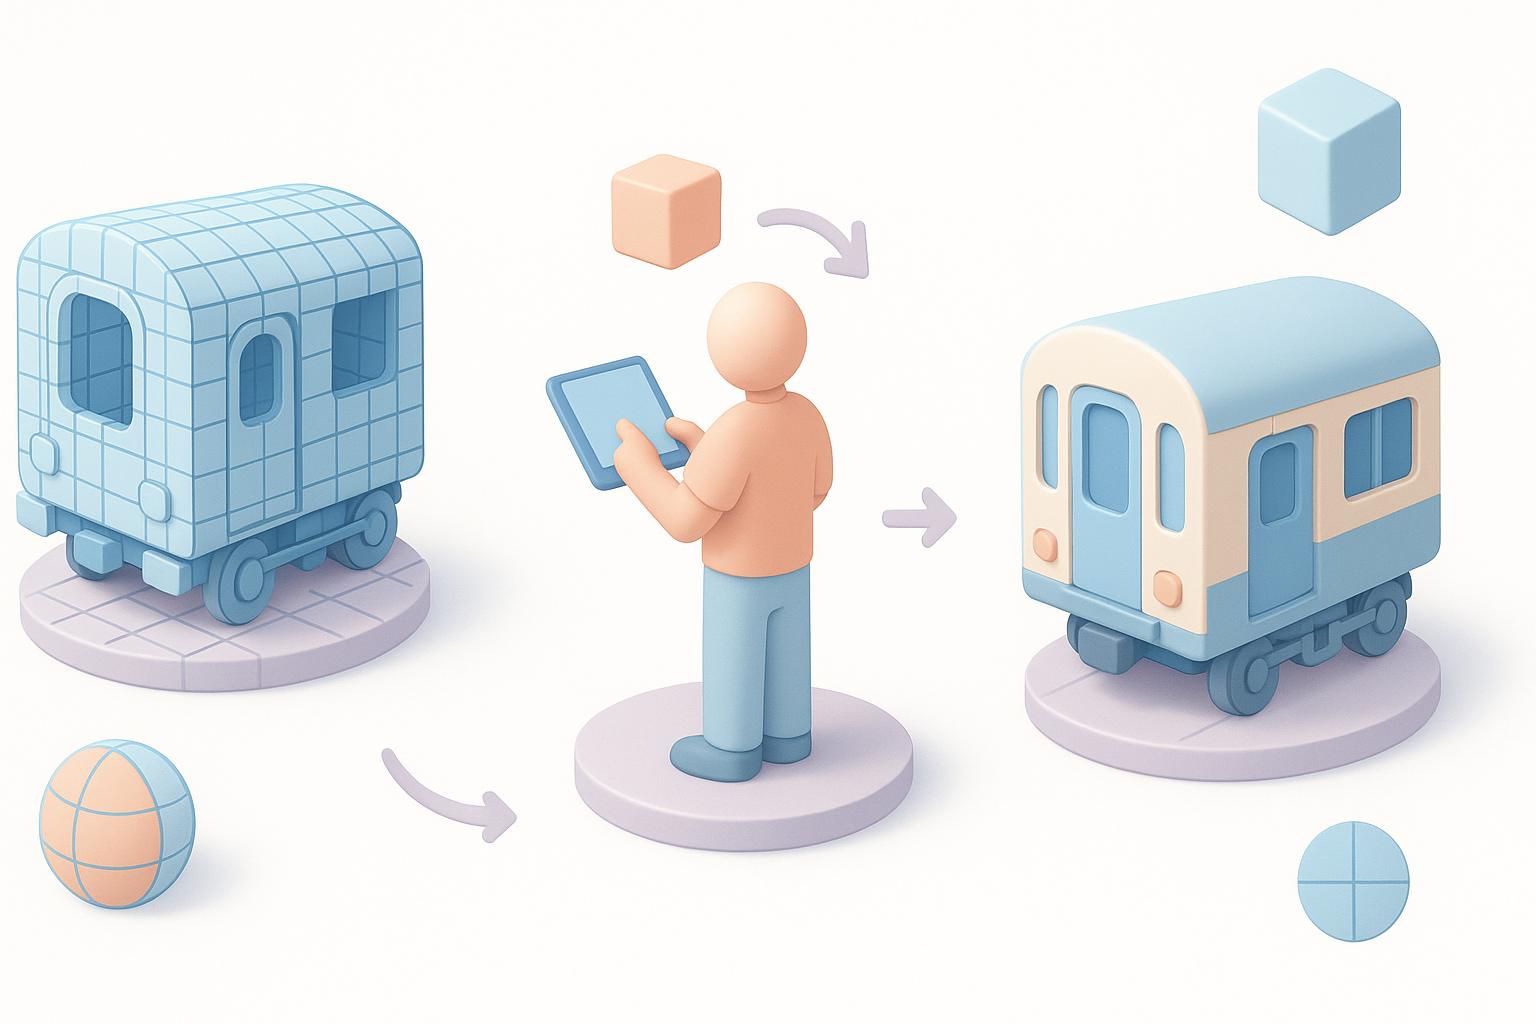
I begin with primitive shapes—boxes and cylinders—to establish the cart’s proportions. Using Tripo, I can generate a rough model from a sketch or description, then adjust major forms in my DCC tool.
Steps:
- Block out the main body, windows, and doors
- Check proportions against references
- Keep geometry simple for easy edits
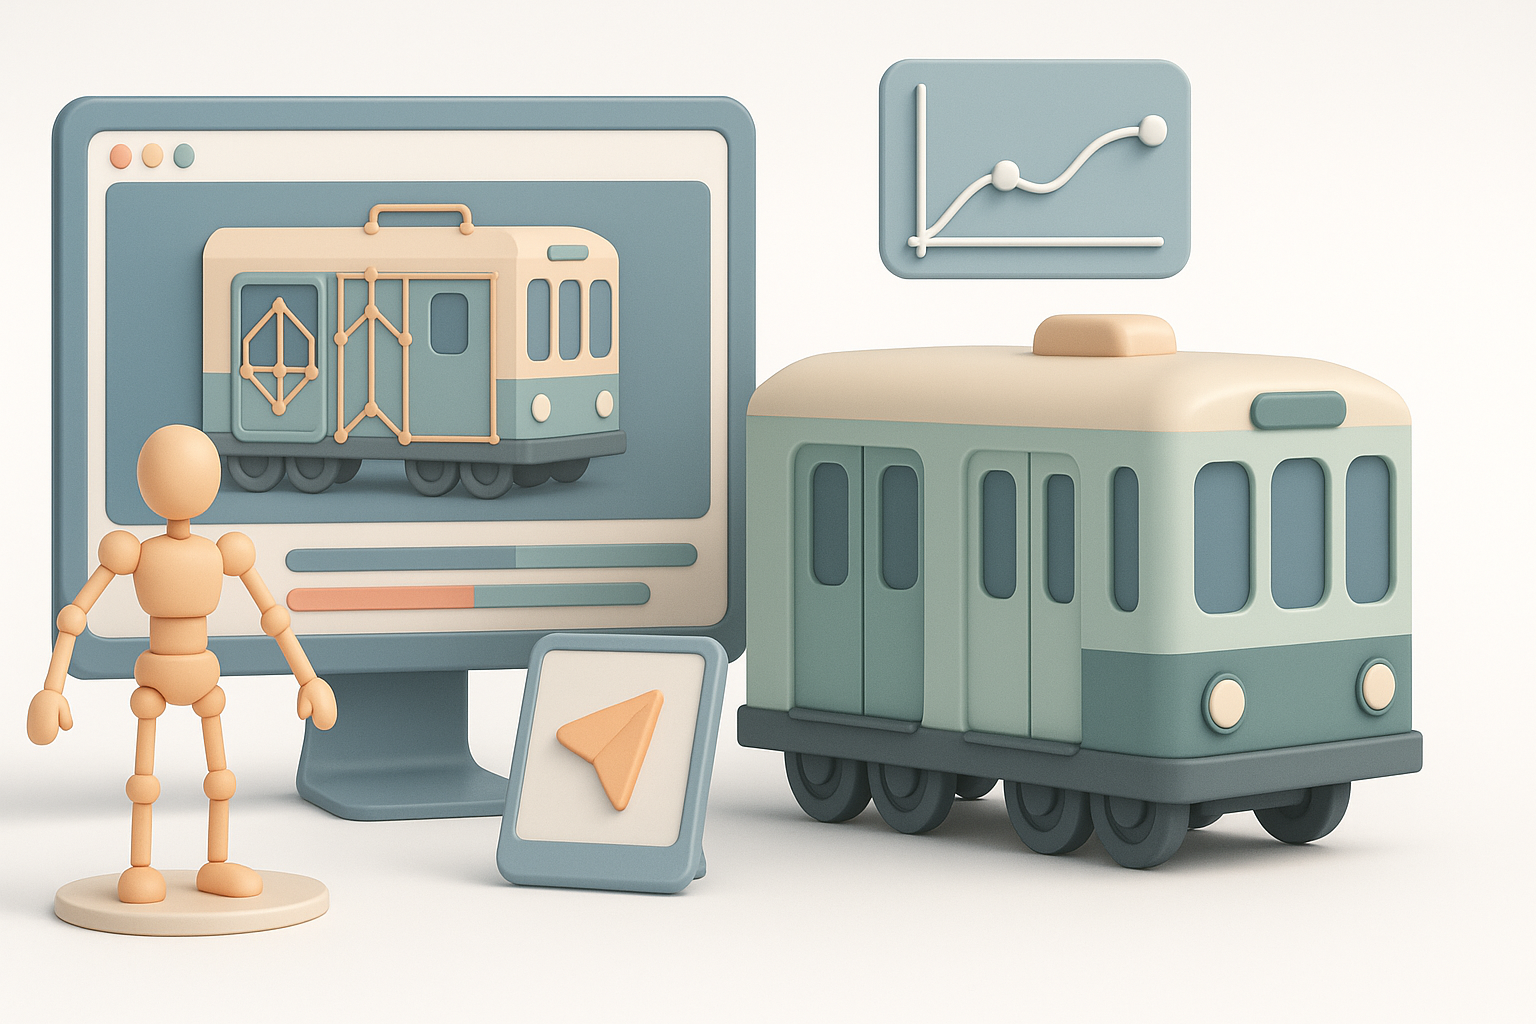
Refining geometry and adding details
Once the silhouette is correct, I add secondary forms: door frames, seat bases, and window trims. I use modifiers (e.g., bevels, arrays) for repeatable elements. AI segmentation tools help isolate parts for separate texturing or animation.
Tips:
- Work nondestructively; keep backup stages
- Mirror geometry for symmetrical parts
Texturing, Materials, and Realism Techniques
My approach to UV mapping and texturing
Clean UVs are non-negotiable for realistic results. I rely on AI-assisted unwrapping when possible, then adjust seams and islands manually. For texturing, I use physically-based materials, layering dirt, scratches, and decals to match references.
Checklist:
- Unwrap before adding fine details
- Bake AO and normal maps for realism
Tips for achieving realistic subway cart surfaces
I study real-world wear: scuffed floors, fingerprinted glass, faded signage. I use high-res textures and subtle normal/displacement maps. For interiors, emissive maps simulate lighting panels.
Pitfalls:
- Overusing procedural textures
- Ignoring reference-based color and material variation
Retopology, Segmentation, and Optimization
How I optimize models for real-time use
For games or XR, I keep polycount low without sacrificing silhouette. Automated retopology (via Tripo or similar tools) provides a clean base, but I always inspect and fix edge flow around deforming parts (e.g., doors).
Steps:
- Run automated retopology
- Manually clean up critical areas
- Merge or separate meshes as needed
Best practices for clean topology
I avoid n-gons and long triangles, especially on animated parts. Edge loops follow the form for easier UV mapping and deformation. I check with wireframe overlays to spot issues early.
Rigging, Animation, and Exporting for Production
Setting up rigs for subway cart movement
If the cart or its parts need animation (e.g., doors), I rig using simple bones and constraints. I test all movements in the DCC tool before export. AI tools can auto-generate basic rigs, which I refine as needed.
Checklist:
- Rig moving parts (doors, seats)
- Test animation loops (open/close cycles)
Exporting models for games, XR, or film
I export using the format required by the target platform (FBX for games, USD for film, GLTF for XR). I ensure all textures are linked and check scale/unit consistency.
Pitfalls:
- Forgetting to freeze transforms or apply scale
- Exporting with unused meshes or materials
Troubleshooting and Common Challenges
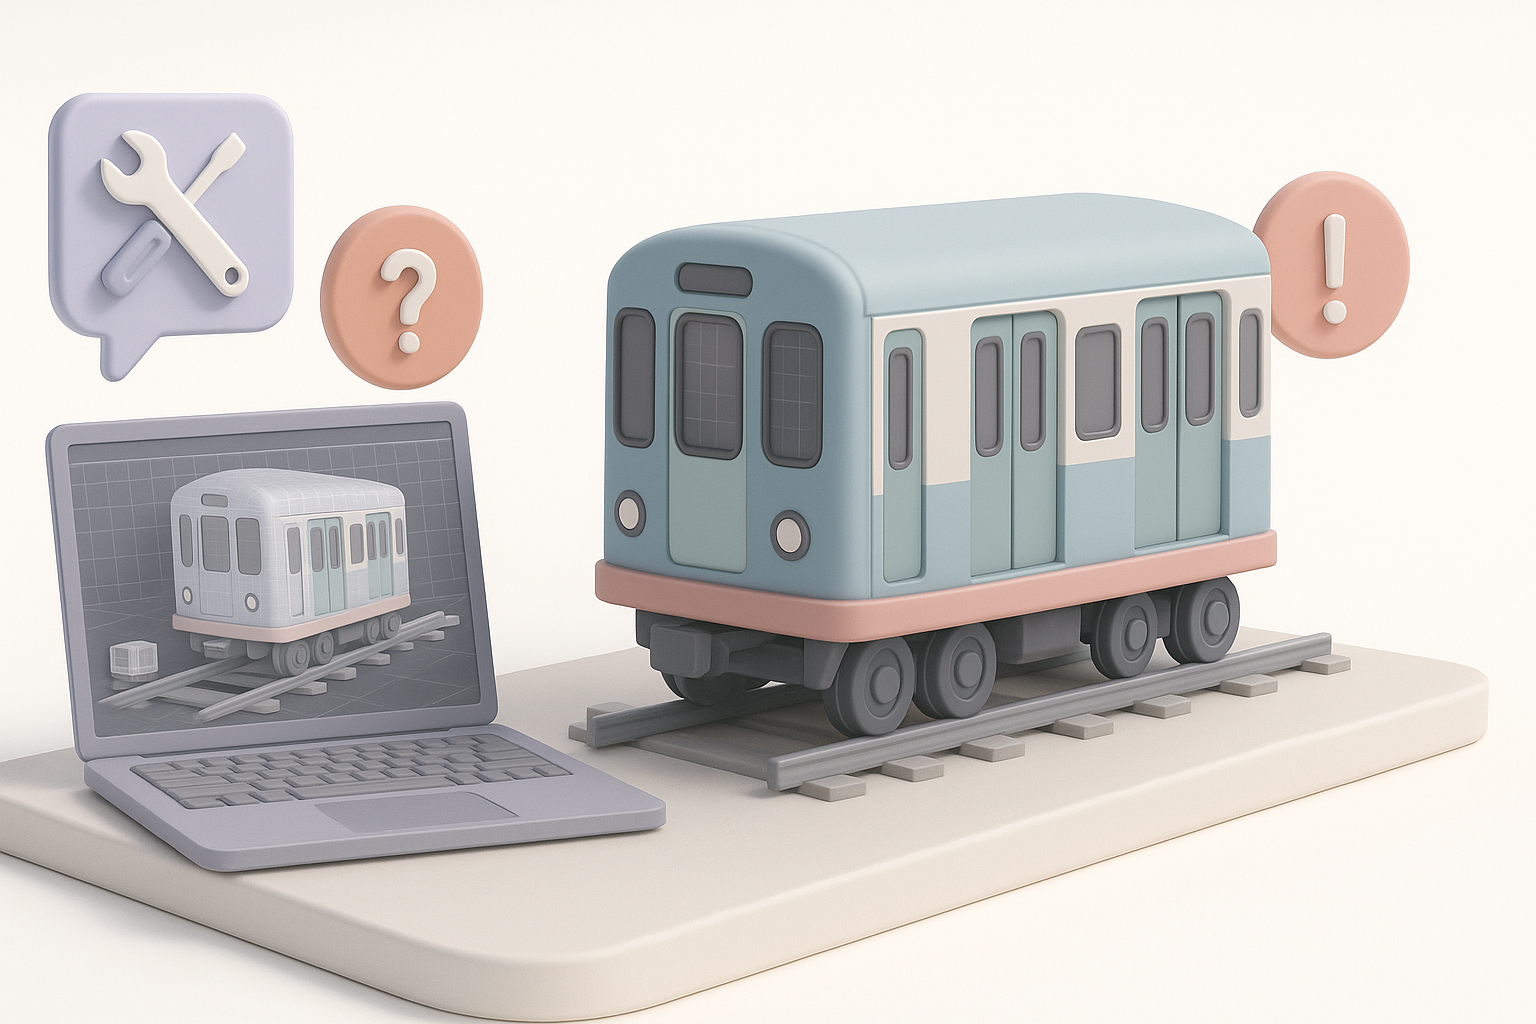
What I do when facing modeling issues
When geometry artifacts or shading errors arise, I isolate the problem area, check normals, and simplify the mesh if needed. For persistent issues, I revert to earlier saves or regenerate the segment using AI.
Lessons learned from past projects
Iterating is normal—rarely does a model work perfectly on the first try. Keeping a versioned workflow and frequent backups saves headaches. I also document fixes for future reference.
Common issues:
- UV stretching on curved surfaces
- Artifacts from automated retopology
Integrating AI Workflows for Faster Results
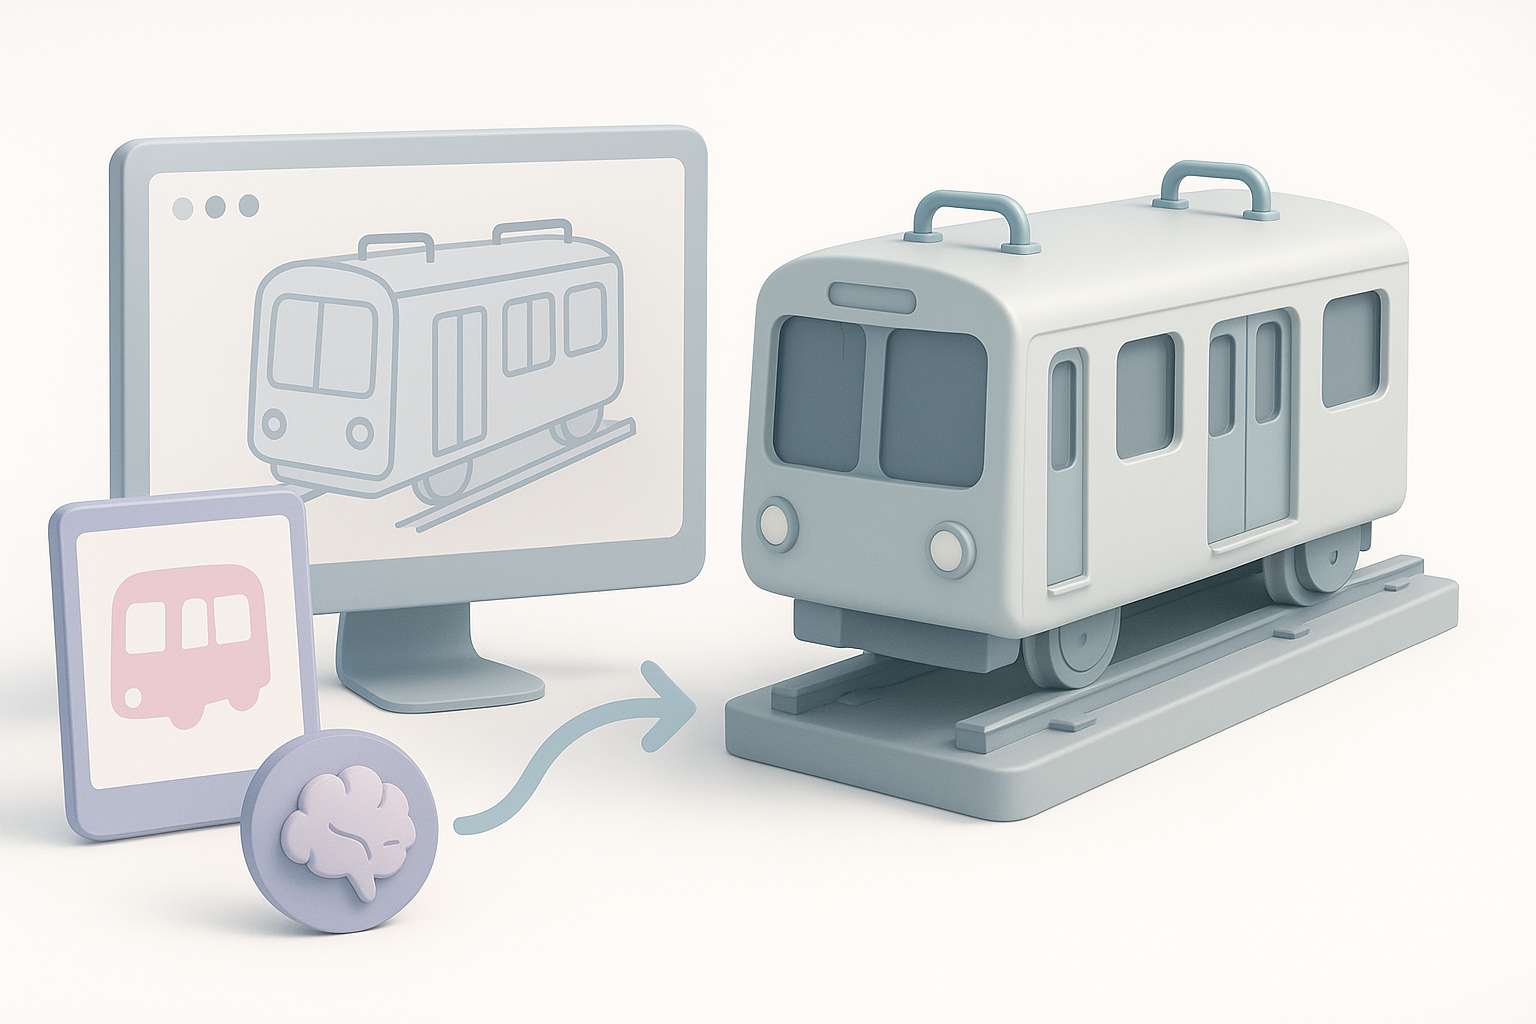
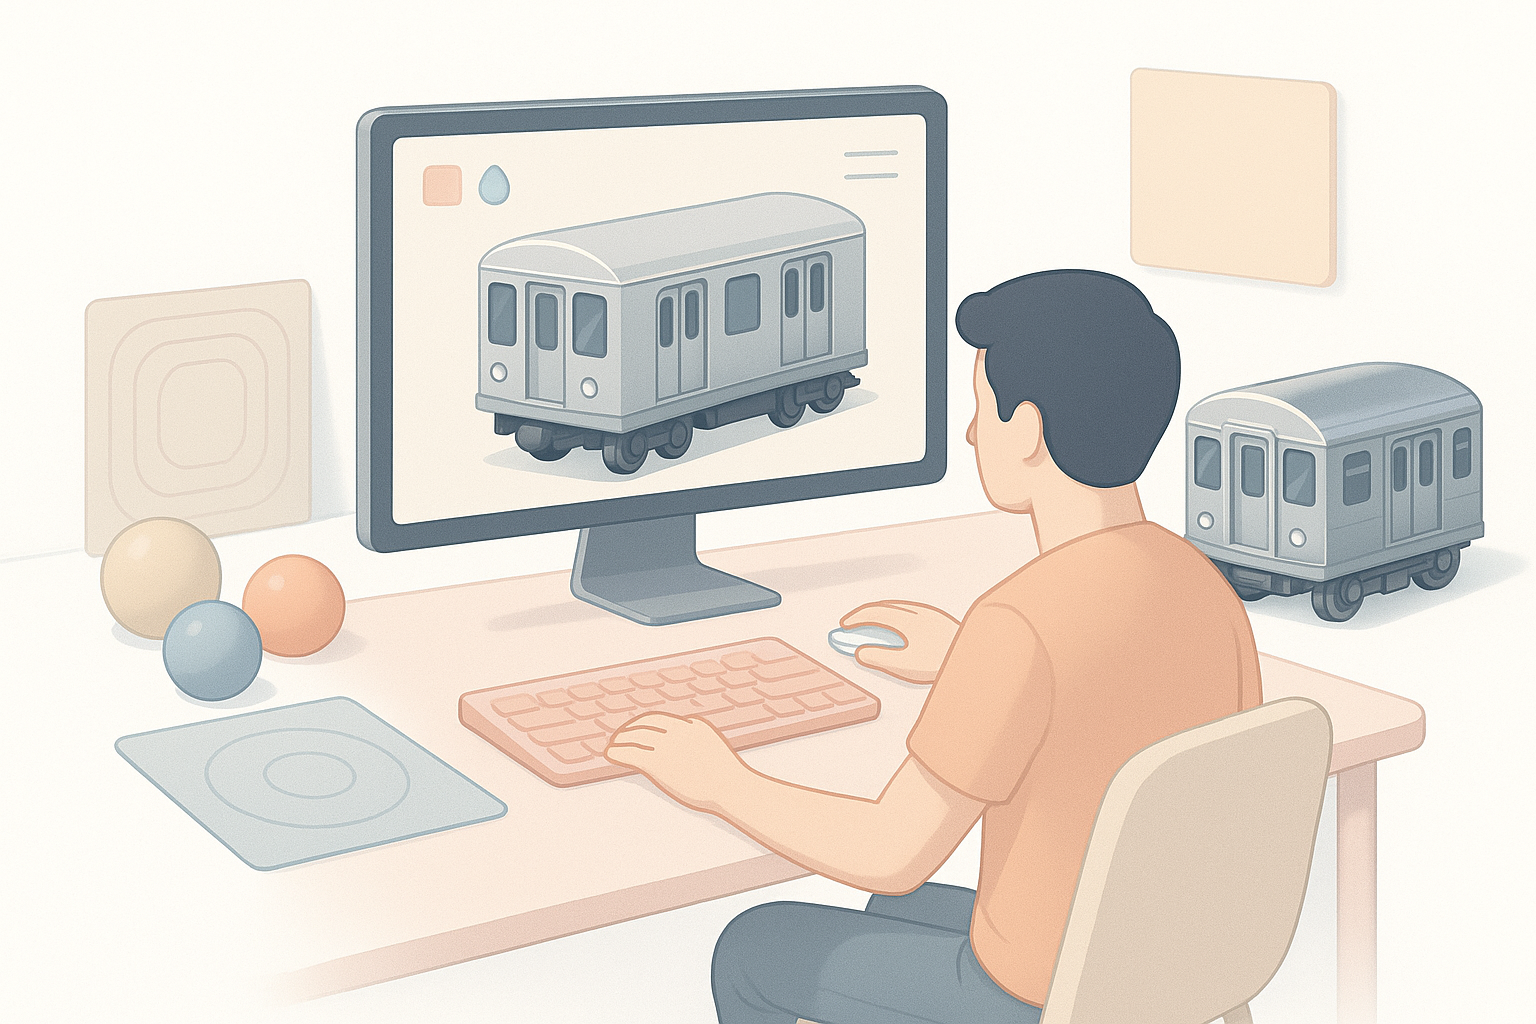
How AI tools streamline my process
AI platforms like Tripo handle repetitive, technical steps—base mesh generation, segmentation, retopology, and even texturing. This lets me focus on design and polish rather than manual labor.
Tips for blending manual and AI-driven methods
I use AI for the heavy lifting, then switch to manual tools for creative tweaks. The key is to review and adjust AI outputs—never assume they’re perfect out of the box.
Workflow:
- Generate → Inspect → Refine → Finalize
By blending AI-powered automation with hands-on artistry, I consistently deliver production-ready subway cart models faster and with fewer headaches. Each project is unique, but these principles and workflows have saved me countless hours and improved final quality across the board.