How to Create a Springtrap 3D Model: Expert Workflow & Tips
Creating a production-ready Springtrap 3D model requires a blend of artistic vision, technical skill, and the right tools. From gathering references to final export, I rely on a streamlined, AI-assisted workflow to save time and boost quality. This guide shares my hands-on process, from modeling and texturing to rigging and export—ideal for artists and developers aiming for game, film, or XR-ready results. Whether you’re a solo creator or part of a team, these expert tips will help you deliver a detailed, animation-ready Springtrap with less friction.
Key takeaways

- Start with thorough reference gathering to nail Springtrap’s unique features.
- Use AI-powered tools to accelerate modeling, segmentation, and texturing.
- Focus on clean topology and modular detailing for easier rigging and animation.
- Smart texturing tools can speed up realism without sacrificing control.
- Always optimize exports for your target platform—game, film, or XR.
- Know when to lean on automation versus manual refinement in your workflow.
Understanding Springtrap’s Design and Reference Gathering
Key features of Springtrap’s character
Springtrap stands out for his haunting, decayed animatronic look—half machine, half rotting suit. The key features I focus on include:
- Exposed endoskeleton beneath torn, moldy fabric
- Jagged, broken ears and uneven eyes
- Dangling wires, visible mechanical joints, and irregular damage
- Grimy, patchy textures with hints of old green and yellow
Capturing these elements is crucial for authenticity. I always break down the character into layers: surface suit, underlying endoskeleton, and exposed details.
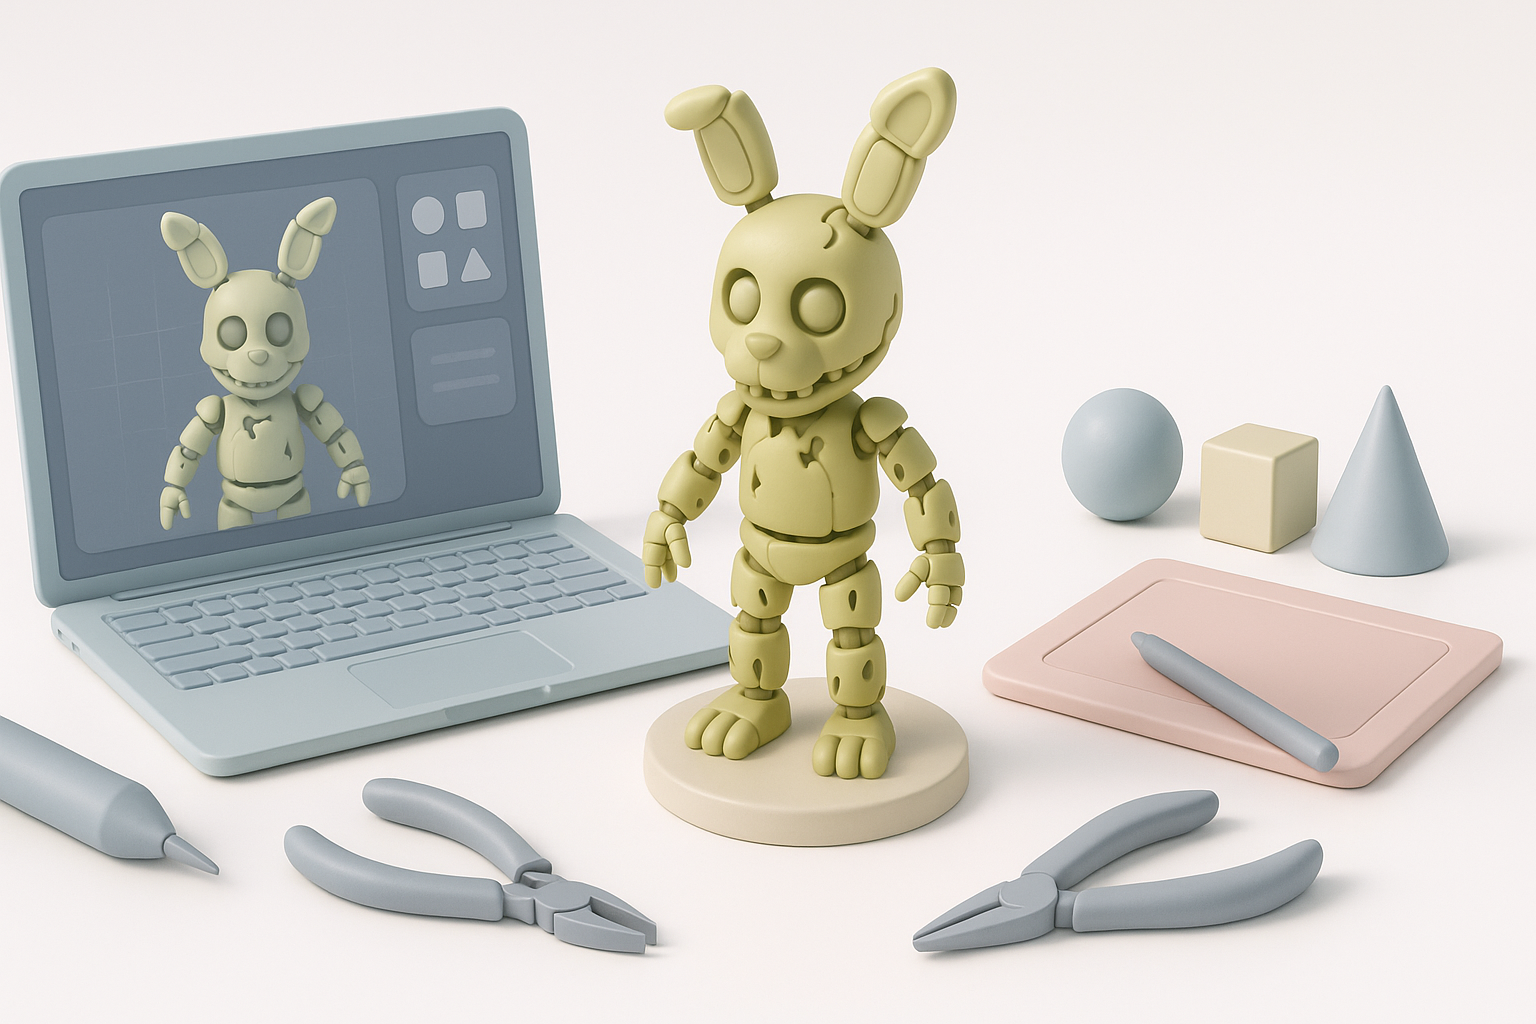
My approach to collecting accurate references
I start by gathering official artwork, in-game screenshots, and fan-made 3D renders. My process:
- Create a reference board with front, side, and 3/4 views
- Annotate key damage points, color zones, and mechanical elements
- Supplement with real-world images of aged animatronics and worn fabrics
Tip: Don’t rely on a single source—variations help inform creative decisions and fill in gaps.
Choosing the Right Tools and Software for 3D Modeling
Why I select certain platforms for character modeling
For complex characters like Springtrap, I choose platforms that balance sculpting power, retopology features, and export flexibility. My main criteria:
- Fast mesh blocking and sculpting
- Easy integration with texturing and rigging tools
- Support for industry-standard export formats
I value platforms with intuitive interfaces and solid documentation, especially when collaborating or handing off assets.
Integrating AI-powered solutions into my workflow
AI-powered 3D tools have transformed my process, especially for:
- Rapid base mesh generation from sketches or text prompts
- Intelligent segmentation and automatic retopology
- Smart UV unwrapping and material suggestions
I often use Tripo AI for quick concept generation and to automate repetitive tasks, then refine manually as needed.
Checklist:
- Use AI for base mesh and segmentation
- Switch to manual sculpting for unique damage and details
- Leverage AI again for retopology and UVs
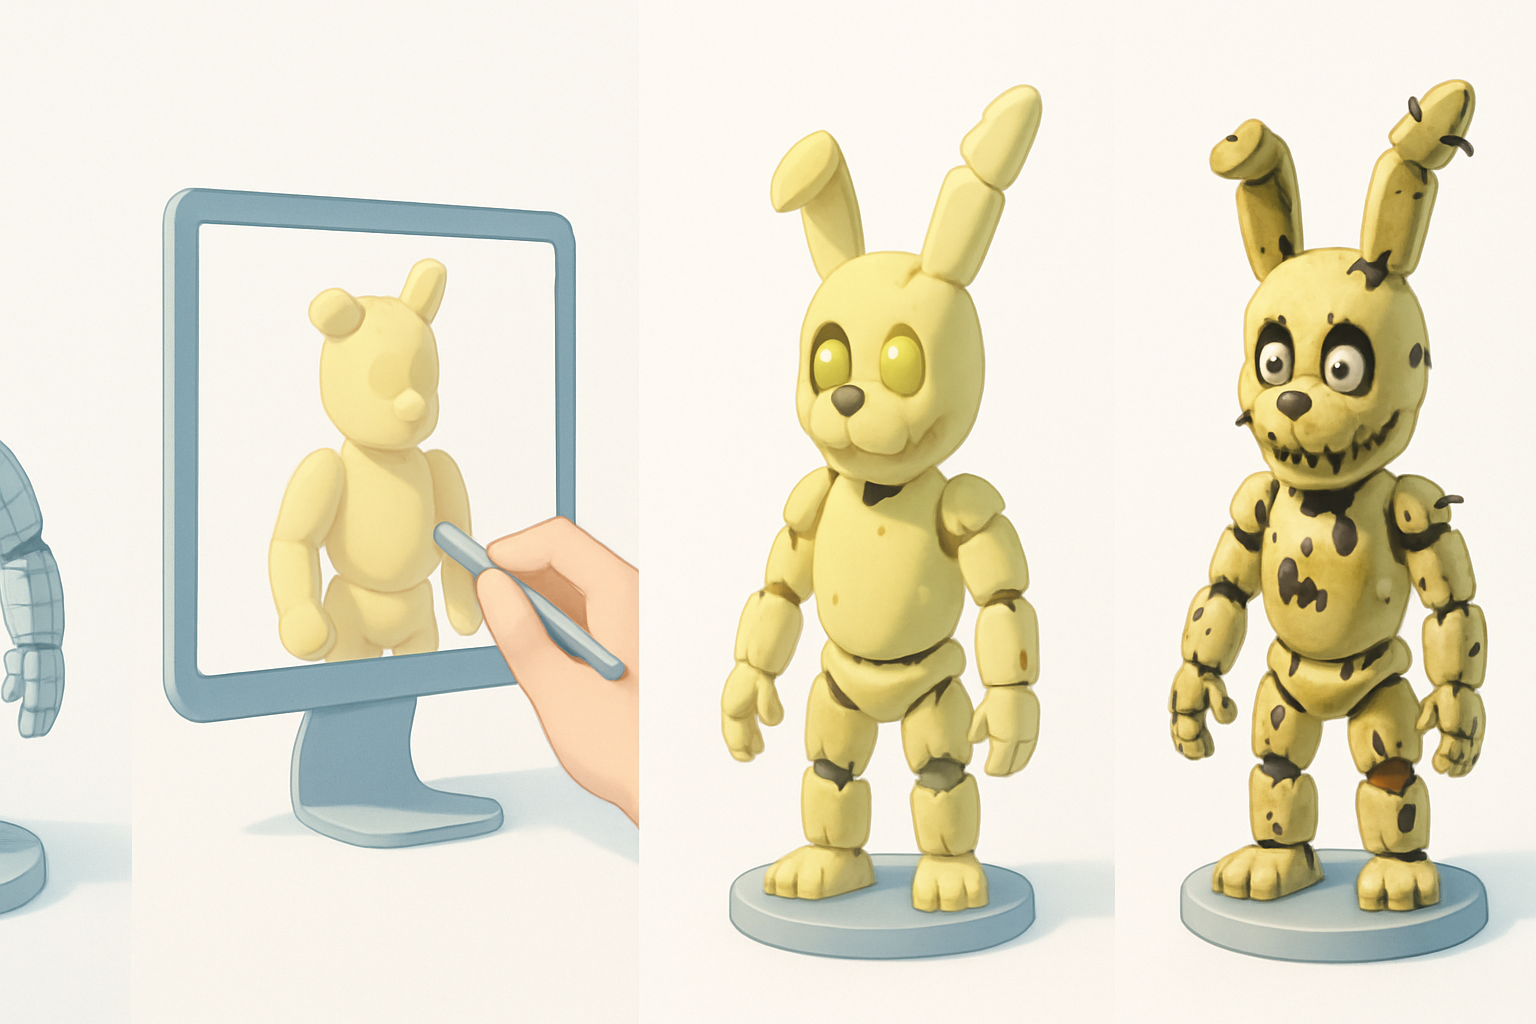
Step-by-Step Process: Modeling Springtrap in 3D
Blocking out the base mesh and proportions
I always start with a rough blockout to establish silhouette and proportions:
- Generate or sculpt a neutral humanoid base
- Adjust proportions to match Springtrap’s hunched, bulky look
- Block out major shapes: torso, limbs, head, and ears
Pitfall: Over-detailing early. Keep it simple until the base reads well from all angles.
Adding details: damage, wires, and animatronic elements
Once the base is set, I layer in the complexity:
- Sculpt torn edges, exposed endoskeleton parts, and broken sections
- Model wires as separate objects for easy posing and animation
- Add asymmetry—no two damage points should look identical
Mini-checklist:
- Use reference for wire placement and suit tears
- Separate the suit mesh from the endoskeleton for texturing control
- Check silhouette at each stage
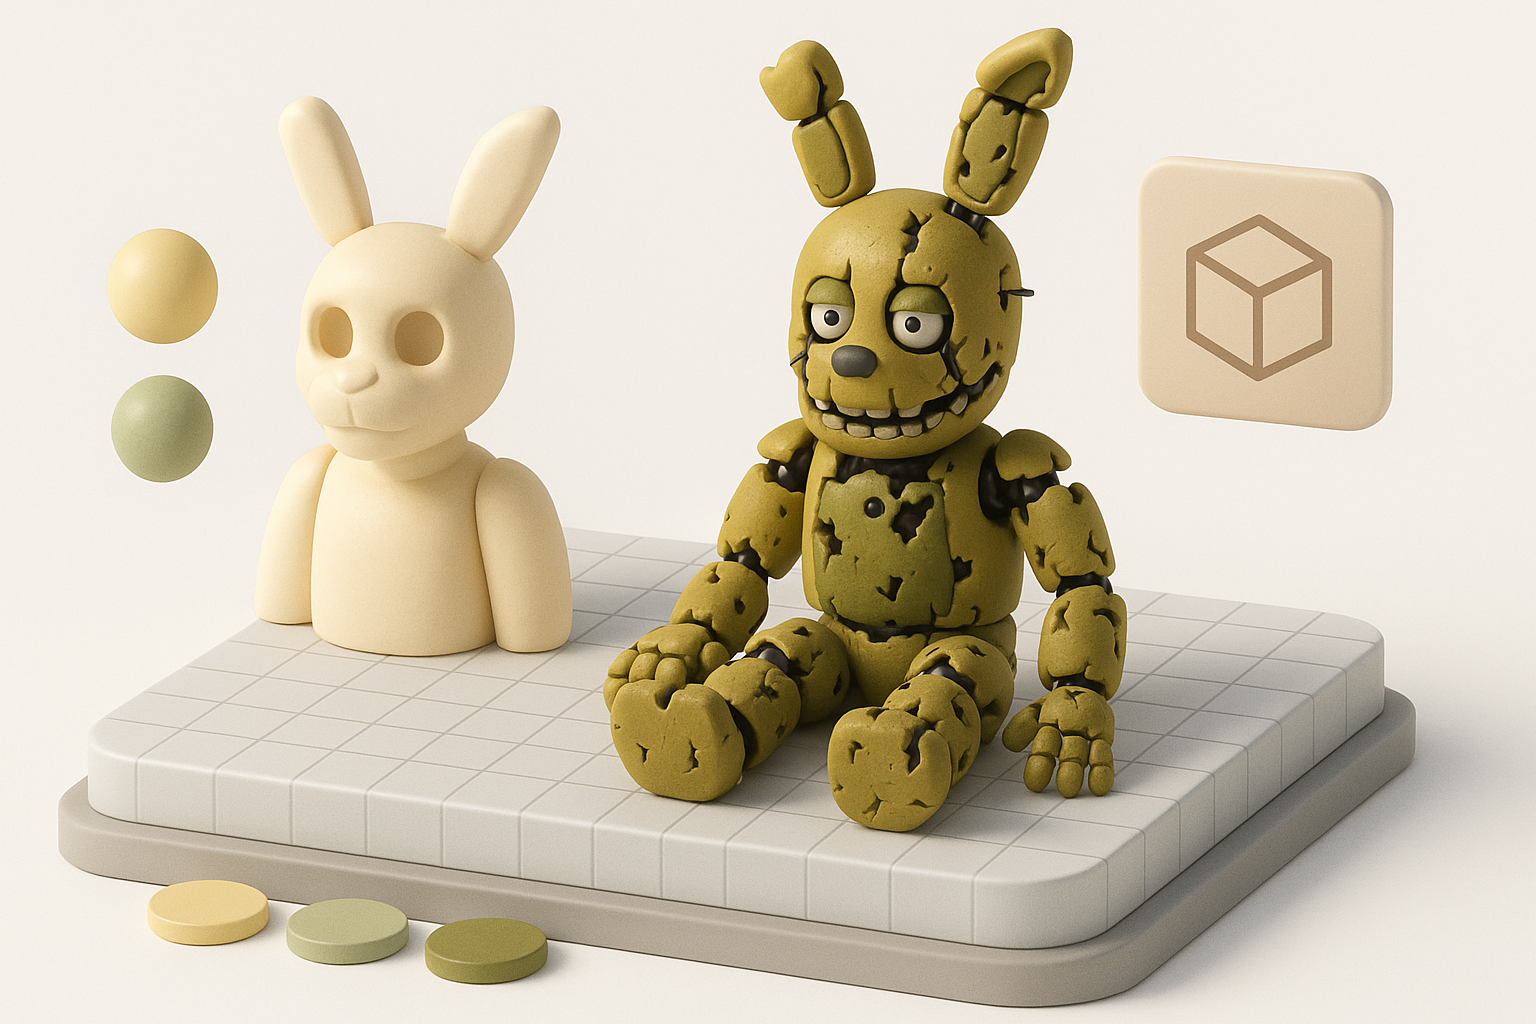
Texturing and Materials: Bringing Springtrap to Life
Best practices for realistic textures
Springtrap’s believability hinges on convincing textures:
- Use high-res scans or procedural maps for fabric, rust, and grime
- Layer dirt, mold, and stains with varying roughness and metallic values
- Paint subtle color variations—avoid flat greens or yellows
I usually work in a physically-based rendering (PBR) workflow for consistency across engines.
How I use smart texturing tools for efficiency
AI-driven texturing tools help me:
- Auto-bake ambient occlusion and curvature maps for grunge masks
- Suggest material presets for metals, plastics, and fabrics
- Quickly iterate on color and wear patterns
I often let the tool handle base passes, then hand-paint hero details and unique damage.
Tip: Always preview textures in your target render engine to catch issues early.
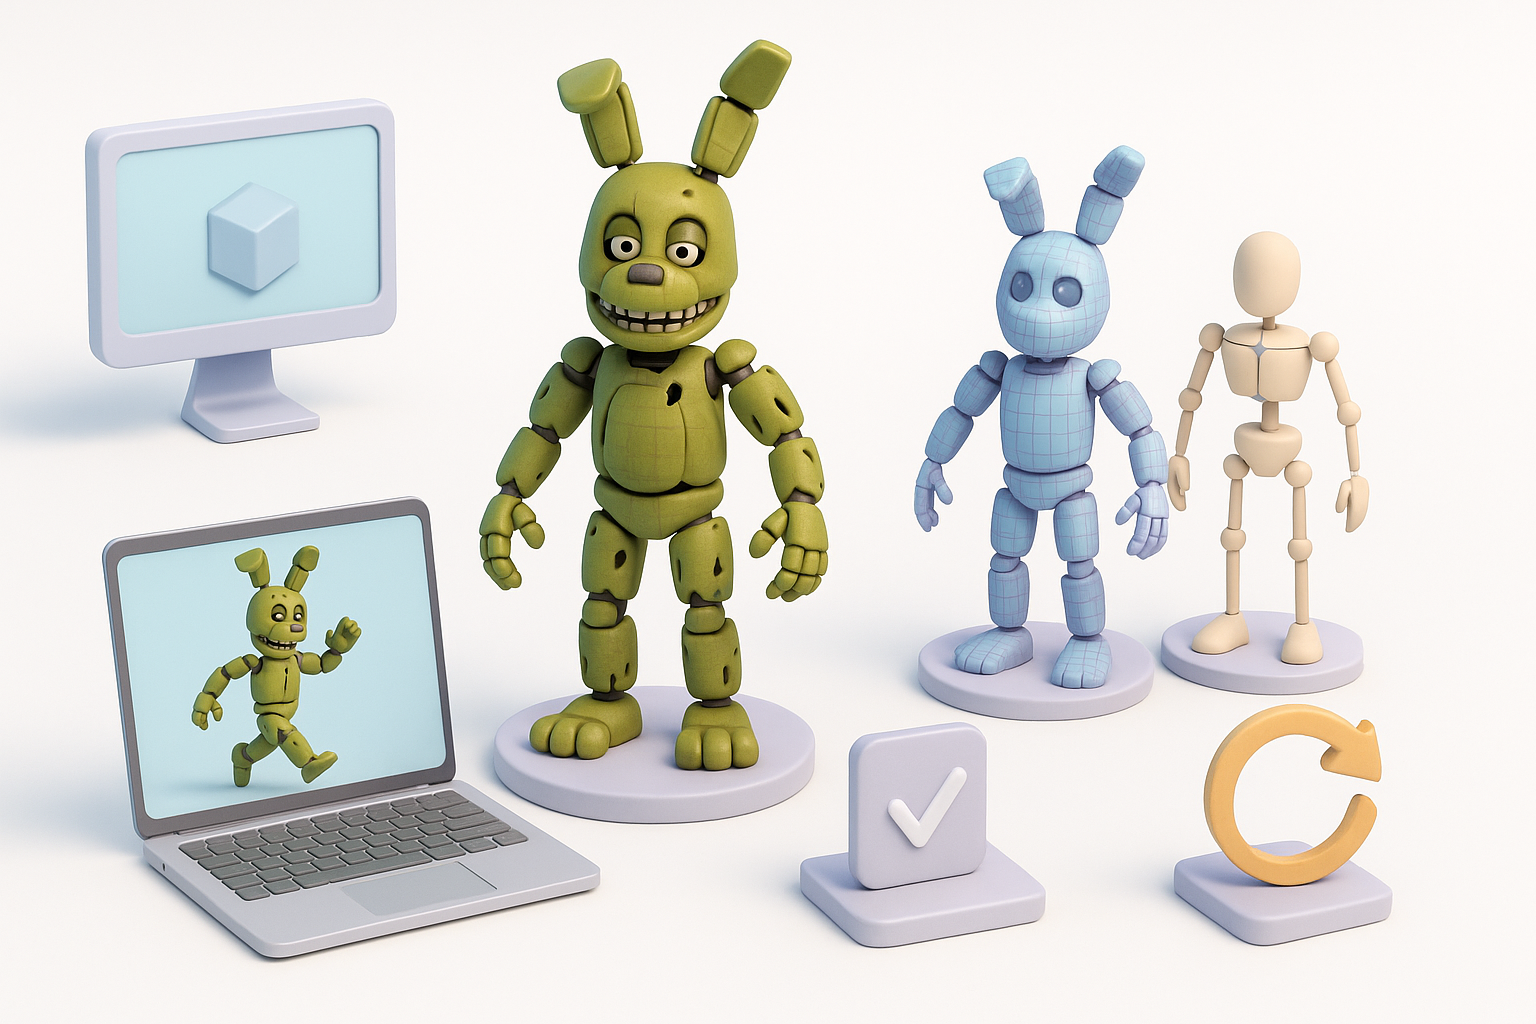
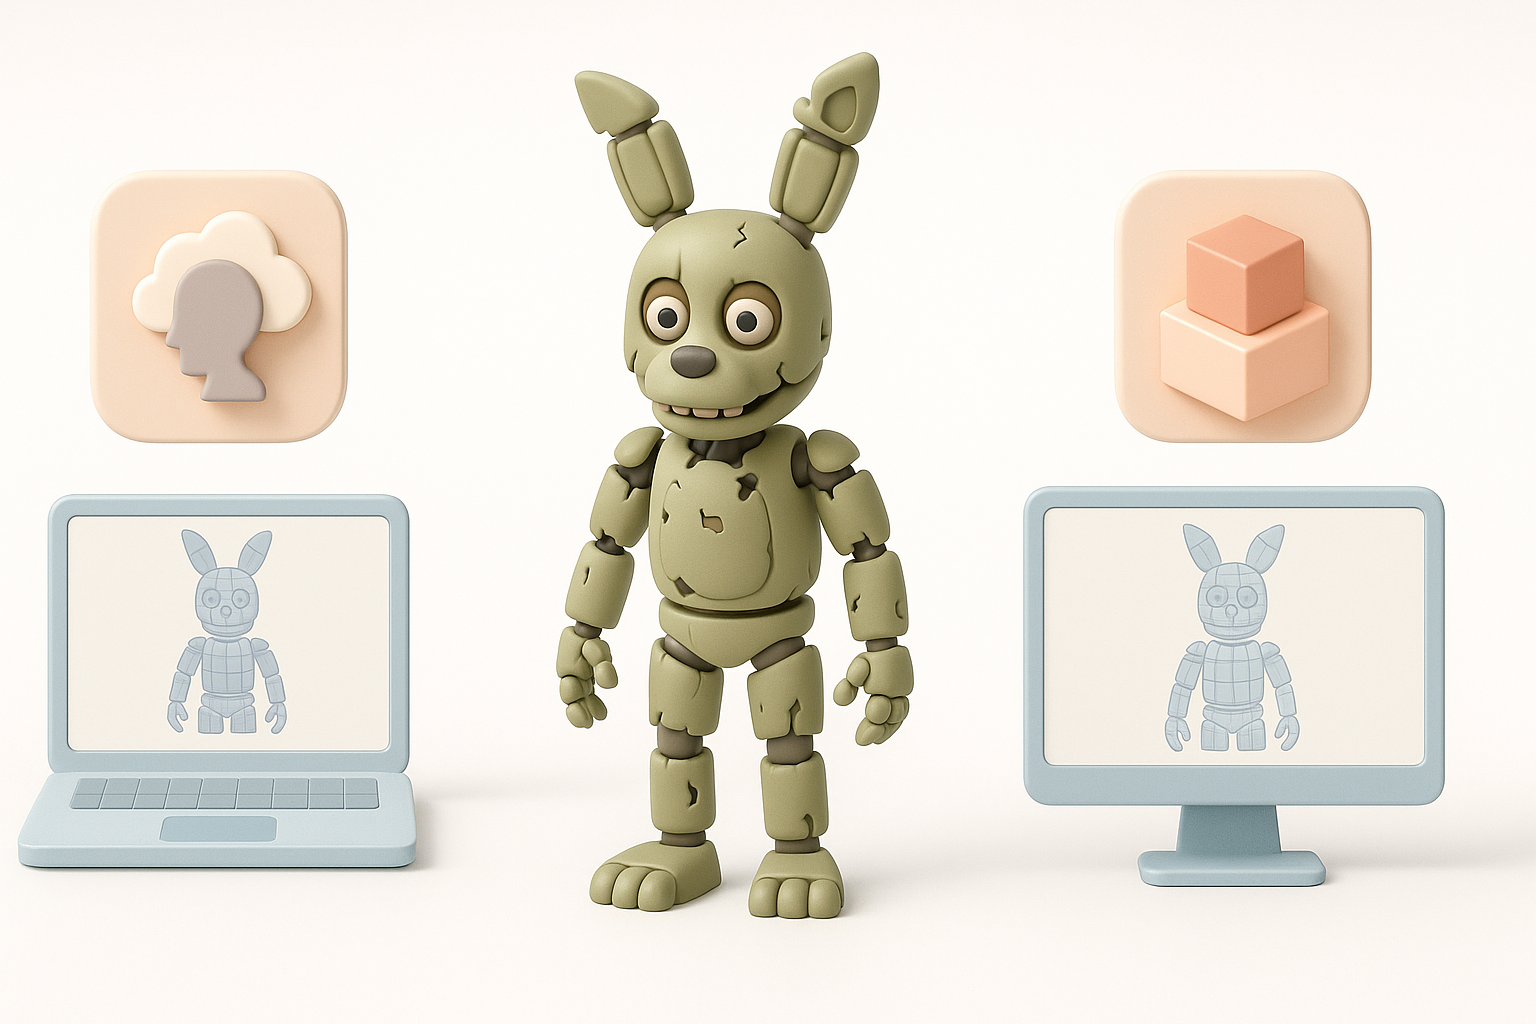
Retopology, Rigging, and Animation Preparation
Optimizing topology for animation
Clean topology is non-negotiable for animation. My approach:
- Retopologize with evenly spaced quads, especially around joints
- Maintain edge loops for deformation—shoulders, elbows, knees
- Reduce polycount where detail isn’t needed, but keep enough for silhouette
I use AI-assisted retopology for speed, but manually tweak critical areas.
Rigging strategies for complex characters
Springtrap’s broken, multi-layered design requires a thoughtful rig:
- Rig the endoskeleton and suit as separate layers
- Add controls for floppy ears, loose wires, and damaged limbs
- Test deformations with extreme poses
Pitfall: Ignoring secondary elements (wires, torn fabric) until too late—rig them early to avoid headaches.
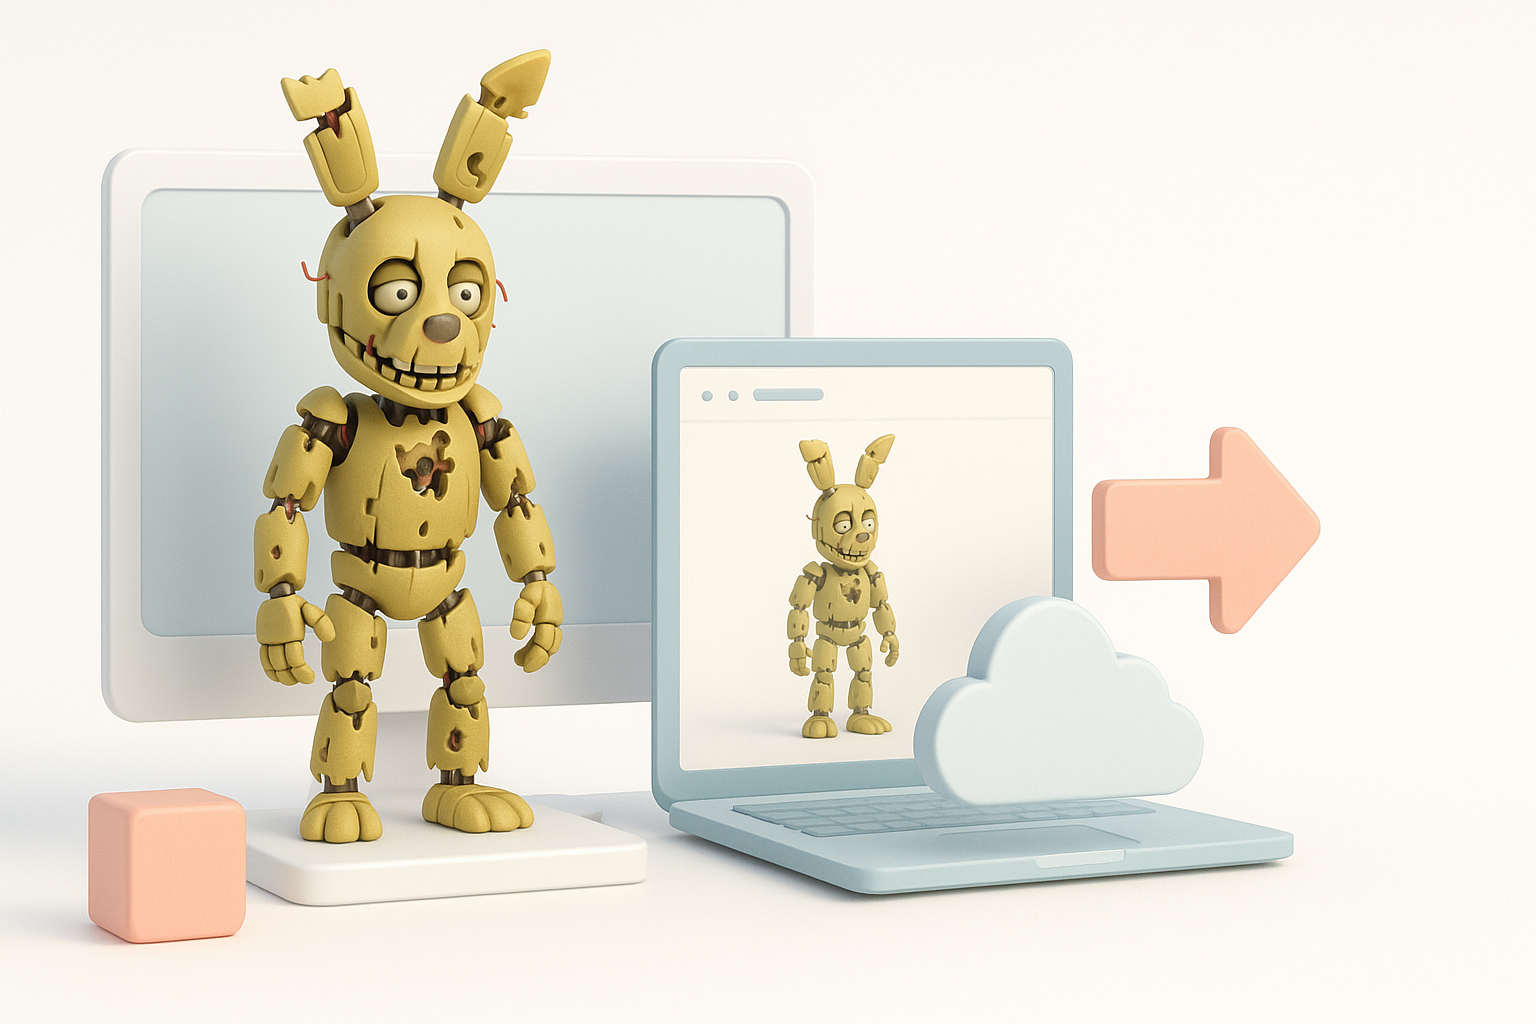
Exporting, Sharing, and Using Your Springtrap Model
Export settings for games, film, and XR
Export requirements vary by platform:
- Games: Optimize polycount, bake normal maps, use FBX or glTF
- Film: Higher-res meshes, 32-bit textures, support for blendshapes
- XR: Aggressive optimization, lightweight textures, real-time shaders
I always test exports in the target environment before final delivery.
Tips for showcasing and sharing your work
To present your model:
- Create beauty renders with dramatic lighting
- Share wireframes and texture breakdowns
- Provide turntable animations to show off details
Tip: Include Marmoset or Sketchfab viewers for interactive showcases.
Comparing AI-Powered and Traditional 3D Modeling Workflows
What I’ve learned from using AI-driven tools
AI tools have dramatically reduced my turnaround time on base meshes, segmentation, and UVs. They’re especially useful for:
- Fast prototyping and iteration
- Handling repetitive or technical steps
- Lowering the barrier for solo creators or small teams
However, they’re not a substitute for manual artistry—unique damage, personality, and polish still require a human touch.
When to choose manual vs. automated approaches
My rule of thumb:
- Use AI for speed and efficiency during early and repetitive stages
- Switch to manual work for creative decisions, hero details, and final polish
Pitfall: Relying too heavily on automation can lead to generic results. Balance is key.
By combining smart reference gathering, AI-powered tools, and hands-on artistry, you can create a Springtrap 3D model that stands out in any pipeline—ready for games, film, or XR.