How to Create a Skibidi Toilet 3D Model: Workflow & Best Practices
Creating a Skibidi Toilet 3D model—from concept art to a production-ready asset—doesn’t have to be daunting. In this guide, I’ll break down my complete workflow, highlight the best practices I rely on, and share practical tips for artists and developers looking to streamline their process. Whether you’re working with AI-powered tools like Tripo or modeling by hand, you’ll learn where to focus your efforts, how to avoid common pitfalls, and how to deliver a polished, optimized model ready for games, videos, or XR experiences.
Key takeaways:
- Gather strong references and define your style before modeling.
- Block out, refine, and detail your mesh in clear stages.
- Use AI-powered tools to accelerate segmentation, retopology, and texturing.
- Optimize your model for performance with careful UVs and polycount management.
- Rig and animate efficiently for your target platform.
- Export in the right formats and test integration early.
Executive Summary: Key Takeaways for Skibidi Toilet 3D Modeling
What to Expect from This Guide
This guide covers every step of creating a Skibidi Toilet 3D model, from initial planning to final export. I share hands-on advice for both beginners and experienced 3D artists, including how to leverage AI-powered workflows and traditional methods. Expect actionable steps, tool recommendations, and lessons I’ve learned from real projects.
Summary of Workflow and Tools
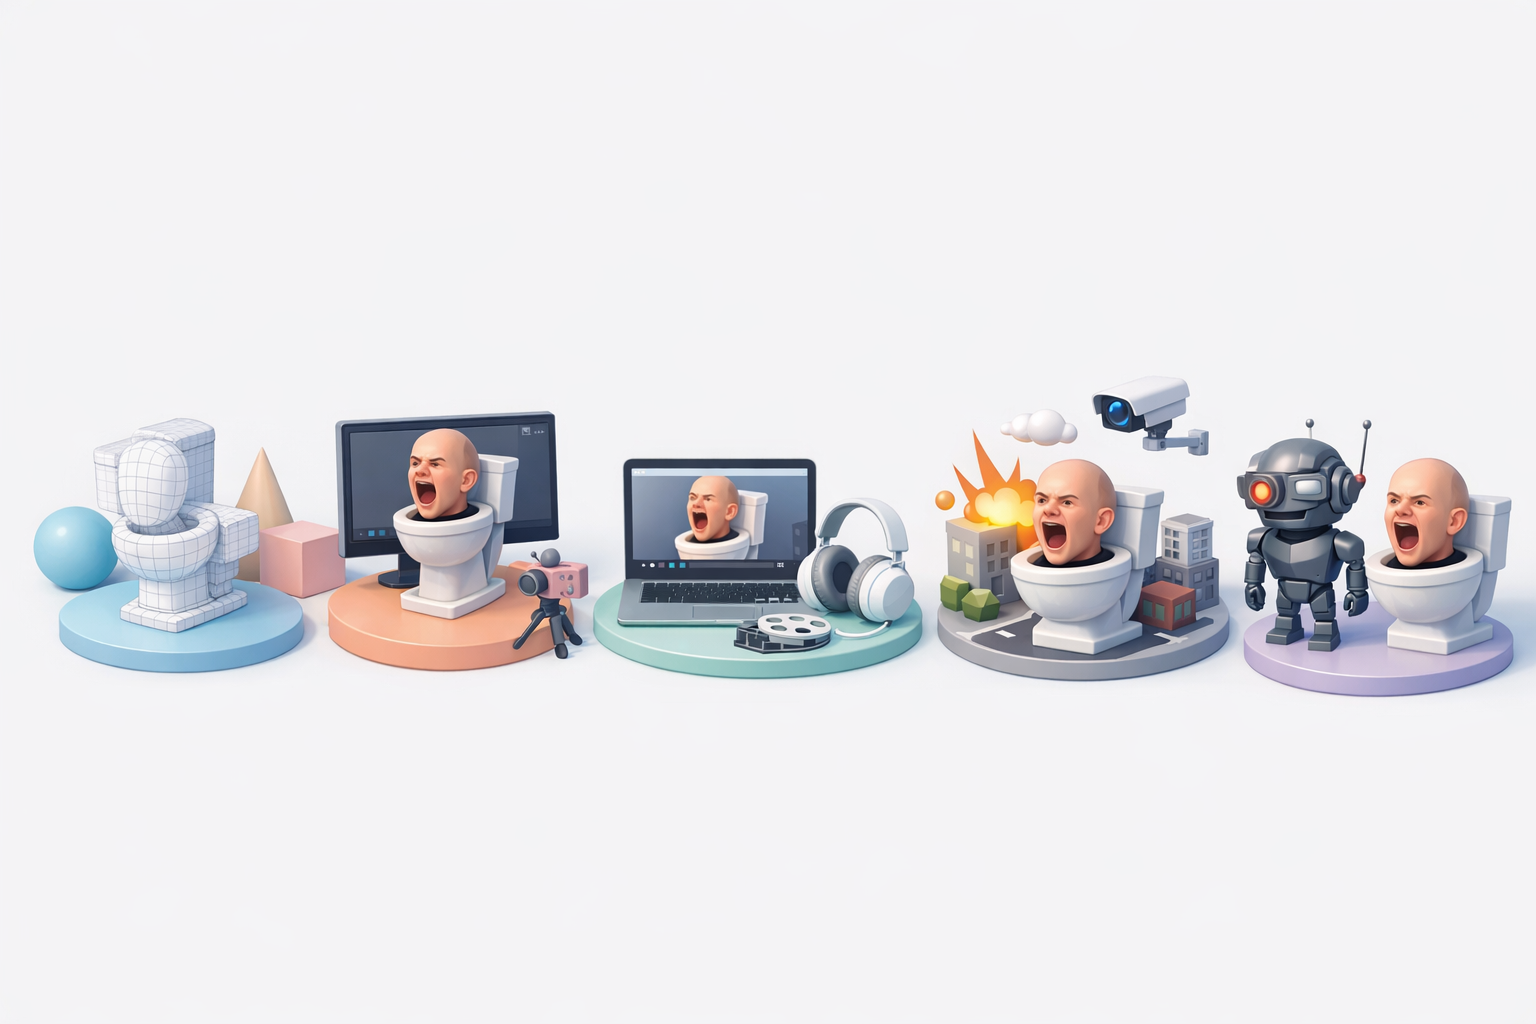
My workflow combines manual modeling fundamentals with AI-driven tools for speed and consistency. I focus on:
- Reference gathering and style definition
- Mesh blocking and detailing
- Smart texturing and retopology
- Rigging and animation basics
- Exporting for games or XR
Tripo AI fits naturally into this pipeline, especially for segmentation, retopology, and texturing, but I supplement with manual tweaks as needed.
Planning and Reference Gathering for Skibidi Toilet Models
Choosing the Right References
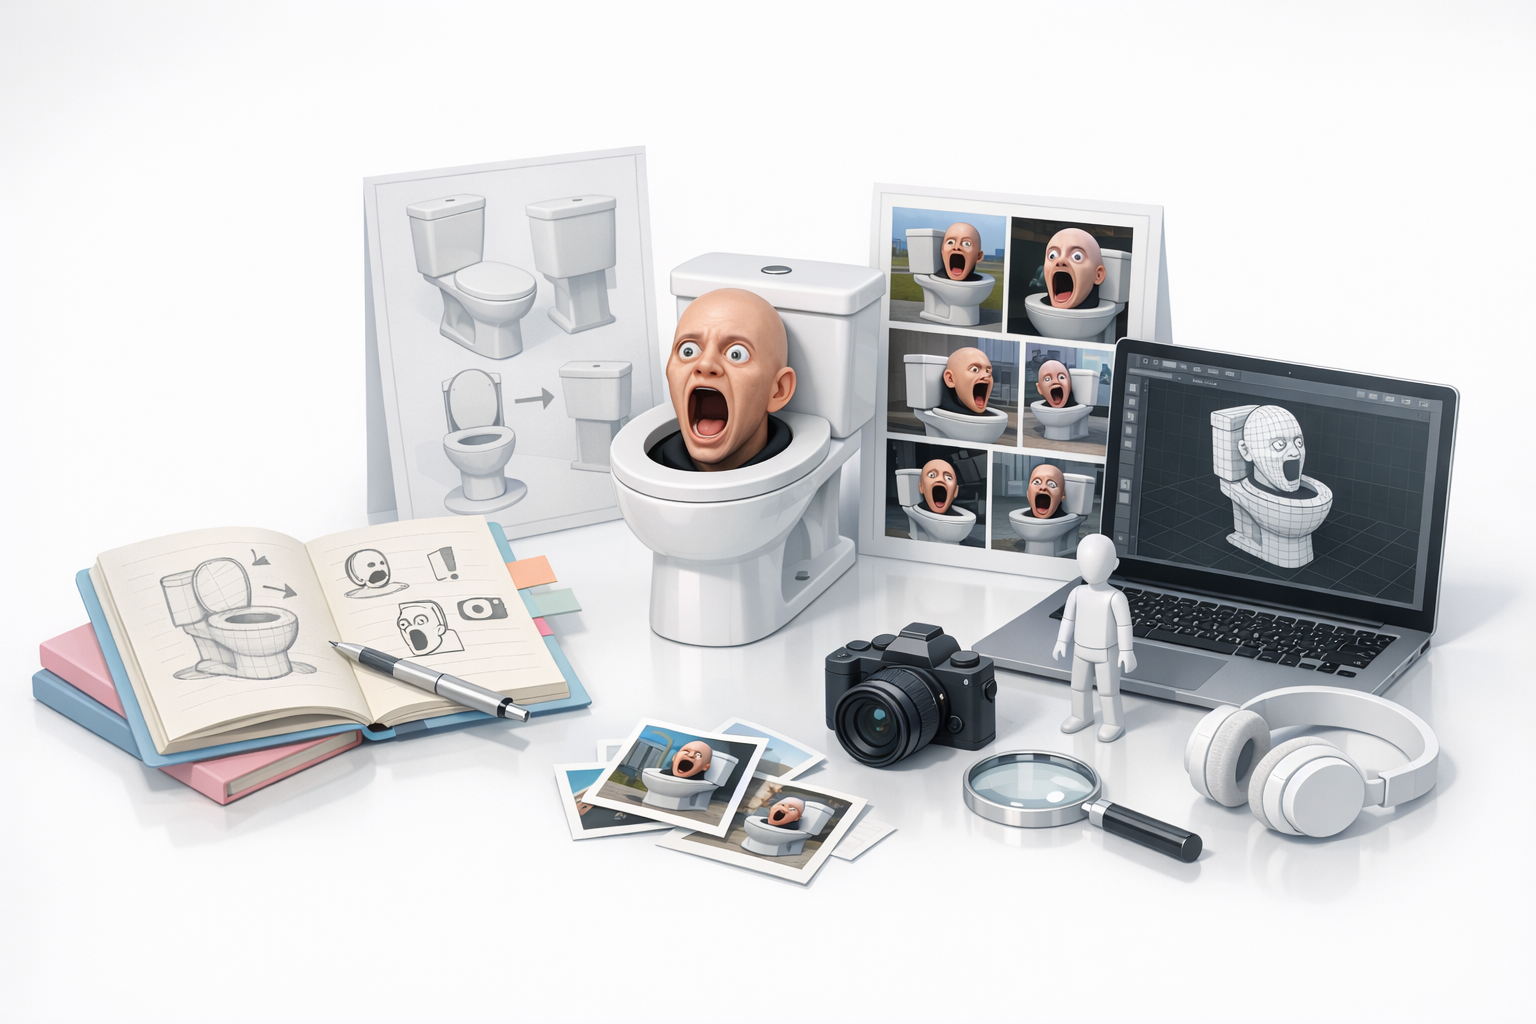
I always start by collecting a variety of references—screenshots from Skibidi Toilet episodes, fan art, and real-world toilet designs. The goal is to capture both the essential shapes and the quirky character style. I organize these in a mood board for easy access during modeling.
Checklist:
- Gather front, side, and 3/4 views if possible
- Include close-ups for key features (face, tank, bowl)
- Reference both stylized and realistic toilets for inspiration
Defining Model Scope and Style
Before opening any 3D software, I define the scope: is this model for a real-time game, a cinematic, or AR/XR? This determines the level of detail, polycount, and texture resolution. For Skibidi Toilet, I typically aim for a stylized, expressive look with exaggerated features.
Tips:
- Decide on animation needs early (mouth, eyes, lid movement)
- Set target polycount and texture sizes based on platform
- Sketch or annotate reference images to clarify proportions
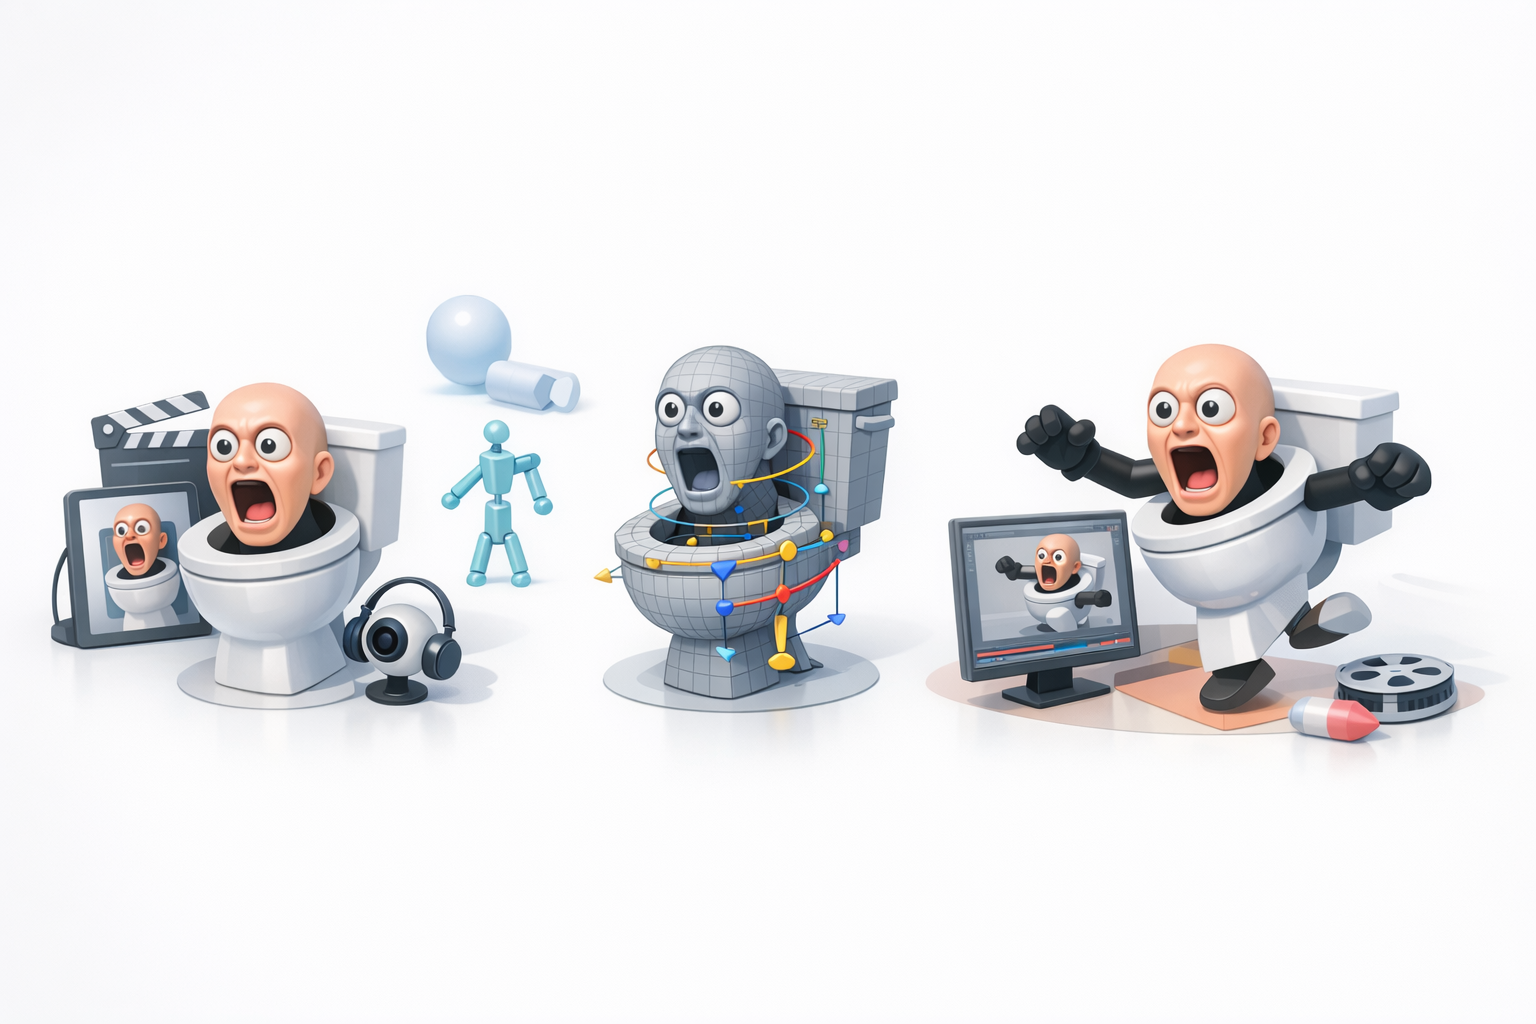
Step-by-Step Workflow: Creating a Skibidi Toilet 3D Model
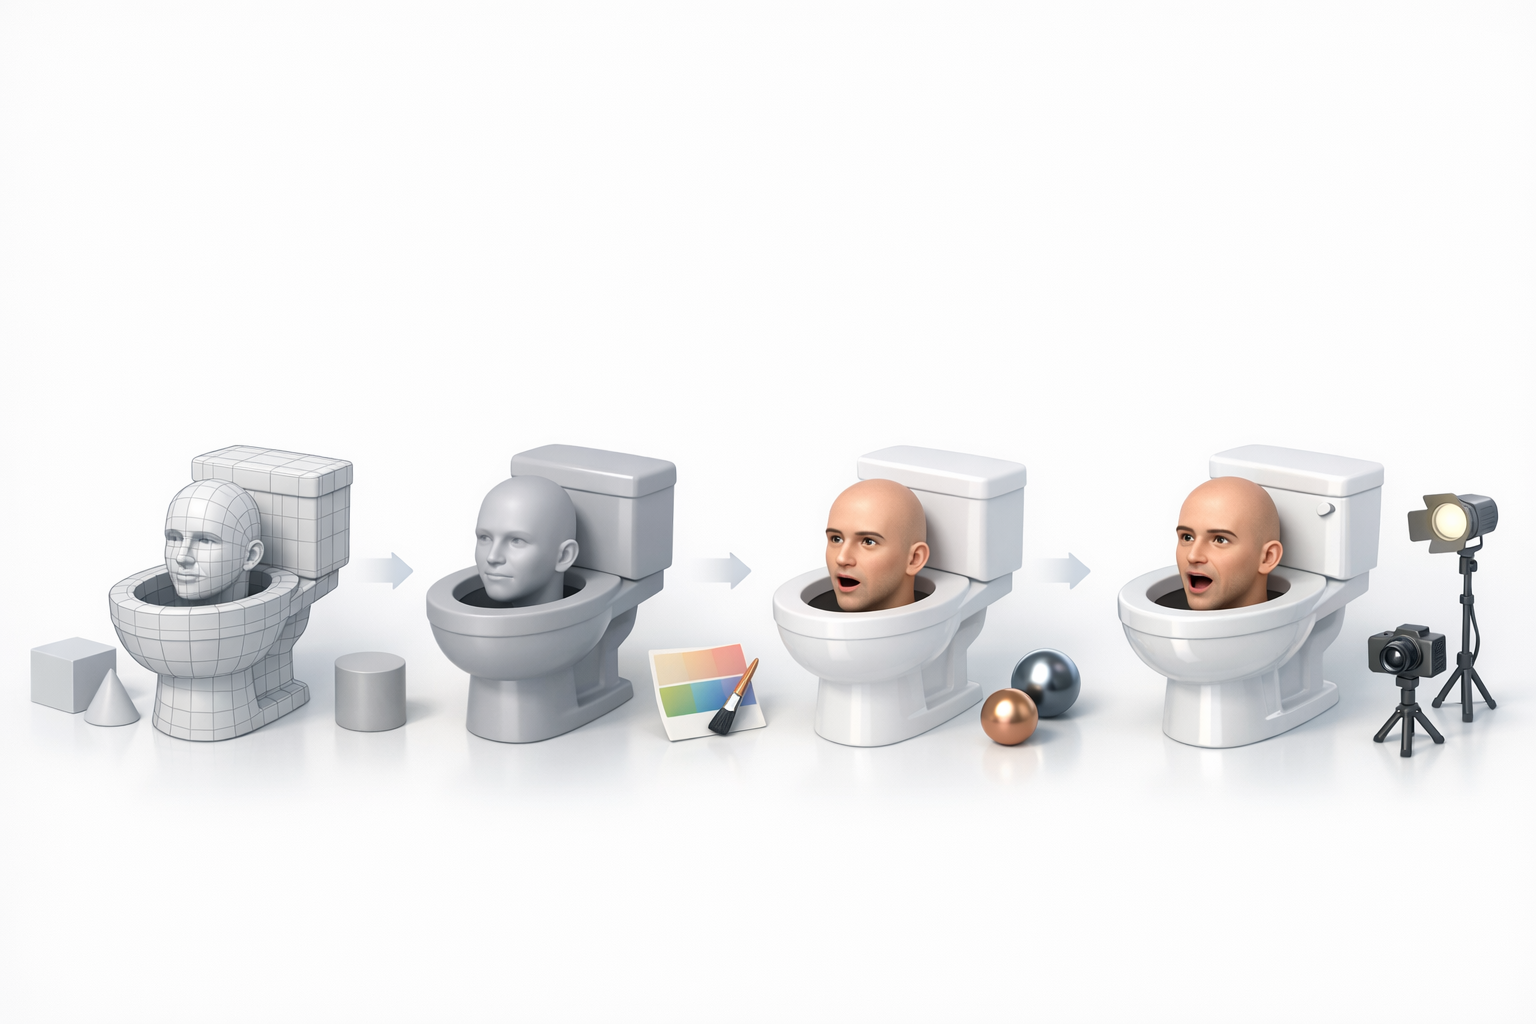
Blocking Out the Base Mesh
I begin by blocking out the main shapes—the bowl, tank, and face—using simple primitives (cylinders, cubes, spheres). This step is all about proportions and silhouette, not details.
Steps:
- Start with a low-poly base for fast iteration
- Use symmetry tools to save time
- Adjust proportions until the character “reads” well at a distance
Adding Details and Refining Shapes
Once the base mesh feels right, I move on to refining edges, adding rim details, and sculpting facial features. For Skibidi Toilet, the face is key, so I spend extra time on expressive eyes and mouth.
What I’ve found:
- Layer details from big to small—don’t get lost in micro-details too early
- Use subdivision and smoothing tools for organic parts
- For AI-assisted workflows, let the tool generate details, then manually tweak for personality
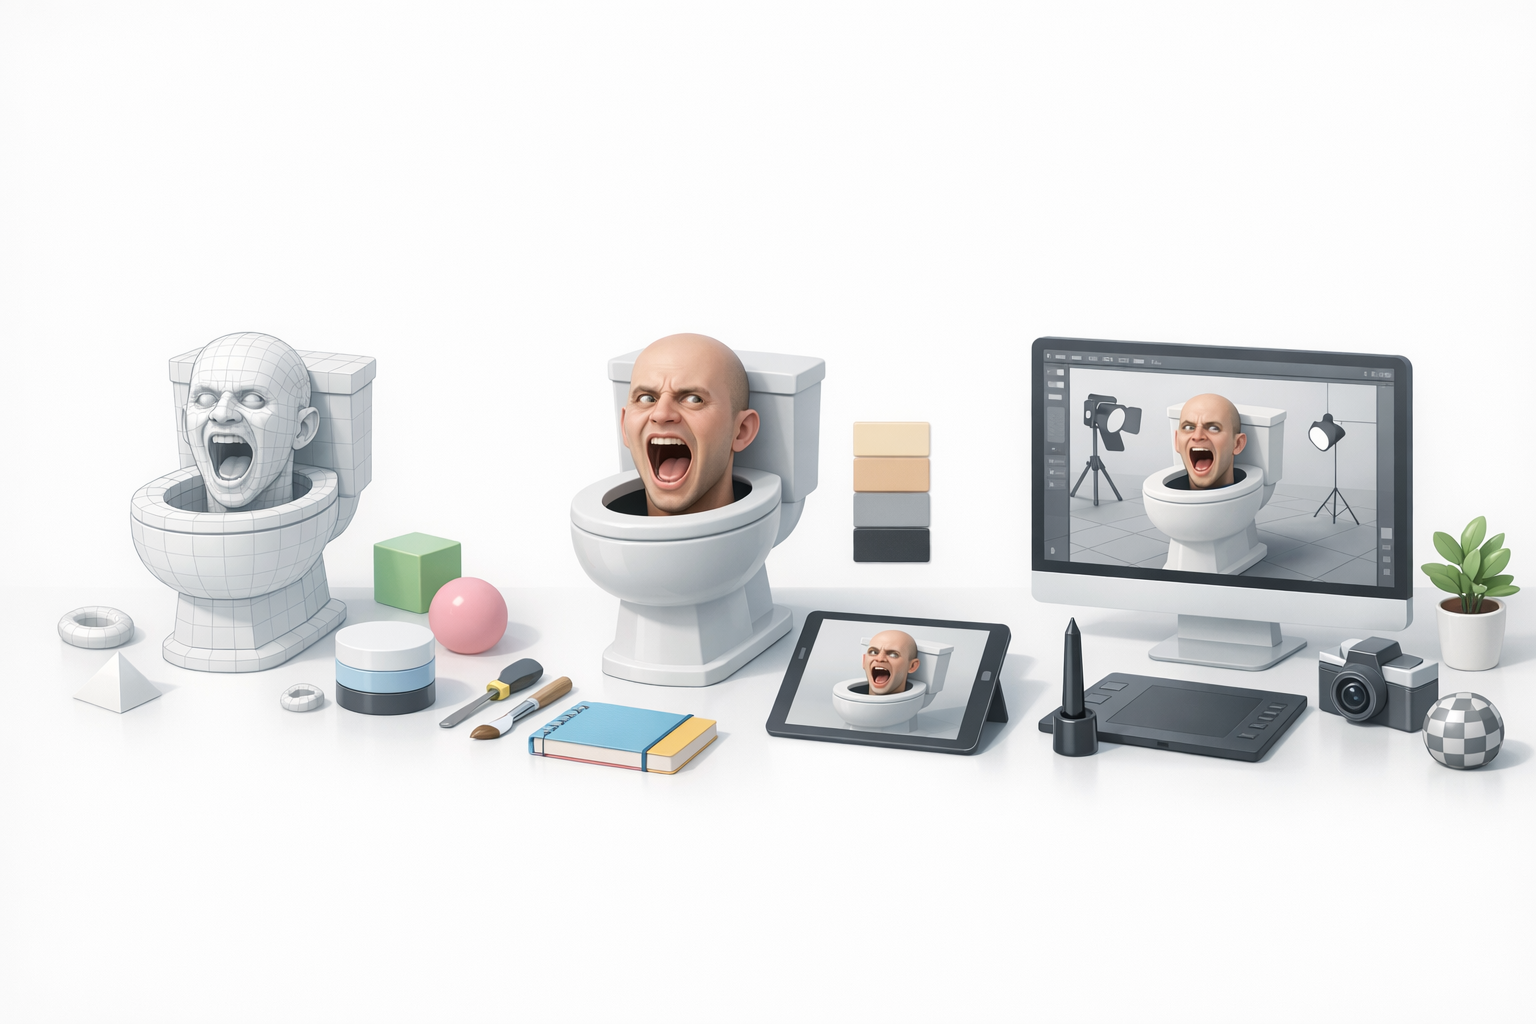
Texturing, Retopology, and Optimization Techniques
Efficient UV Unwrapping and Texturing
I unwrap UVs as early as possible, keeping seams in less visible areas. Tripo AI’s intelligent segmentation often speeds up this process, but I always check the UV map for stretching or overlap.
Mini-checklist:
- Pack UV islands tightly for optimal texture space
- Use 2K or 4K textures for cinematic, 1K for real-time
- Bake normal and AO maps for extra depth
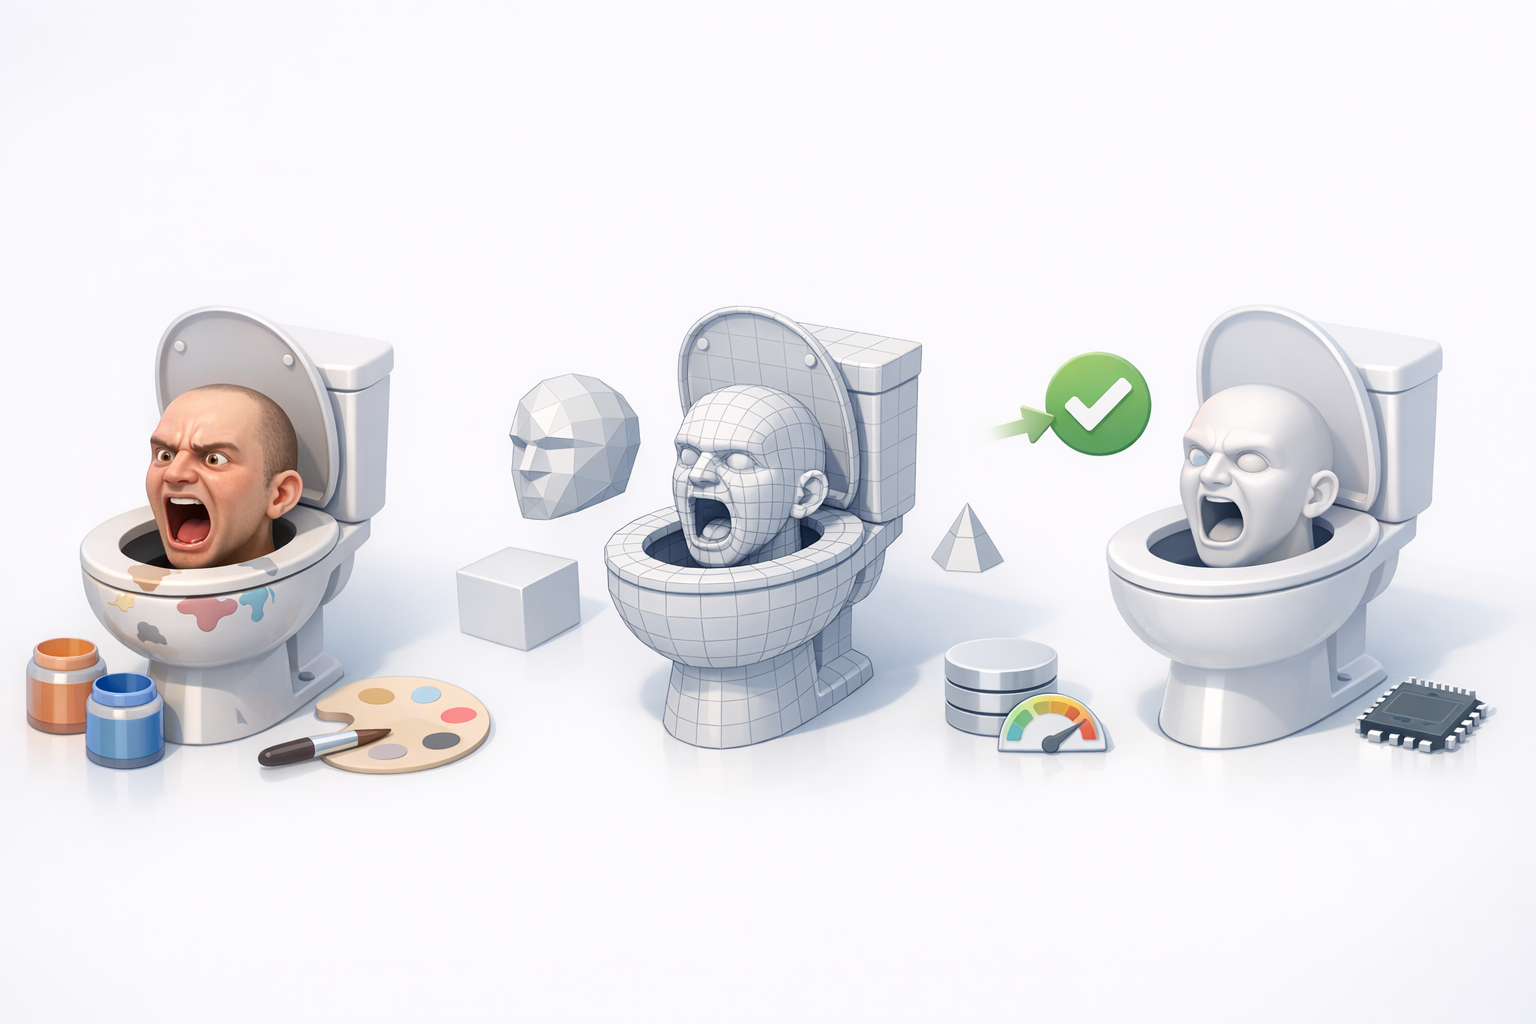
Retopology and Polycount Management
Clean topology is essential for animation and performance. I use automated retopology tools for the initial pass, then manually adjust edge loops around deforming areas (mouth, eyes, lid).
Pitfalls to avoid:
- Overly dense meshes slow down games and XR apps
- N-gons and poles near joints can cause animation artifacts
- Always check polycount against your platform’s budget
Rigging and Animation for Skibidi Toilet Characters
Basic Rigging Workflow
For rigging, I focus on the jaw/lid, eyes, and any moving accessories. I use a basic skeleton and weight painting, often starting with auto-rigging features in tools like Tripo, then fine-tuning manually.
Steps:
- Place bones for each moving part
- Test deformations with simple poses
- Adjust weights for smooth bending
Animating for Games or Videos
Animation style depends on the use case—cartoony for games, more nuanced for cinematics. I block out key poses first, then refine timing and secondary motion.
Tips:
- Loop idle animations for games
- Exaggerate facial expressions for comedic effect
- Export test animations to your engine early to catch issues
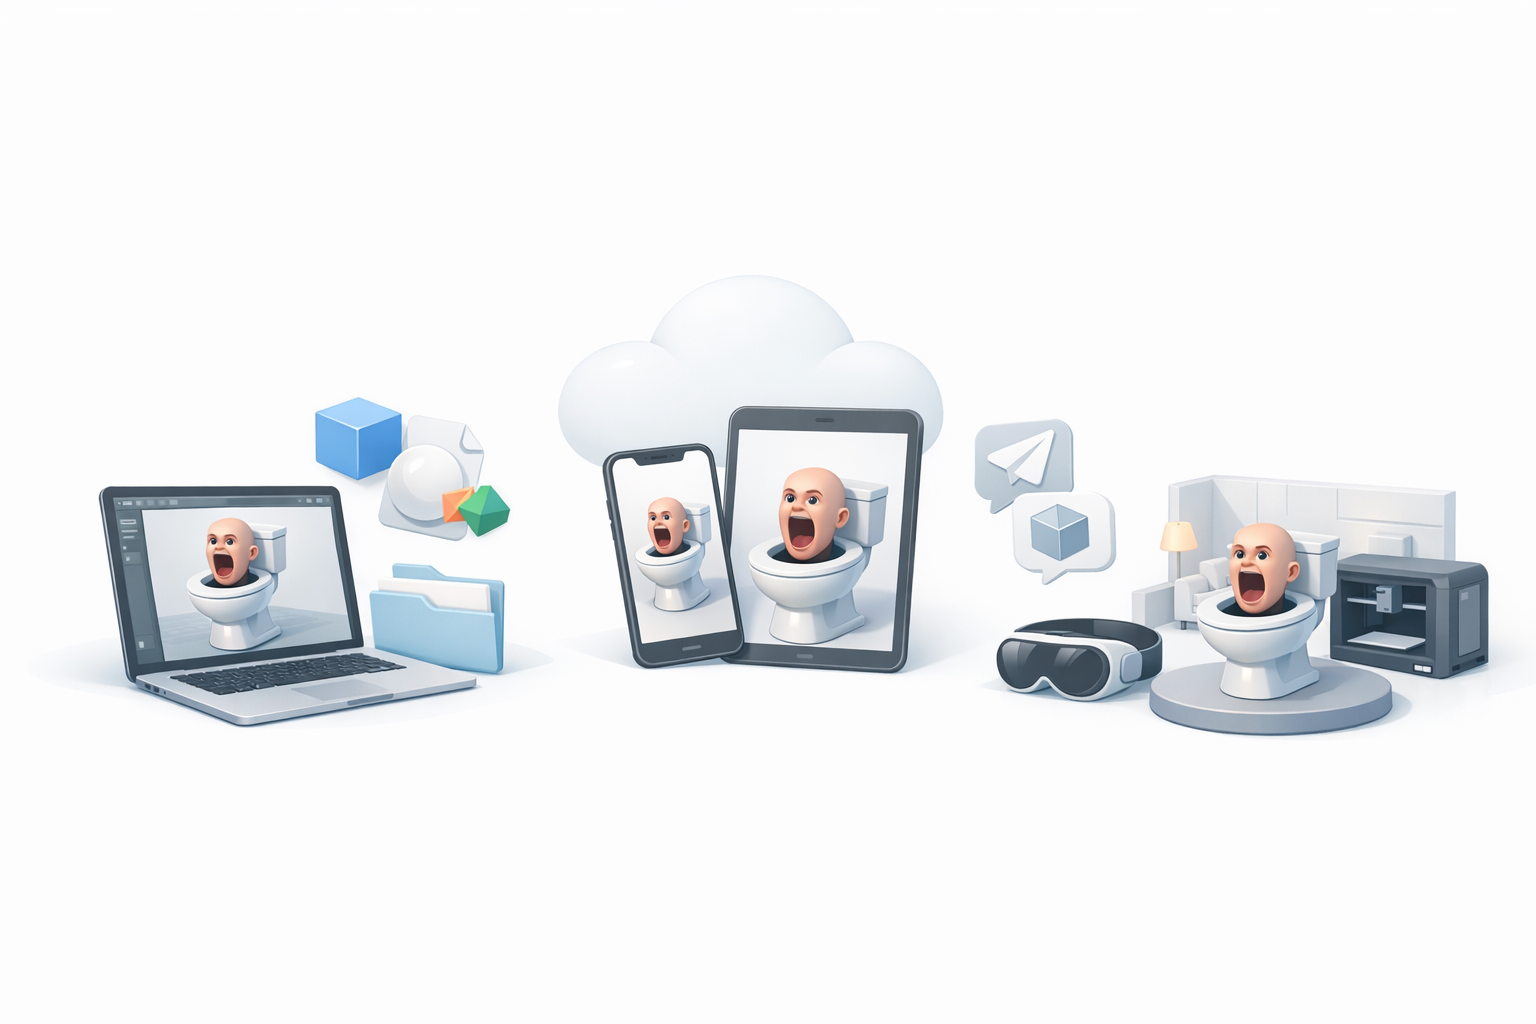
Exporting, Sharing, and Using Your 3D Model
Export Settings and Formats
I usually export in FBX or GLB formats for compatibility with most engines. Tripo AI and similar tools offer presets for various platforms, which helps avoid export headaches.
Checklist:
- Apply transforms and freeze scale before export
- Embed textures or keep them organized with your model
- Test imports in your target engine (Unity, Unreal, WebXR)
Integrating with Game Engines or XR Platforms
Early integration is key. I import the model into the engine as soon as possible to check for scale, orientation, and animation playback.
Pitfalls:
- Incorrect up-axis (Y vs. Z) can flip your model
- Missing textures or shader issues—always check material assignments
- Test both static and animated versions
Best Practices, Tips, and Lessons Learned
Common Pitfalls and How I Avoid Them
- Skipping planning: Leads to wasted effort and inconsistent style.
- Ignoring polycount: Makes models unusable for real-time platforms.
- Neglecting UVs: Causes texture stretching and artifacts.
- Not testing in-engine: Small issues can become big problems later.
How I avoid them: I set clear goals, check my work at every stage, and always do test exports.
My Favorite Tools and Workflow Enhancements
- Tripo AI: For fast segmentation, retopology, and texturing—huge time saver.
- Traditional sculpting/modeling apps: For manual control and fine-tuning.
- Reference boards: Keep me aligned with the project style.
- Automated baking and export scripts: Reduce repetitive tasks.
Comparing AI-Powered and Traditional 3D Modeling Methods
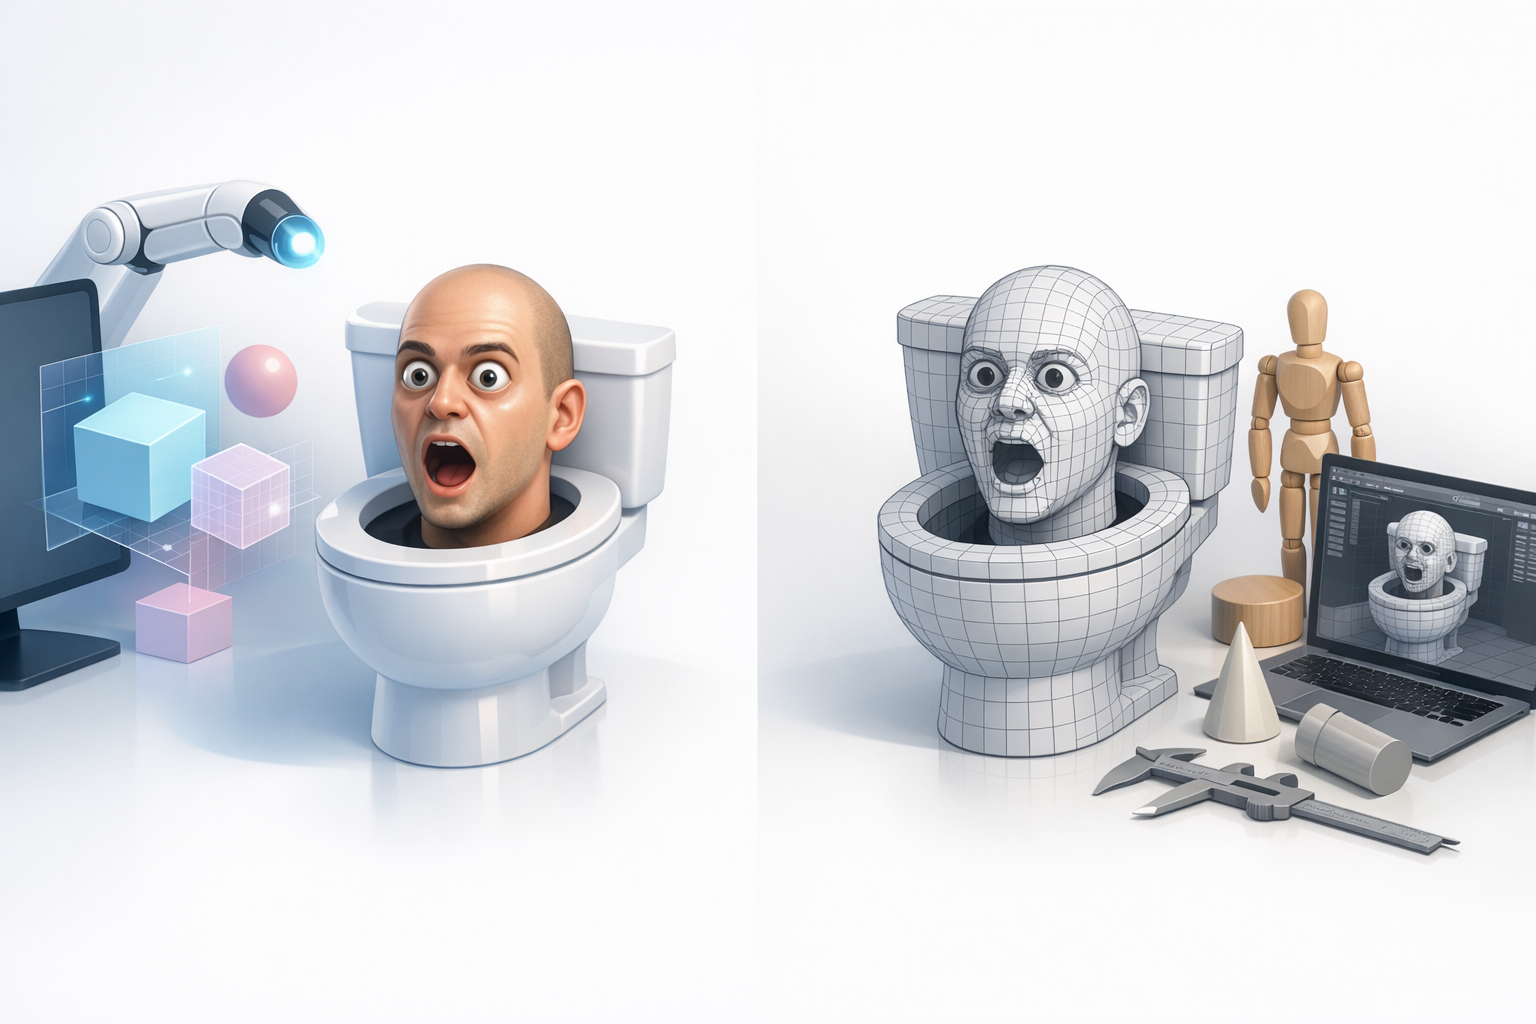
When to Use AI Tools for Skibidi Toilet Models
I use AI-powered tools when I need to iterate quickly or generate production-ready assets for prototyping, especially when deadlines are tight. They’re great for blocking out ideas and automating repetitive tasks like UVs and retopology.
Best use cases:
- Early concepting and rapid prototyping
- Generating base meshes for further manual refinement
- Accelerating texturing and material setup
Manual vs. Automated Workflow: My Experience
Manual modeling gives me full control, especially for stylized or unique characters like Skibidi Toilet. However, AI tools can handle much of the technical groundwork, letting me focus on creative decisions and polish.
My approach:
- Combine both: use AI for speed, manual work for character and detail
- Always review and refine AI-generated results
- Choose the workflow that fits the project’s needs and deadlines
By following this workflow and leveraging the right mix of tools, I consistently deliver Skibidi Toilet 3D models that are both visually appealing and technically sound—ready for any game, video, or XR experience.