Creating and Optimizing a Sans 3D Model: Expert Workflow
Creating a high-quality Sans 3D model—whether for games, animation, or XR—demands a blend of artistic intuition and technical discipline. In my experience, the fastest path to professional results is a workflow that leverages both AI-powered tools and hands-on best practices. This article distills my approach: from reference gathering and modeling, through texturing and rigging, to final export and optimization. If you’re a 3D artist, game developer, or animator aiming for production-ready Sans assets, these insights will help you avoid common pitfalls and work more efficiently.
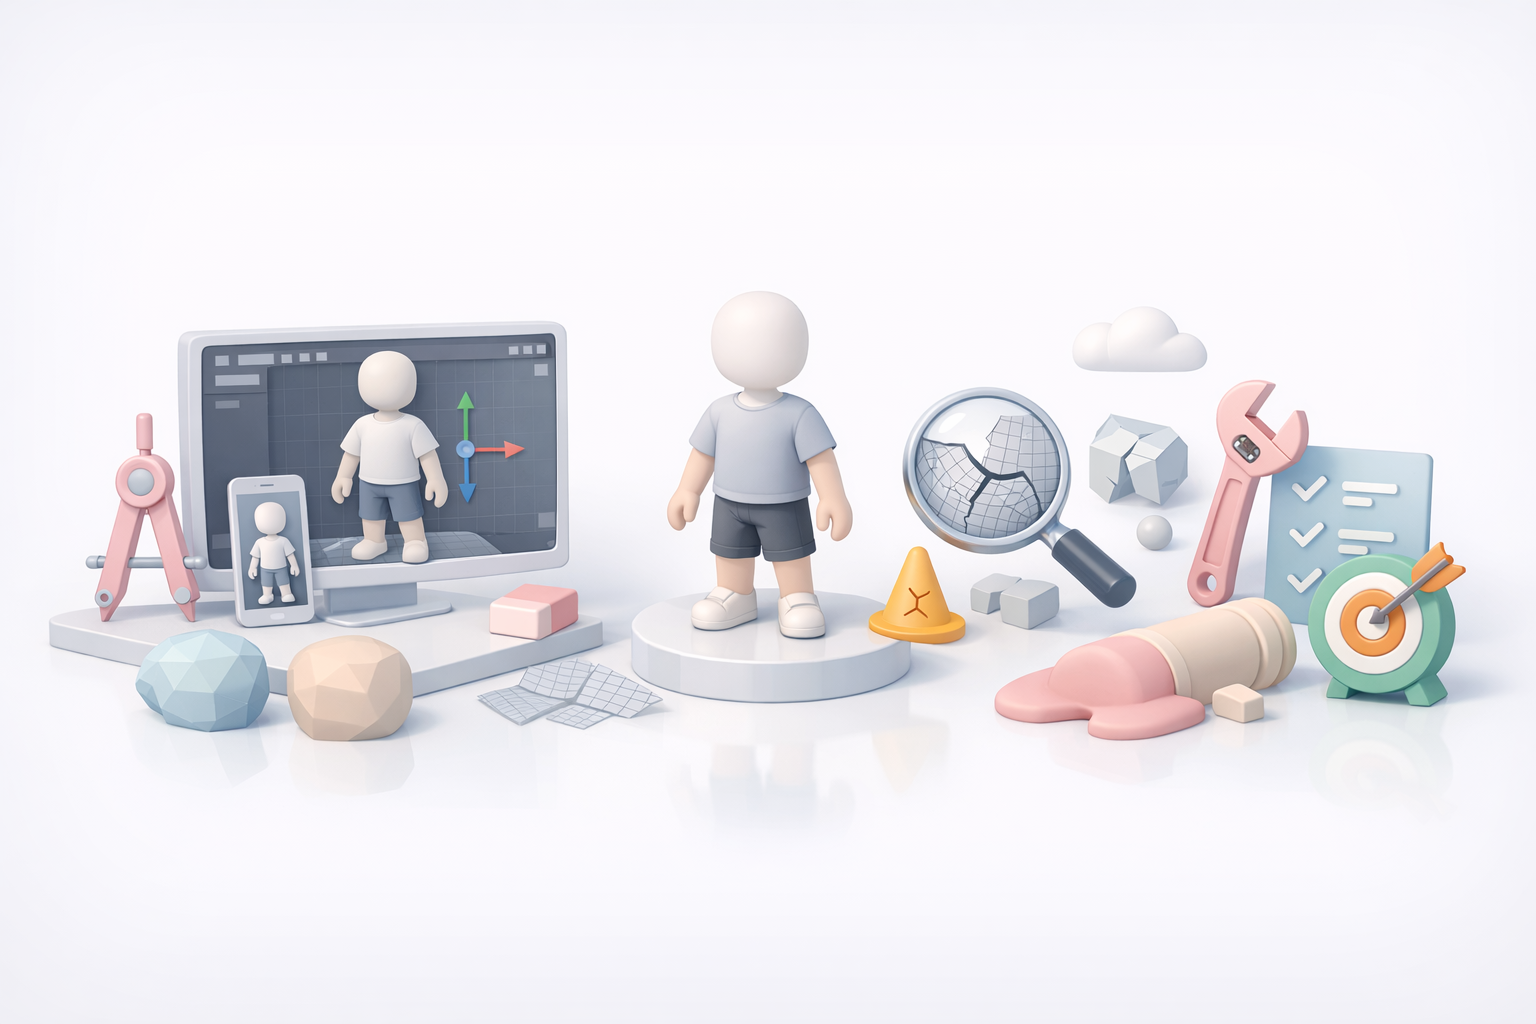
Key takeaways:
- Start with clear reference art and a plan for topology.
- Use AI-powered tools like Tripo to accelerate modeling and texturing.
- Focus on clean geometry and efficient UVs for game-ready assets.
- Rig with attention to Sans’s signature proportions and expressions.
- Test exports early to catch integration issues.
- Learn from mistakes—review and iterate for consistent quality.
Executive Summary: Key Takeaways for Sans 3D Modeling
What Makes a Sans 3D Model Unique
Sans is a deceptively simple character—rounded forms, stylized anatomy, and expressive face are essential. In my workflow, I pay special attention to the proportions: oversized head, short limbs, and the iconic hoodie. The model’s simplicity means any errors in shape or silhouette stand out immediately.
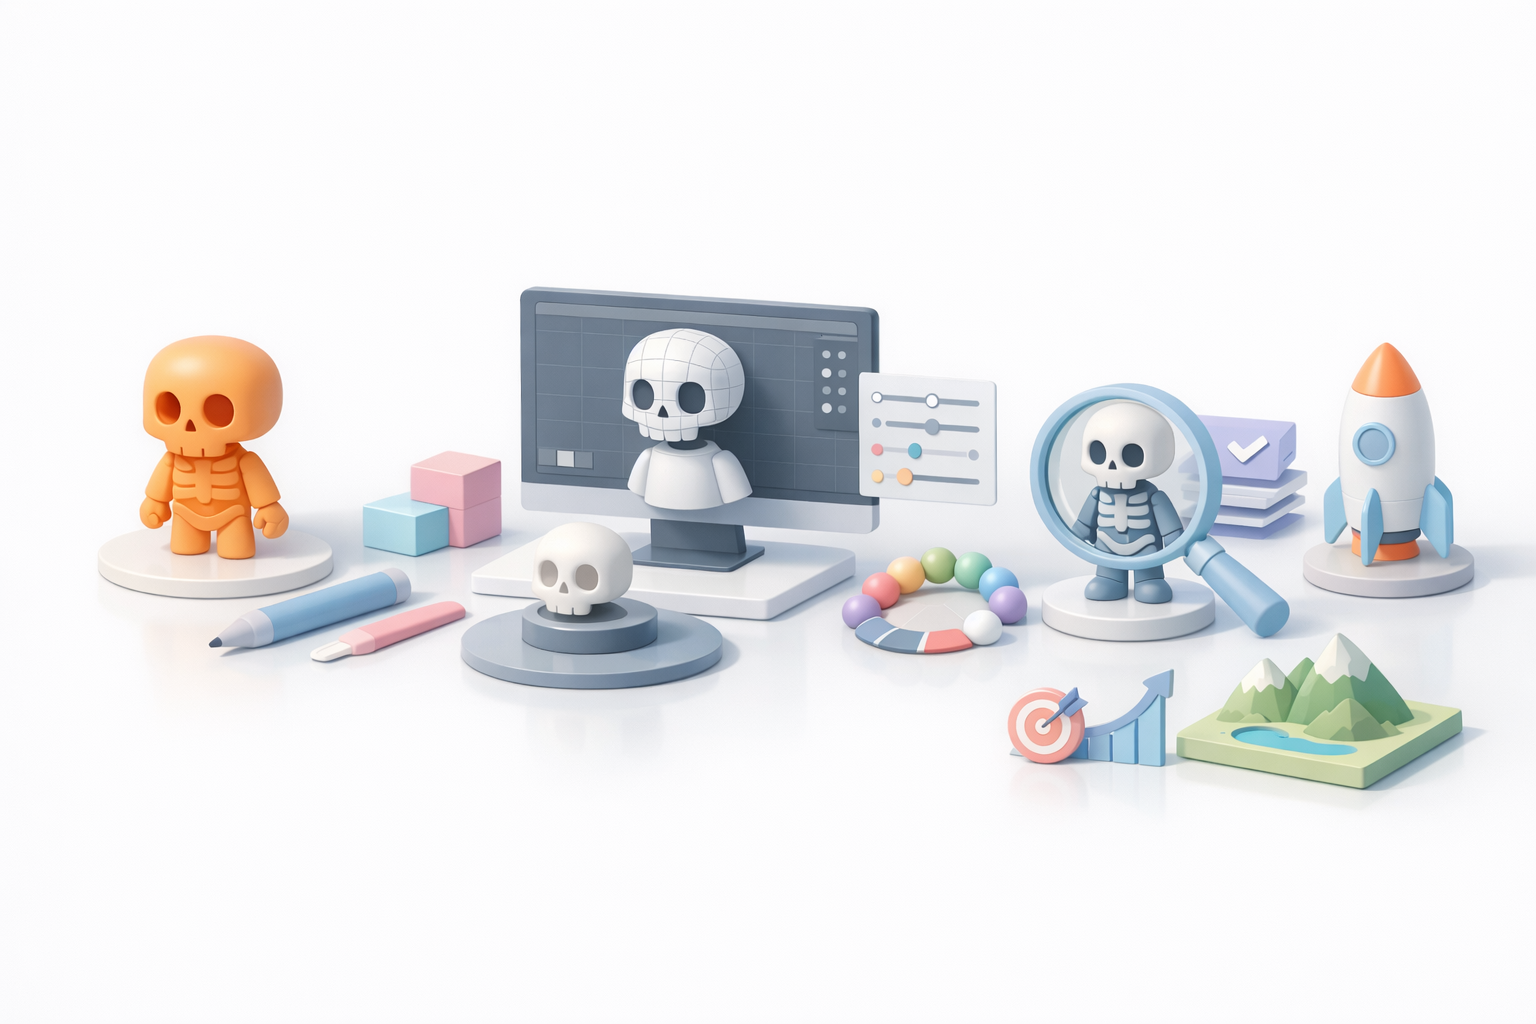
Essential Considerations Before Starting
Before I touch any tools, I clarify the intended use (game, animation, XR) and technical specs (polycount, texture size). Knowing the target platform influences everything from topology to rig complexity. I also check copyright and usage rights for reference materials to avoid future headaches.
My Process for Designing a Sans 3D Model from Scratch
Choosing Reference Materials and Concept Art
I start with a folder of high-quality Sans references: official sprites, fan art, and 3D interpretations. Consistency is key—mixing styles leads to muddled results. I sketch or block out the character in 2D to lock in proportions before modeling.
Checklist:
- Collect front/side/back views if possible
- Note key features: face shape, jacket details, hands/feet
- Decide on expression and pose for the base model
Selecting Tools and Platforms for Efficient Creation
I prefer AI-powered platforms like Tripo for initial mesh generation, especially when speed is critical. For refinement, I use traditional modeling software for manual tweaks. The choice depends on project needs: AI tools for rapid prototyping, manual tools for fine detail.
Tips:
- Use AI for fast base meshes, then refine topology as needed
- Keep your toolchain flexible—export between apps if required
- Always save iteration files in case you need to backtrack
Best Practices for Modeling, Texturing, and Rigging Sans

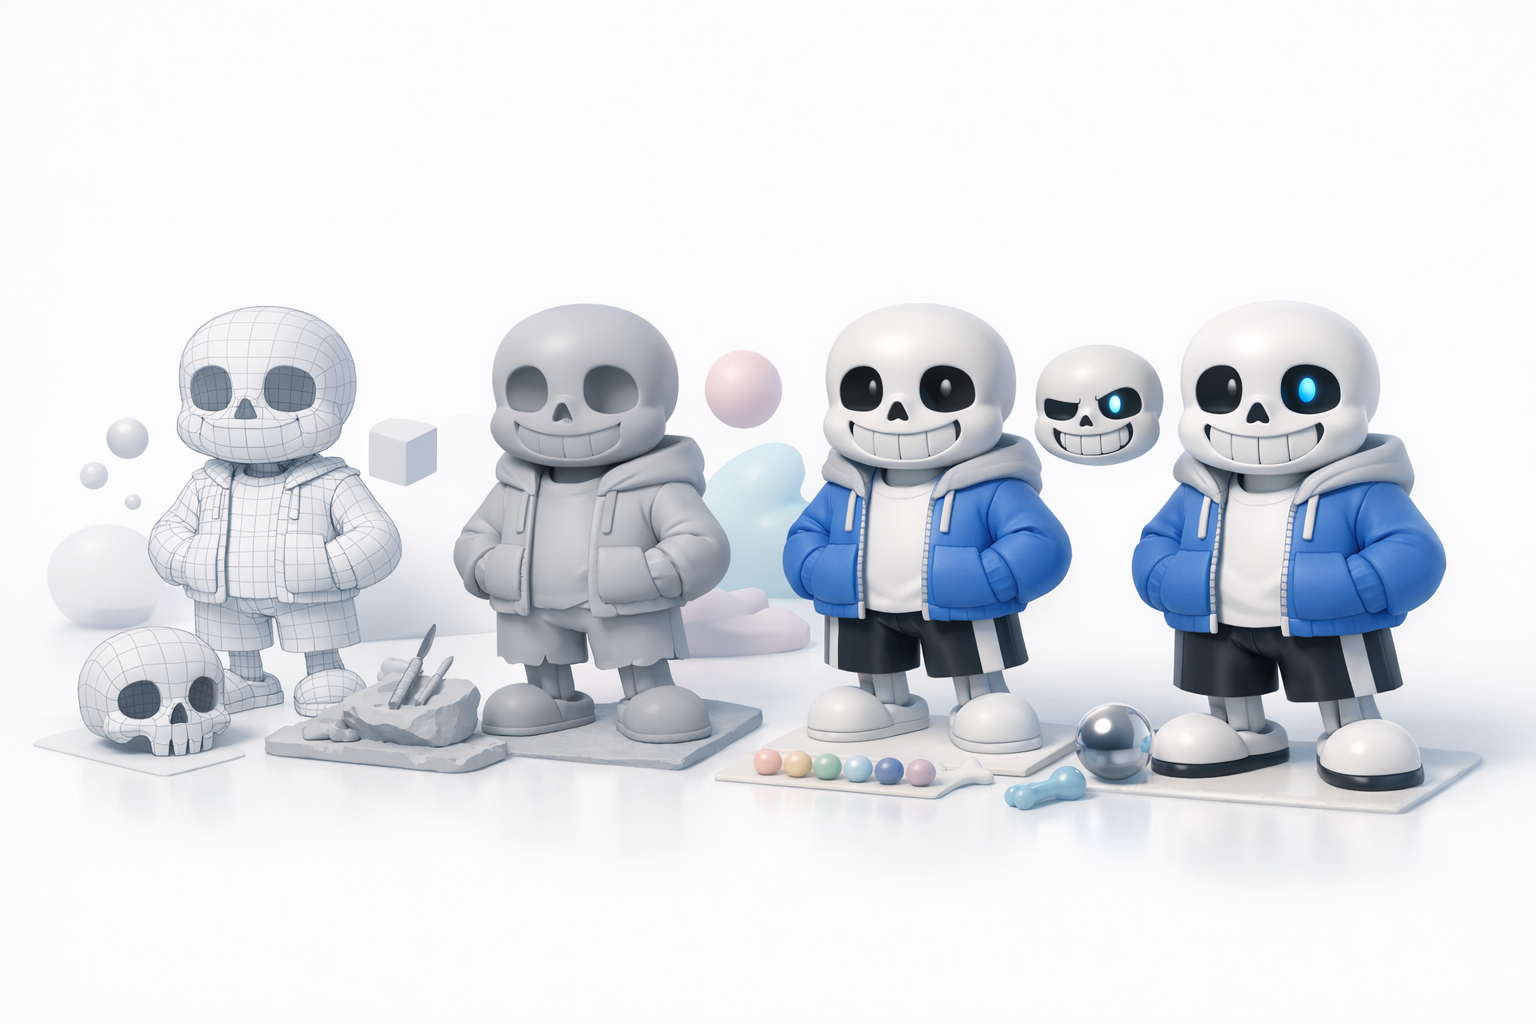
Step-by-Step Modeling Techniques I Use
For Sans, I block out primary shapes first—head, torso, limbs—focusing on proportions. I use subdivision modeling for smooth curves and keep edge loops clean for animation. When using AI-generated meshes, I always check and clean up topology before proceeding.
Modeling steps:
- Block out forms with primitives
- Adjust proportions to match references
- Add loops for facial features and joints
- Optimize mesh for minimal but clean geometry
Texturing and Rigging Tips for Character Accuracy
Texturing Sans is about subtlety: flat colors, soft gradients, and clear facial features. I generate base textures with AI tools, then hand-paint details for expression. Rigging requires extra care for facial expressions—Sans’s eyes and mouth are central to his personality.
Tips:
- UV unwrap early and check for stretching
- Use AI-generated texture maps as a base, but refine by hand
- Rig face with simple controls for eye/mouth movement
- Test deformations with extreme poses
Comparing AI-Powered and Traditional 3D Workflows
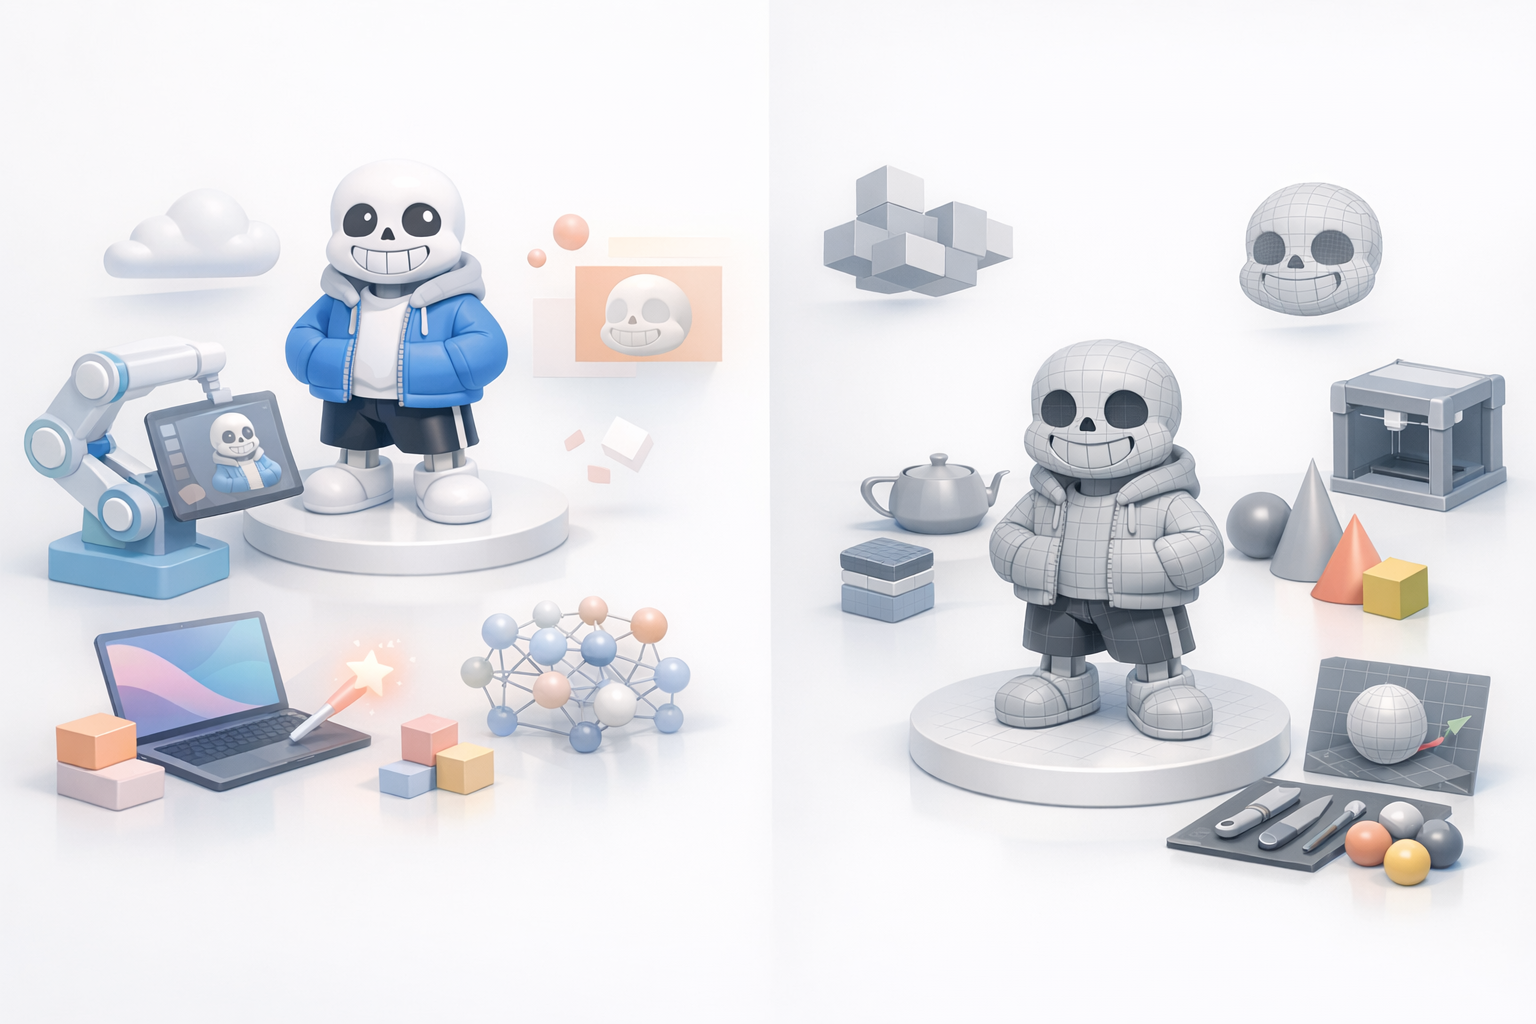
Advantages of AI-Assisted Creation
AI tools like Tripo can generate production-ready meshes and textures in seconds, freeing me to focus on creative decisions. They’re especially useful for quick iterations and client previews, or when deadlines are tight.
Benefits:
- Rapid prototyping
- Consistent base quality
- Automated UVs, texturing, and basic rigging
When to Use Alternative Methods
I switch to manual modeling when I need custom topology, ultra-low poly assets, or unique stylization. For complex rigs or animation-ready assets, traditional workflows offer more control.
Consider:
- Manual methods for high-end animation or stylized art
- AI tools for drafts, concepting, and standard game assets
Preparing Sans 3D Models for Games, Animation, and XR
Optimizing Geometry and Topology
For real-time applications, I target a low-to-mid polycount and clean edge flow. I use built-in retopology tools to reduce unnecessary geometry, and always check for non-manifold edges or n-gons.
Checklist:
- Remove hidden faces inside the model
- Keep polycount within platform limits
- Bake normal maps for extra detail
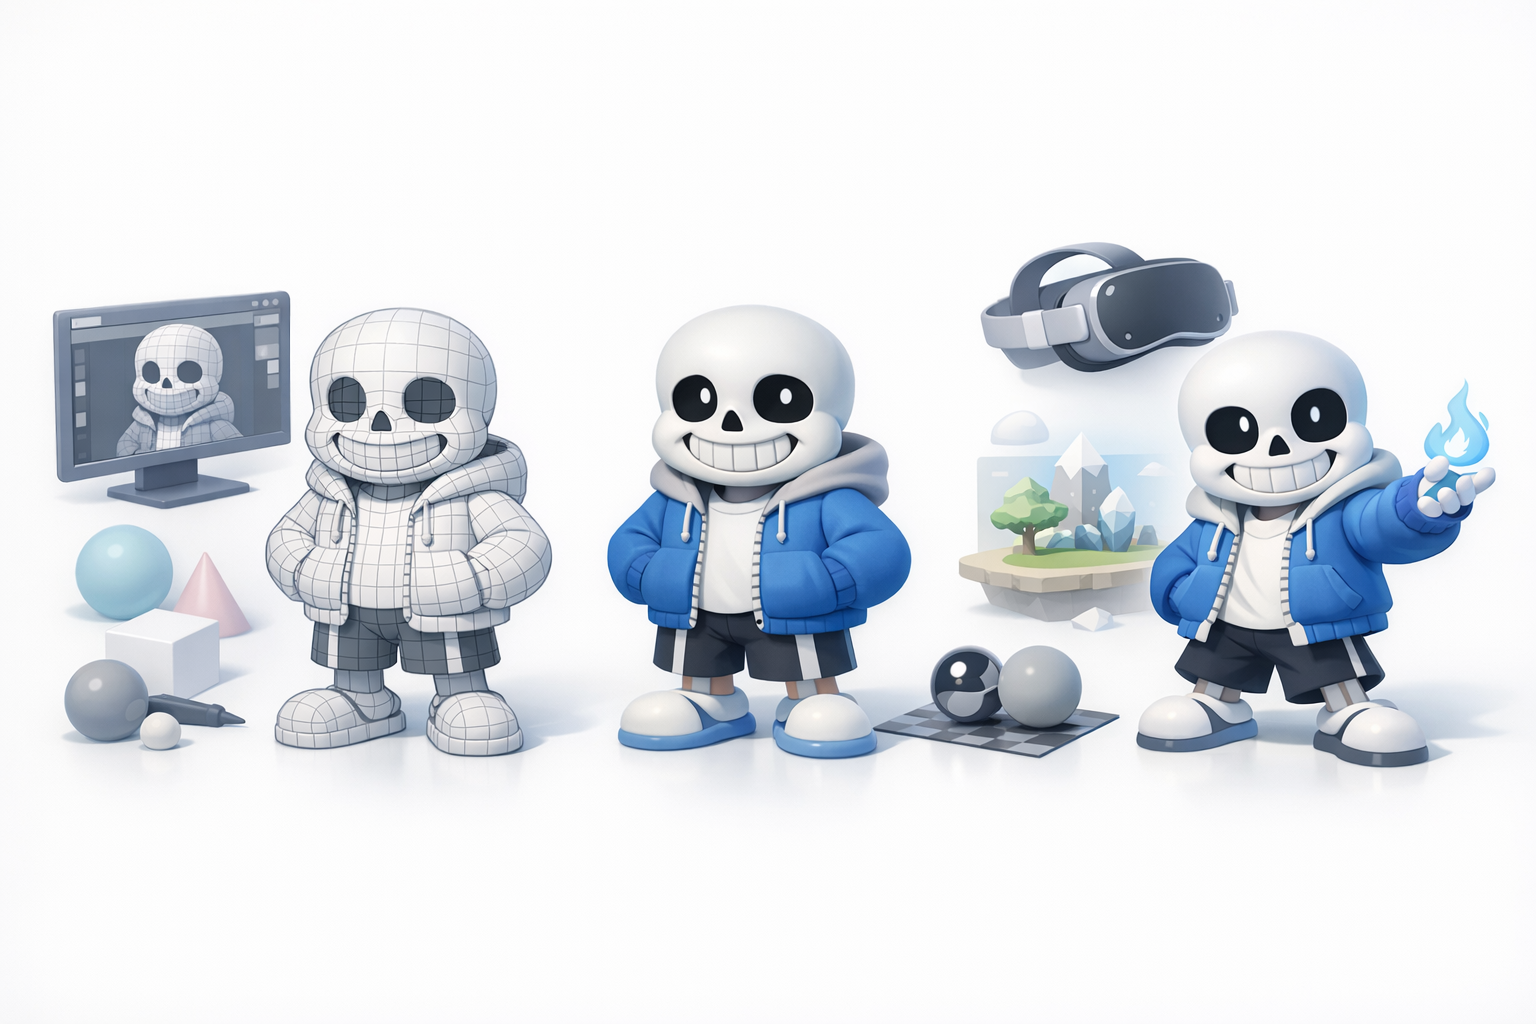
Exporting and Integrating into Production Pipelines
I export in formats accepted by the target engine (FBX, OBJ, GLB). I test imports early in Unity or Unreal to catch scale or orientation issues. For animation, I check bone hierarchies and skin weights before final export.
Tips:
- Name objects and materials clearly
- Pack textures efficiently (power-of-two sizes)
- Run a test import before delivery
Lessons Learned and Common Pitfalls in Sans 3D Modeling
Mistakes I’ve Made and How to Avoid Them
Early on, I underestimated the importance of reference consistency and ended up with off-model results. I’ve also rushed rigging, only to find facial expressions didn’t read well. Now, I double-check references and test rigs thoroughly.
Pitfalls:
- Inconsistent or low-quality reference images
- Ignoring topology until late in the process
- Skipping test exports
Tips for Consistent Quality and Efficiency
I standardize my workflow: reference, blockout, refine, texture, rig, export, test. I use AI tools to handle repetitive tasks, but always review outputs. Iteration and self-review are crucial for reliable results.
My advice:
- Build in time for review and feedback
- Use automation for speed, but don’t skip manual checks
- Document your process for future projects
By following these steps and leveraging both AI and traditional techniques, I consistently deliver Sans 3D models that are accurate, efficient, and ready for production.