How I Create a Rigged Solid Snake with Gun 3D Model
Creating a rigged Solid Snake with gun 3D model requires a blend of artistic vision and technical precision. In my workflow, I use a mix of manual modeling techniques and AI-powered tools like Tripo to streamline the process—from gathering references to rigging for animation. This guide is for artists, game developers, and anyone aiming to produce production-ready, poseable character assets efficiently. You’ll learn how I plan, model, texture, rig, and optimize a character for real-time use, with practical tips and pitfalls to avoid.
Key Takeaways
- Solid reference gathering and clear scope definition are essential for accuracy.
- Blocking out the base mesh first speeds up iteration and fixes.
- AI-powered tools can accelerate modeling, segmentation, and rigging.
- Rigging and weight painting require careful attention for realistic results.
- Optimize models for real-time engines by balancing detail and performance.
- Iterative testing prevents animation and export issues.
Executive Summary and Key Takeaways
Why Rigged Solid Snake Models Matter
Rigged character models like Solid Snake are fundamental for interactive media—games, XR, and animation—where believable movement and poseability are required. A production-ready rig ensures smooth integration, efficient animation, and flexibility for game logic or cinematic sequences.
What You’ll Learn from My Workflow
You’ll see how I approach the entire process, from reference gathering to final export. I’ll share hands-on tips for modeling, texturing, and rigging, plus how I leverage AI tools to speed up repetitive or complex tasks without sacrificing creative control.
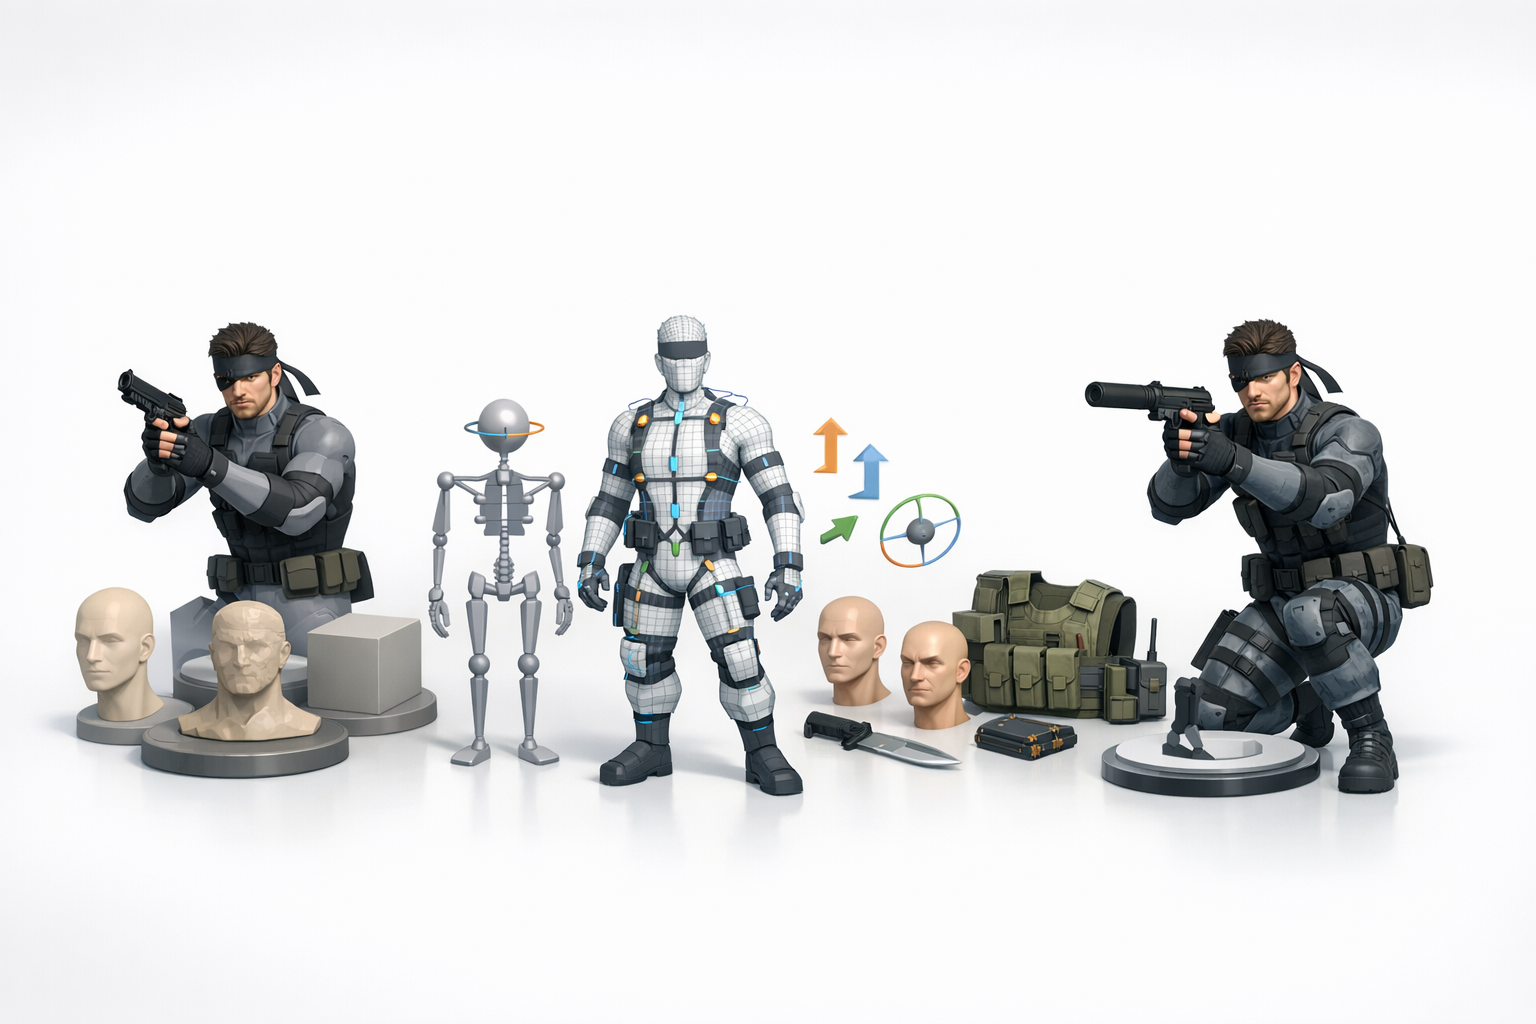
Planning and Reference Gathering
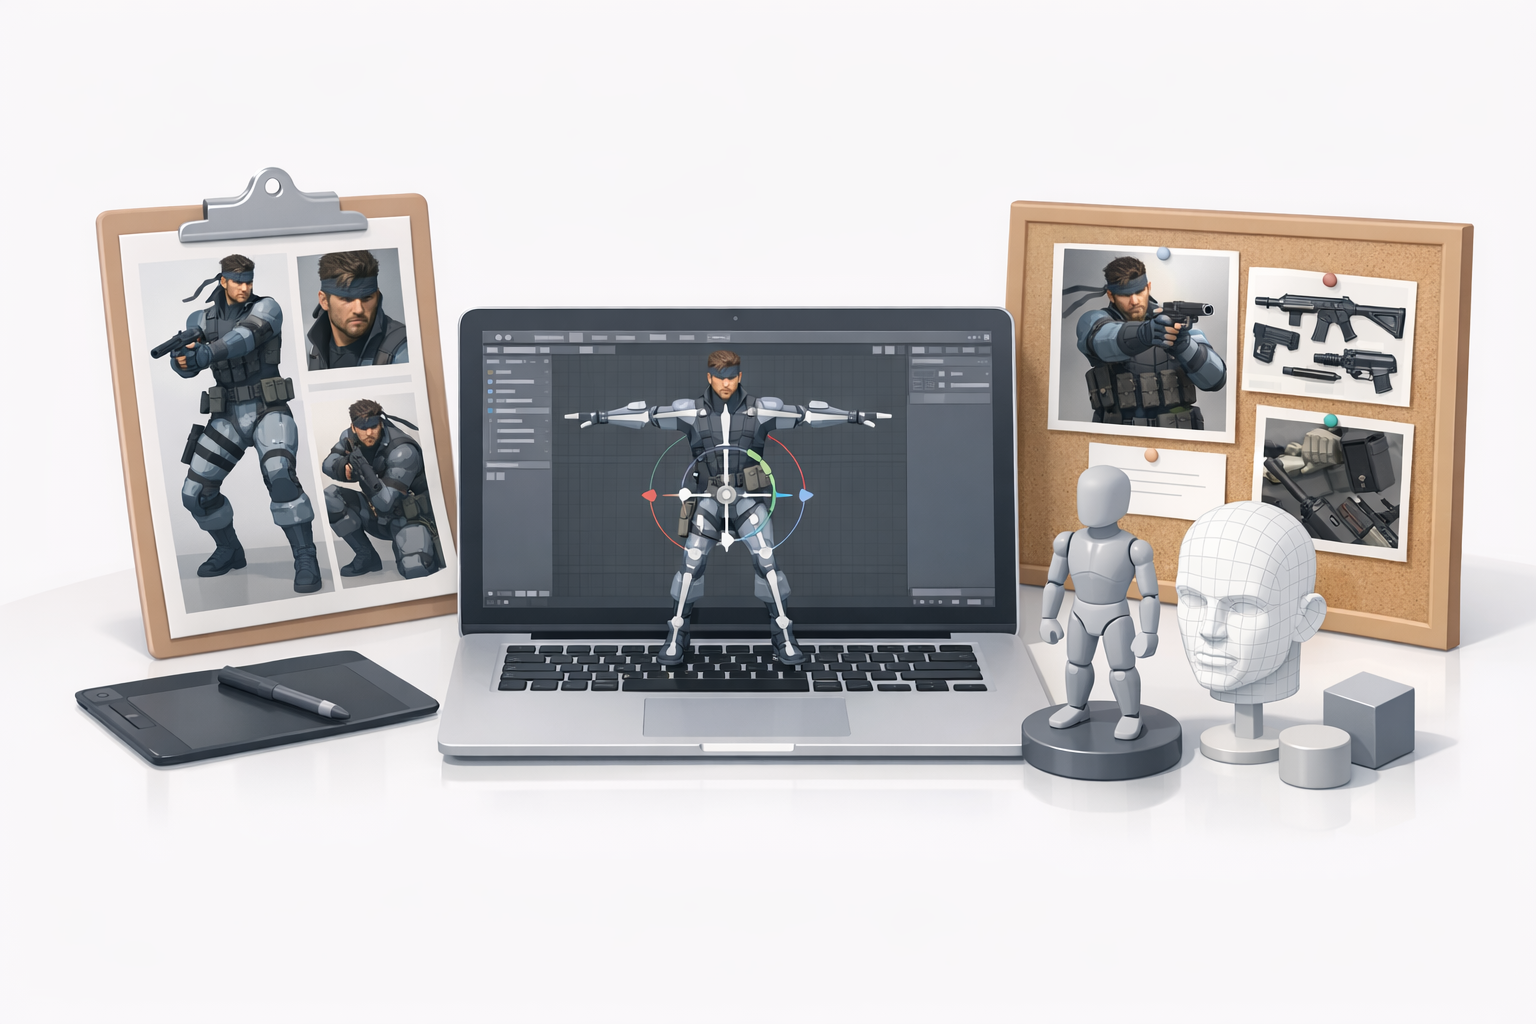
Choosing the Right References
I start with high-res images, concept art, and in-game screenshots of Solid Snake. For the gun, I seek technical diagrams and real-world photos. Mixing official artwork with fan renders helps cover gaps in detail.
Checklist:
- Front, side, and back views
- Close-ups of gear and face
- Gun details (grip, barrel, magazine)
Defining Model Scope and Detail Level
Before opening any tool, I decide the purpose: real-time game asset or cinematic render? For game assets, I target 10–30k polygons, focusing detail on the face, hands, and gun. I create a simple spec sheet—resolution, texture sets, and rig complexity—to guide the process.
Pitfalls to Avoid:
- Over-modeling small props
- Neglecting silhouette clarity
Modeling Solid Snake and Gun: My Step-by-Step Process
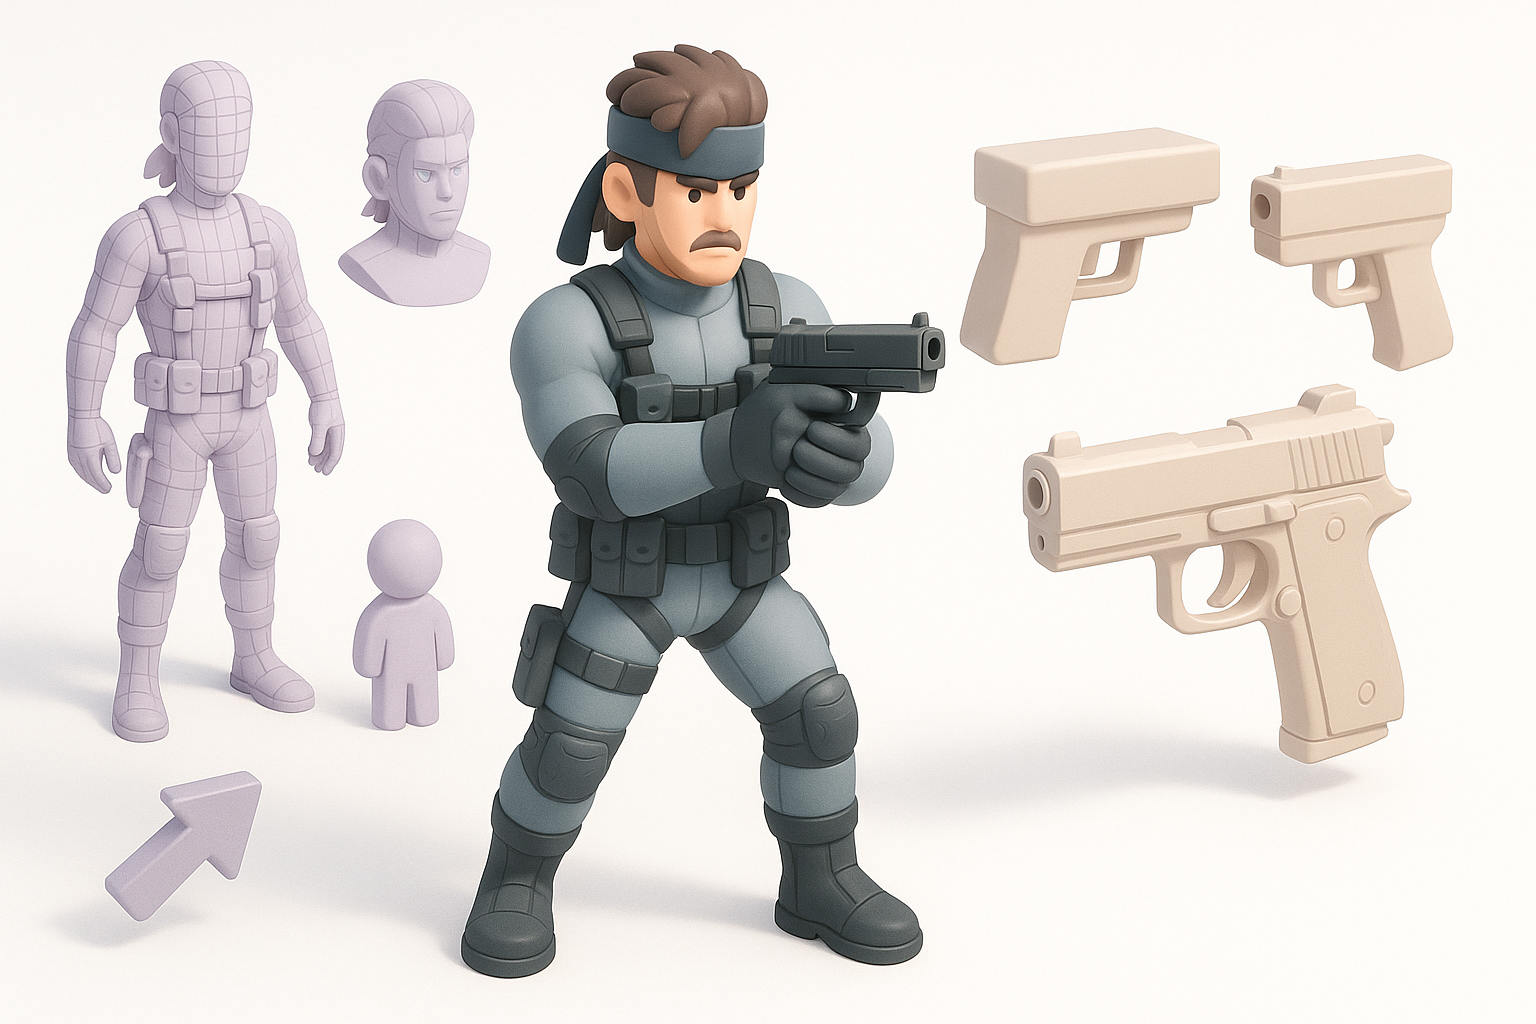
Blocking Out the Base Mesh
I block out the character using simple shapes: sphere for the head, cubes for the torso and limbs. Tripo’s AI generation lets me quickly create a base mesh from text or sketches, which I refine in my modeling software.
Steps:
- Rough out proportions first
- Separate gun as its own mesh
Adding Details and Refining Proportions
Once the base is set, I sculpt in facial features, muscle definition, and gear. For the gun, I add details like the trigger, sights, and magazine. I use subdivision sparingly—only where it improves silhouette or deformation.
Tips:
- Check proportions against reference constantly
- Detail only what’s visible in intended camera angles
Texturing and Materials: Bringing the Model to Life
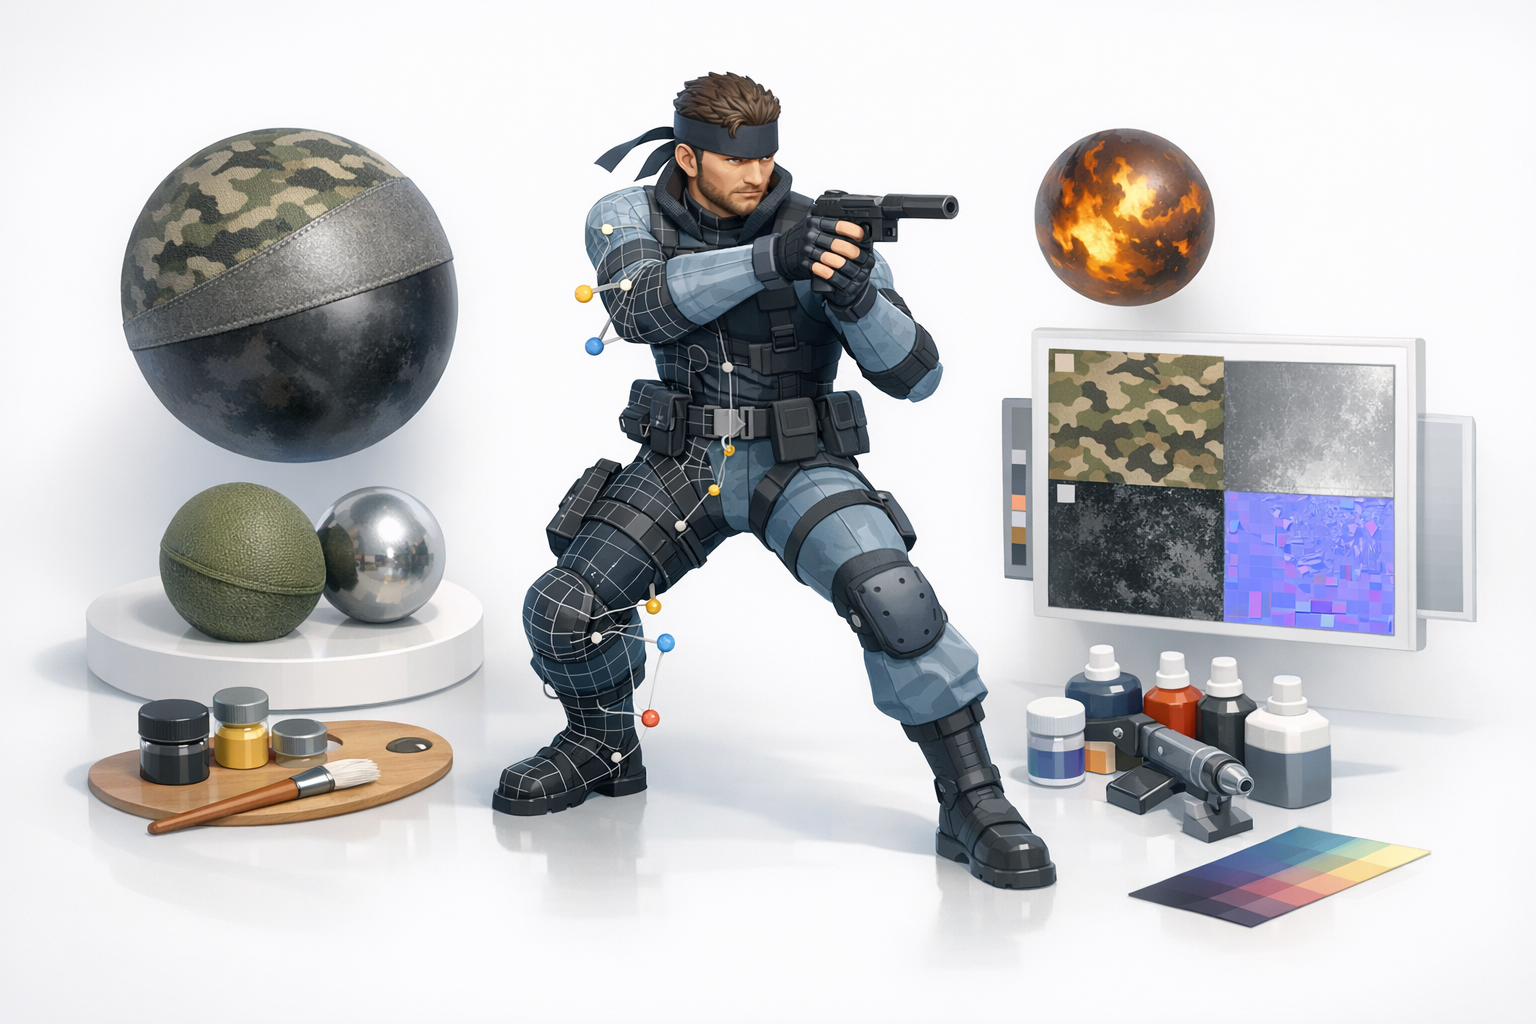
UV Unwrapping Best Practices
I unwrap UVs early to avoid stretching later. Tripo can auto-segment UVs, but I manually tweak seams for face and hands. I keep UV islands logical—head, torso, gun parts—so texture painting is easier.
Mini-Checklist:
- Minimize distortion on face and hands
- Pack UVs efficiently for game engines
Painting Realistic Textures
I paint textures in layers: base color, roughness, metallic, and normal maps. For Snake’s suit and gun, I use reference photos for fabric and metal. Tripo’s AI texturing can speed up base pass, but I hand-paint details for realism.
Pitfalls:
- Overusing procedural textures (can look generic)
- Neglecting dirt, wear, and edge highlights
Rigging for Animation and Posing
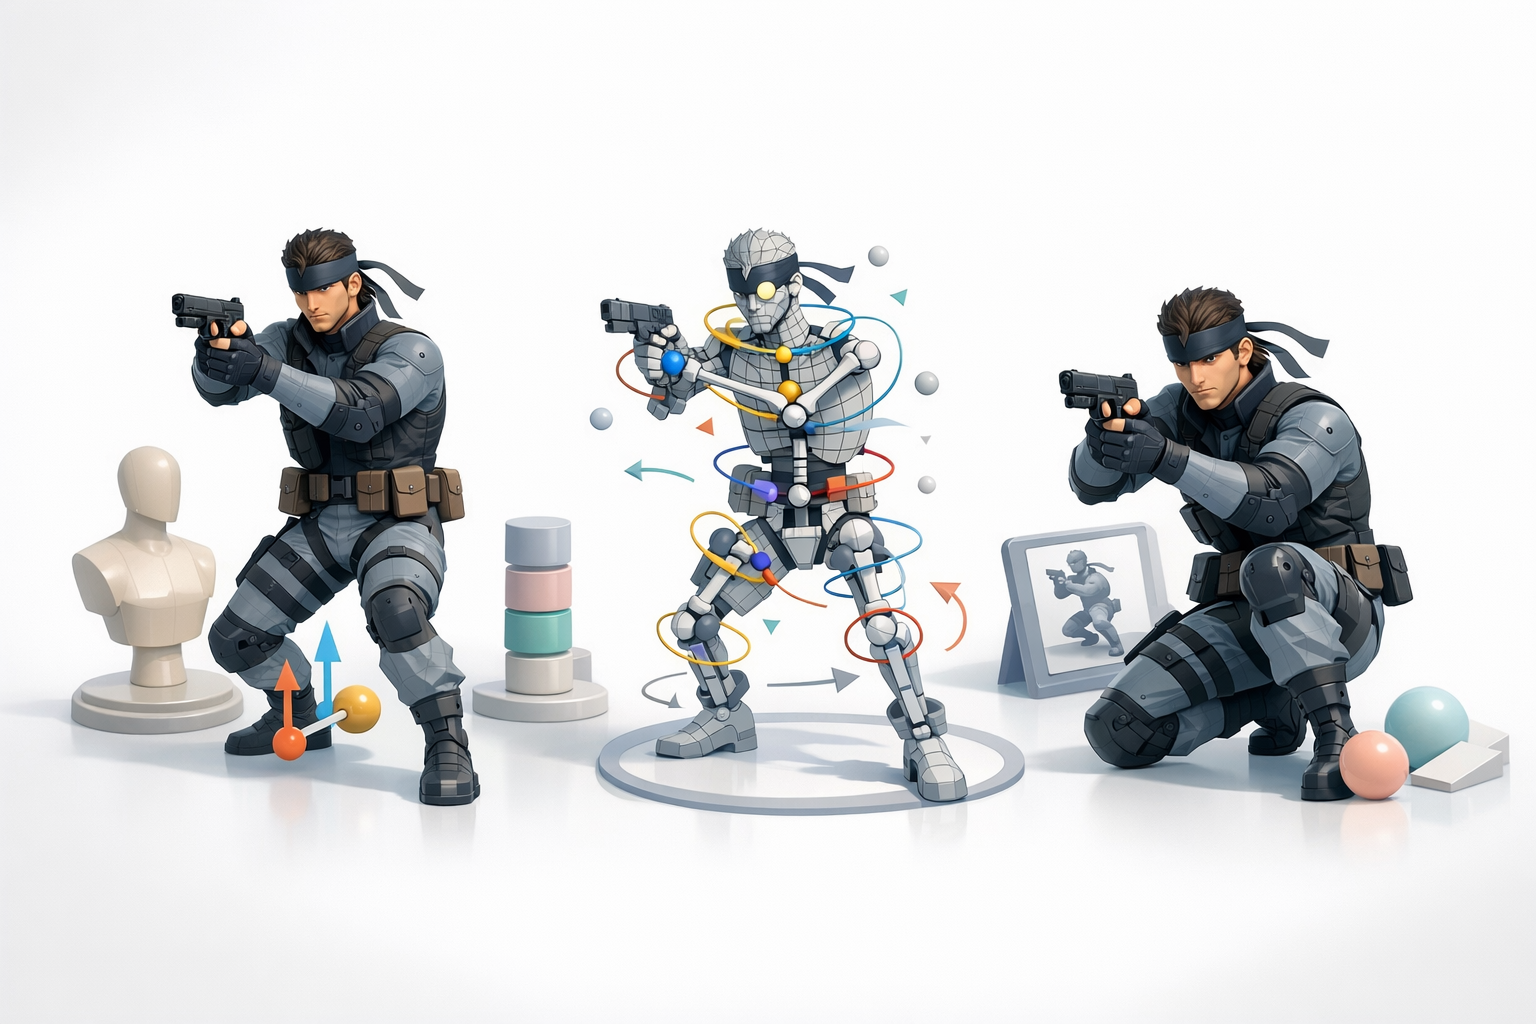
Setting Up the Skeleton and Controls
I build a human IK skeleton: spine, arms, legs, fingers, and neck. For the gun, I add a simple grip bone. Tripo’s auto-rigging can generate a basic skeleton, which I refine for custom poses and game logic.
Steps:
- Place joints at real anatomical locations
- Add control rigs for hands and gun grip
Skinning and Weight Painting Tips
I use weight painting to ensure smooth deformations, especially around shoulders and fingers. Tripo’s intelligent skinning is a good start, but manual tweaks are essential for natural movement.
Tips:
- Test extreme poses early
- Avoid “candy wrapper” twisting at joints
Exporting, Testing, and Integrating the Model
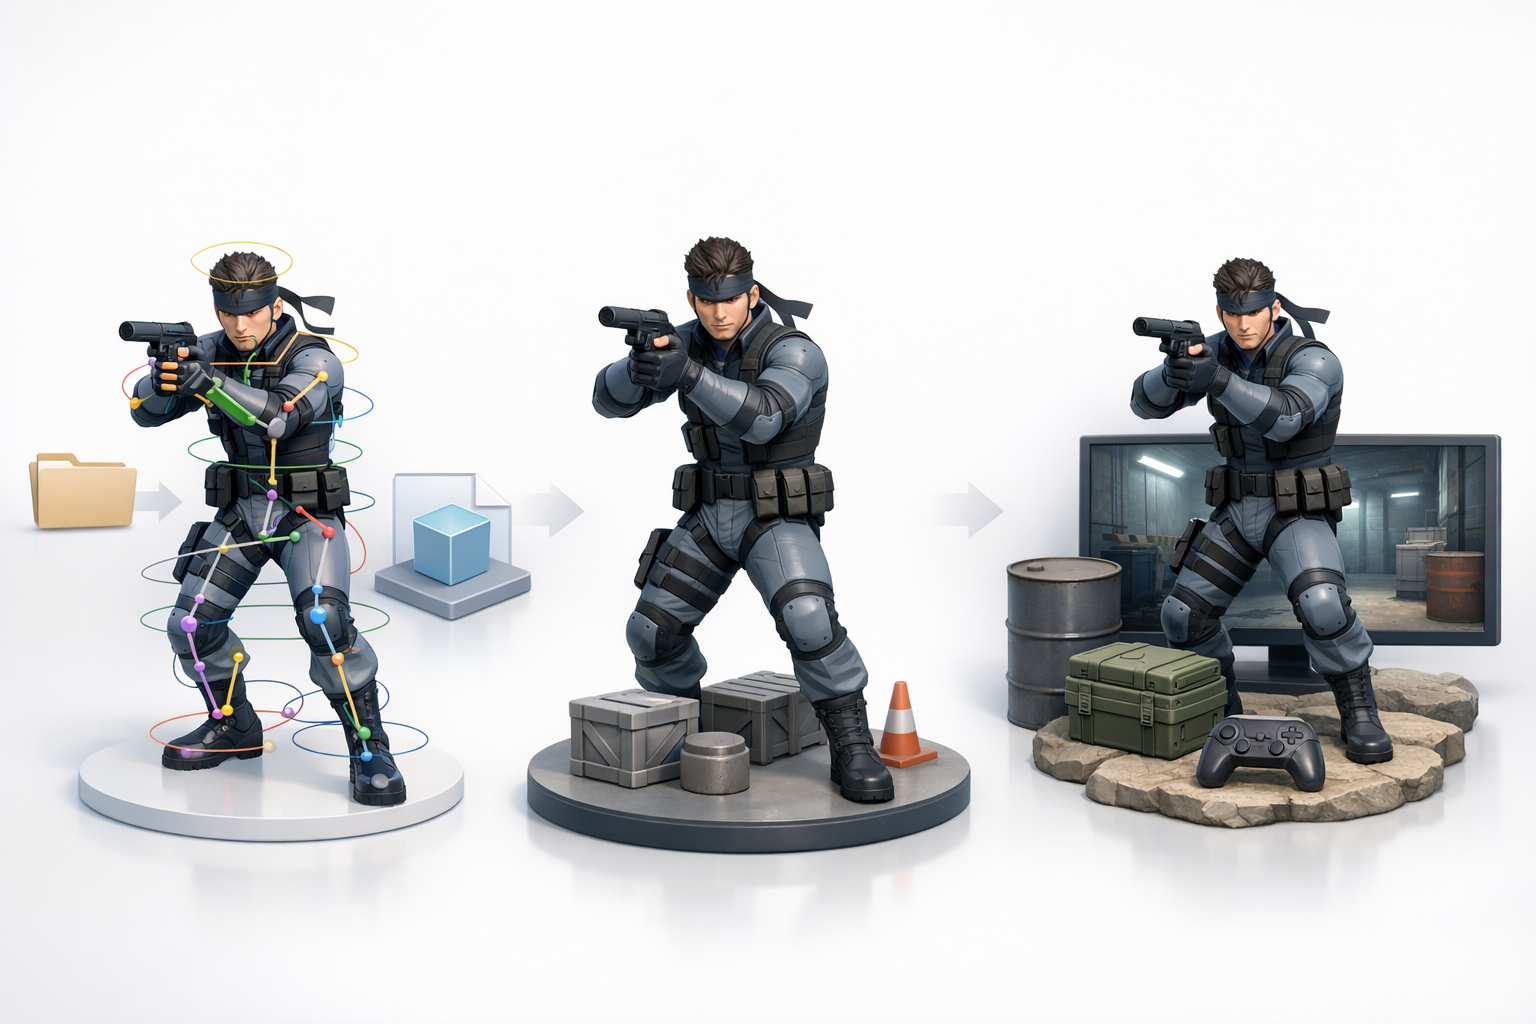
Export Settings for Popular Engines
I export in FBX or GLTF, depending on the target engine. I check scale, axis orientation, and embed textures. Tripo’s export presets help, but I always verify in-engine.
Mini-Checklist:
- Apply transforms before export
- Check bone naming conventions
Testing Animations and Fixing Issues
I run quick idle and action animations to spot skinning errors or mesh clipping. If issues arise, I fix weights or adjust mesh topology.
Pitfalls:
- Ignoring export warnings
- Not testing in-engine before delivery
Best Practices and Lessons Learned
Common Pitfalls and How I Avoid Them
Mistakes I’ve seen: over-complicated rigs, messy UVs, and ignoring engine constraints. I keep rigs simple, UVs tidy, and always check polycount.
Avoid:
- Dense mesh in joints
- Unnamed bones or controls
Optimizing for Real-Time Applications
I bake normals and AO, use texture atlases, and keep materials minimal. Tripo’s optimization tools help reduce polycount and auto-generate LODs.
Tips:
- Profile performance early
- Use efficient shaders
Comparing AI-Powered and Manual Workflows

When I Use AI Tools Like Tripo
I rely on AI tools for base mesh generation, auto-segmentation, and initial rigging—especially for tight deadlines or iterative concepts. For final polish, I switch to manual editing.
When AI Helps Most:
- Base mesh/blockout
- UV segmentation
- Auto-rigging
Manual Techniques vs. Automated Solutions
Manual modeling gives me more control for hero assets and unique details. Automated solutions are best for repetitive tasks or background assets. I balance both, depending on project needs.
Takeaways:
- Use AI for speed, manual for precision
- Always review AI outputs before finalizing
If you’re looking to create a rigged character like Solid Snake with a gun, combining AI-powered tools and manual artistry is the most efficient, production-ready approach. Start with strong references, plan your workflow, and iterate—testing every step for quality and performance.