Creating and Optimizing Rhinoceros 3D Models: Expert Workflow
Building a high-quality rhinoceros 3D model requires a blend of artistic skill, anatomical understanding, and technical workflow. Over years of practice, I’ve refined an approach that balances traditional modeling with AI-powered tools to accelerate production without sacrificing quality. This guide walks through my end-to-end workflow—from concept to export—highlighting best practices for modeling, texturing, retopology, and animation. Whether you’re creating assets for games, XR, or film, these insights are geared toward artists and developers aiming for both realism and efficiency.
Key takeaways:
- Reference gathering and planning are critical for anatomical accuracy.
- Blocking and proportioning set the foundation for believable models.
- AI-powered tools can speed up segmentation, retopology, and texturing.
- Detailing and realistic materials bring the model to life.
- Optimizing topology and file formats ensures compatibility across pipelines.
- Rigging and animation require clean geometry and thoughtful joint placement.
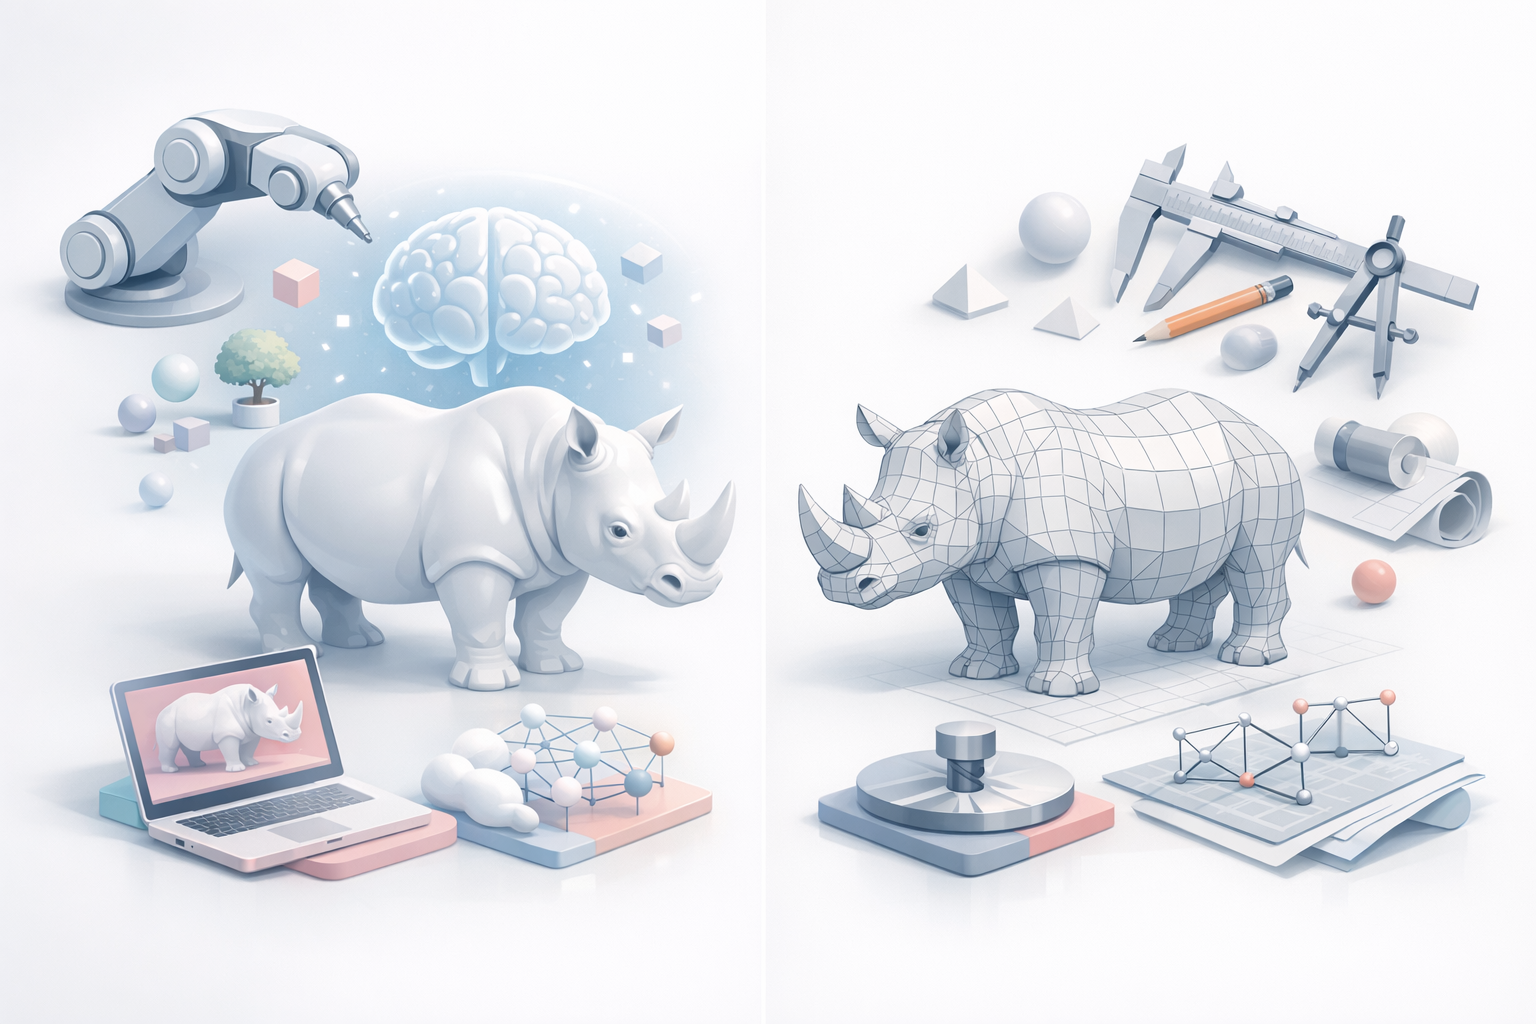
Understanding Rhinoceros 3D Models
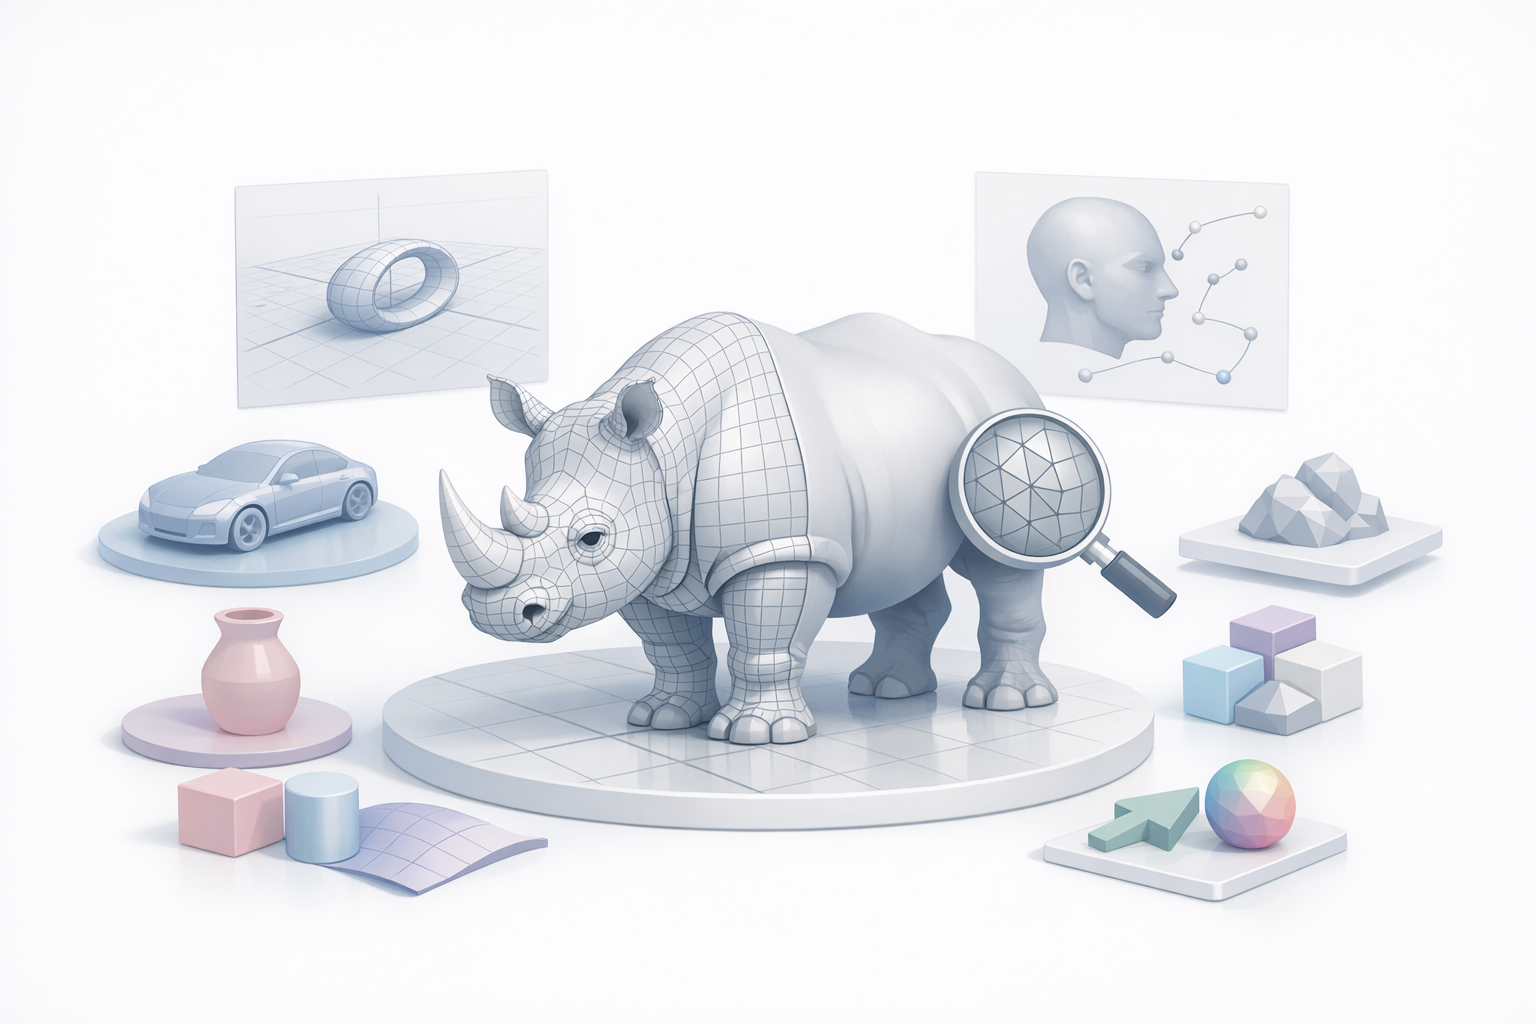
What defines a rhinoceros 3D model
A rhinoceros 3D model is a digital representation of the animal, capturing its unique anatomy, proportions, and surface details. What distinguishes a great model is not just shape accuracy, but also how well it translates the physical characteristics—like thick skin folds, horns, and muscle structure—into 3D geometry.
In my experience, a production-ready model must:
- Be anatomically correct, with proper silhouette and mass
- Have optimized topology for animation or real-time use
- Include detailed textures for realism
Common use cases in industry
Rhinoceros 3D models are in demand across several sectors. I frequently see them used in:
- Game assets (NPCs, wildlife simulation)
- Animated films and TV
- Educational XR/AR experiences
- Museum exhibits and scientific visualization
Each use case may dictate different requirements, such as polygon count, rigging complexity, and texture resolution.
My Workflow for Modeling a Rhinoceros in 3D
Reference gathering and concept planning
I always start with thorough reference collection—photos from multiple angles, anatomical diagrams, and sometimes even videos. This step is non-negotiable for capturing subtle features like horn shape and skin texture.
My checklist:
- Gather side, front, and top views
- Collect close-ups of skin, feet, and horns
- Note age, species, and pose references
I often sketch or annotate over references to plan proportions and landmarks before opening my modeling software.
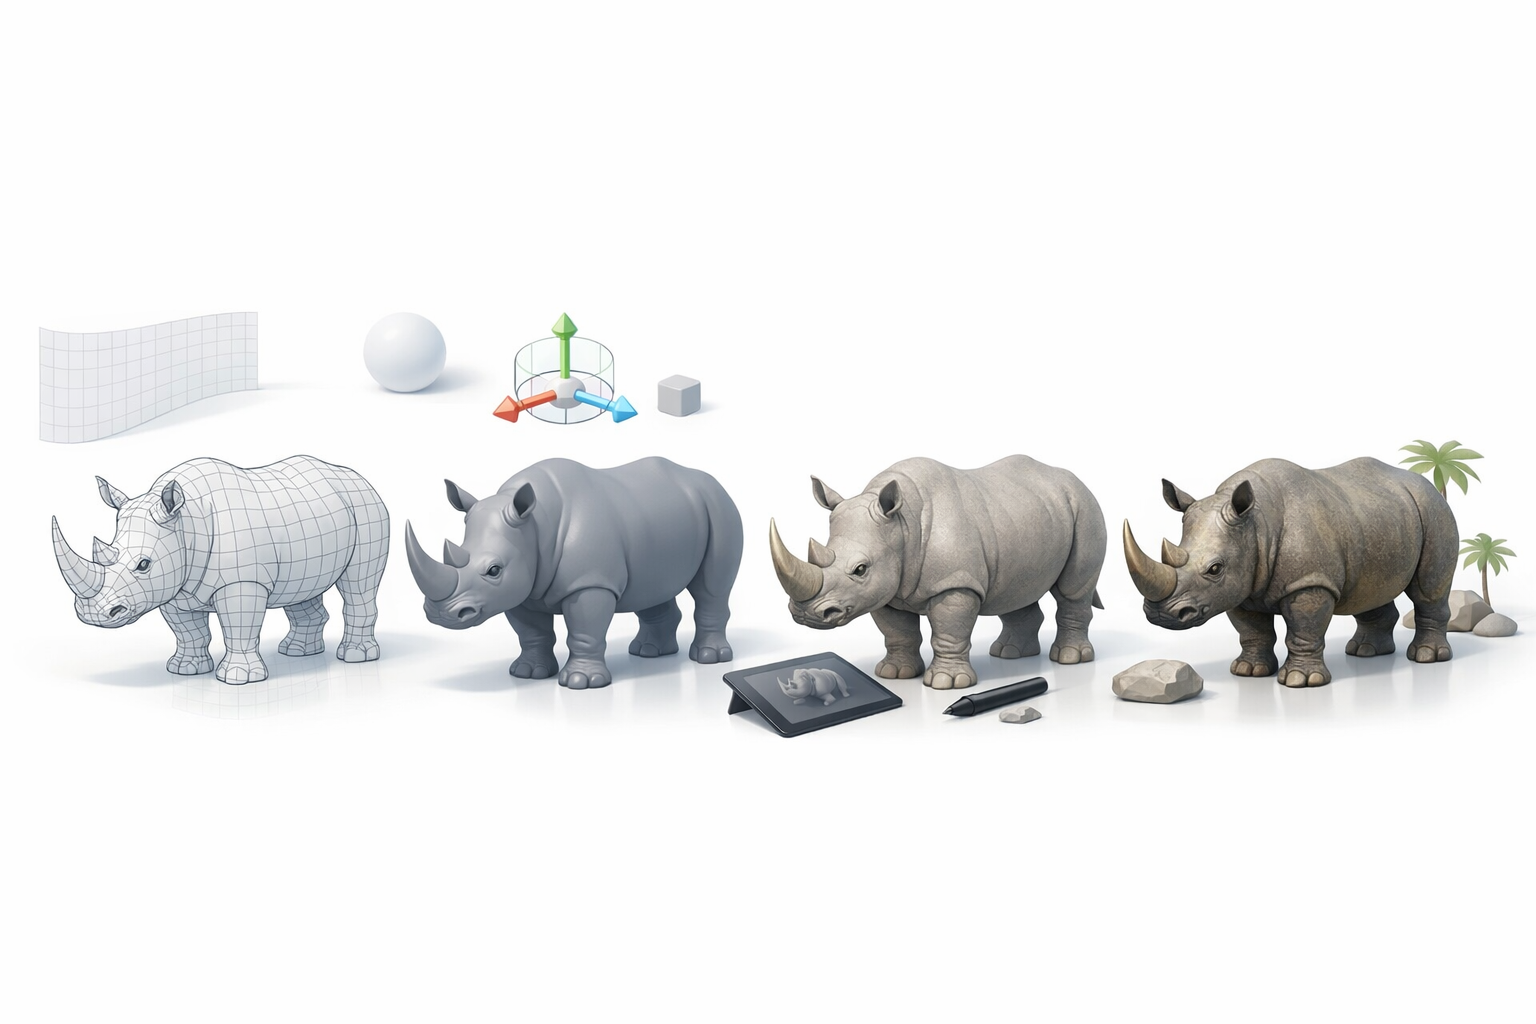
Blocking out forms and proportions
With references in hand, I block out the primary forms using basic shapes—spheres for the body, cylinders for legs, and so on. The focus here is on silhouette and mass, not details.
Steps I follow:
- Start with a low-res mesh or primitives
- Adjust proportions to match references
- Check the model from all angles for symmetry and balance
Getting the blockout right saves time later and prevents major rework when adding details.
Best Practices for Detailing and Texturing
Sculpting anatomy and skin details
Once the base mesh is solid, I move to sculpting. I use digital sculpting tools to define muscles, bone landmarks, and thick skin folds. For a rhinoceros, subtlety is key; over-exaggeration can break realism.
Tips:
- Use reference for placement of wrinkles and scars
- Layer details, starting broad and moving to fine
- Frequently zoom out to check overall form
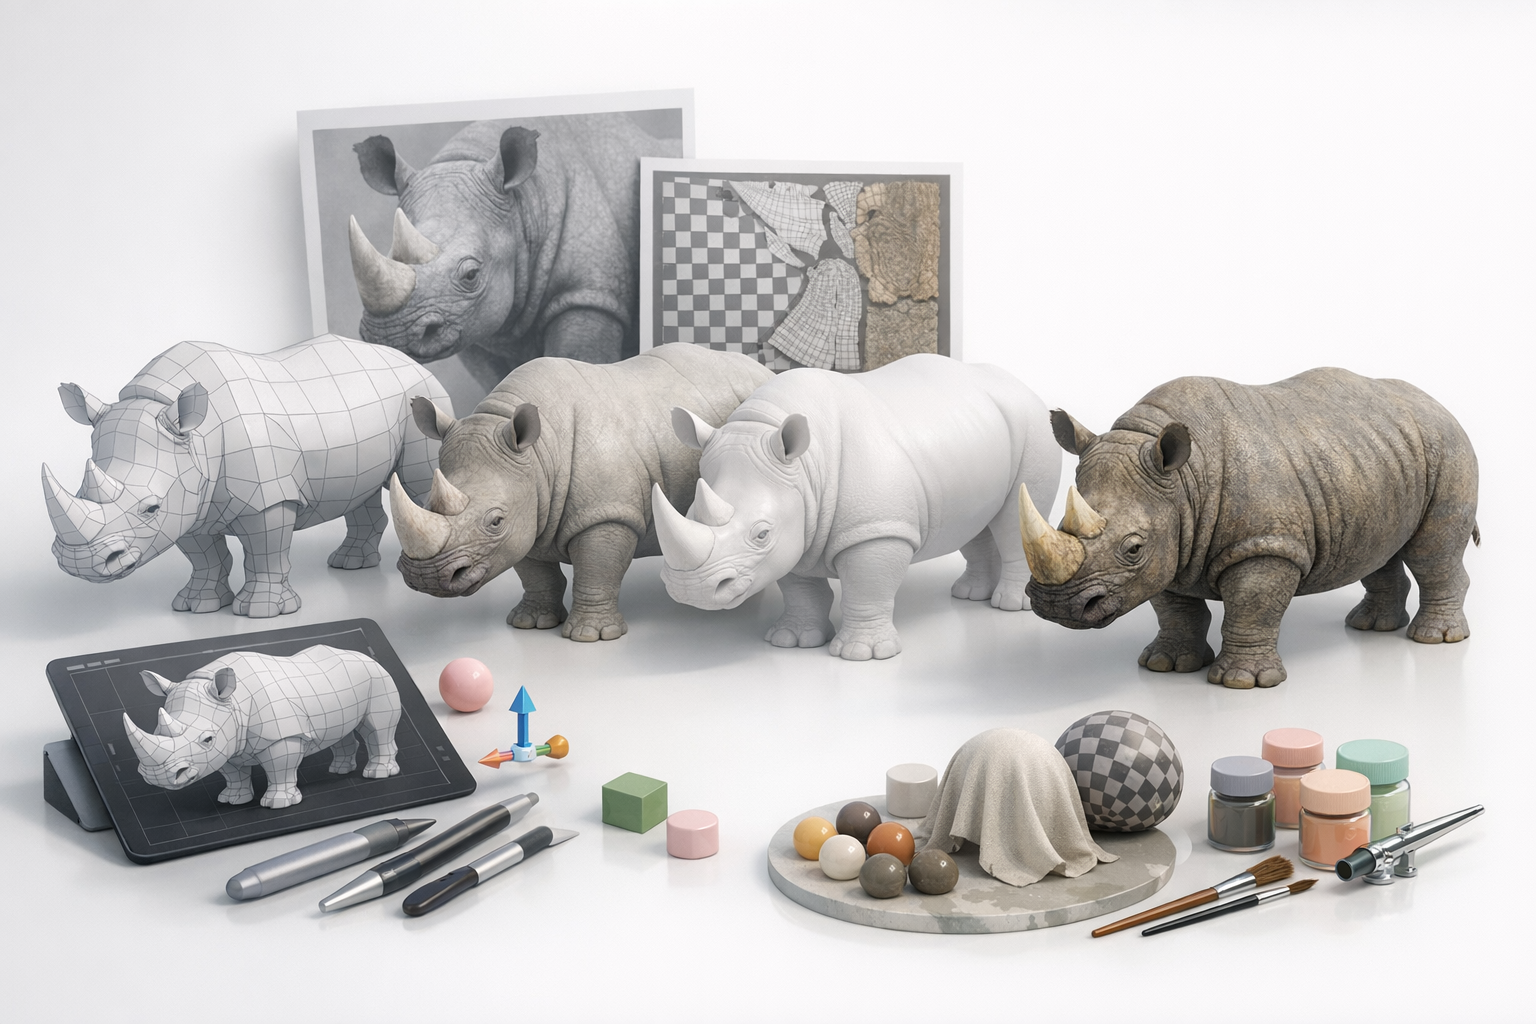
Applying realistic textures and materials
Texturing is where the model comes alive. I bake high-res details into normal and displacement maps, then paint textures for skin color, horn material, and dirt.
My process:
- Bake maps (normal, AO, displacement) from the sculpt
- Use photo references for color and roughness maps
- Test textures under different lighting setups
AI-powered tools like Tripo can help generate base textures or segment UVs, but I always refine manually for realism.
Retopology, Rigging, and Animation Tips
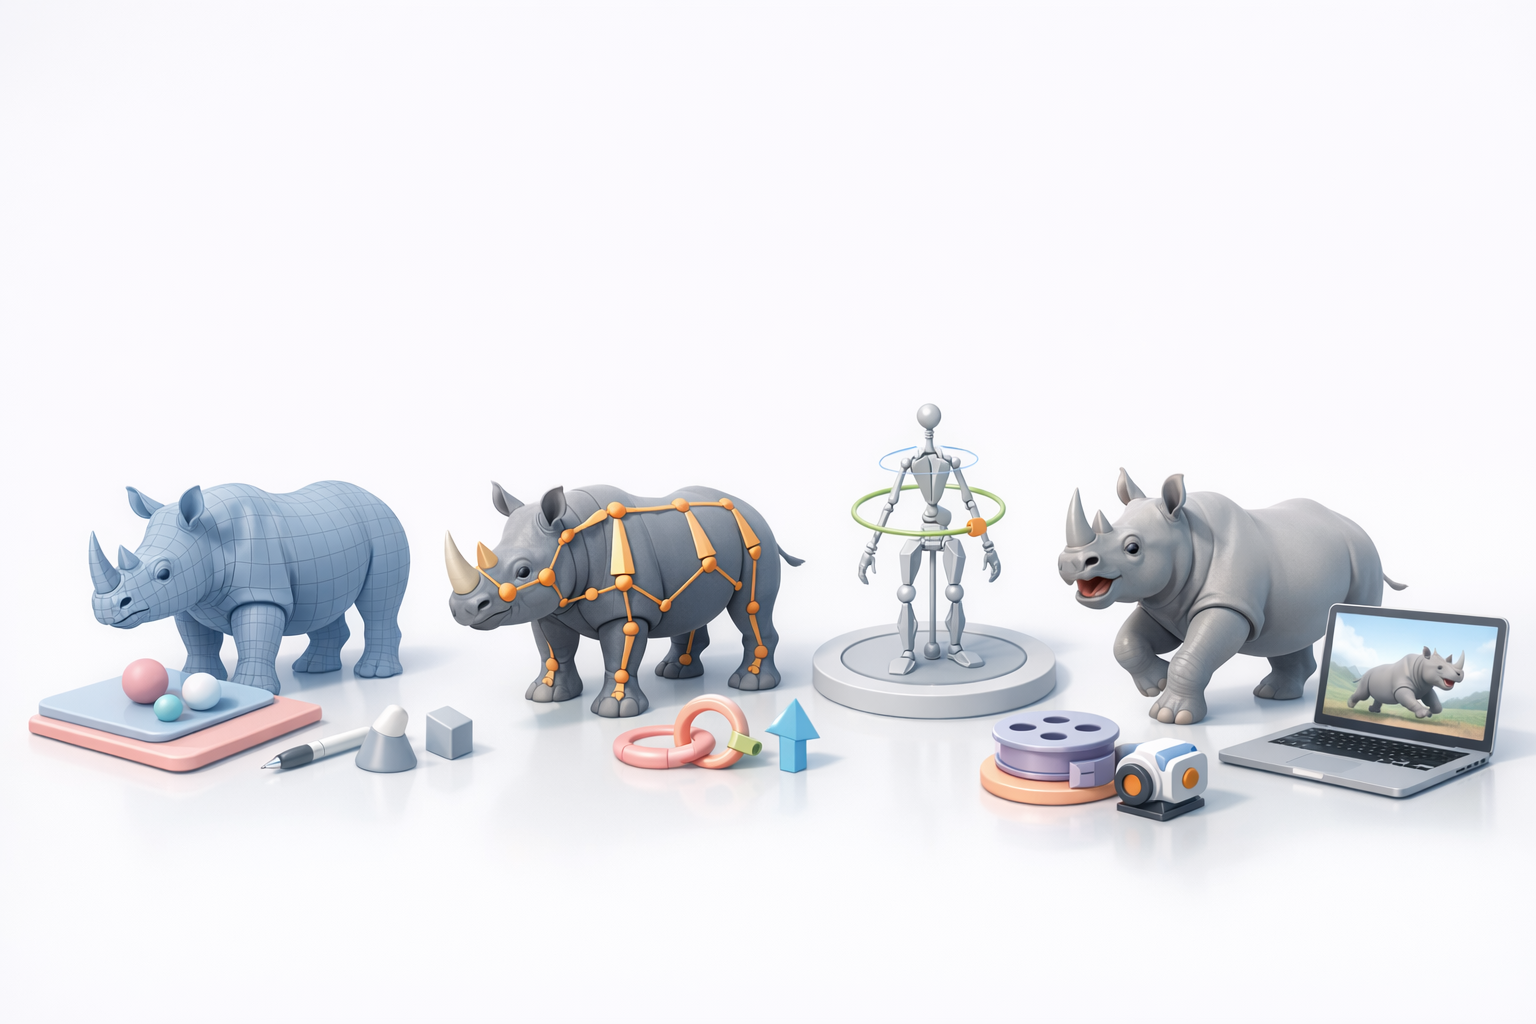
Efficient retopology for animation
Clean topology is essential for deformation during animation. I retopologize the sculpted mesh, focusing on edge flow around joints and facial areas.
Checklist:
- Maintain quad-based topology
- Add edge loops at elbows, knees, and mouth
- Target polycount based on end-use (game vs. film)
AI-assisted retopology can speed up this step, but I always review and adjust critical areas by hand.
Rigging and posing techniques
For rigging, I create a skeleton that matches the animal’s anatomy. Proper joint placement is crucial for natural movement.
My rigging steps:
- Place main bones (spine, legs, neck, jaw)
- Add controls for horn and facial movement if needed
- Test with basic walk and idle poses
I avoid overcomplicating rigs—simplicity aids in troubleshooting and animation.
Comparing AI-Powered and Traditional Modeling Methods
Advantages of AI-driven workflows
AI tools have transformed my workflow, especially for repetitive or technical tasks like segmentation, retopology, and base texturing. They reduce manual labor, allowing me to focus on creative decisions and fine details.
Benefits I’ve noticed:
- Rapid prototyping from sketches or photos
- Automated UV unwrapping and texture suggestions
- Faster iteration cycles
Integrating AI tools into my process
I blend AI with traditional methods. For instance, I might use Tripo to generate a base mesh or texture, then refine it manually. This hybrid approach balances speed with artistic control.
Integration tips:
- Use AI for initial drafts, not final art
- Always review and tweak AI outputs for quality
- Stay updated as tools evolve—new features can streamline more steps
Exporting and Using Rhinoceros 3D Models
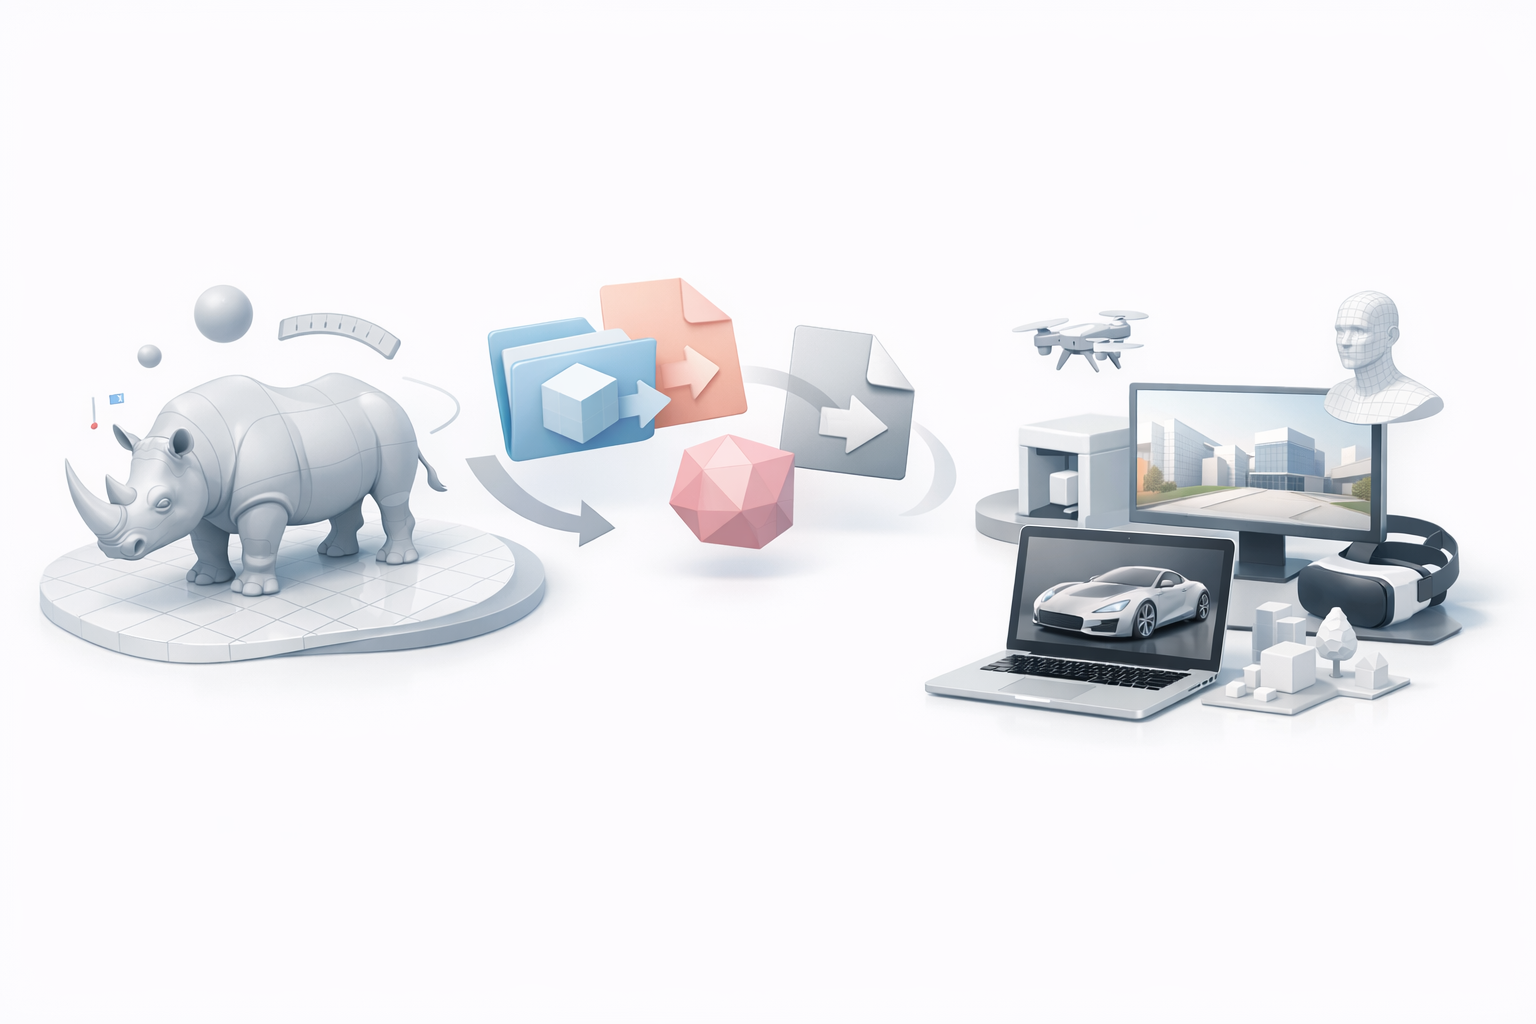
Optimizing for game engines and XR
Exporting models for real-time use requires careful optimization. I reduce polygon count, bake textures, and ensure scale and orientation match the target engine.
My export checklist:
- LODs (levels of detail) for performance
- Texture atlas for efficient rendering
- Test in engine for shading and animation
File formats and compatibility considerations
Choosing the right file format is crucial for pipeline compatibility. I typically use:
- FBX for animation and rigged models
- OBJ for static meshes
- GLTF/GLB for web and XR applications
I verify exports in the target software to catch any issues with normals, materials, or rigging before final delivery.
By following this workflow, I consistently produce rhinoceros 3D models that are both visually accurate and technically robust, ready for use across games, XR, and film. Integrating AI tools like Tripo has made my process faster and more flexible, while hands-on refinement ensures every model meets professional standards.