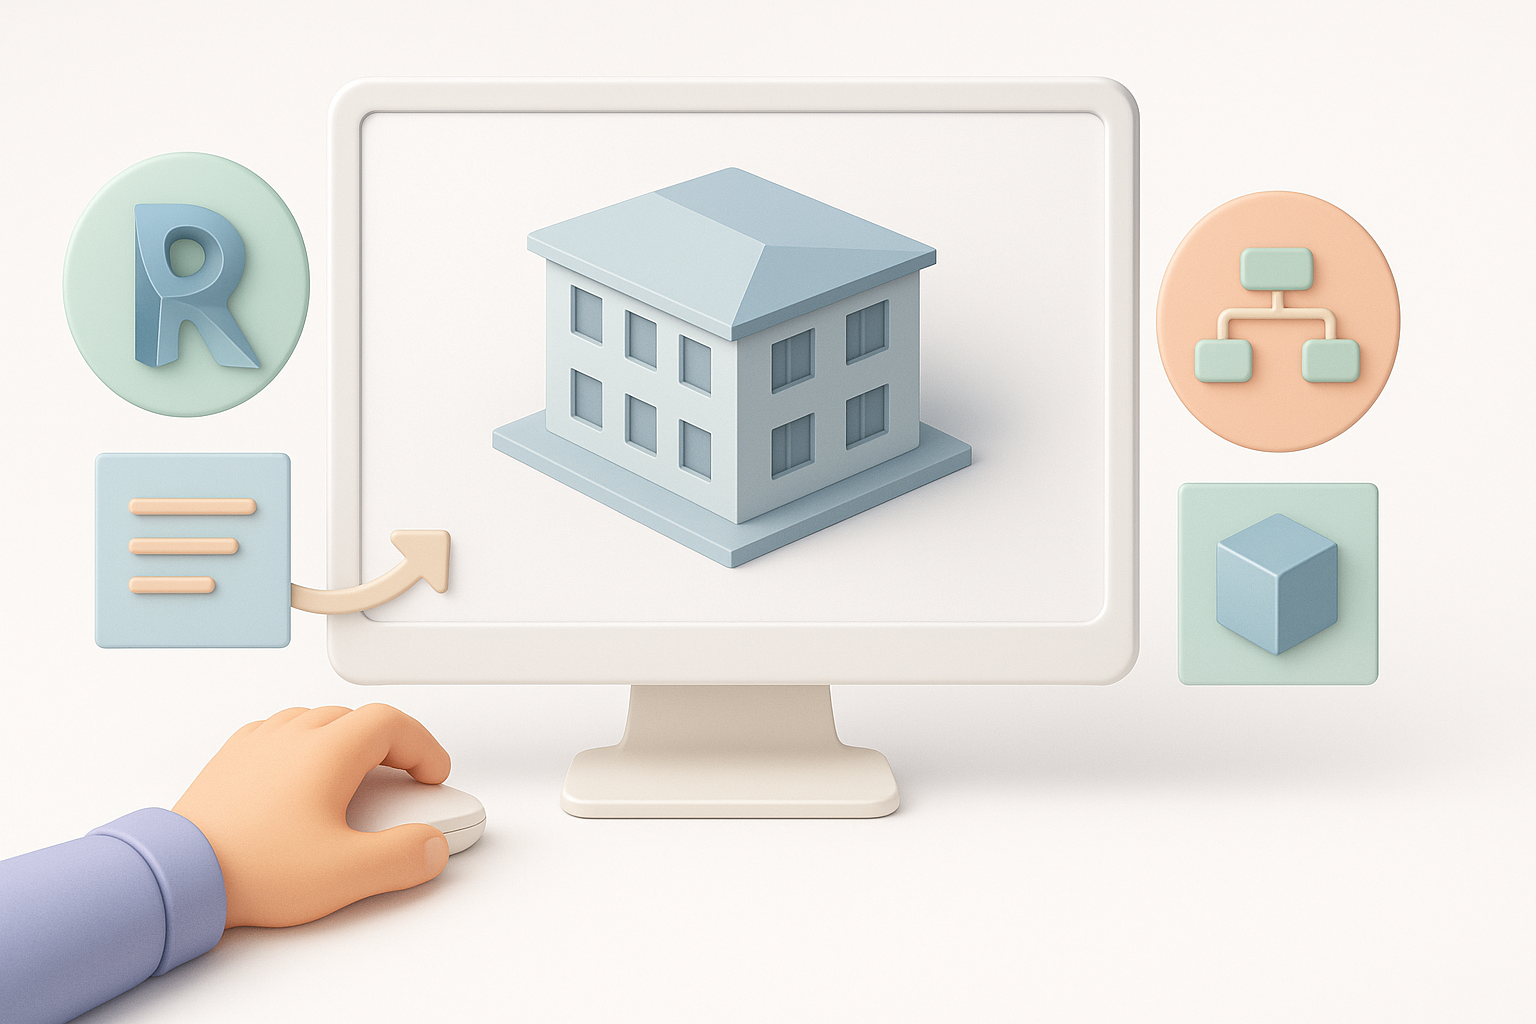
Mastering Revit 3D Models: Workflow, Tips, and Best Practices
скачать 3d модель для chicken gun
Working with Revit for 3D modeling has fundamentally changed how I approach architectural and design projects. Revit’s parametric environment streamlines the entire process, but mastering its workflow and integrating AI tools can make the difference between average and production-ready results. In this article, I’ll share my proven strategies, practical tips, and real-world lessons for creating, optimizing, and troubleshooting 3D models in Revit. Whether you’re new to Revit or looking to refine your process, you’ll find actionable insights to elevate your 3D modeling game.
Key takeaways:
- Revit’s parametric approach enables efficient, coordinated 3D modeling but comes with a learning curve.
- A disciplined workflow, from concept to completion, is essential for production-ready models.
- AI tools like Tripo can accelerate segmentation, retopology, and texturing within the Revit pipeline.
- Optimization and best practices prevent workflow bottlenecks and future-proof your models.
- Revit excels at BIM-centric projects but isn’t always the best fit for all 3D modeling needs.
- Troubleshooting and iteration are critical—expect to refine your approach with every project.
Understanding Revit 3D Modeling Fundamentals

What Makes Revit Unique for 3D Modeling
What sets Revit apart is its parametric, BIM-centric workflow. Unlike traditional mesh-based tools, Revit’s elements (walls, floors, roofs, families) are intelligent objects with embedded data. I’ve found this especially powerful for projects where coordination, documentation, and change management are critical—any update to the model propagates through schedules, drawings, and views.
Key strengths:
- Real-time coordination between 2D and 3D.
- Parametric controls for fast design changes.
- Built-in data for schedules and quantities.
Core Concepts and Terminology
If you’re new to Revit, it’s essential to understand its core concepts:
- Families: Modular components (doors, windows, furniture) you can create or modify.
- Parameters: Attributes that drive geometry and data.
- Views: Different representations (plan, section, 3D) of your model.
- Worksharing: Multi-user collaboration via central models.
I recommend getting comfortable with these basics before diving into complex modeling. Misunderstanding core concepts is a common pitfall that can lead to inefficient workflows and rework.
My Workflow for Creating Production-Ready 3D Models in Revit
Step-by-Step Process from Concept to Completion
Here’s the workflow I use to consistently deliver high-quality 3D models in Revit:
- Project Setup: Define units, levels, and grids. This foundation prevents downstream headaches.
- Conceptual Massing: Use massing tools for rapid form exploration. I often iterate quickly here before committing to detail.
- Develop Model Elements: Convert masses to walls, floors, roofs. Place families and refine geometry.
- Detailing and Annotation: Add detail components, dimensions, and notes.
- Quality Control: Regularly audit model health (warnings, unused families, views).
- Export/Interoperability: Prepare the model for downstream use (e.g., rendering, analysis, or fabrication).
Checklist:
- Levels and grids established
- Families organized
- Model audited for errors
- Views and sheets set for documentation
Integrating AI Tools for Enhanced Efficiency
AI-powered platforms like Tripo have become a core part of my workflow, especially for tasks like segmentation, retopology, and texturing. When I need to quickly create or enhance model elements, I’ll export geometry to Tripo, let the AI handle complex mesh tasks, and re-import the optimized assets back into Revit or a compatible pipeline.
My tips:
- Use AI for repetitive or time-consuming tasks (e.g., converting scans, generating textures).
- Double-check AI-generated assets for accuracy and compliance with project standards.
- Maintain clean naming conventions and metadata for seamless handoff.
Best Practices for Optimizing Revit 3D Models
Intelligent Segmentation and Retopology Techniques
Segmenting your model logically (by discipline, phase, or system) keeps files manageable and collaborative. I use worksets and linked models to break down large projects. For retopology, AI tools like Tripo can quickly reduce polygon counts and clean up imported meshes, which is invaluable for VR/AR or game-ready exports.
Segmentation checklist:
- Worksets or links for architecture, structure, MEP
- Clear naming for all model elements
- Regularly purge unused data
Retopology tips:
- Run AI retopology before importing heavy meshes.
- Test performance in target applications (e.g., VR viewer).
Texturing, Rigging, and Animation Tips
While Revit isn’t designed for advanced texturing or animation, I often use it for base geometry and data, then export to specialized tools for final polish. With Tripo, I can generate quick, production-ready textures or basic rigging for visualization. Always check UV mapping and material assignments before export.
My workflow:
- Assign basic materials in Revit.
- Export to Tripo for texturing/rigging.
- Re-import or link textured assets as needed.
Pitfalls to avoid:
- Overcomplicating materials in Revit (keep it simple for export).
- Ignoring UVs—always verify in your target app.
Comparing Revit with Alternative 3D Modeling Methods

Strengths and Limitations of Revit
Revit is unmatched for BIM and data-driven design. For architecture, engineering, and construction, it’s my go-to for coordinated, documentation-rich models. However, it’s less flexible for organic modeling, sculpting, or high-detail asset creation.
Strengths:
- BIM integration and parametric control
- Multi-disciplinary collaboration
- Automated documentation
Limitations:
- Steep learning curve for non-BIM users
- Limited organic modeling and advanced animation
- File sizes can balloon without careful management
When to Use Revit Versus Other Tools
I use Revit when the project demands data-rich models, coordination, and documentation (e.g., buildings, infrastructure). For character modeling, detailed props, or real-time assets, I switch to mesh-based or sculpting tools, often integrating AI platforms like Tripo for efficiency.
Decision points:
- Use Revit for BIM, architecture, and engineering.
- Use mesh-based tools for games, film, or organic modeling.
- Leverage AI tools for cross-platform asset optimization.
Common Challenges and Solutions in Revit 3D Modeling

Troubleshooting Workflow Bottlenecks
Common issues I’ve faced include slow model performance, file corruption, and coordination errors. Regular auditing, using worksets, and breaking models into linked files help maintain speed and stability. When errors arise, I rely on Revit’s warnings and error reports, and use AI tools to quickly repair or optimize problematic geometry.
Quick fixes:
- Audit models weekly.
- Purge unused families and views.
- Use AI to clean up imported meshes.
Lessons Learned from Real-World Projects
No project goes perfectly. I’ve learned to expect—and plan for—iteration. Early, clear model organization saves hours later. Integrating AI tools has reduced manual effort but always requires human oversight to ensure quality. Most importantly, I document my process and lessons after each project, which continually improves my workflow.
What works:
- Start organized; stay organized.
- Embrace AI for speed, but double-check results.
- Share knowledge with your team to build collective expertise.
By refining your workflow, leveraging AI tools like Tripo, and applying best practices, you can master Revit 3D modeling and deliver optimized, production-ready models—no matter the project scale or complexity.