Creating and Optimizing Rec Room 3D Models: Expert Workflow
скачать 3d модели для chicken gun
As someone who’s built and optimized 3D models for Rec Room, I know how critical it is to balance creativity with technical constraints. This guide distills my workflow—combining hands-on techniques and AI-powered tools—to help you create Rec Room-ready assets efficiently. Whether you’re a game designer, artist, or hobbyist, you’ll learn how to concept, model, optimize, and import assets that look great and perform smoothly in Rec Room. I’ll also share practical insights on integrating AI-generated assets and troubleshooting common pitfalls.
Key takeaways
- Always respect Rec Room’s polycount, texture, and format limits for smooth imports.
- Start with clear references and a low-poly mindset; optimize early and often.
- AI tools like Tripo can dramatically speed up prototyping and iteration.
- Prepare and test models thoroughly before importing to avoid in-game issues.
- Manual modeling offers control; AI accelerates ideation—choose based on your project needs.
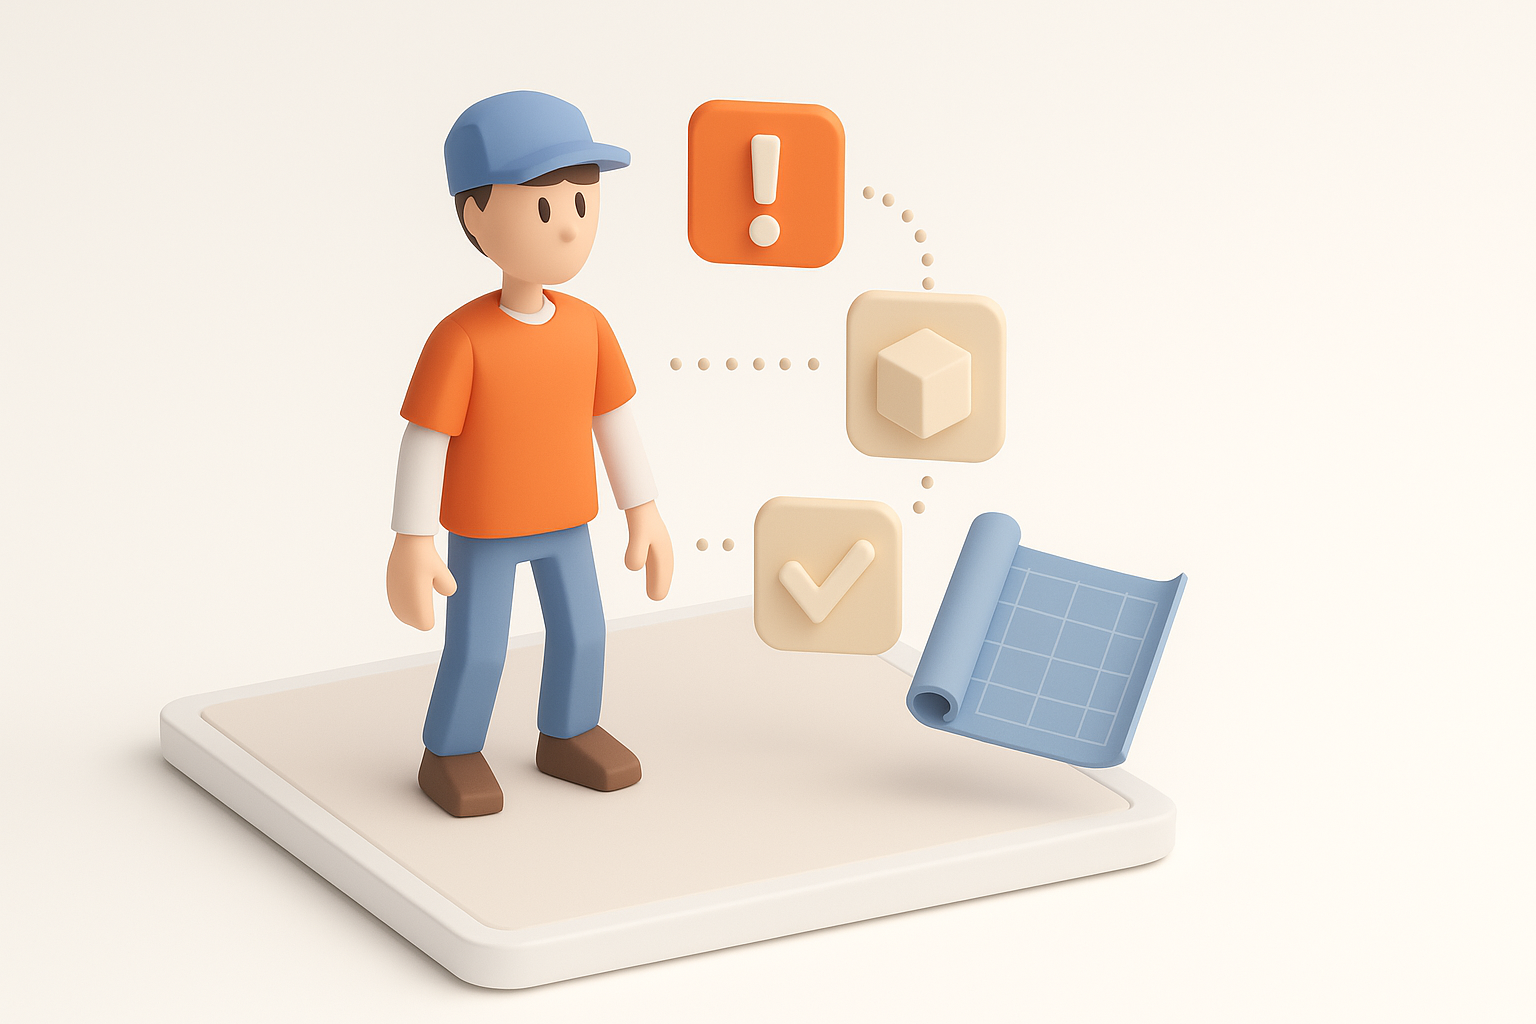
Understanding Rec Room 3D Model Requirements
Platform limitations and supported formats
Rec Room has strict requirements for 3D models to ensure performance and compatibility. From my experience:
- File formats: .FBX and .OBJ are the most reliable for import.
- Polycount: Keep models low-poly—typically under 5,000 triangles per object.
- Texture limits: Stick to 1024x1024 or smaller; use as few textures as possible.
- Materials: Limit the number of materials per model; complex shaders aren’t supported.
Tip: Always check the latest Rec Room documentation for any updates to these specs.
Key considerations for compatibility
Compatibility is about more than just file formats. I focus on:
- Pivot points: Ensure objects are centered and scaled correctly.
- Normals: Double-check normal orientation to avoid shading issues.
- Animation support: If your model needs animation, use simple rigs and avoid complex constraints.
Checklist:
- Model origin at (0,0,0)
- Uniform scaling (apply transforms)
- Clean, non-overlapping UVs
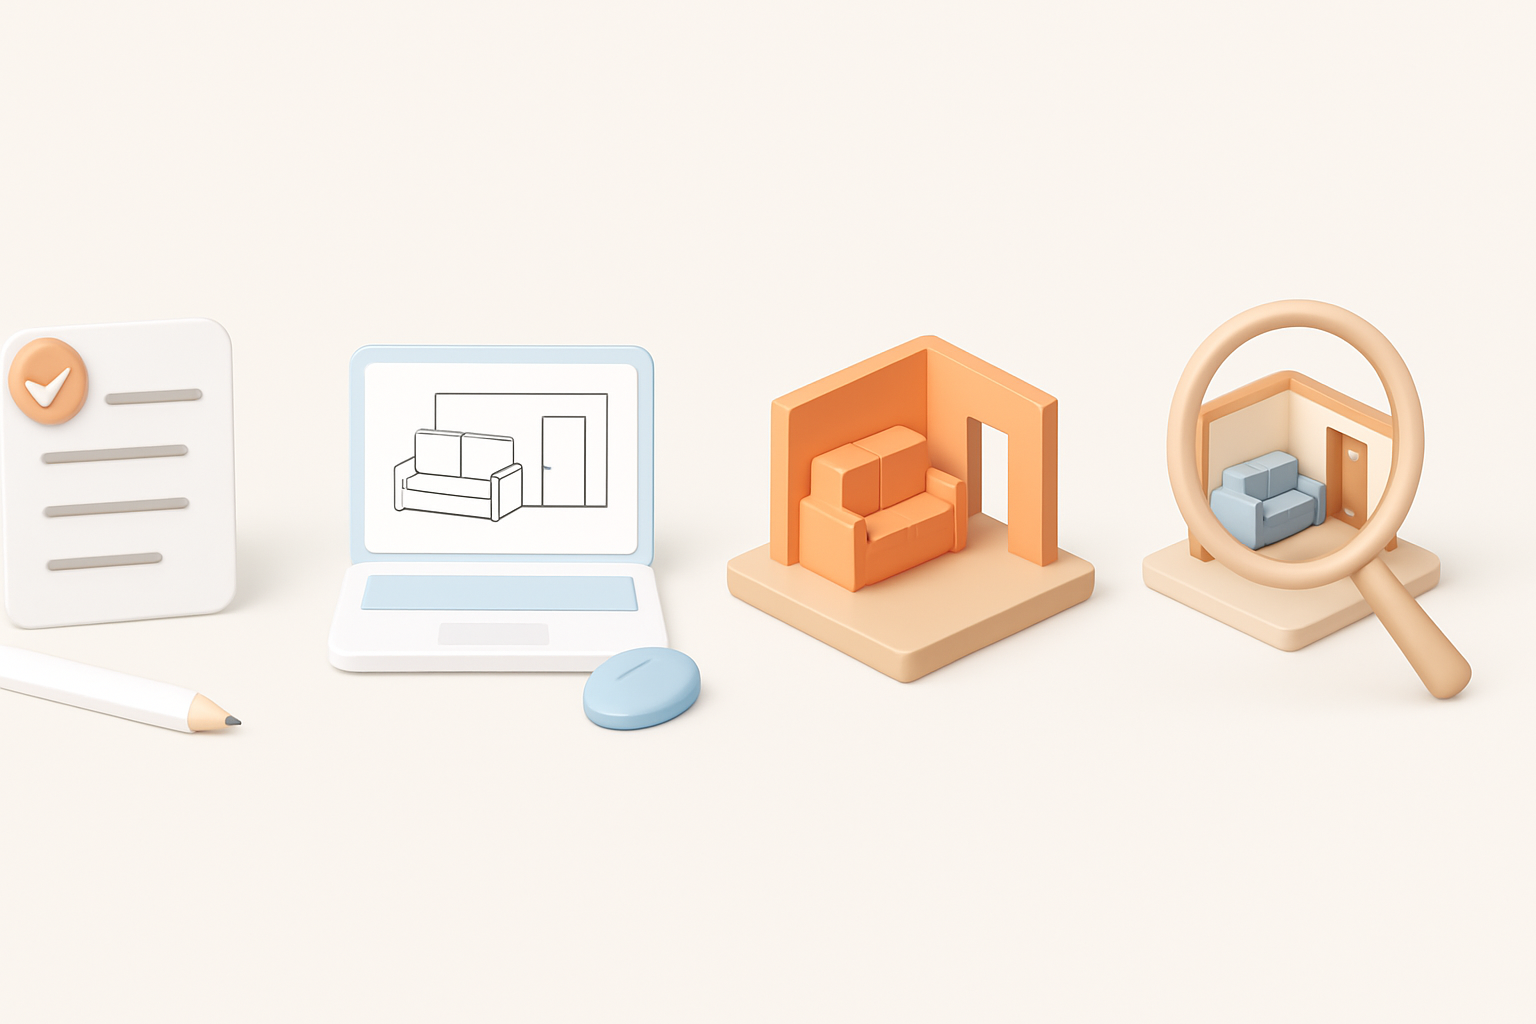
My Step-by-Step Workflow for Building Rec Room 3D Models
Concepting and reference gathering
Every project starts with clear references. I usually:
- Collect images, sketches, or in-game screenshots.
- Define the asset’s purpose and scale relative to Rec Room’s environment.
- Sketch quick blockouts (either by hand or digitally) to plan proportions.
Tip: The more time you spend upfront on reference, the fewer revisions you’ll need later.
Modeling, texturing, and optimization tips
In my workflow, I:
- Block out the shape using basic geometry, keeping polycount low.
- Iterate on details only where needed—avoid unnecessary complexity.
- UV unwrap early; optimize UV space to reduce seams and wasted pixels.
- Texture with simple, flat colors or hand-painted details; avoid heavy normal maps.
- Optimize by merging meshes, deleting hidden faces, and minimizing material slots.
Pitfall to avoid: Over-modeling. If you don’t see it in Rec Room, don’t model it.
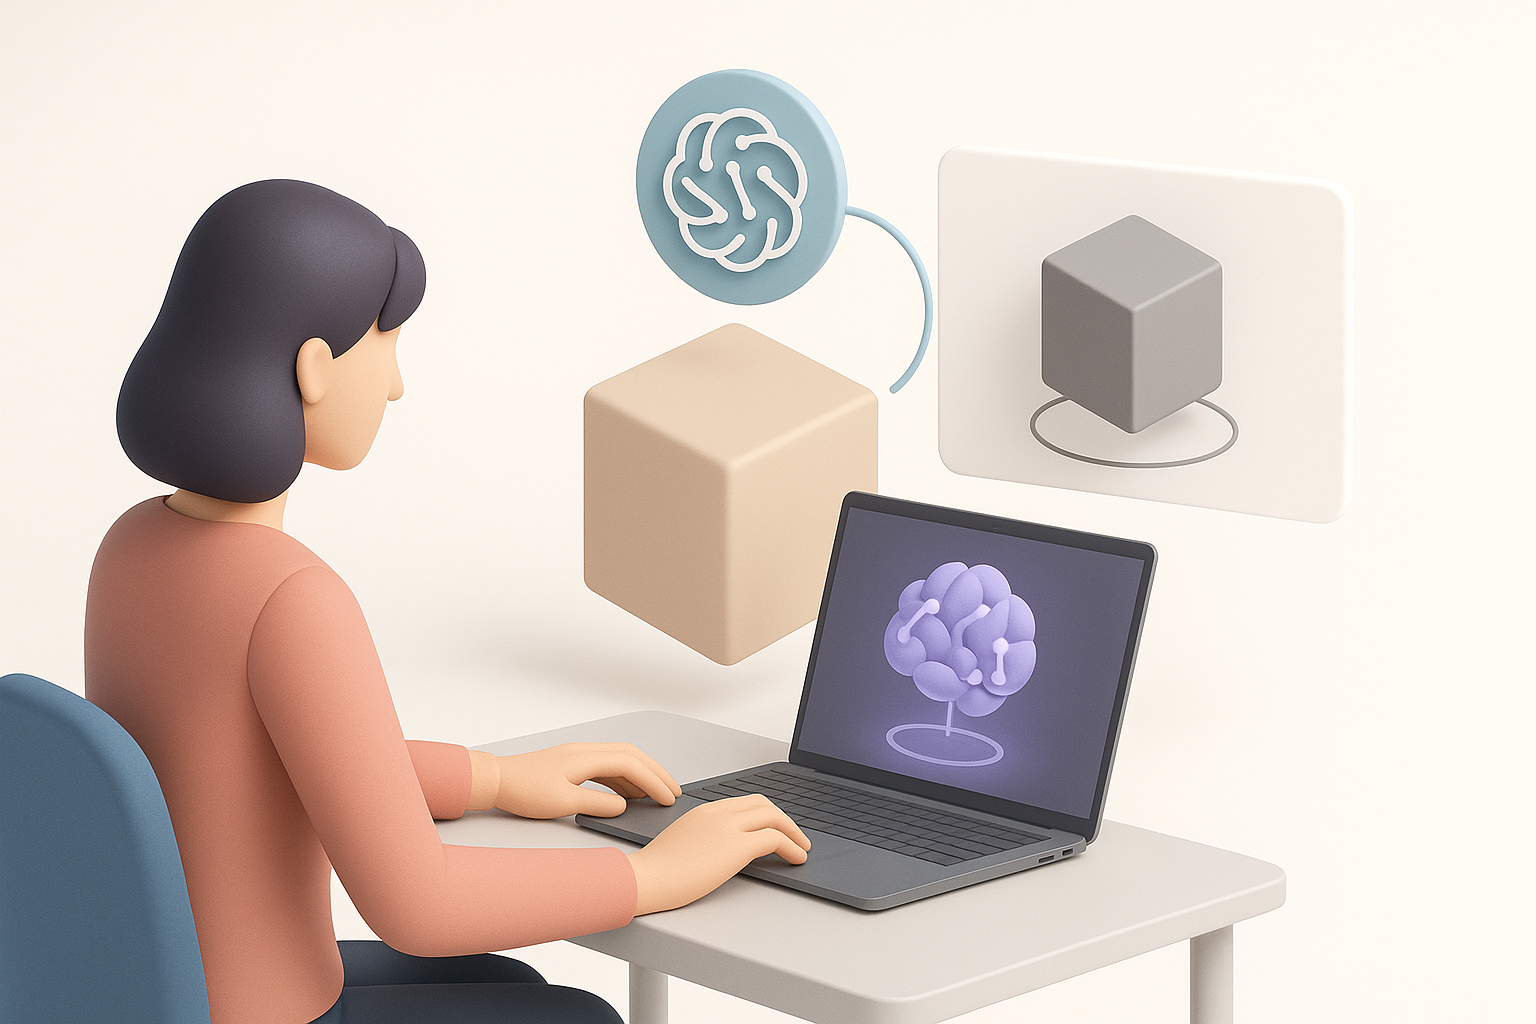
Using AI Tools to Accelerate 3D Model Creation
How I leverage Tripo for rapid prototyping
Tripo has become a core part of my prototyping process:
- I start with a text prompt, sketch, or reference image to generate a base mesh.
- Tripo’s built-in segmentation and retopology help ensure the model is low-poly and clean.
- I use the auto-texturing feature for quick iterations, then refine textures as needed.
This approach lets me generate several variations quickly, narrowing down the best option before manual polish.
Integrating AI-generated assets into Rec Room
Integrating AI assets takes a few extra steps:
- Export from Tripo in .FBX or .OBJ format.
- Review geometry in my 3D software—fix any non-manifold edges or stray verts.
- Check UVs and textures; sometimes I need to rebake or adjust for Rec Room’s requirements.
- Test import into Rec Room, looking for shading or scaling issues.
Tip: Don’t skip manual review—AI saves time, but human QA is essential.
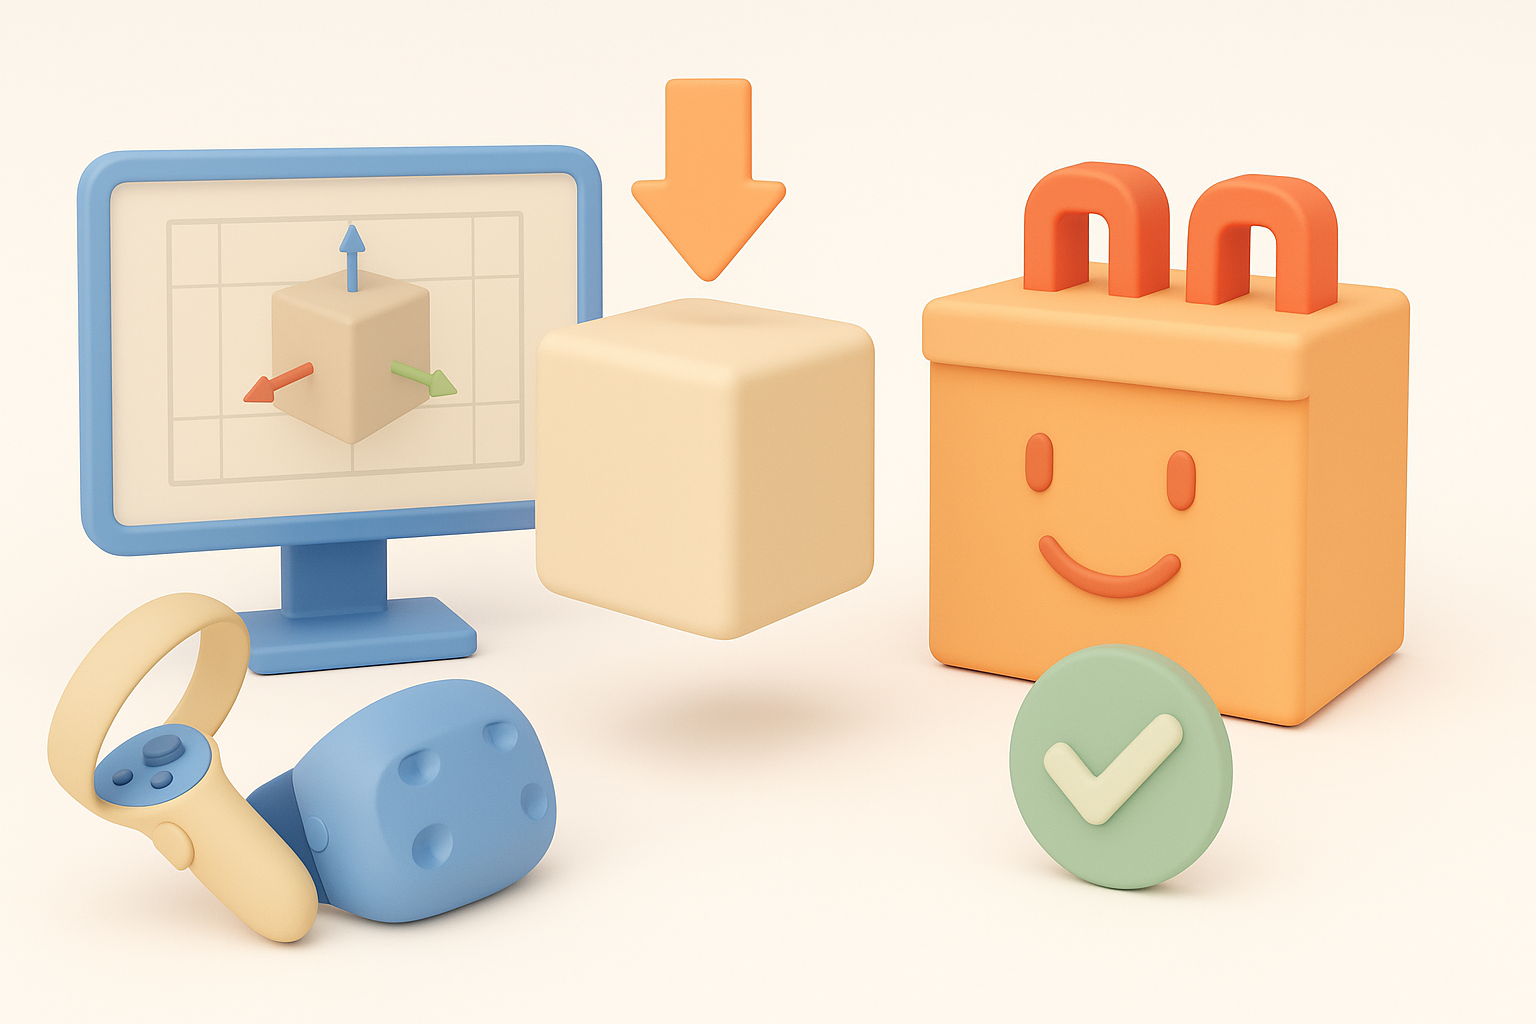
Best Practices for Importing and Testing Models in Rec Room
Preparing files for smooth import
Before importing, I always:
- Apply all transforms (scale, rotation, location).
- Bake animations, if any, into the model.
- Name objects and materials clearly (avoid special characters).
- Compress textures to the recommended size.
Mini-checklist:
- All transforms applied
- File format is .FBX or .OBJ
- Texture maps correctly assigned
Troubleshooting common issues
Common issues I’ve encountered:
- Model not appearing: Check scale and pivot point.
- Textures missing: Confirm texture paths and file types.
- Weird shading: Recalculate normals and check for double faces.
- Import errors: Simplify geometry or reduce polycount.
Tip: Test models in a private Rec Room space before sharing widely.
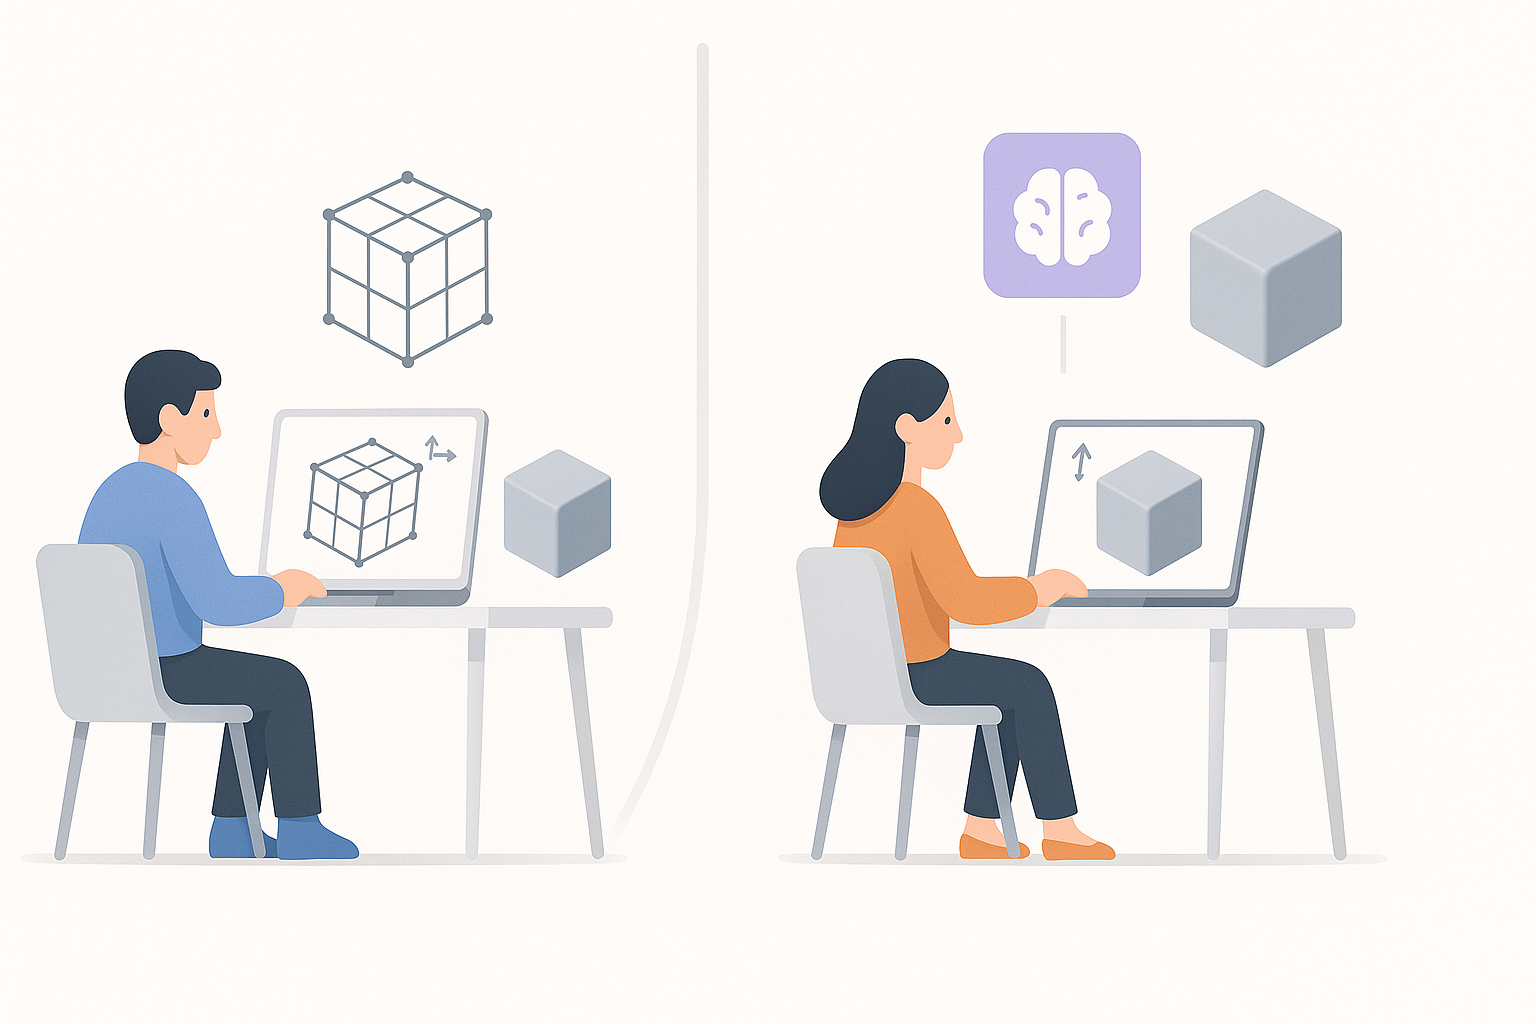
Comparing Manual and AI-Assisted 3D Model Workflows
Pros and cons from my experience
Manual workflow:
- Pros: Full artistic control, predictable results, best for unique or complex assets.
- Cons: Time-consuming, repetitive for similar assets.
AI-assisted workflow:
- Pros: Rapid prototyping, great for variations or quick concepts, reduces repetitive tasks.
- Cons: Sometimes produces messy geometry or needs extra cleanup, less control over fine details.
When to choose each approach
- Manual modeling: When precision, uniqueness, or detailed control is required.
- AI-assisted: For fast ideation, background assets, or when working with tight deadlines.
What I’ve found: The best results often come from blending both—using AI for base meshes and manual tools for final polish.
By following this workflow, you’ll streamline your Rec Room 3D model creation process—saving time while ensuring your assets look and perform their best in-game.