Creating a High-Quality Rabbit 3D Model: Expert Workflow
Creating a production-ready rabbit 3D model is more accessible than ever, thanks to AI-driven tools and streamlined workflows. In my experience, the key is blending smart planning, efficient modeling, and the right use of automation—especially for retopology, texturing, and rigging. This guide is for artists, animators, and developers who want a practical, hands-on approach to building a rabbit model that’s ready for animation or real-time use. I’ll break down each stage, share best practices, and highlight how AI platforms like Tripo can save hours while maintaining high quality.
Key takeaways:
- Plan with solid references before modeling a rabbit.
- Use AI tools for rapid base mesh generation and texturing.
- Manual refinement is essential for animation-ready topology and details.
- Rigging and animation require careful attention to anatomy and movement.
- Integrate AI and manual steps for the best production results.
Overview: Rabbit 3D Model Creation in Practice

Key Considerations Before Starting
Before I open any software, I clarify the project’s requirements: Is the rabbit for a game, film, or AR/VR? This defines the level of detail, polycount, and texture resolution. I gather style references—realistic or stylized—and check for technical constraints like animation needs or real-time rendering.
Checklist:
- Define end-use (game, film, XR, etc.)
- Collect anatomical and style references
- Note technical specs (polycount, UVs, rigging needs)
- Set a timeline and deliverables
Executive Summary and Takeaways
In practice, a disciplined workflow saves time and headaches. I front-load planning, use AI tools for repetitive or technical tasks (like base mesh or retopology), and always leave room for manual tweaks. The result: a rabbit model that balances speed, quality, and production-readiness.
Step-by-Step Workflow for Modeling a Rabbit
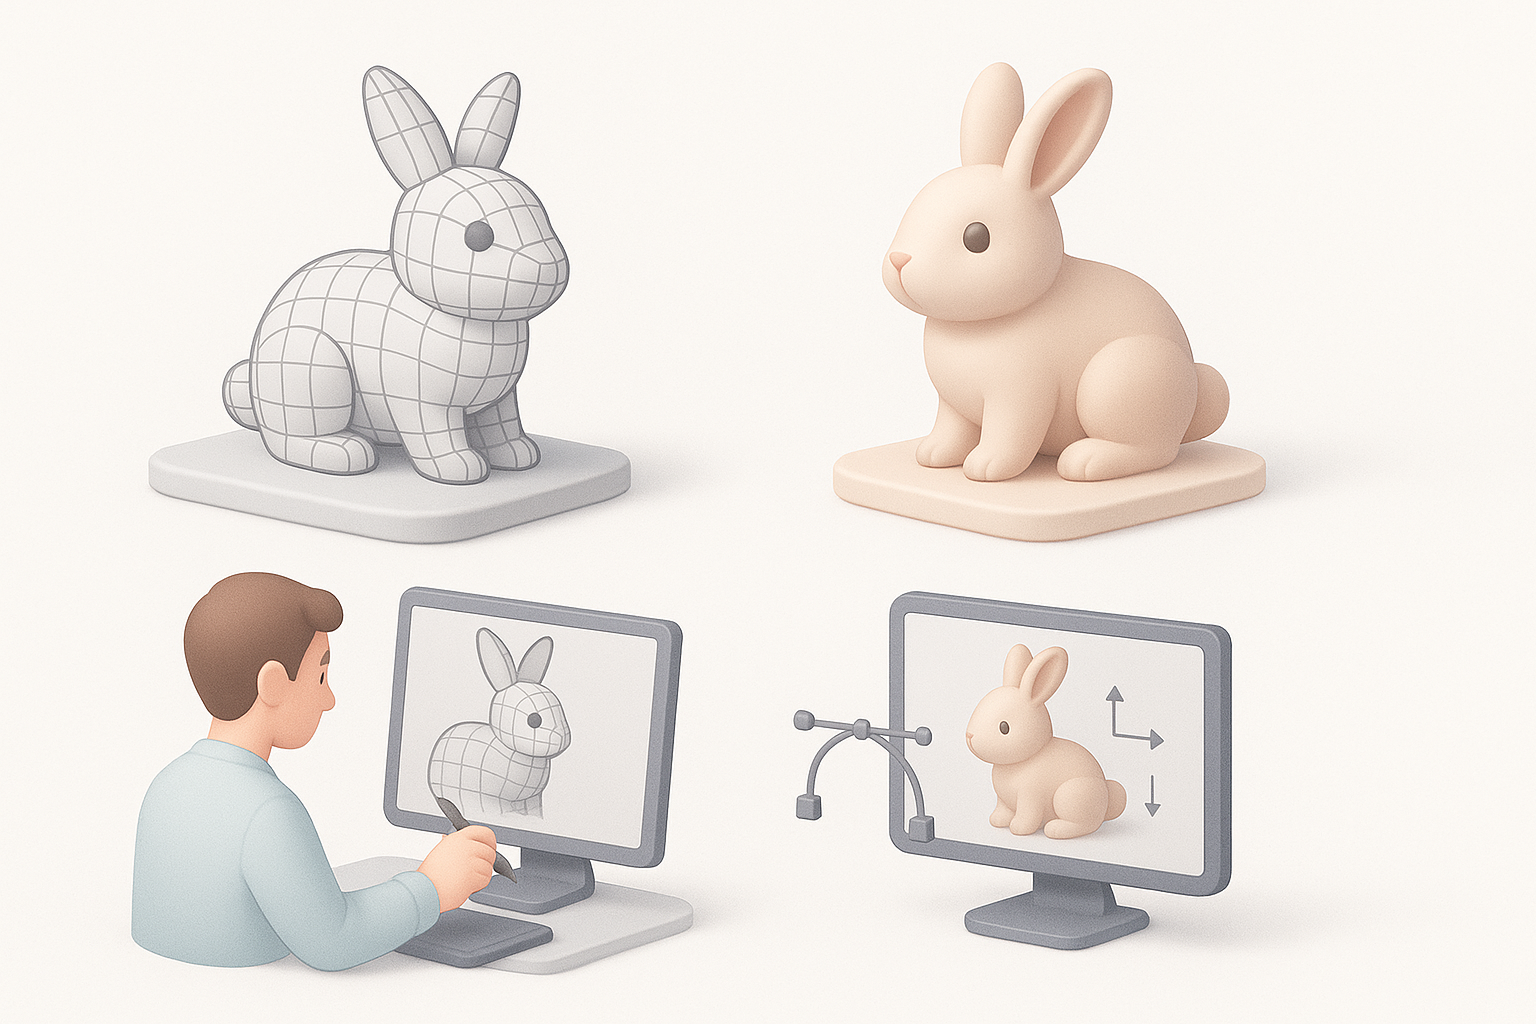
Gathering References and Planning
Strong references are non-negotiable. I collect photos from multiple angles, anatomical diagrams, and pose sheets. If the model needs to match a specific style, I create a moodboard.
My reference workflow:
- Gather photos (side, front, top views)
- Find skeletal/muscle diagrams for anatomy
- Collect style guides or concept art
- Organize in a reference board (PureRef, etc.)
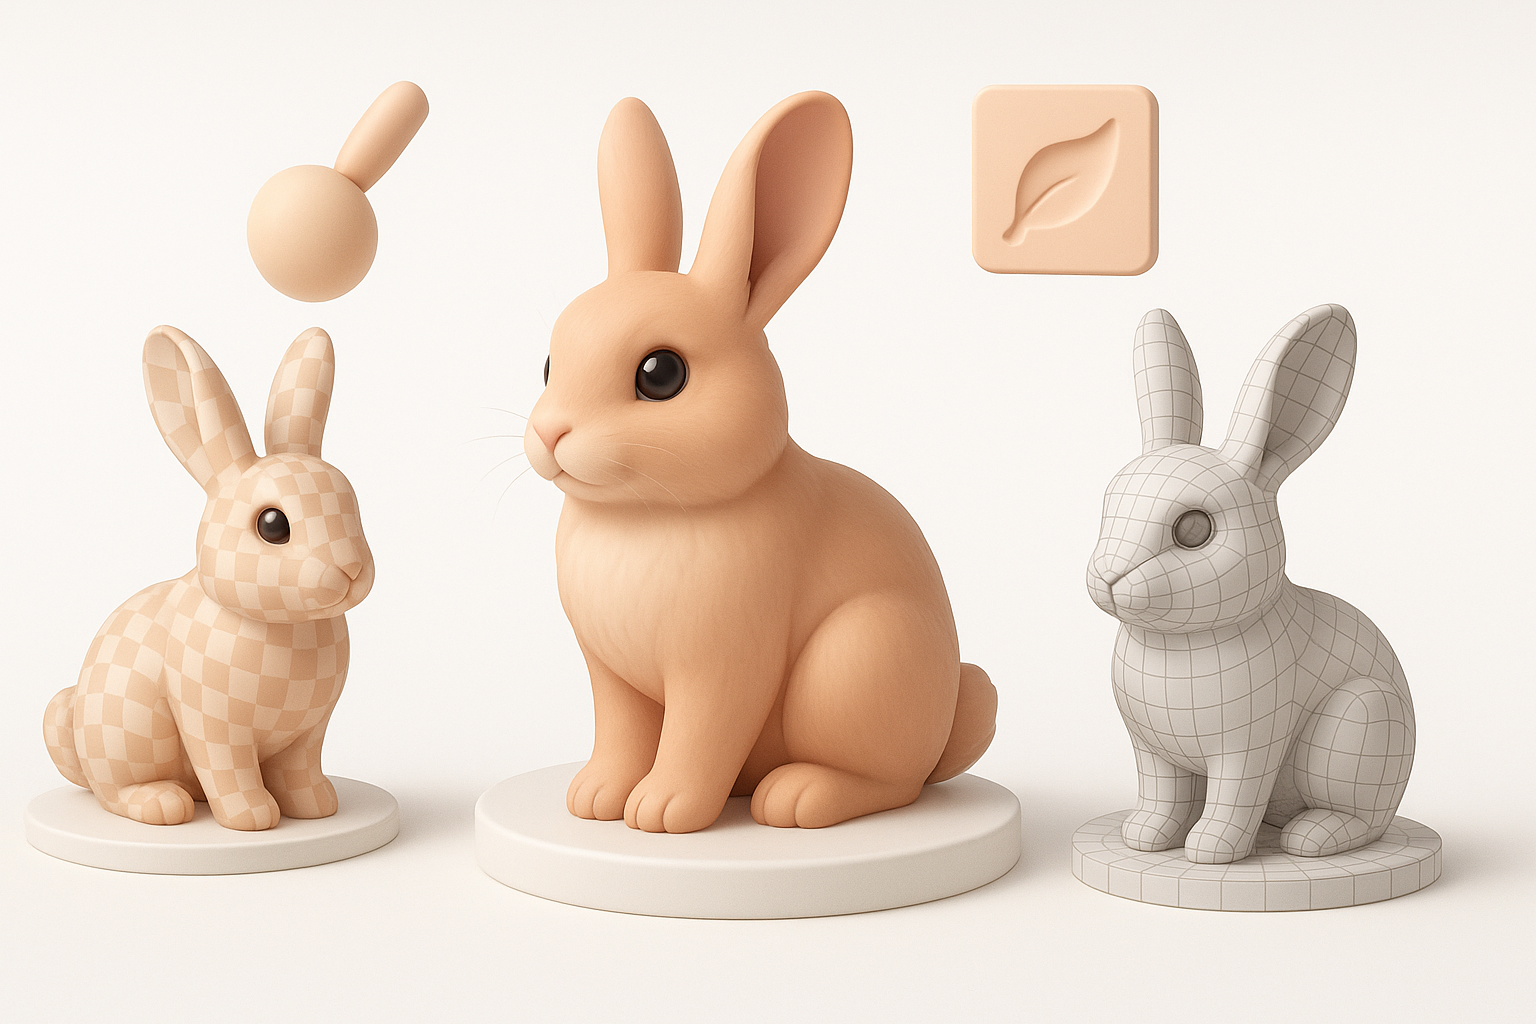
Blocking Out the Base Mesh
I typically start with a sphere or basic primitives, quickly shaping the main masses: head, body, legs, and ears. For speed, I often use Tripo to generate a base mesh from text or a rough sketch, then adjust proportions manually.
Blocking steps:
- Block out body, head, limbs, and ears as separate objects
- Adjust proportions to match references
- Merge and refine overall silhouette before moving to details
Texturing, Retopology, and Detailing Techniques
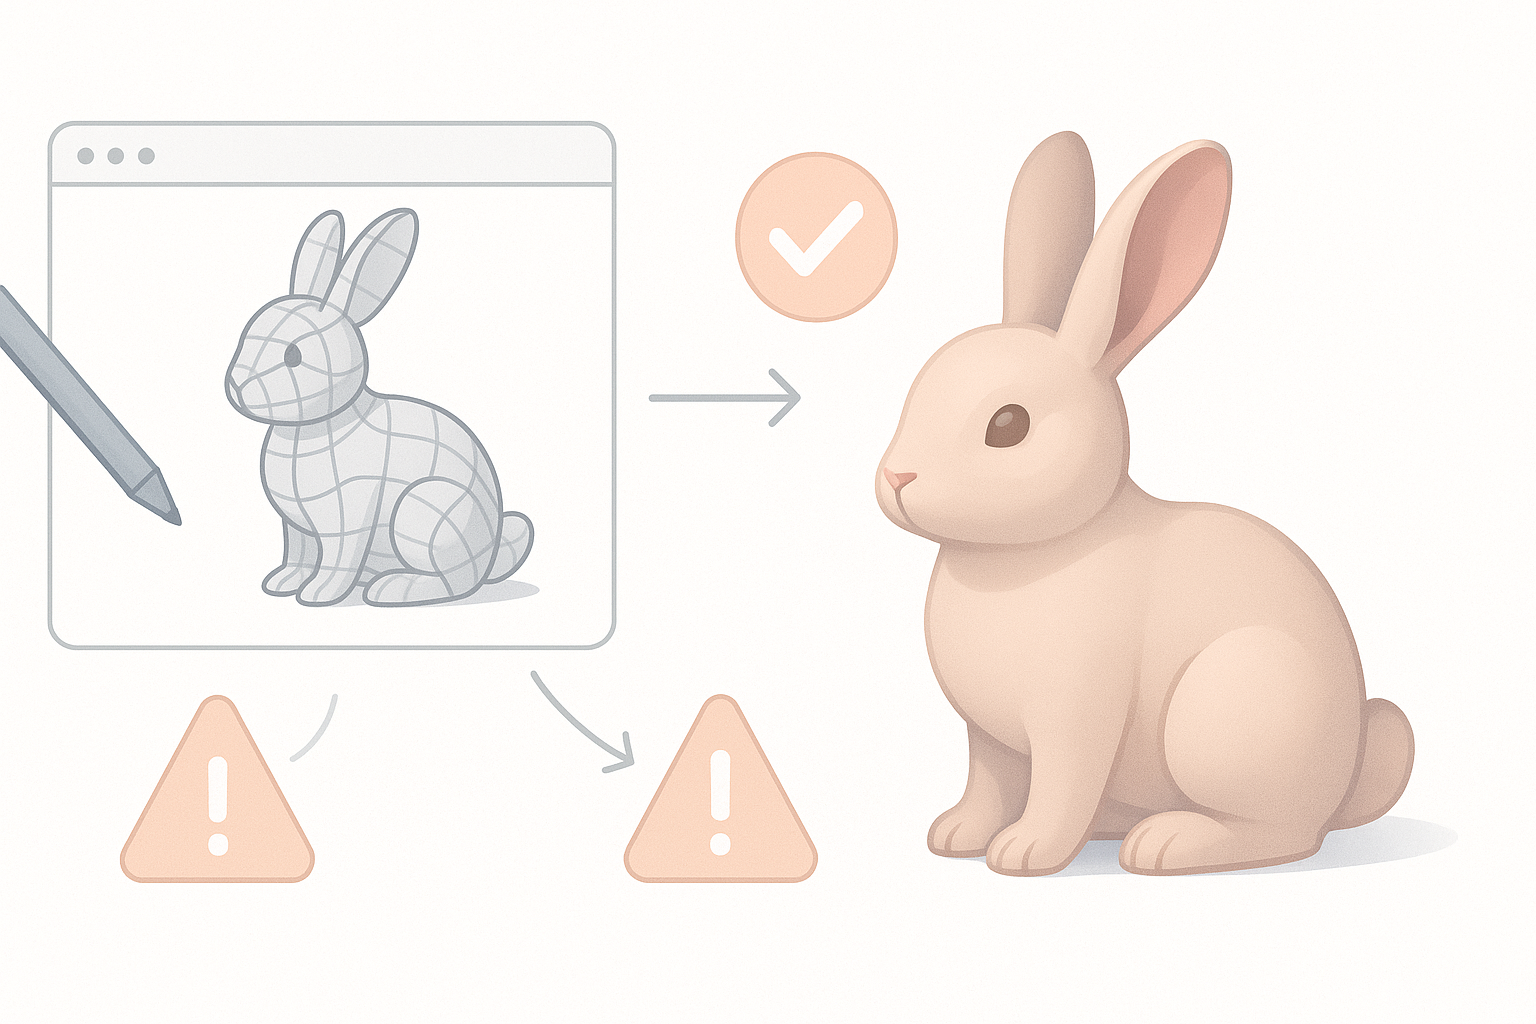
Efficient Retopology for Animation
Clean topology is critical for smooth deformations. I rely on AI-powered retopology for the initial pass, then manually tweak edge flow around joints and the face. This hybrid approach saves hours compared to manual retopo alone.
My retopology tips:
- Use auto-retopology for initial mesh cleanup
- Manually adjust edge loops at knees, elbows, and mouth
- Test deformation with simple rigs before finalizing
Applying Realistic Fur and Surface Textures
For realistic rabbits, fur is the main challenge. I use procedural texturing for the base color and normal maps, then layer hand-painted details. With Tripo, I can generate texture maps from references, but always refine seams and color variation manually.
Texturing checklist:
- Bake AO, normal, and curvature maps
- Apply base fur texture (AI-generated or painted)
- Add subtle color variation and dirt
- Check seams and UV stretching
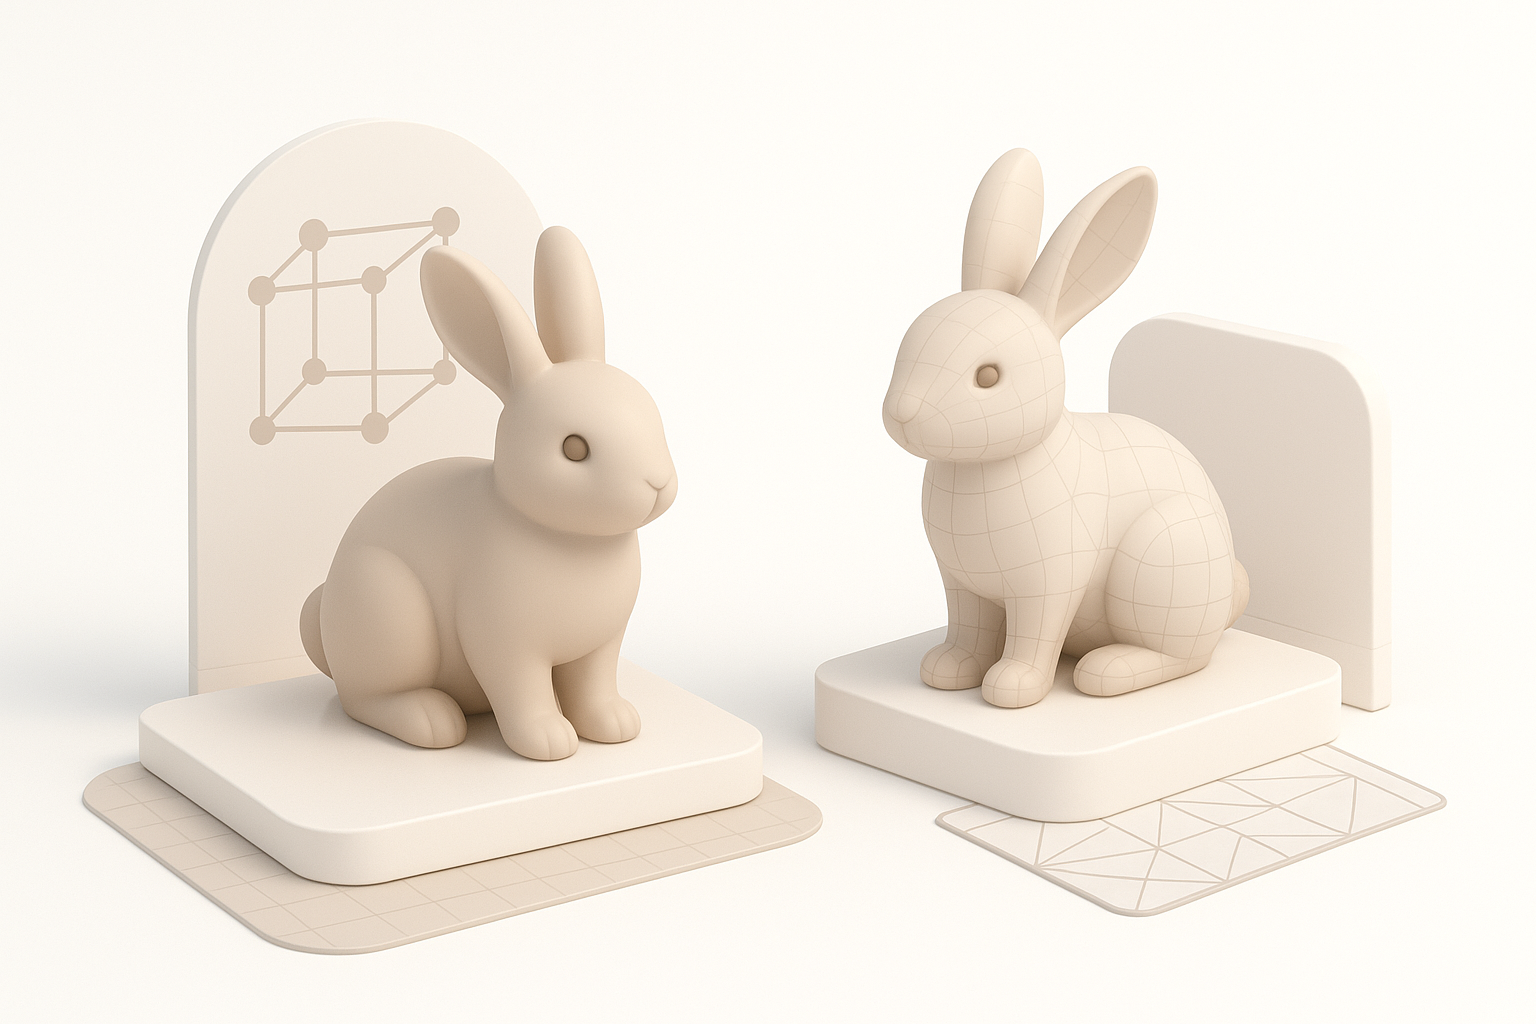
Rigging and Animating the Rabbit Model

Setting Up a Flexible Rig
Rabbit anatomy needs a flexible rig—especially for expressive ears and hopping motion. I start with a standard quadruped rig, then add custom controls for ears and facial expressions.
Rigging steps:
- Build spine, leg, and ear joint chains
- Add IK/FK switches for legs
- Create ear and facial controls for expressiveness
- Weight paint carefully, especially around joints
Animating Natural Rabbit Movements
Rabbit animation is all about timing and squash/stretch. I study reference videos to capture the bounce and quick pauses. I block out key poses, then refine arcs and secondary motion (like ear flops).
Animation workflow:
- Block main poses (sit, hop, idle)
- Polish timing—rabbits move in bursts
- Add secondary motion (ears, nose twitch)
- Test in-engine for real-time feedback
Best Practices and Common Pitfalls
What I’ve Learned from Real Projects
In production, I’ve learned to avoid overcomplicating early stages. Iteration is faster when the base mesh and topology are clean. I always test deformations and textures in the target engine before final approval.
Common pitfalls:
- Over-detailing before topology is clean
- Ignoring reference—leads to anatomical errors
- Not testing animations early enough
Tips for Achieving Production-Ready Results
Production-ready means the model works in context. I keep UVs organized, textures optimized, and rigs simple but flexible. Automated tools help, but I always review outputs manually.
Best practices:
- Keep UV islands logical and distortion-free
- Optimize texture size for target platform
- Test model under real lighting and shaders
- Review with animators for feedback
Comparing AI-Powered and Traditional 3D Workflows
When to Use AI Tools for Rabbit Models
AI tools excel at generating base meshes, quick retopology, and initial texture passes. I use them to jumpstart the process, especially under tight deadlines or for rapid prototyping.
AI is best for:
- Fast base mesh creation from text/sketch
- Automated retopology for clean geometry
- Generating texture maps from references
Integrating AI with Manual Techniques
I never rely solely on AI—final quality comes from manual refinement. I blend AI outputs with hands-on sculpting, texturing, and rigging for full control and polish.
Integration workflow:
- Start with AI-generated mesh/textures
- Refine anatomy and topology manually
- Hand-paint or adjust textures for realism
- Use AI as a time-saver, not a replacement for expertise
By combining smart planning, AI-powered tools, and hands-on artistry, I consistently deliver rabbit 3D models that are both efficient to produce and ready for demanding production pipelines.