Creating High-Quality Pet Simulator 99 3D Models: My Workflow
When building 3D models for Pet Simulator 99, my priority is speed, style accuracy, and game-ready optimization. Over time, I’ve refined a workflow that leverages AI-powered tools like Tripo to accelerate the process—without sacrificing quality or creativity. This guide is for 3D artists, game developers, and technical artists looking to create stylized, production-ready pet models efficiently. I’ll cover everything from initial concept to in-game implementation, including practical tips, pitfalls, and workflow shortcuts I rely on daily.
Key takeaways
- Reference and style analysis are crucial for matching Pet Simulator 99’s aesthetic and technical requirements.
- AI-powered tools like Tripo drastically reduce modeling and texturing time, especially for base meshes and stylized assets.
- Game-ready optimization (retopology, UVs, LODs) is non-negotiable for smooth engine integration.
- Iterative testing in-engine catches issues early and ensures models meet performance targets.
- Shortcuts and checklists help avoid common pitfalls and speed up repetitive steps.
Understanding Pet Simulator 99 3D Model Requirements
Game Style and Technical Constraints
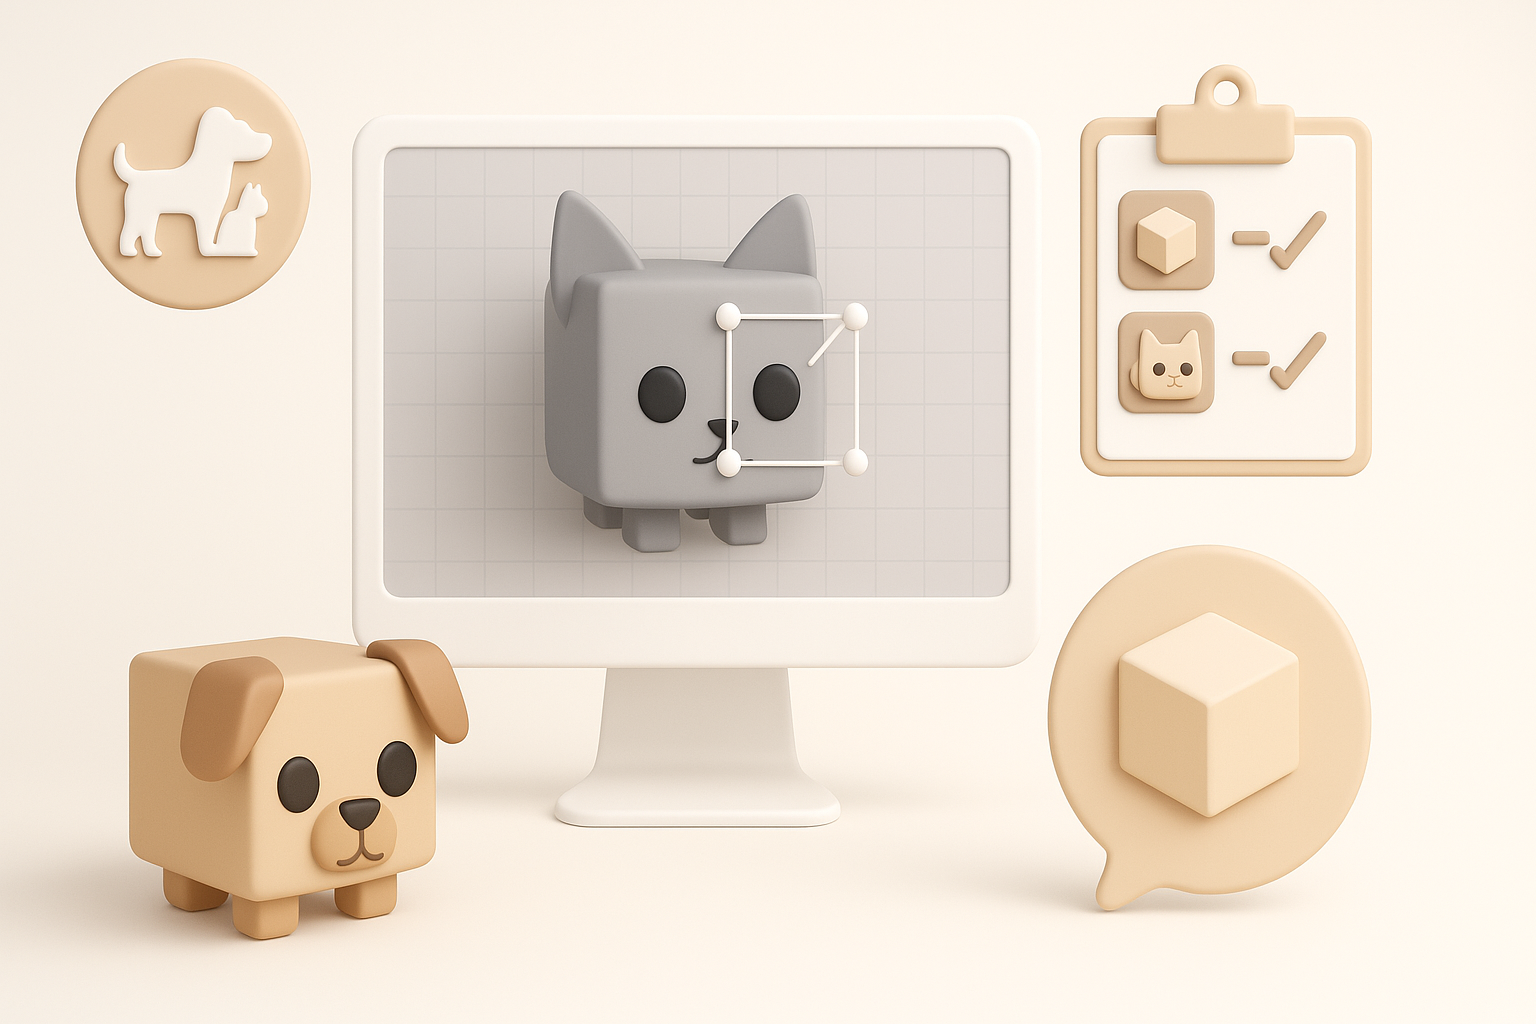
Pet Simulator 99 features a distinct, stylized look: simplified forms, vibrant colors, and exaggerated proportions. From experience, I know matching this style is as important as technical compliance. Most models must stay under strict polycount limits (usually 2–5k tris per pet), use single 512–1024 px textures, and support basic rigging for simple animations.
Checklist:
- Analyze existing game assets for style cues (shapes, colors, proportions)
- Confirm polycount, texture size, and rigging specs with the dev team or documentation
- Test sample imports for shading and scale consistency
Reference Gathering and Analysis
I always start by collecting references—screenshots from the game, concept art, and user-generated content. I break down the core shapes, color palettes, and silhouette language. This step prevents wasted effort on off-style details.
My approach:
- Use in-game screenshots and official art as primary references
- Supplement with fan art for creative variations, but cross-check with official style
- Create a moodboard for quick visual alignment during modeling
My Step-by-Step 3D Model Creation Process
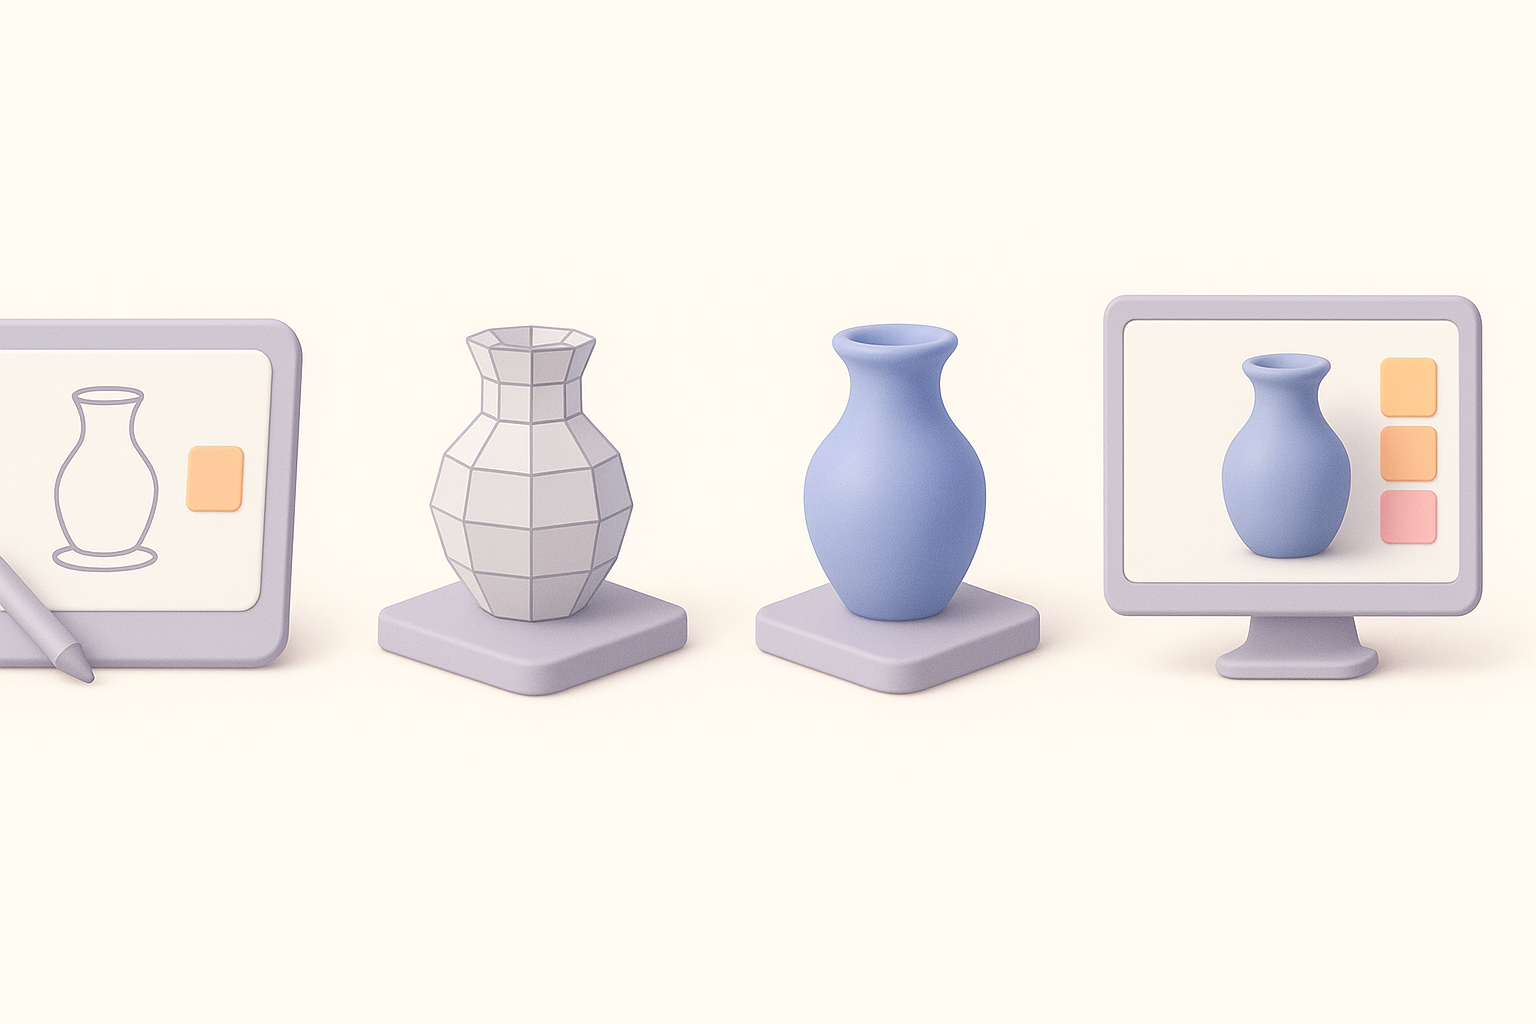
Concept to Base Mesh: Tools and Techniques
I begin with quick 2D sketches or blockouts, then move to a base mesh. For speed, I often use Tripo to generate a starting mesh from a text prompt or rough sketch—it’s a huge time saver for generic pet shapes.
Steps:
- Sketch or describe the pet concept
- Input prompt/sketch into Tripo to generate a base mesh
- Refine proportions and topology in Blender or Maya
Tips:
- Keep base meshes simple; add detail later
- Use symmetry and mirroring to speed up modeling
Refining, Retopology, and Optimization
Once I’m happy with the base, I manually refine shapes, add unique features, and ensure the mesh is clean. Tripo’s built-in retopology is reliable for stylized models, but I always check for extra verts or ngons.
Optimization steps:
- Run auto-retopology, then manually clean up edge flow
- Bake normals if needed for subtle detail without extra geometry
- Ensure UVs are unwrapped efficiently (minimal seams, optimal texel density)
Pitfall: Don’t skip manual cleanup—AI tools can miss small errors that cause in-game issues.
Texturing, Rigging, and Animation Best Practices
Efficient Texturing for Stylized Pets
For Pet Simulator 99, I stick to flat colors and hand-painted textures. Tripo’s texture suggestions are a good base, but I usually tweak them in Substance Painter or Photoshop for more control.
My workflow:
- Export UVs, generate base texture in Tripo
- Paint over for highlights and shadows, keeping style consistent
- Test textures on the model with real-time lighting
Tip: Use color palettes sampled directly from the game for instant style match.
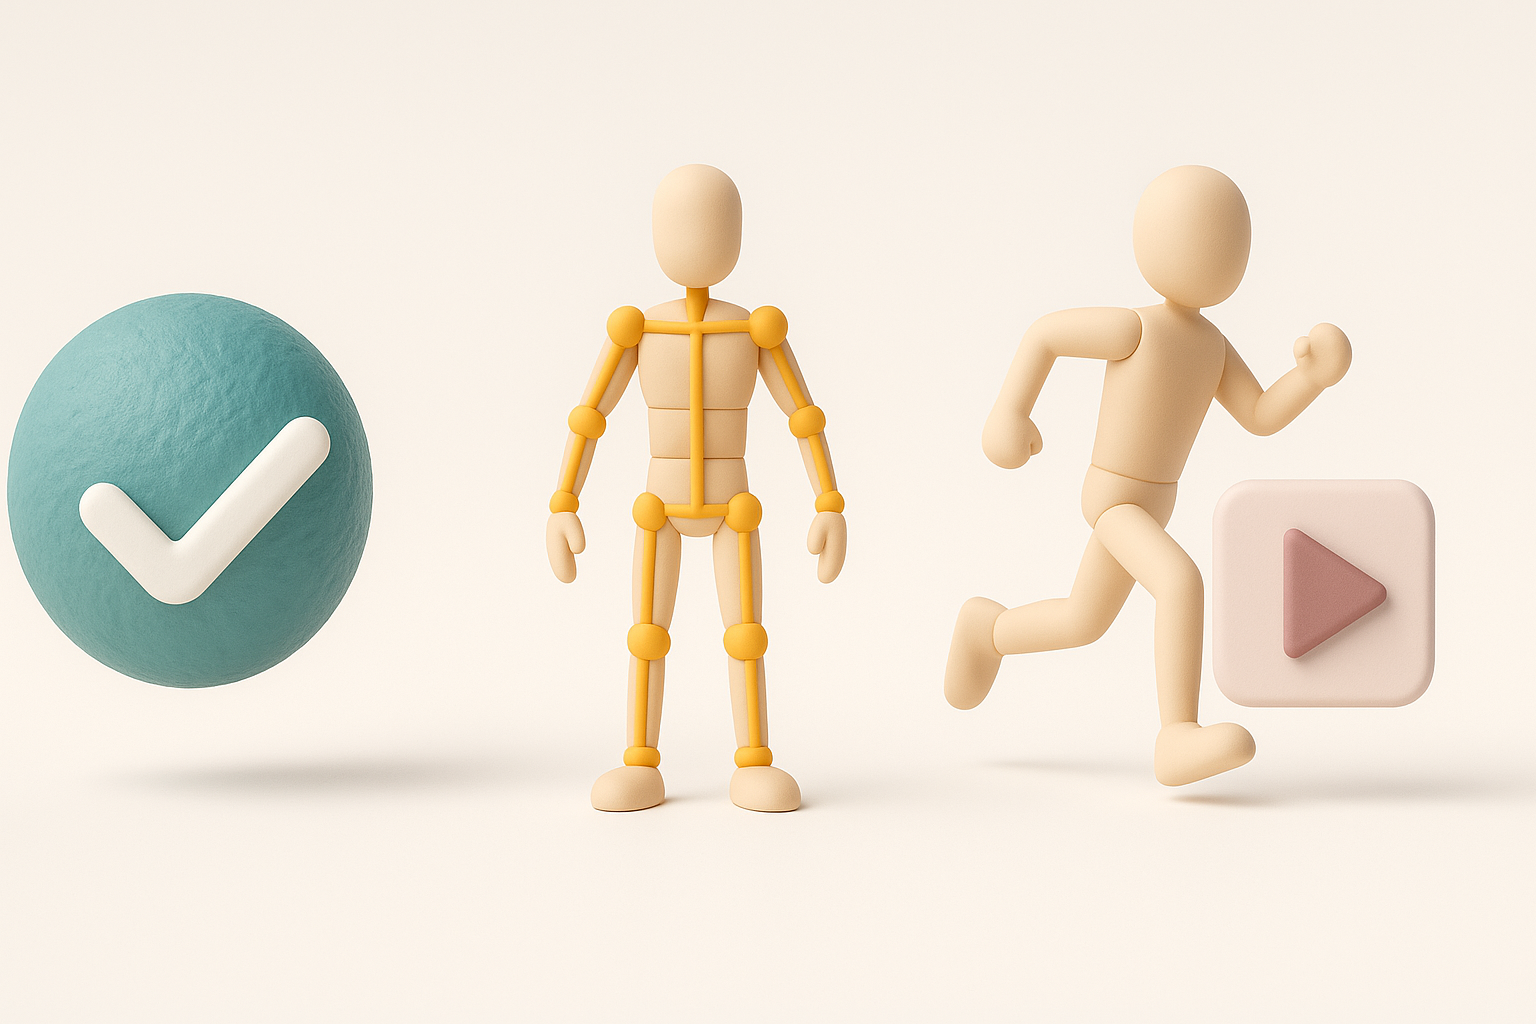
Rigging and Simple Animation Tips
Most pets need basic rigs for idle, walk, and jump animations. I use auto-rigging tools in Tripo or other platforms for initial bones, then adjust weights manually.
Rigging checklist:
- Place bones for main body, legs, ears, tail
- Use minimal bones to keep rigs lightweight
- Test deformations with simple animations before exporting
Tip: Save reusable rig presets for common pet types to speed up future work.
Using AI-Powered Tools for Faster 3D Asset Creation
How I Integrate AI Platforms into My Workflow
AI tools like Tripo are now at the core of my workflow. I use them for rapid base mesh generation, auto-retopology, and initial texturing—especially for repetitive or generic assets.
Integration steps:
- Start with AI for base mesh and UVs
- Switch to manual tools for refinement and unique features
- Use AI texture generation for quick variations
Comparing AI Tools and Manual Methods
While AI tools save hours, manual tweaks are still essential for polish and style consistency. I’ve found the best results come from blending the two—AI for speed, manual for quality.
My rule of thumb:
- AI for blockouts, retopo, and base textures
- Manual for detail sculpting, cleanup, and final polish
Pitfall: Relying solely on AI can lead to generic or off-style results—always review and refine.
Exporting and Implementing Models in Pet Simulator 99
Export Settings and Compatibility
Exporting for Pet Simulator 99 usually means FBX or GLTF formats, with embedded textures and simple rigs. I double-check axis orientation, scale, and material assignments before export.
Export checklist:
- Freeze transforms, apply scale (usually 1:1 with game units)
- Bake animations if needed
- Embed or link textures as required by the engine
Testing and Iteration in the Game Engine
I always import models into the target engine (Unity or Roblox, depending on the project) for real-world testing. This step catches issues like flipped normals, shading errors, or rig problems.
My process:
- Import and place model in a test scene
- Check materials, lighting, and animations
- Iterate on fixes, re-export, and re-import as needed
Tip: Set up a fast round-trip workflow between DCC tools and the engine to minimize downtime.
Lessons Learned and Expert Tips for Success

Common Pitfalls and How I Avoid Them
- Ignoring style guides: Leads to off-brand models—always reference the official art.
- Skipping manual cleanup: Causes shading and animation glitches.
- Overcomplicating rigs: Unnecessary bones slow down the game.
How I avoid them:
- Regular style checks
- Manual mesh and rig reviews before export
- Keeping rigs as simple as possible
My Favorite Shortcuts and Workflow Enhancements
- Template files: Pre-set scenes with lighting, cameras, and export settings.
- Batch processing: Use Tripo for bulk base mesh/textures generation.
- Custom scripts: Automate repetitive tasks like UV packing and LOD generation.
Final tip: Stay flexible—combine AI speed with manual artistry for the best results, and always test in-engine before calling a model final.
By integrating AI-powered tools like Tripo with hands-on refinement, I consistently deliver high-quality, game-ready Pet Simulator 99 3D models—fast. This workflow balances speed, creativity, and technical reliability, making it my go-to approach for stylized game asset creation.