Creating and Optimizing Person 3D Models: Expert Workflow
Creating high-quality person 3D models used to be a complex, time-consuming process, but modern AI-powered tools have changed the game. In my experience, the key to efficient and realistic character creation is combining the right references, tools, and best practices—while knowing when to leverage AI for speed and when to refine manually for quality. This article outlines my proven workflow for producing production-ready person 3D models, including tips for segmentation, retopology, texturing, rigging, and exporting. Whether you’re building assets for games, film, or XR, these techniques will help you streamline your pipeline and ensure compatibility.
Key takeaways
- Start with strong references and a clear plan for your character’s role and requirements.
- Use AI-powered platforms like Tripo AI to accelerate model generation and automate repetitive tasks.
- Always check and refine segmentation, topology, and textures for realism and technical soundness.
- Rig and animate with efficiency in mind, tailoring the export process for your target platform.
- Integrate AI tools with manual touch-ups for best results—don’t rely on automation alone.
- Troubleshoot artifacts early and optimize for performance to avoid issues downstream.
Overview of Person 3D Model Creation
What is a Person 3D Model?
A person 3D model is a digital representation of a human figure, designed for use in interactive media, animation, visualization, and more. These models can range from stylized avatars to photorealistic digital doubles, depending on the project’s needs. In my workflow, I focus on building models that are both visually convincing and technically robust—ready for animation, game engines, or cinematic rendering.
Key Use Cases Across Industries
Person 3D models are essential in:
- Gaming: Player characters, NPCs, and crowd assets.
- Film and VFX: Digital doubles, stunt replacements, and extras.
- XR (AR/VR): Avatars and interactive experiences.
- Design and Visualization: Virtual fitting rooms, architectural visualization, and marketing.
I always tailor my approach based on the final use case, as requirements for polycount, rigging, and texturing can vary significantly.
My Step-by-Step Workflow for Person 3D Models
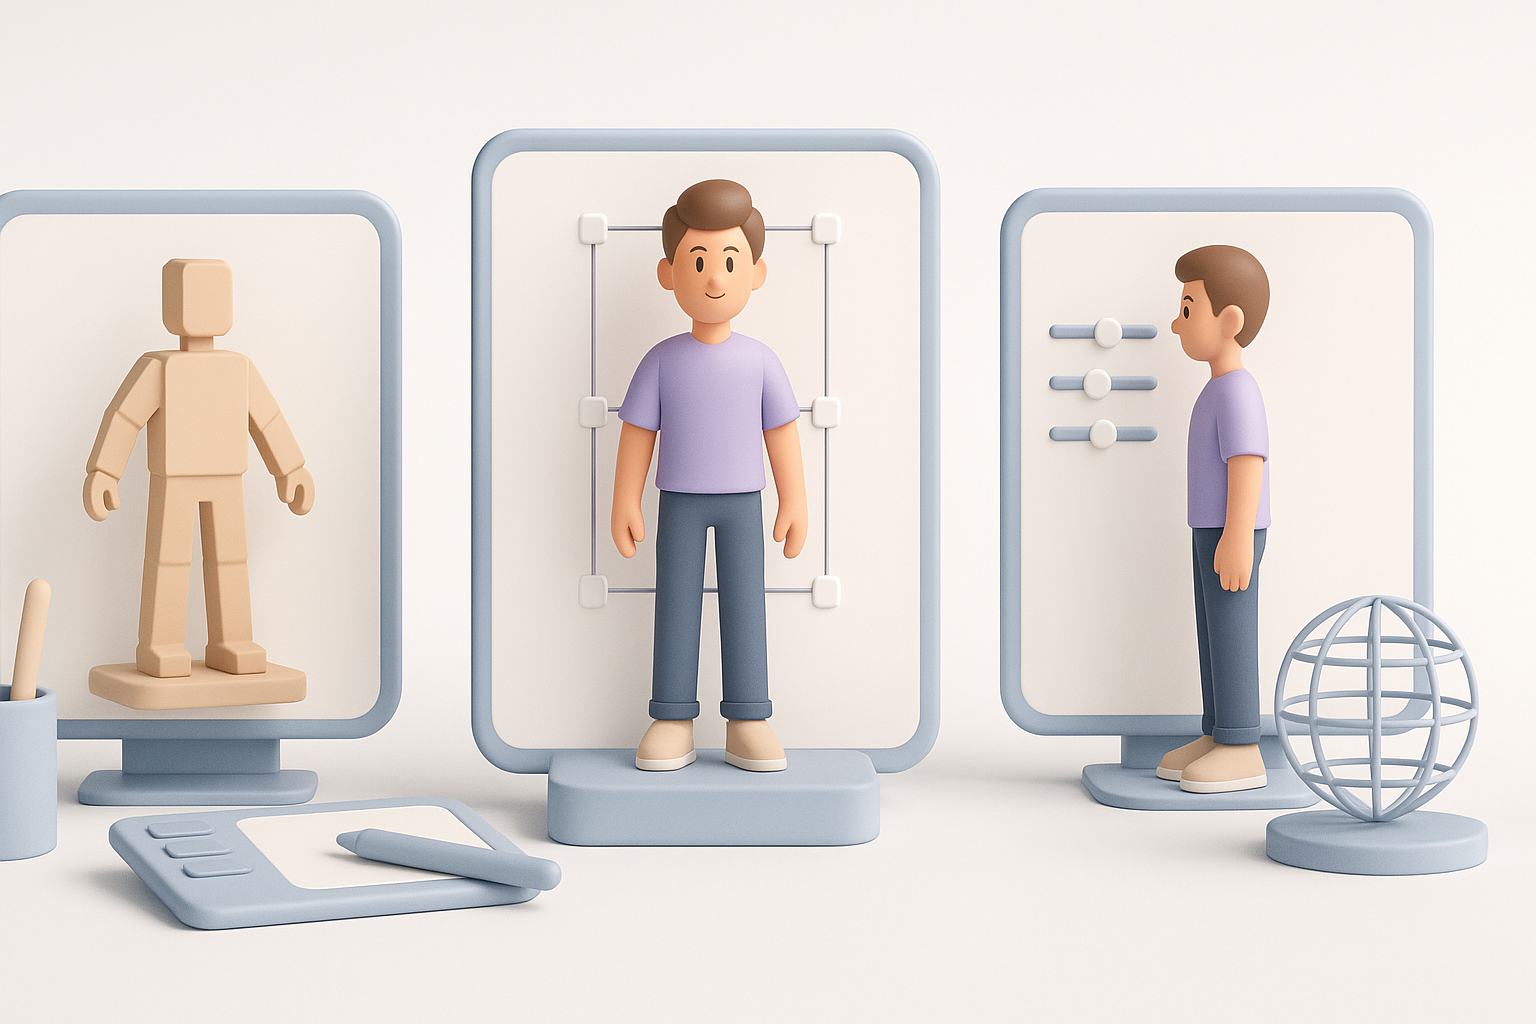
Gathering References and Planning
I always start by collecting high-quality references. This includes:
- Front, side, and back photos (if possible)
- Style boards for clothing, hair, and accessories
- Notes on the intended animation or interaction
Checklist for planning:
- Define target platform (game, film, XR)
- Outline technical constraints (polycount, texture sizes)
- Specify required facial/body expressions or movements
Spending time here prevents costly rework later.
Choosing the Right Tools and Platforms
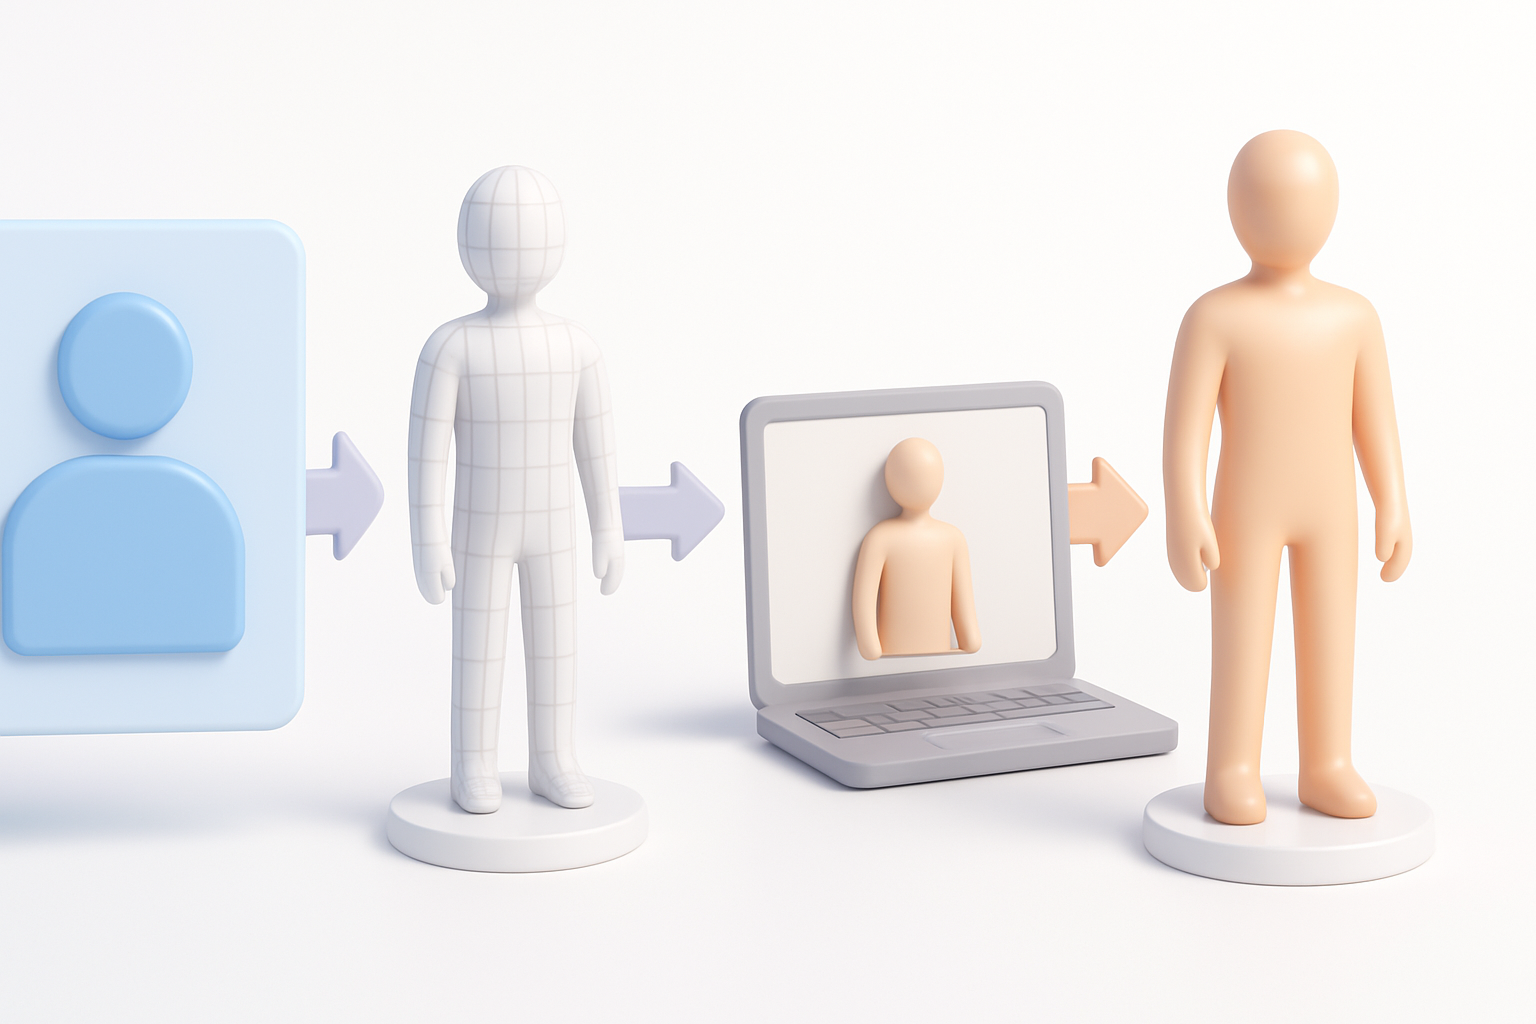
Tool selection is crucial. For rapid prototyping or when I need to generate variations, I use AI-based platforms like Tripo AI. For detailed sculpting or custom features, I move to traditional DCC software.
My typical toolchain:
- Tripo AI for initial model generation and segmentation
- DCC tools for sculpting, retopology, and UVs
- Texture painting apps for detailed maps
- Rigging and animation software as needed
I always ensure my workflow allows easy round-tripping between tools for refinement.
Best Practices for High-Quality Results
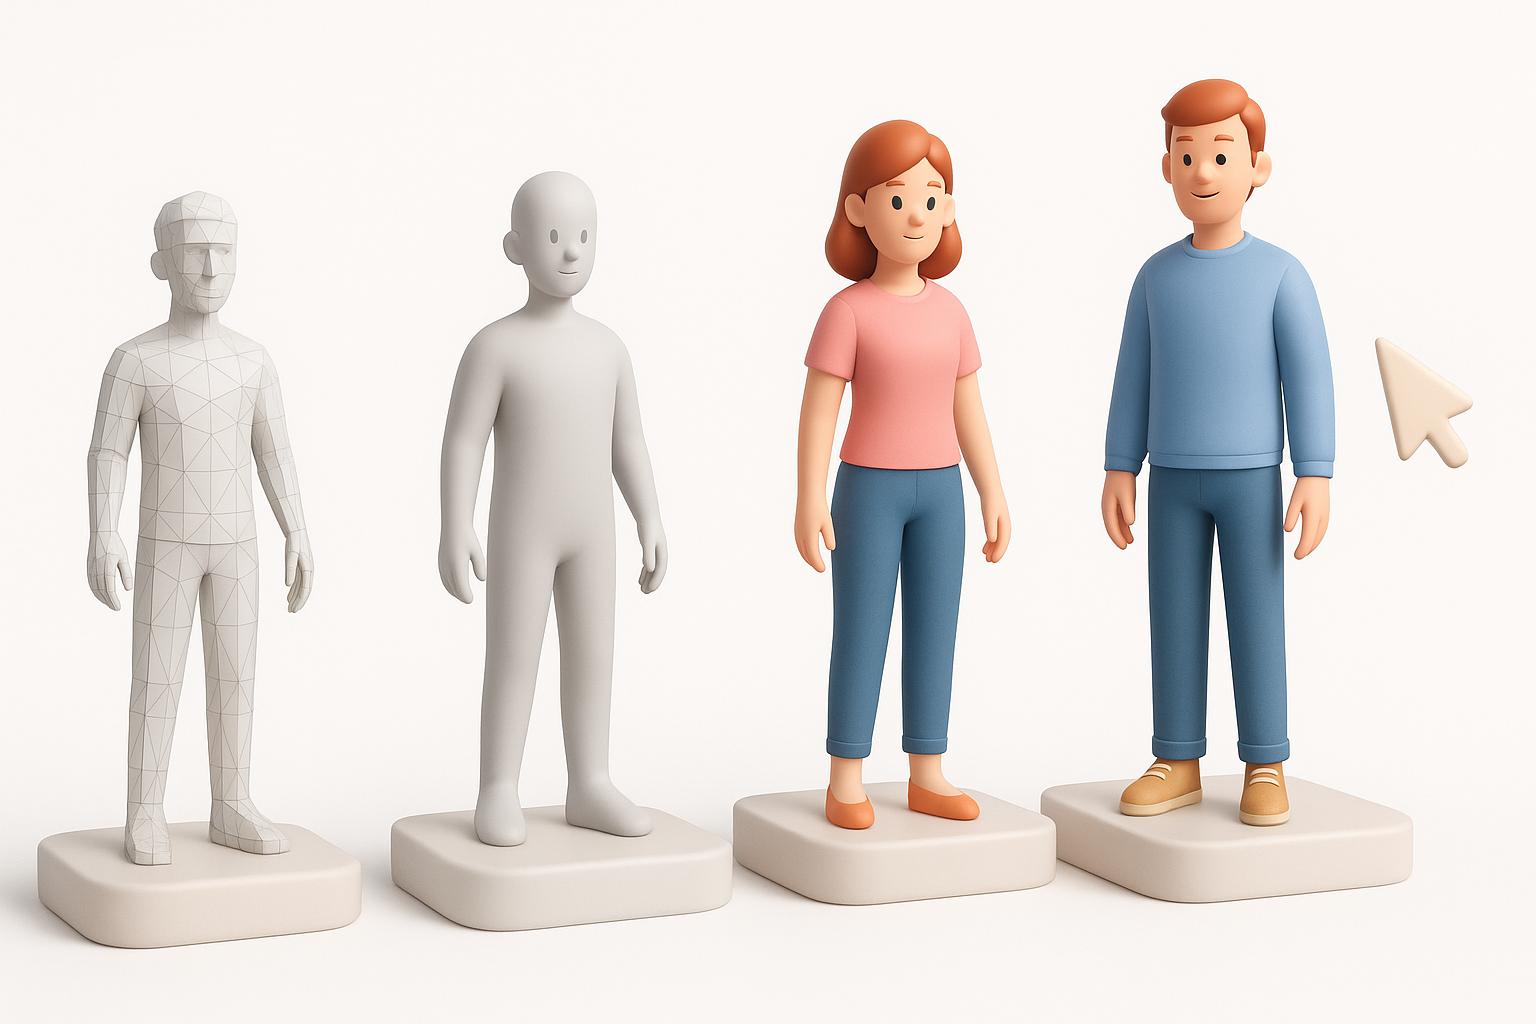
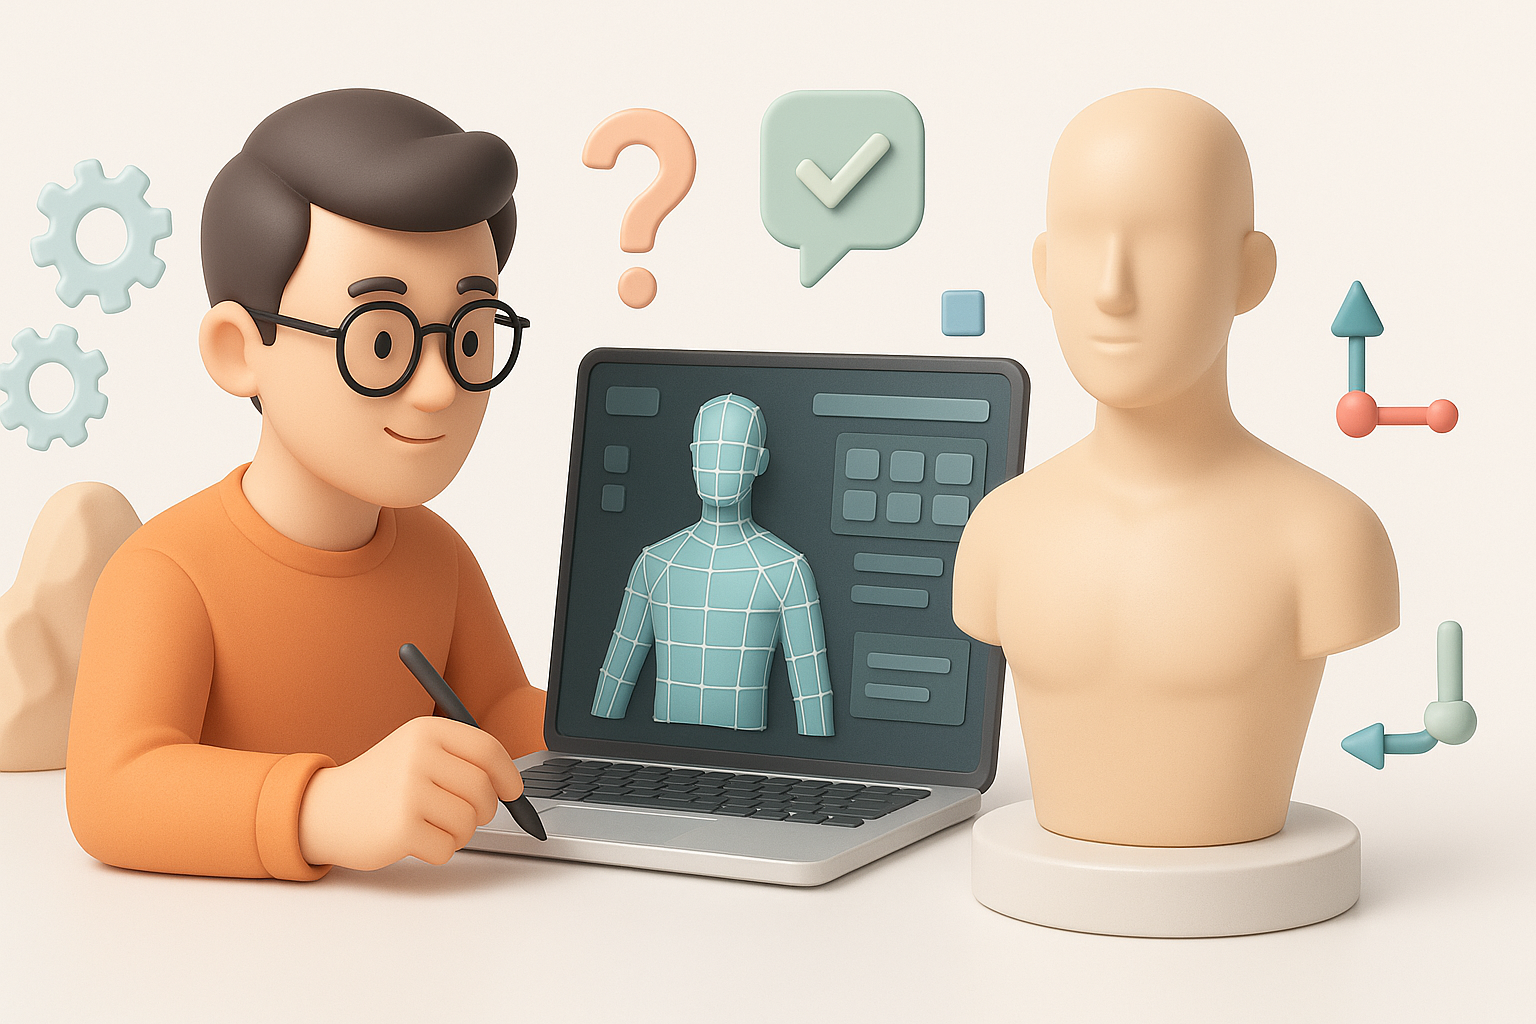
Segmentation, Retopology, and Texturing Tips
Clean segmentation and topology are non-negotiable for animation and efficient rendering. I let AI handle the initial segmentation, then manually check and fix edge flow—especially around joints and facial features.
Tips:
- Use quad-based topology for deformation areas (shoulders, elbows, face)
- Lay out UVs to minimize stretching and seams
- Bake normals and AO maps for realism
For texturing, I use high-res scans or paint details by hand, making sure skin, eyes, and clothing read well in different lighting.
Ensuring Realism and Production Readiness
Realism comes from both texture detail and subtle anatomical accuracy. I always:
- Cross-check proportions with reference images
- Adjust shader parameters for realistic skin and eyes
- Test deformations with basic rigs before finalizing
A model is only production-ready if it holds up under animation and in-engine lighting.
Rigging, Animation, and Export Considerations
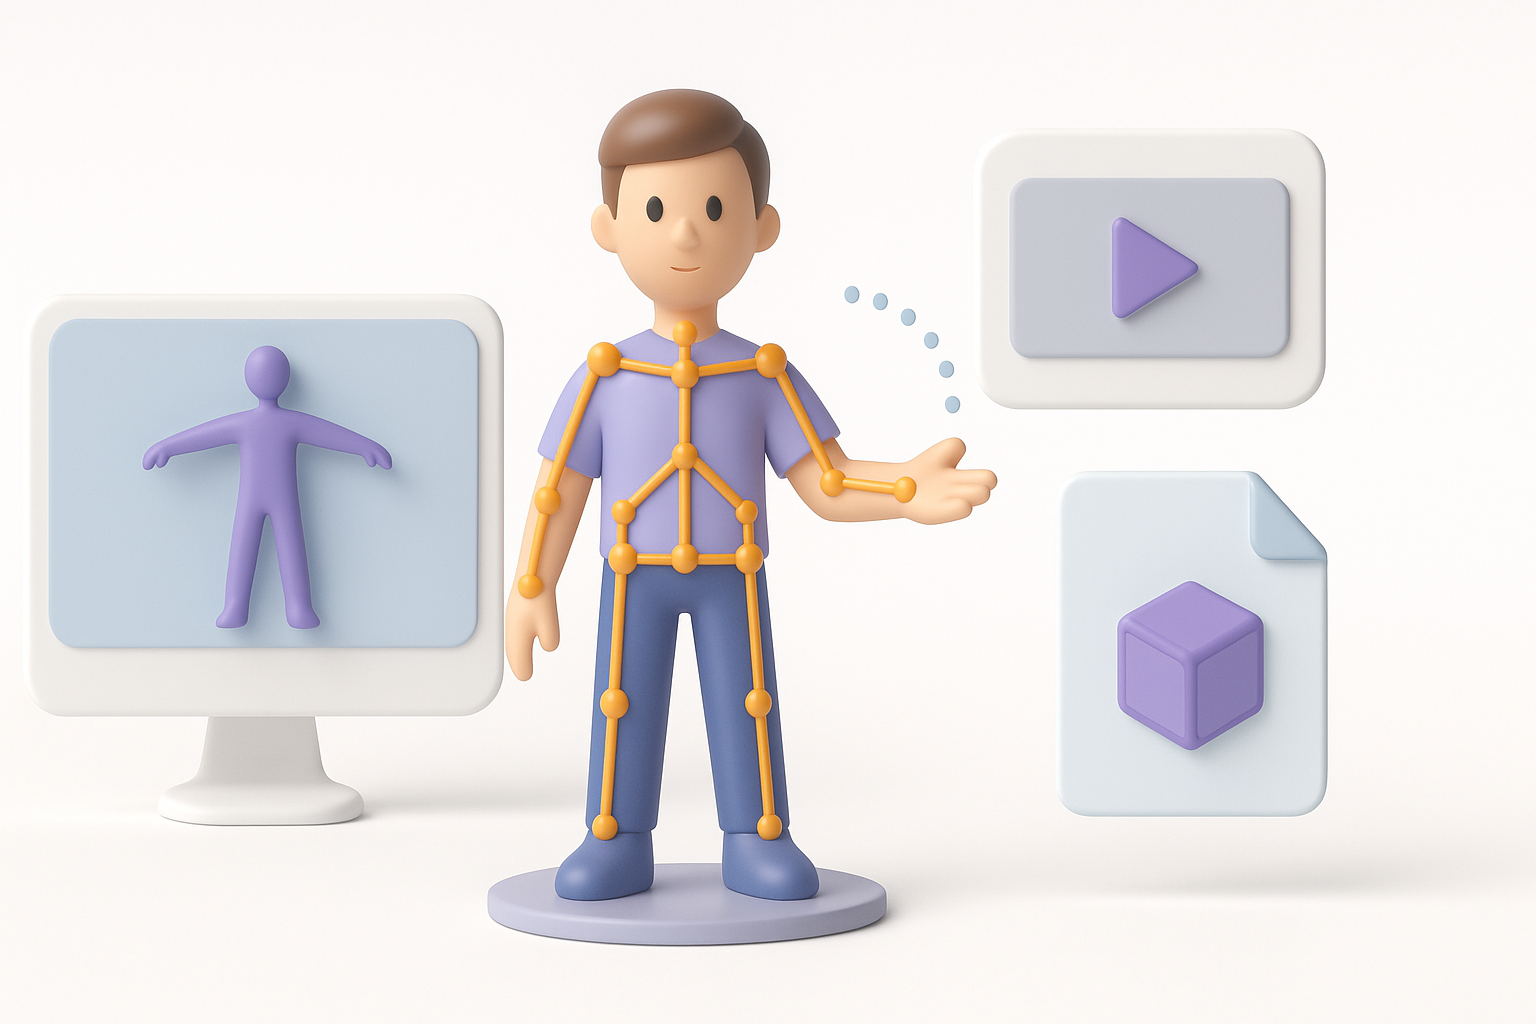
Efficient Rigging and Animation Techniques
For most projects, I use auto-rigging tools for the base skeleton, then manually tweak weights and add facial rigs as needed.
My rigging checklist:
- Confirm joint placement matches anatomy
- Paint weights for smooth deformation, especially at joints
- Add blendshapes or corrective shapes for facial expressions
Animation tests—like simple walks or gestures—reveal issues early.
Exporting for Games, Film, and XR
Each platform has different export requirements. I usually:
- Optimize meshes for polycount and bone count (games/XR)
- Export in formats like FBX or GLTF, ensuring all maps and rigs are included
- Check compatibility in the target engine or renderer
Always test the exported model in its final environment before sign-off.
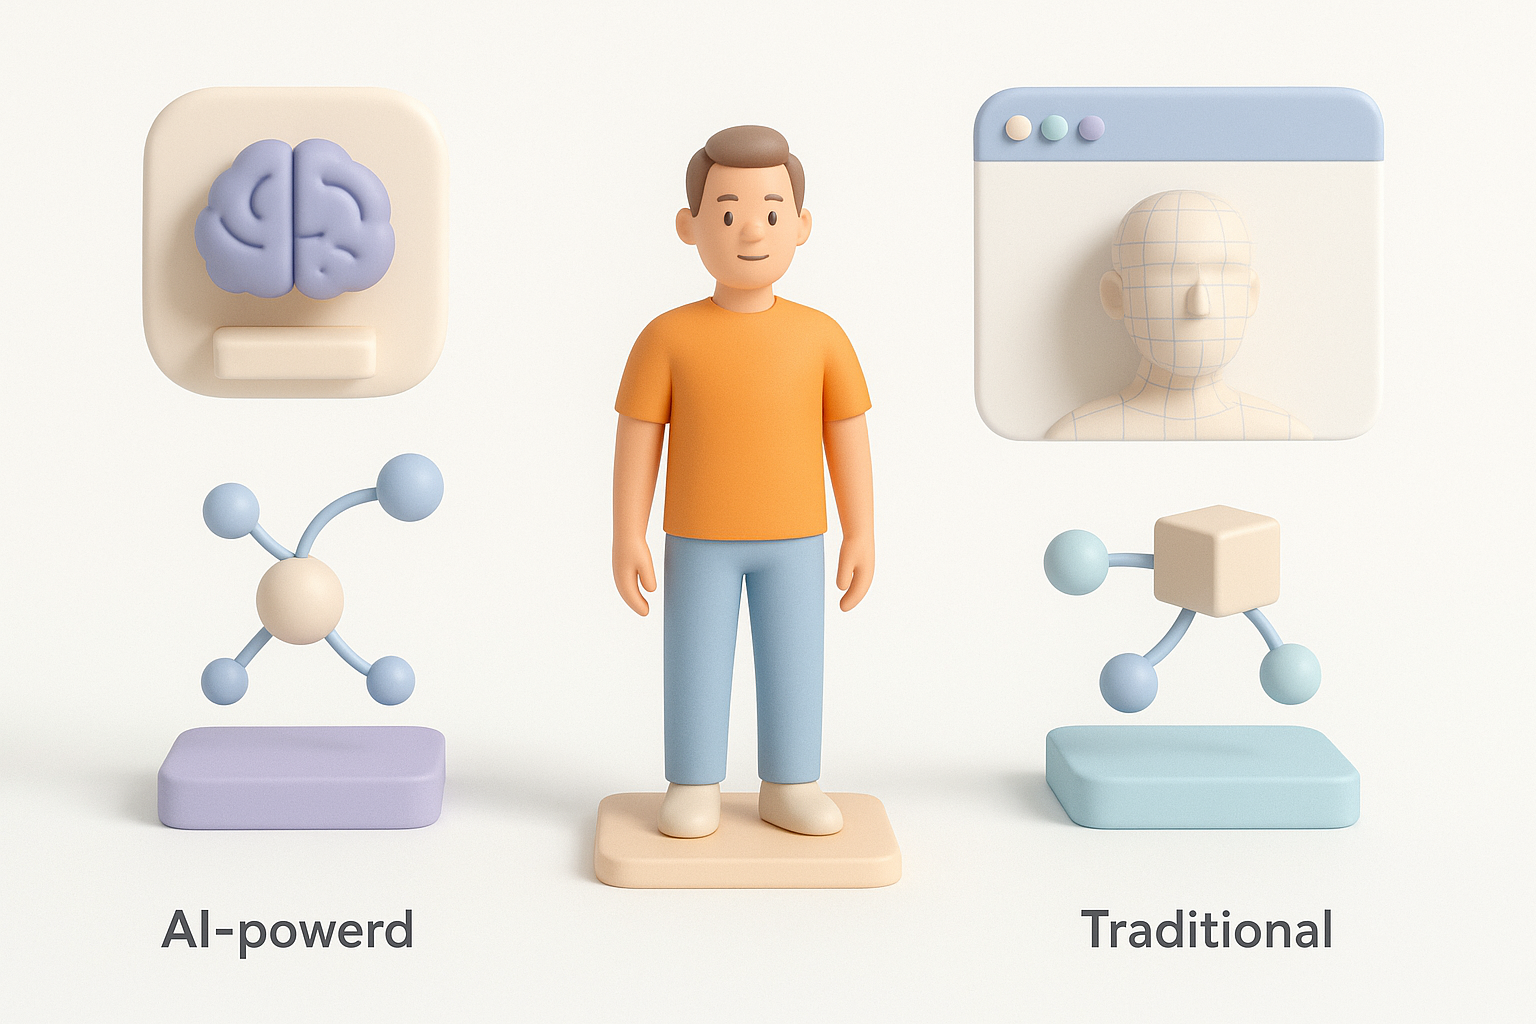
Comparing AI-Powered and Traditional Workflows
When to Use AI Tools for Person 3D Models
AI tools excel at:
- Rapid prototyping and iteration
- Generating base meshes from text, images, or sketches
- Automating segmentation, retopology, and basic texturing
I use AI when speed is critical or when I need to create multiple variations quickly.
Integrating AI with Manual Techniques
While AI covers the basics, manual intervention is essential for:
- Custom details
- Artistic style matching
- Correcting topology or texture issues
My best results come from starting with AI, then refining by hand—especially for hero assets.
Common Challenges and My Solutions
Troubleshooting Model Artifacts
Artifacts like weird geometry, texture seams, or rigging glitches are common. I address them by:
- Inspecting wireframes for stray verts or non-manifold edges
- Re-baking textures if seams appear
- Testing skin weights with exaggerated poses
Don’t skip these checks—small issues can cause big headaches in production.
Optimizing for Performance and Compatibility
Performance matters, especially for real-time applications. I optimize by:
- Reducing polycount in non-critical areas
- Packing textures efficiently (using atlases)
- Exporting LODs for scalable performance
I always validate the model in the target engine, checking for frame rate and visual fidelity.
By combining AI-powered generation with careful manual refinement, I consistently deliver person 3D models that meet both creative and technical requirements—ready for any production pipeline.