Creating Accurate Muscle Anatomy 3D Models: Expert Workflow
скачать 3d модель для chicken gun
Creating anatomically accurate muscle 3D models is essential for medical visualization, character design, and animation. Through years of hands-on work, I’ve refined a workflow that balances speed, realism, and anatomical precision—leveraging both AI-powered platforms and traditional modeling techniques. This article is for artists, animators, and technical directors seeking practical methods to build, texture, and animate muscle anatomy models with production-ready results. My approach focuses on efficient reference gathering, segmentation, sculpting, and rigging, while avoiding common pitfalls that can compromise anatomical credibility.
Key takeaways:
- Accurate muscle anatomy models require careful reference and segmentation.
- AI-powered tools like Tripo streamline modeling and texturing, but manual refinement is still critical.
- Realism hinges on proper surface detailing and anatomical rigging.
- Common pitfalls include anatomical errors, poor topology, and unrealistic textures.
- Optimizing models for production ensures compatibility across pipelines.
Executive Summary and Key Takeaways
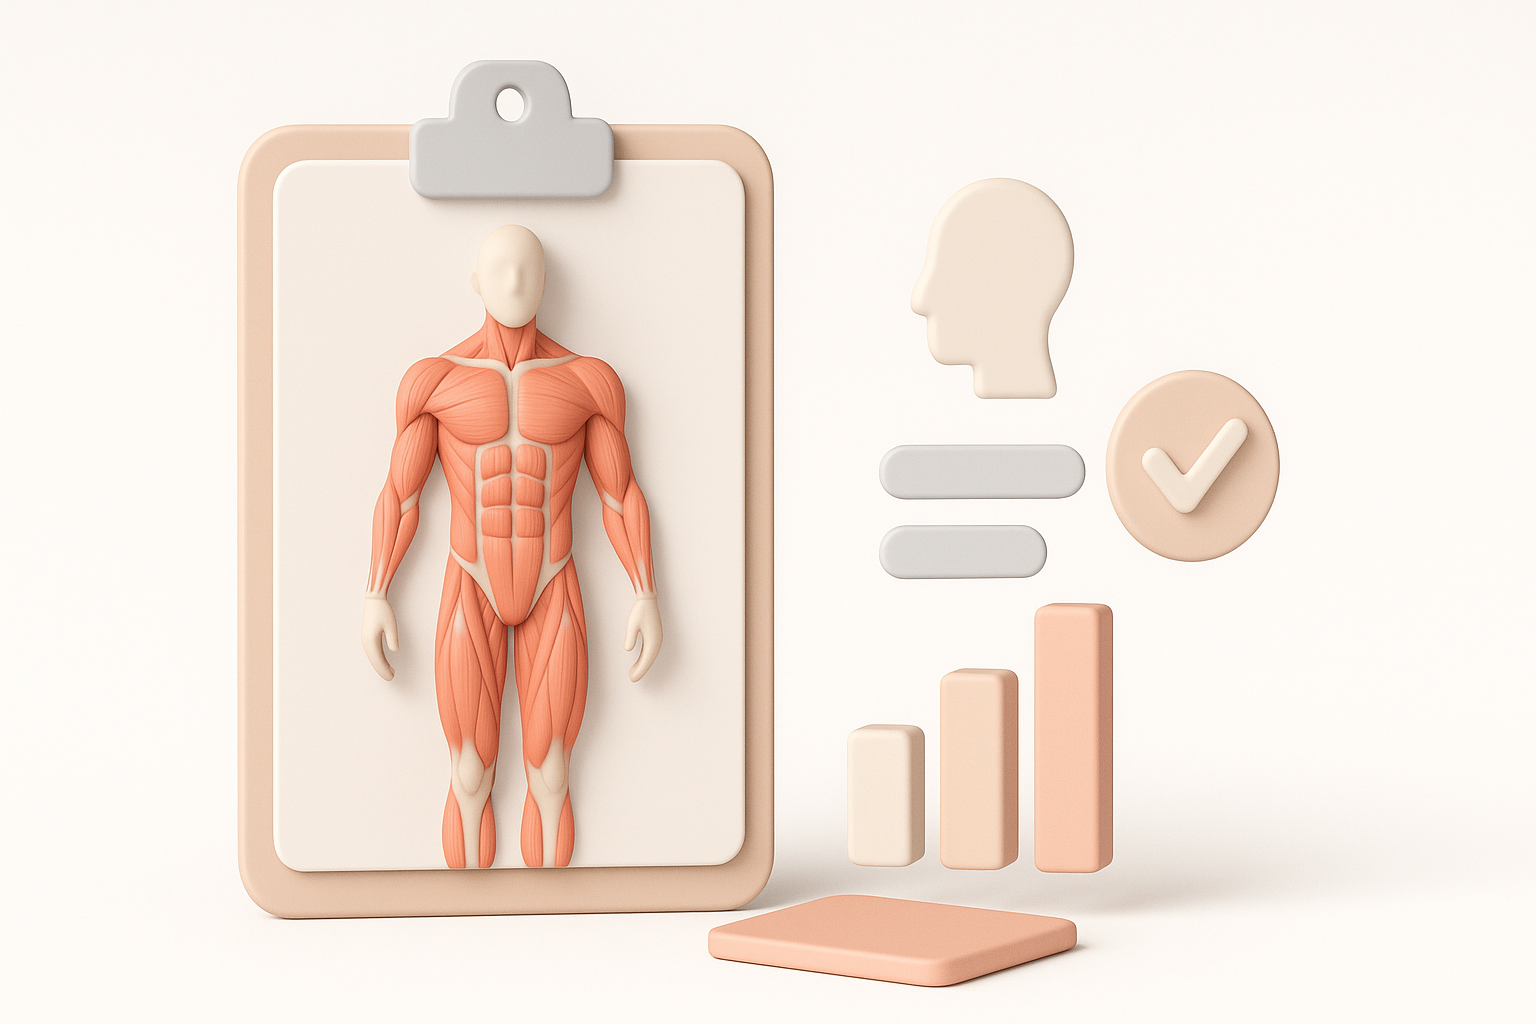
Why muscle anatomy 3D models matter
Muscle anatomy models are foundational in medical education, character rigging, and realistic animation. They help bridge the gap between artistic vision and scientific accuracy. In my projects, precise anatomy has always been the difference between believable movement and uncanny results.
What I’ve learned from hands-on projects
From medical simulators to game characters, I’ve learned that anatomical accuracy is non-negotiable. Even small errors in muscle placement or structure can undermine realism. AI-driven workflows have sped up my process, but I always double-check anatomy against trusted references.
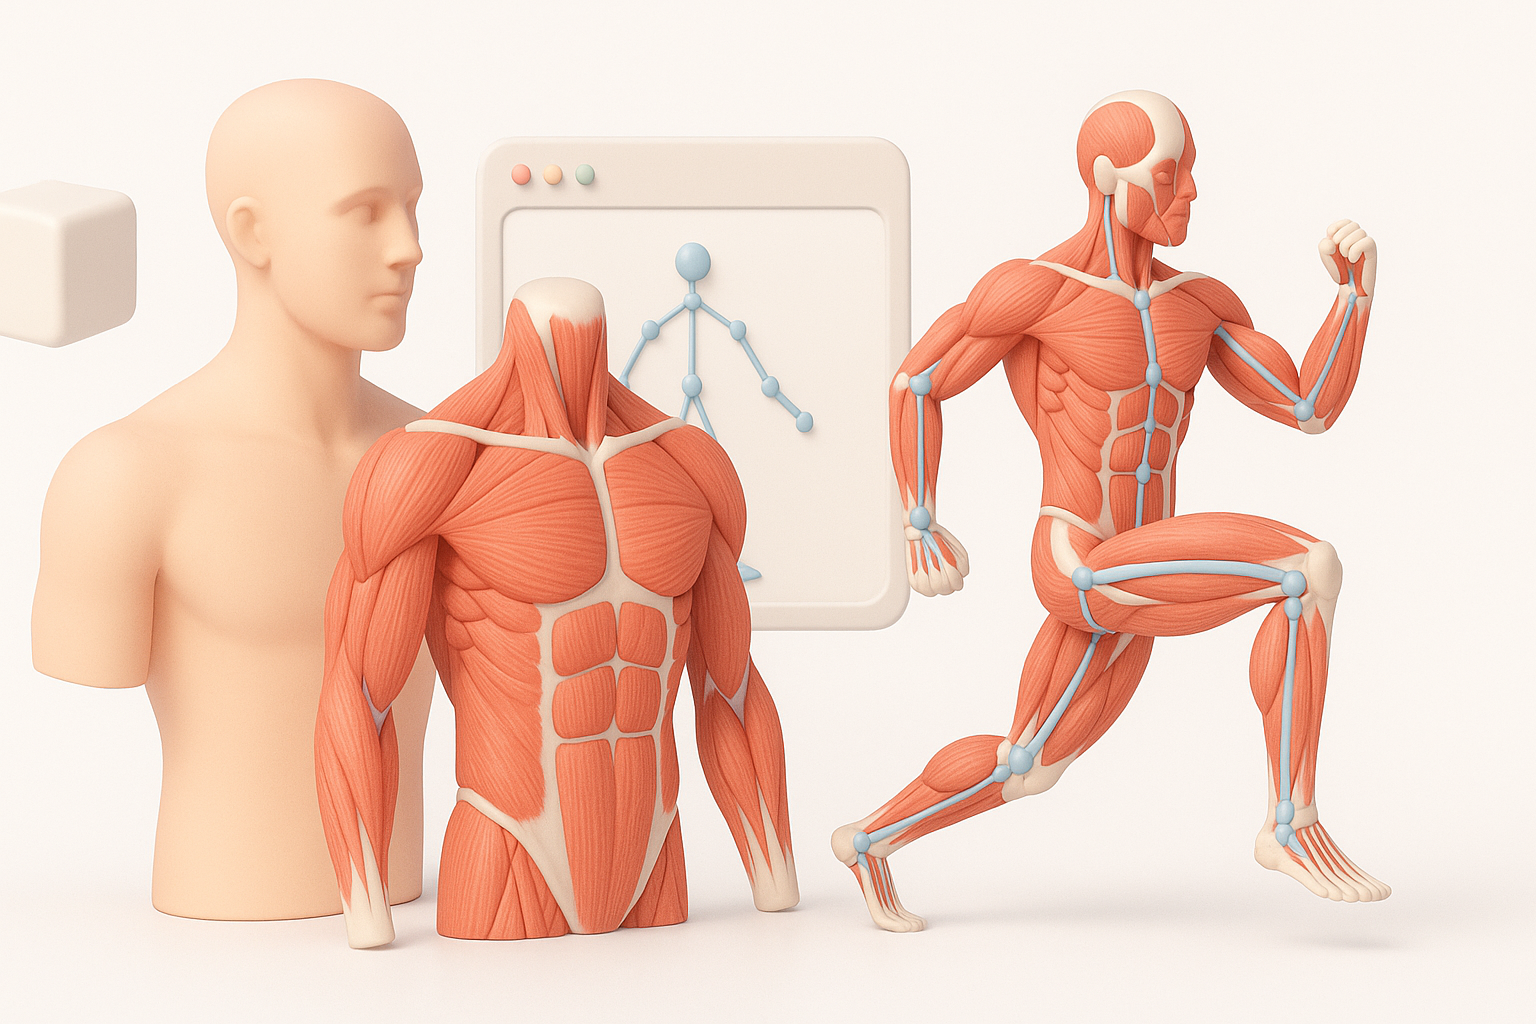
Understanding Muscle Anatomy for 3D Modeling
Essential anatomical references and resources
I always start with high-quality anatomical atlases, medical illustrations, and digital scans. For human models, resources like Gray’s Anatomy and photogrammetry datasets are invaluable. For animal anatomy, veterinary guides and scientific papers are my go-to.
Checklist:
- Use multiple reference sources (books, scans, videos)
- Cross-check muscle origins, insertions, and proportions
- Annotate your reference images for clarity
Common challenges in anatomical accuracy
The biggest challenge is translating 2D references into 3D forms. Muscles often overlap or obscure each other, making segmentation tricky. I’ve found that errors usually stem from misinterpreting muscle depth or ignoring subtle anatomical variations.
Pitfalls to avoid:
- Over-simplifying muscle groups
- Ignoring anatomical asymmetry
- Misaligning muscle attachments
My Step-by-Step Workflow for Building Muscle Anatomy Models
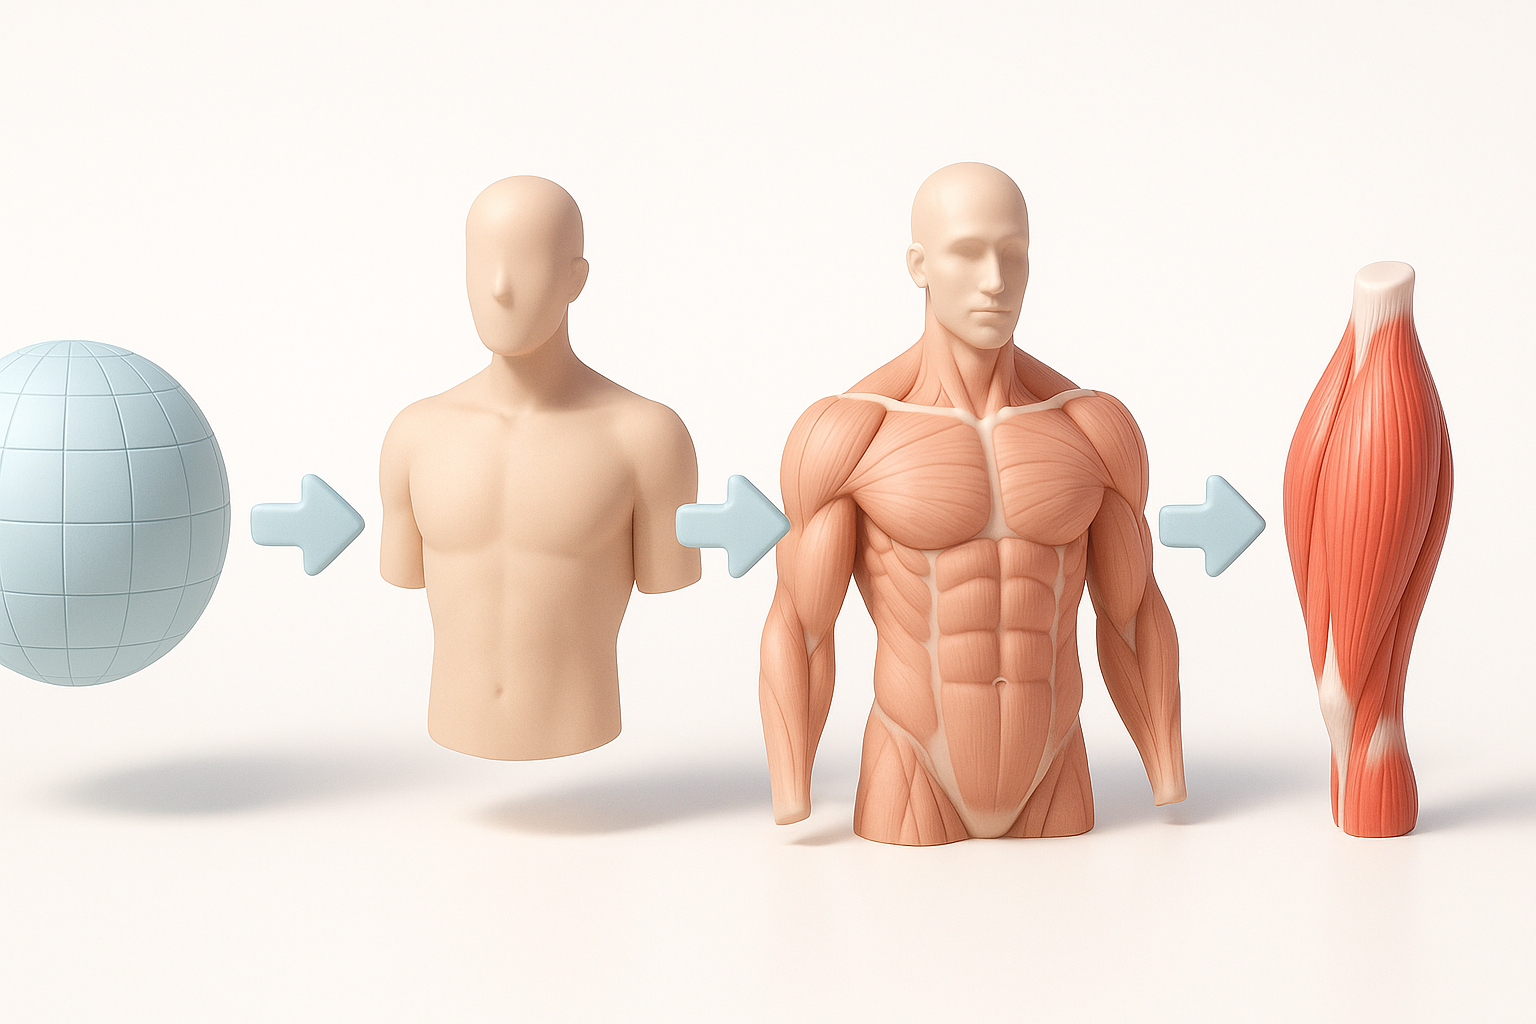
Conceptualizing and gathering reference materials
Before modeling, I collect and organize all relevant anatomical references. I sketch overlays to clarify muscle boundaries and plan segmentation. In Tripo, I import sketches or annotated images to kickstart the model generation process.
Steps:
- Gather and annotate anatomical images.
- Sketch overlays for segmentation planning.
- Input references into Tripo for initial mesh generation.
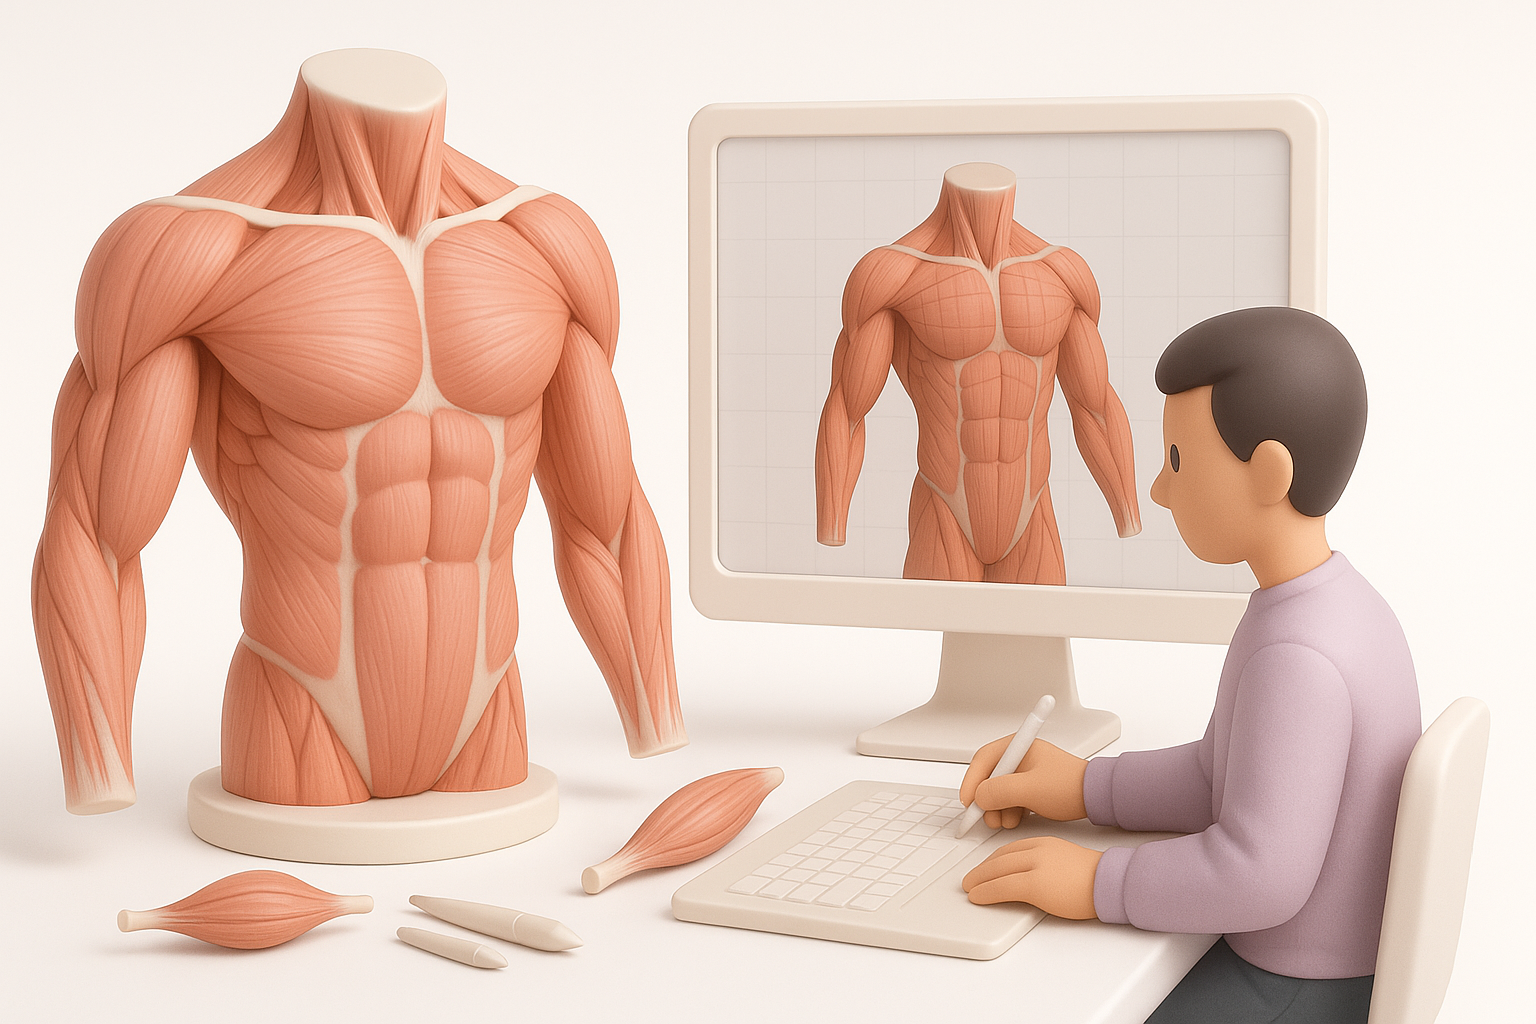
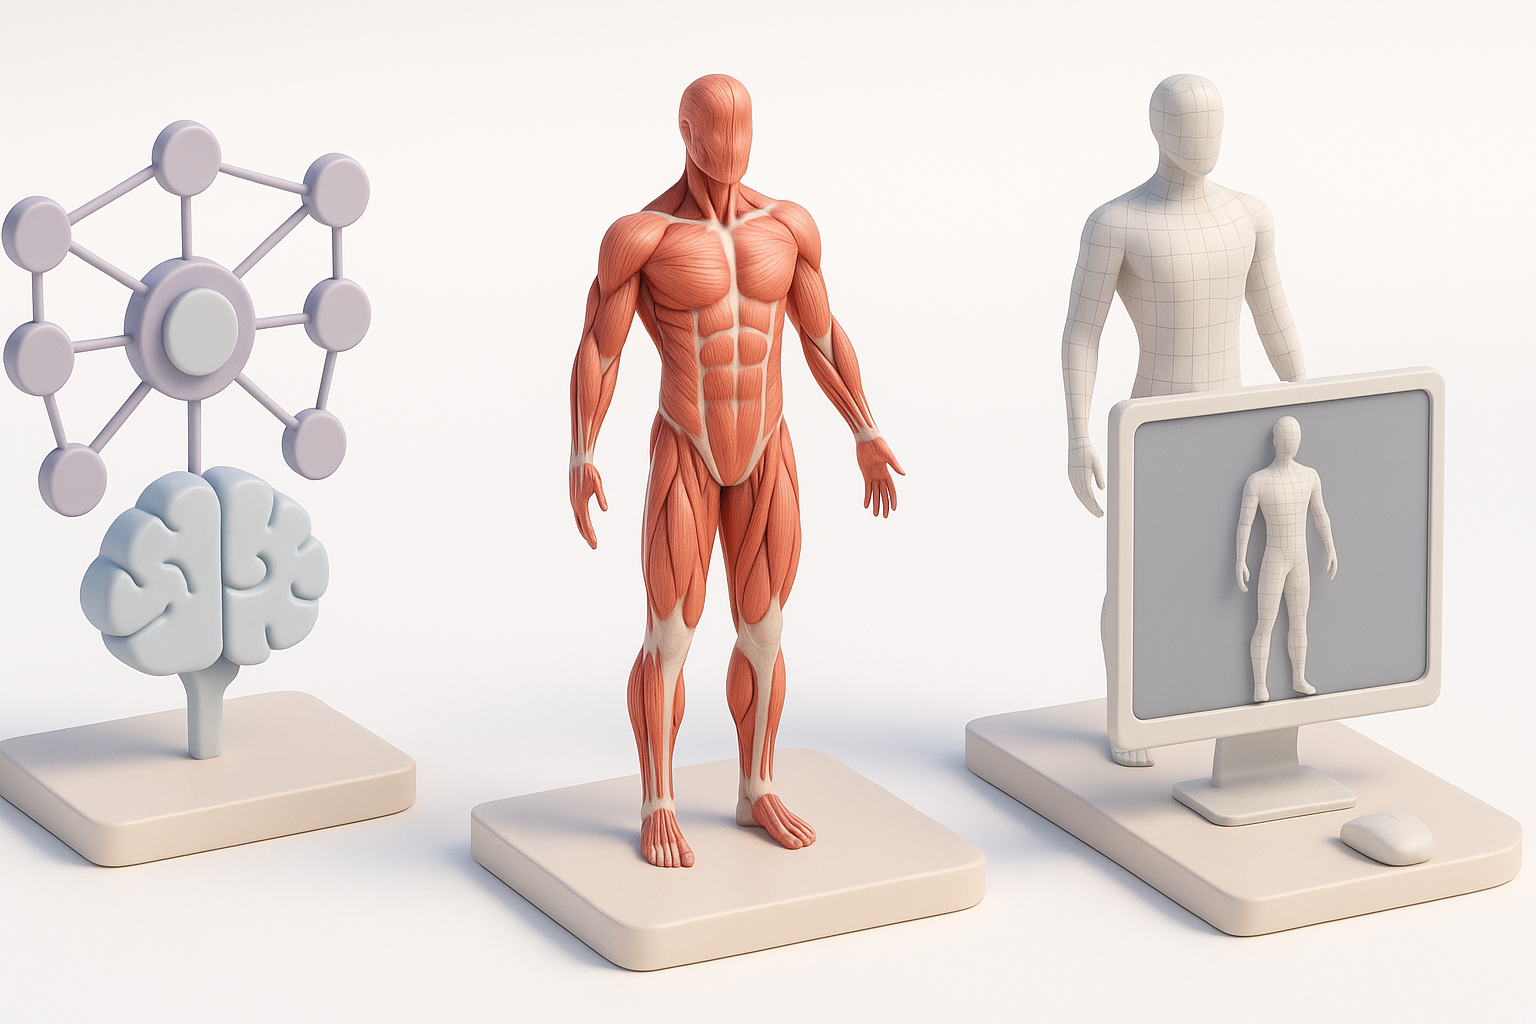
Segmentation, sculpting, and retopology best practices
I segment major muscle groups first, then refine secondary muscles. AI-driven segmentation speeds up this step, but I manually adjust mesh boundaries for anatomical correctness. Sculpting focuses on muscle volume and fiber direction. For retopology, I ensure clean edge flow and optimal polygon density—especially around joints.
Tips:
- Segment muscles based on actual anatomical boundaries
- Use sculpting tools to emphasize muscle striation and bulges
- Retopologize for animation-ready topology
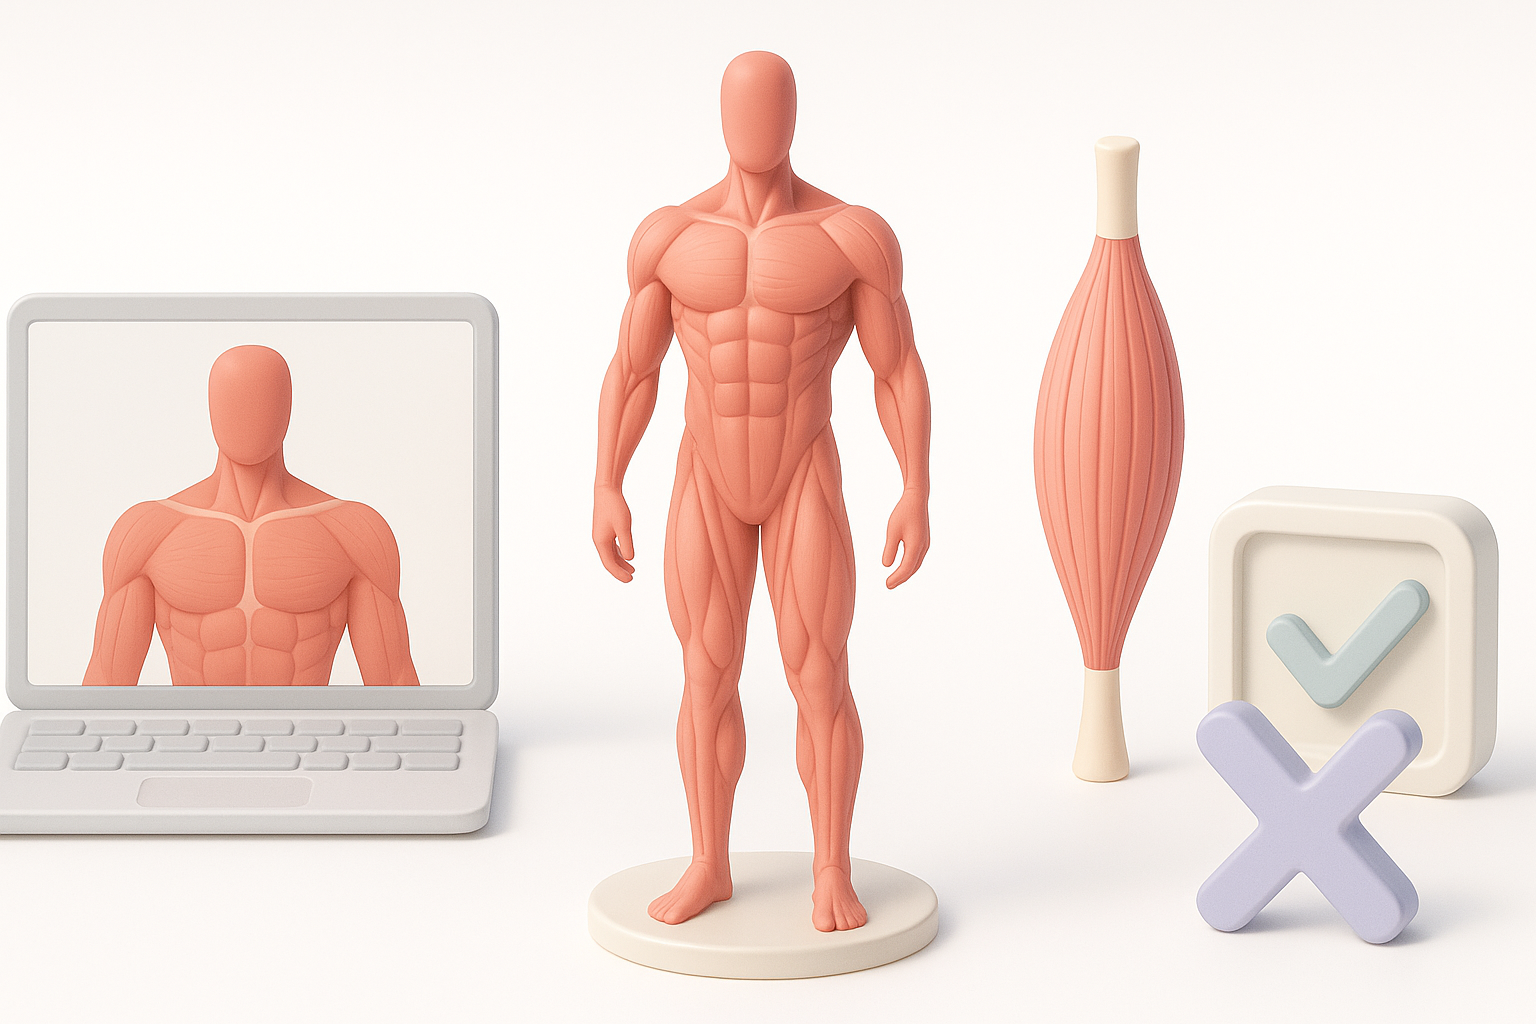
Texturing and Detailing Muscles for Realism
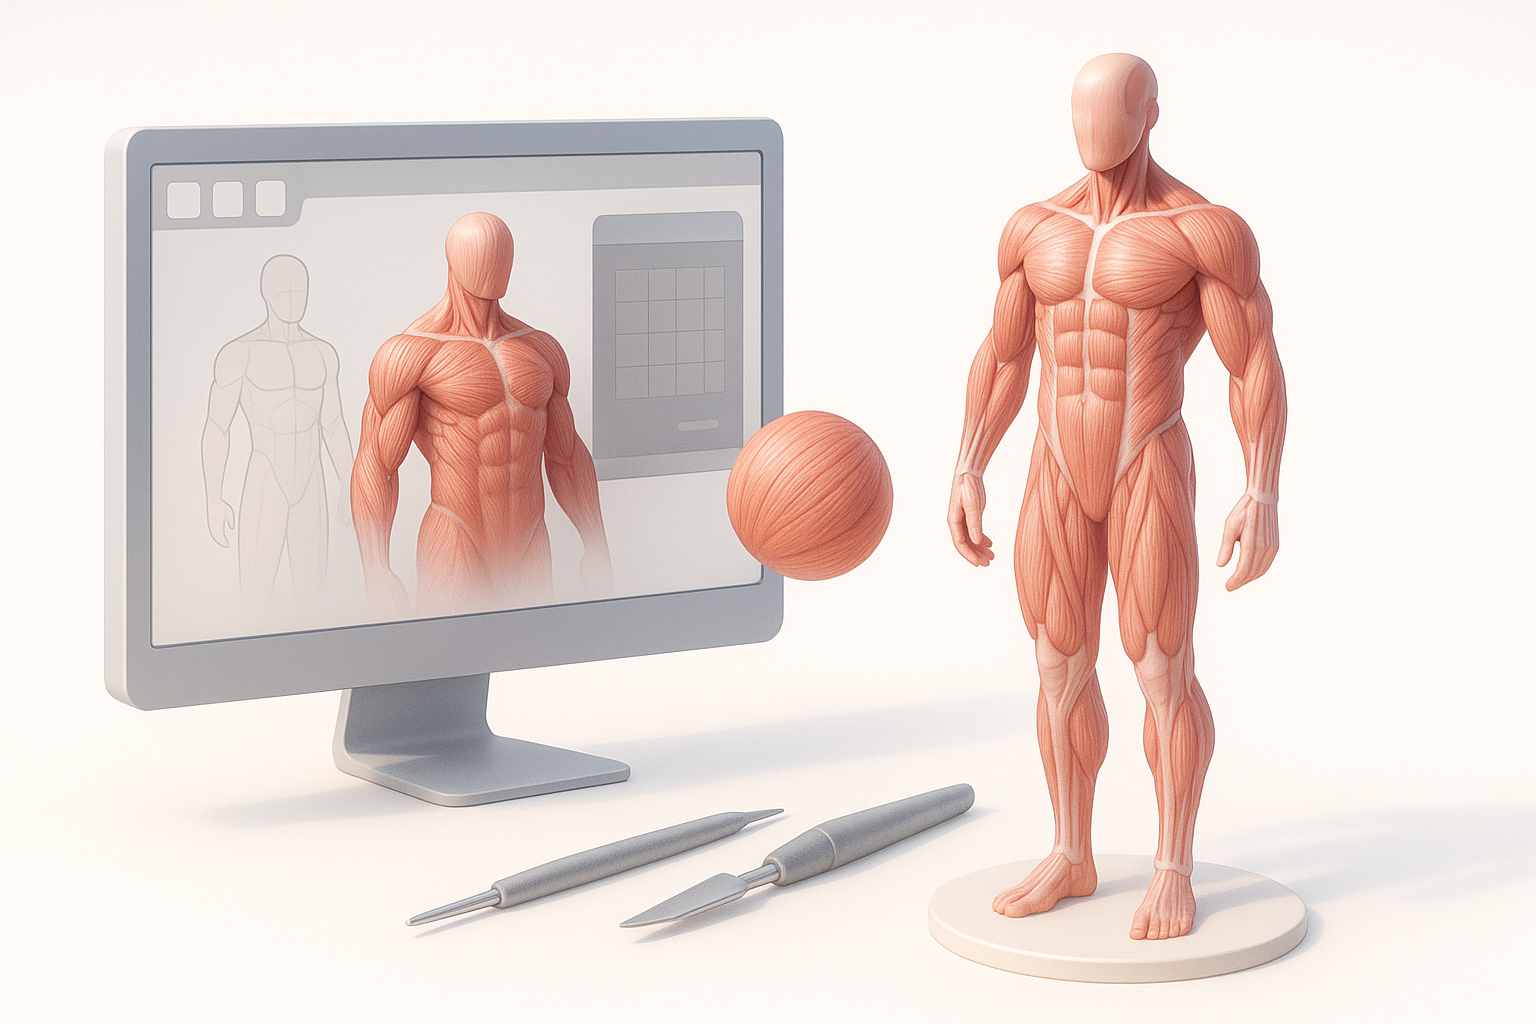
Approaches to realistic muscle textures
I rely on high-resolution scans and procedural texture maps for muscle surfaces. Tripo’s texturing tools allow for quick generation of base color, normal, and roughness maps. For realism, I layer subtle color variations and fine surface details.
Checklist:
- Use multi-layered textures: base color, normal, roughness
- Add vascular and connective tissue details
- Adjust glossiness for wet/dry muscle effect
Tips for achieving lifelike surface detail
I’ve found that small details—like muscle fiber direction and minor surface imperfections—make a big difference. Using displacement maps and hand-painted overlays helps. Always zoom in to check for repetitive patterns or artifacts.
Pitfalls:
- Overusing procedural textures (can look artificial)
- Neglecting micro-details (fibers, veins)
Rigging and Animating Muscle Anatomy Models
Rigging strategies for anatomical correctness
For rigging, I align joint pivots with actual anatomical landmarks. I use weighted skinning and corrective blend shapes to mimic muscle deformation. Tripo’s auto-rigging handles basic setup, but manual tweaks are necessary for complex muscle groups.
Tips:
- Place joints at anatomical pivot points
- Use blend shapes for muscle bulging and contraction
- Test deformation with extreme poses
Animating muscle movement: what works best
Realistic muscle animation requires simulating contraction, extension, and subtle shifts. I often use driven keys or physics-based muscle systems for lifelike motion. AI-assisted animation can automate basic movements, but custom animation layers provide the best results.
Checklist:
- Animate muscle contraction with blend shapes
- Layer secondary motion for realism
- Review animation against anatomical references
Comparing AI-Powered and Traditional 3D Creation Methods
Benefits of AI-driven workflows for anatomy models
AI-powered platforms like Tripo accelerate segmentation, texturing, and rigging, reducing manual workload. I can generate base meshes and textures in minutes, then refine for accuracy. This is ideal for rapid prototyping or tight deadlines.
Advantages:
- Faster initial model creation
- Automated segmentation and texturing
- Consistent topology for rigging
When to use alternative methods and manual techniques
For highly specialized or atypical anatomy, manual sculpting and hand-painting are still essential. I switch to traditional tools when AI outputs lack anatomical nuance or when custom topology is needed for advanced animation.
Tips:
- Use AI for common anatomy, manual for unique cases
- Always review and refine AI-generated models
- Combine workflows for best results
Best Practices and Common Pitfalls in Muscle Anatomy Modeling
Mistakes I’ve made and how to avoid them
I’ve rushed segmentation, resulting in inaccurate muscle boundaries. Neglecting reference checks led to unrealistic proportions. To avoid these, I now double-check anatomy and iterate on segmentation before moving to texturing.
Pitfalls:
- Skipping reference validation
- Accepting auto-generated boundaries without refinement
- Ignoring anatomical function in rigging
Tips for optimizing models for production
For production, I optimize mesh density, bake textures, and ensure compatibility with animation pipelines. Tripo’s export tools simplify this, but I always test models in target environments before final delivery.
Checklist:
- Optimize mesh for real-time or offline rendering
- Bake and compress textures for efficiency
- Test rig and animation in target engine/software
Conclusion:
Accurate muscle anatomy modeling demands careful reference, segmentation, and detailing. AI-powered workflows speed up the process, but manual refinement remains crucial for anatomical credibility and production readiness. By following these expert steps and avoiding common pitfalls, you can create muscle models that are both scientifically accurate and visually compelling.