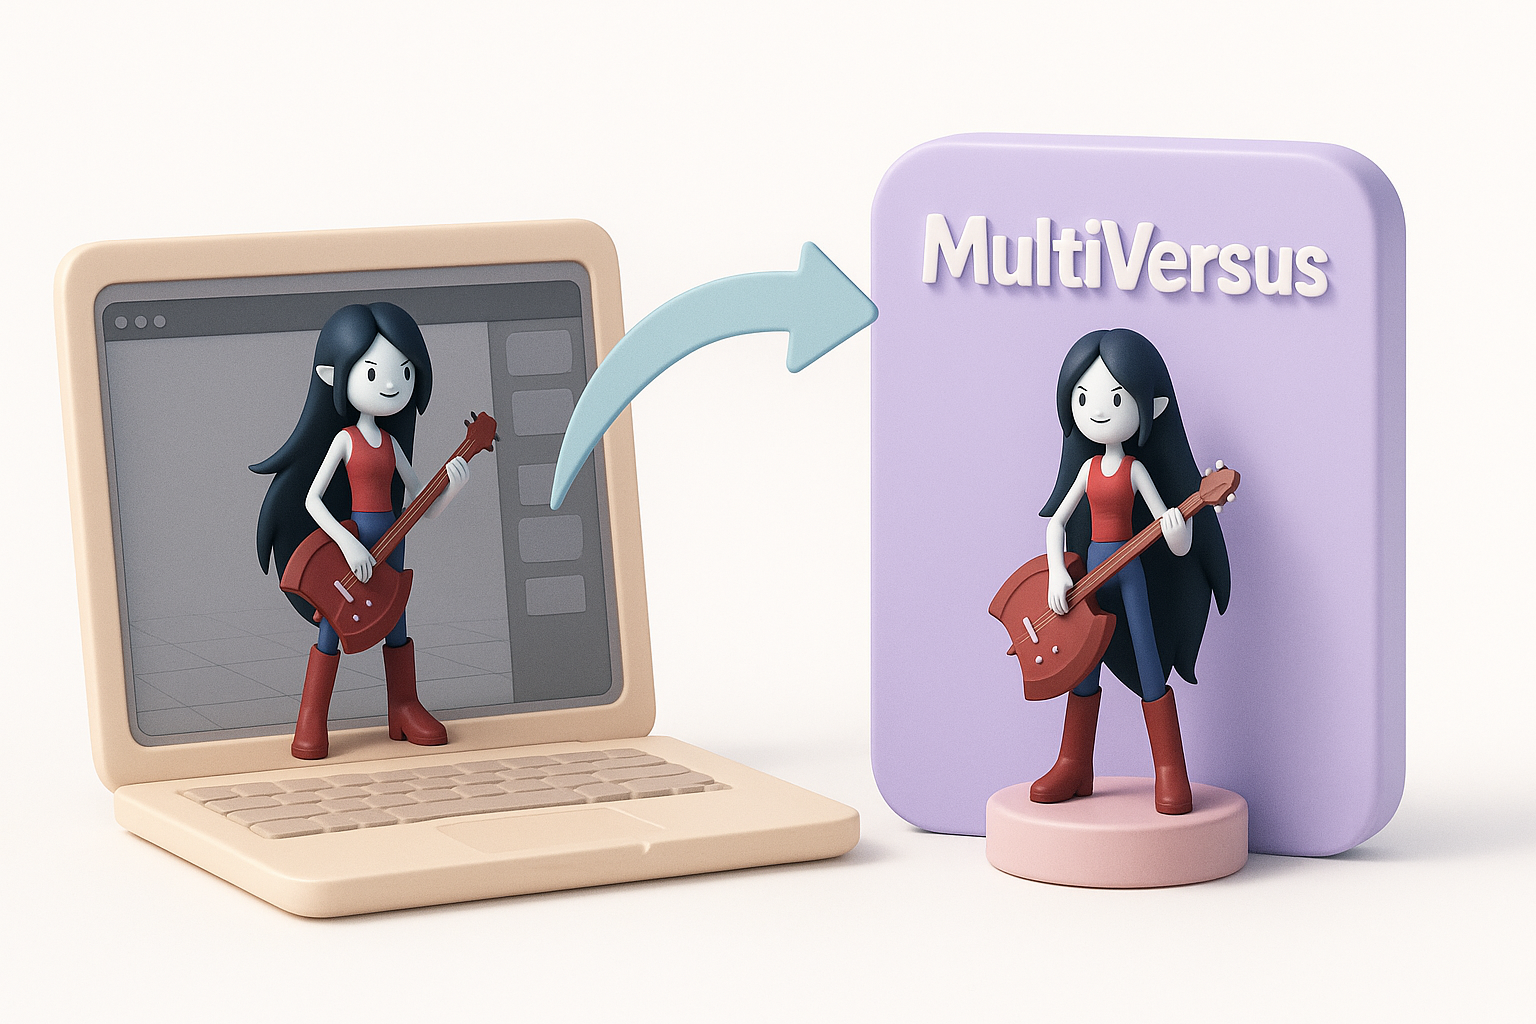
How I Create a Multiversus Marceline 3D Model: Expert Workflow
Creating a Multiversus Marceline 3D model requires a blend of artistic intuition and technical know-how. In my experience, the key is balancing stylized authenticity with production efficiency—especially when using AI-powered tools like Tripo to accelerate the process. This guide is for 3D artists, game developers, and anyone aiming to deliver game-ready character assets quickly without sacrificing quality. I’ll walk through my end-to-end workflow, highlight practical tips, and share lessons learned from real-world projects.
Key takeaways
- Reference and style analysis are critical for nailing character likeness.
- Blockout and proportions set the foundation for animation-friendly models.
- Efficient retopology and UVs are essential for game-readiness.
- AI tools like Tripo can rapidly prototype and iterate designs.
- Rigging flexibility ensures expressive, dynamic animations.
- Export with attention to engine requirements to avoid integration headaches.
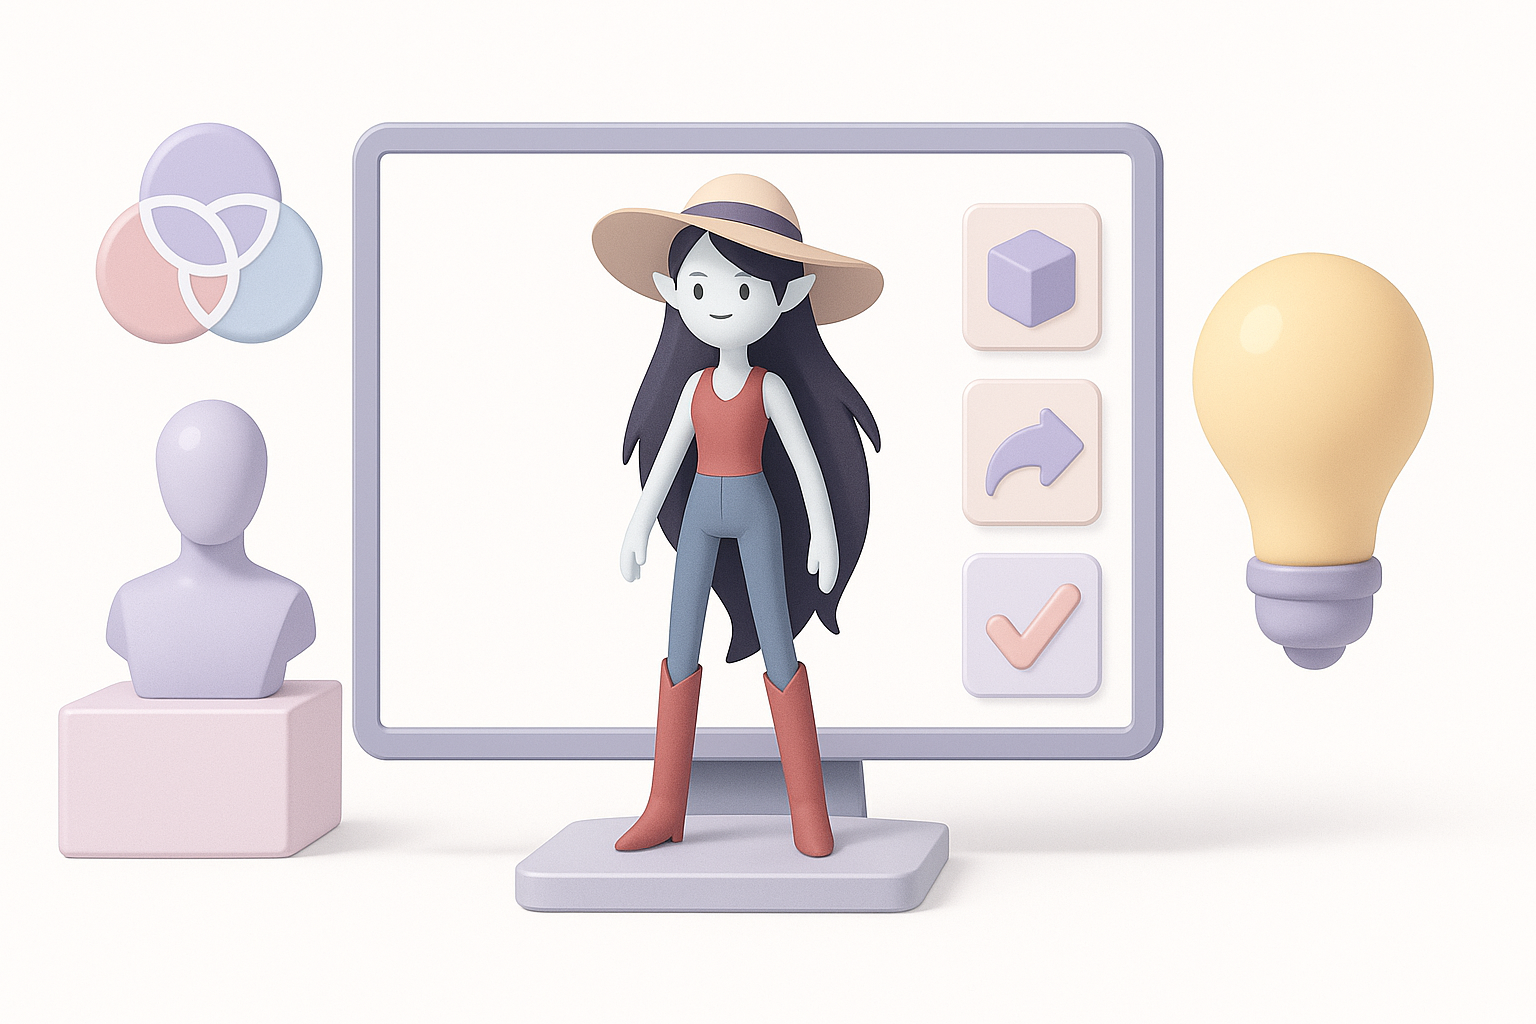
Understanding the Multiversus Marceline Character

Key visual traits and style analysis
Before modeling, I always dissect the character’s visual DNA. Marceline’s look in Multiversus is stylized, with exaggerated proportions, smooth surfaces, and bold facial features. Her hair, bass guitar, and vampire motifs are signature elements. I pay close attention to:
- Shape language (e.g., elongated limbs, simplified forms)
- Color palette and material finish
- Expressiveness in face and pose
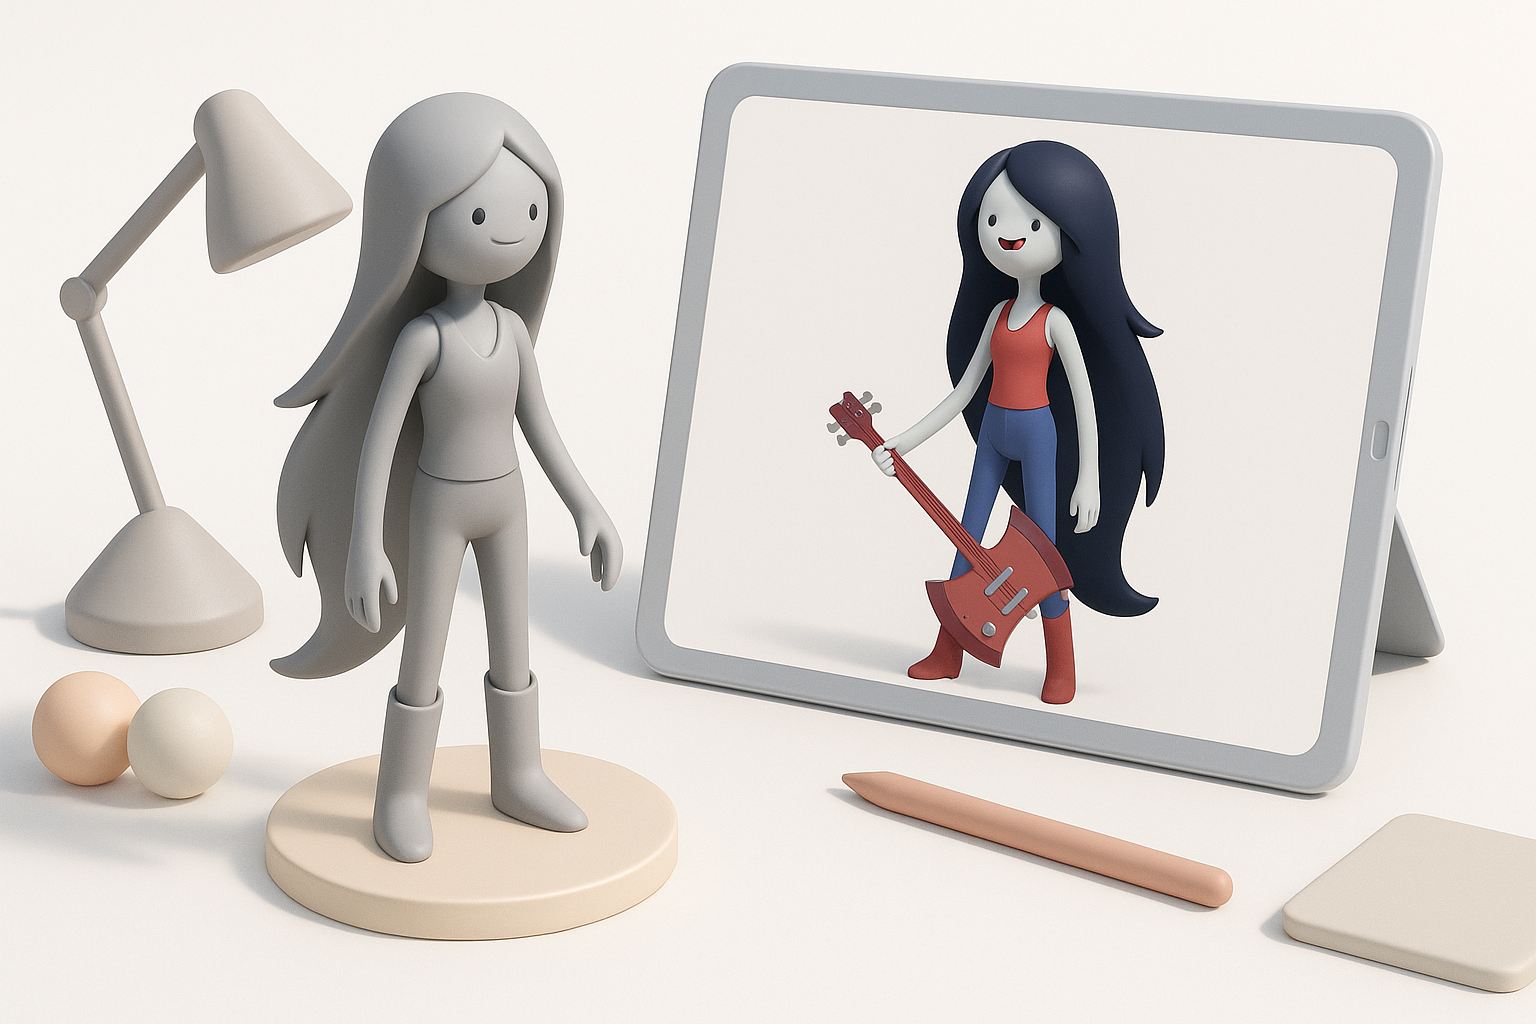
Reference gathering and preparation
Quality references are non-negotiable. I gather:
- Official Multiversus art and in-game screenshots
- Turnarounds from trailers or fan resources
- Close-ups of props and accessories
I organize references in PureRef or a similar tool, grouping them by angle and detail. This keeps my focus sharp during sculpting and texturing.
Planning and Blocking Out the 3D Model
Choosing the right base mesh and proportions
I start with a base mesh that matches Marceline’s general build. For stylized characters, I often create a custom base or modify an existing one:
- Set up correct head-to-body ratio (often 1:7 for stylized)
- Adjust limb length and torso proportions to match references
- Ensure the topology is clean for later sculpting
Blocking out forms for animation readiness
Early blockouts are about silhouette and joint placement. I use simple primitives to establish:
- Major body masses (head, torso, hips, limbs)
- Key articulation points (shoulders, elbows, knees)
- Placeholder props (e.g., guitar, boots)
Checklist:
- Are limbs posed neutrally (A-pose or T-pose)?
- Is there enough geometry at joints for deformation?
- Does the blockout match the reference silhouette?
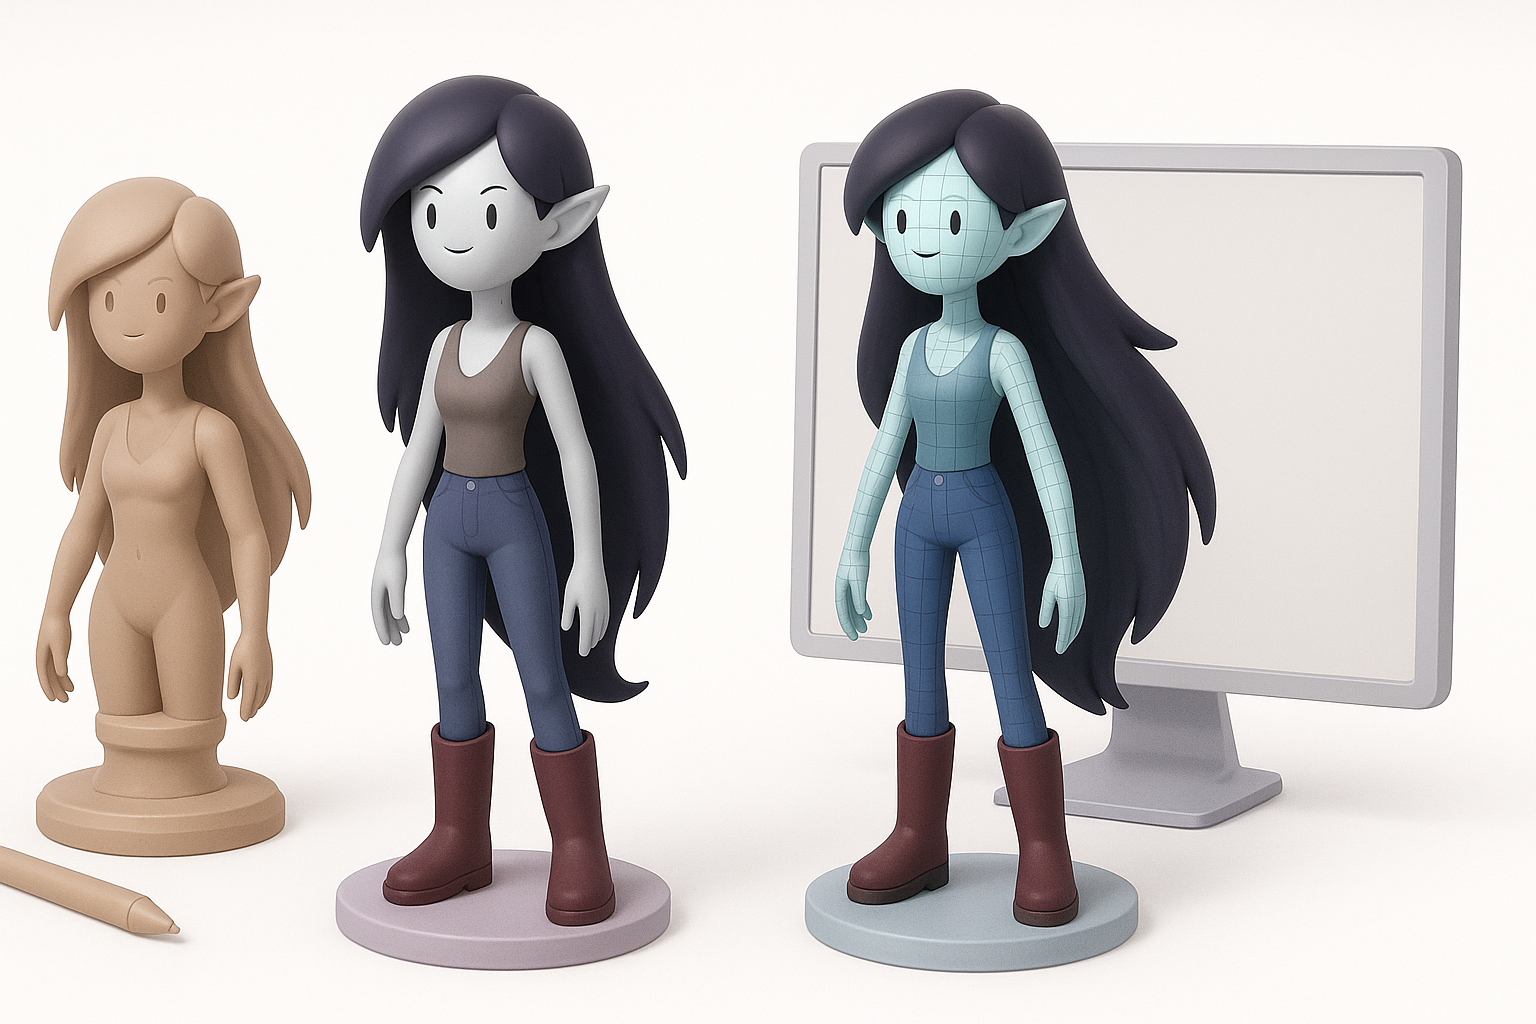
Detailed Sculpting and Retopology Techniques
Capturing facial expressions and iconic features
In sculpting, I focus on capturing Marceline’s personality:
- Block in facial planes, then refine lips, fangs, and brows
- Sculpt hair as separate meshes for easier texturing and posing
- Use symmetry tools, but break symmetry for naturalism
I iterate on expressions, using blendshapes if the workflow requires.
Efficient retopology for game-ready assets
Clean topology is crucial for animation and optimization. My steps:
- Retopologize manually or use auto-retopo tools for base, then refine
- Keep edge loops around mouth, eyes, and joints
- Target polycount based on engine specs (usually 10–30k for main characters)
Pitfall: Overly dense meshes slow down rigging and skinning. I always simplify where possible.
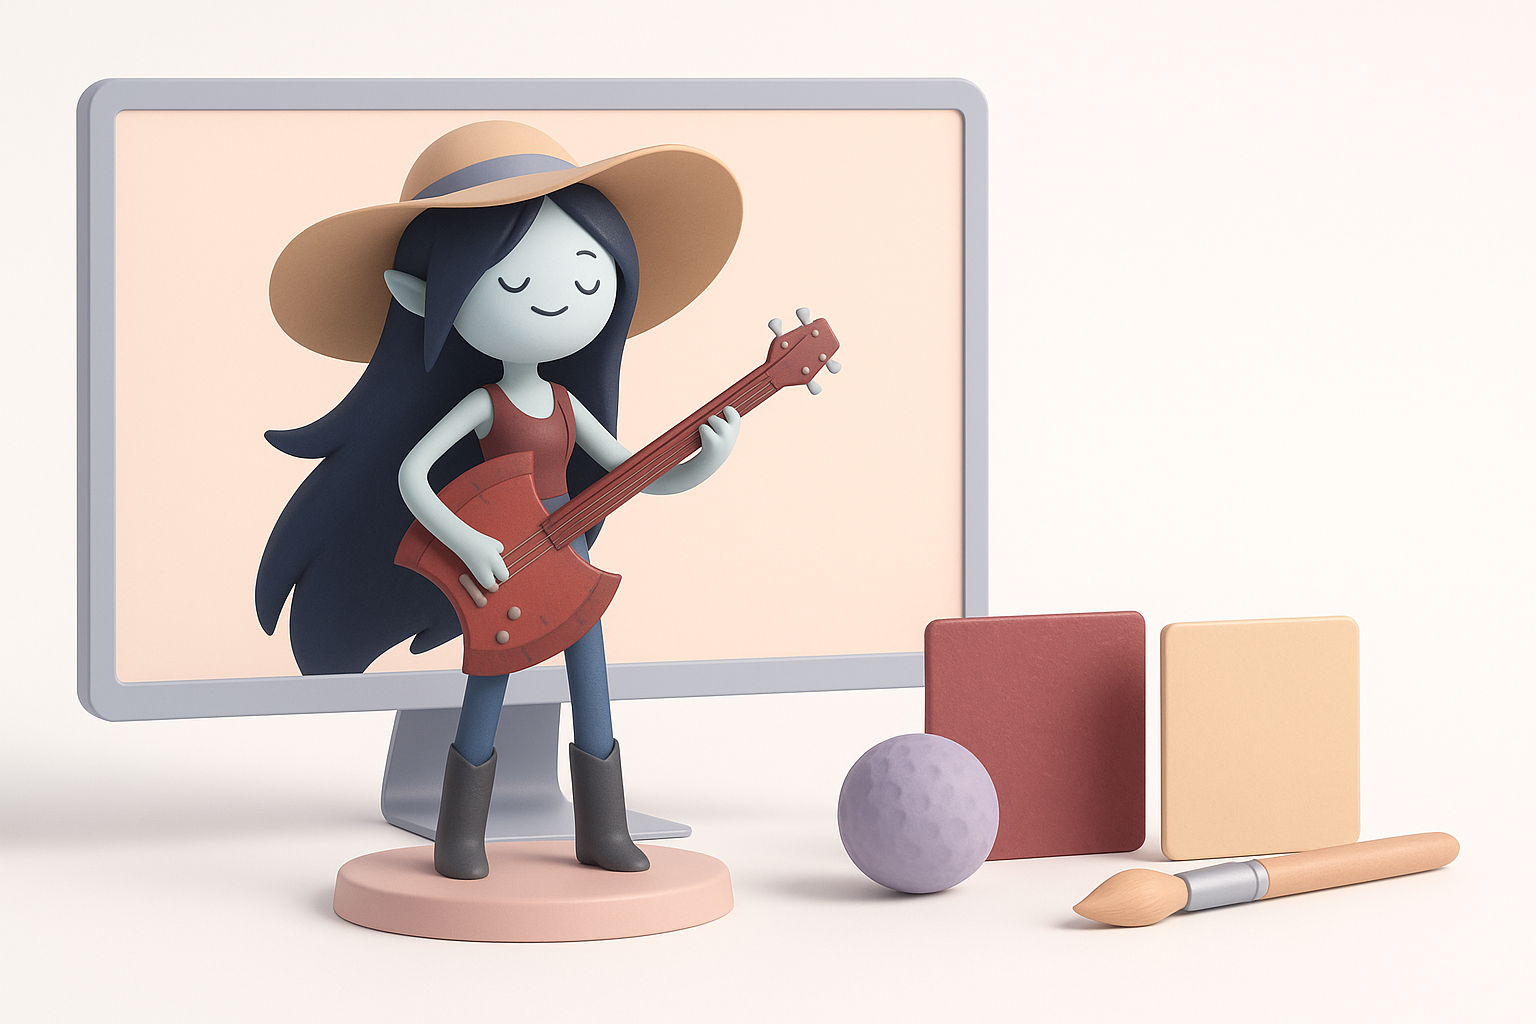
Texturing and Material Workflow
Stylized texturing approaches for Marceline
For Multiversus’ look, I use hand-painted or smart material workflows:
- Bake ambient occlusion and curvature maps for mask generation
- Use flat colors with subtle gradients for skin and clothing
- Add painted highlights and shadow shapes to reinforce stylization
UV mapping and texture optimization tips
UVs can make or break texturing:
- Unwrap with minimal seams, prioritizing face and visible surfaces
- Pack UVs efficiently to maximize texture resolution
- Use 2K or 4K textures, then downscale if needed for engine performance
Tips:
- Test UVs by applying a checker map
- Avoid stretching, especially on the face and hands
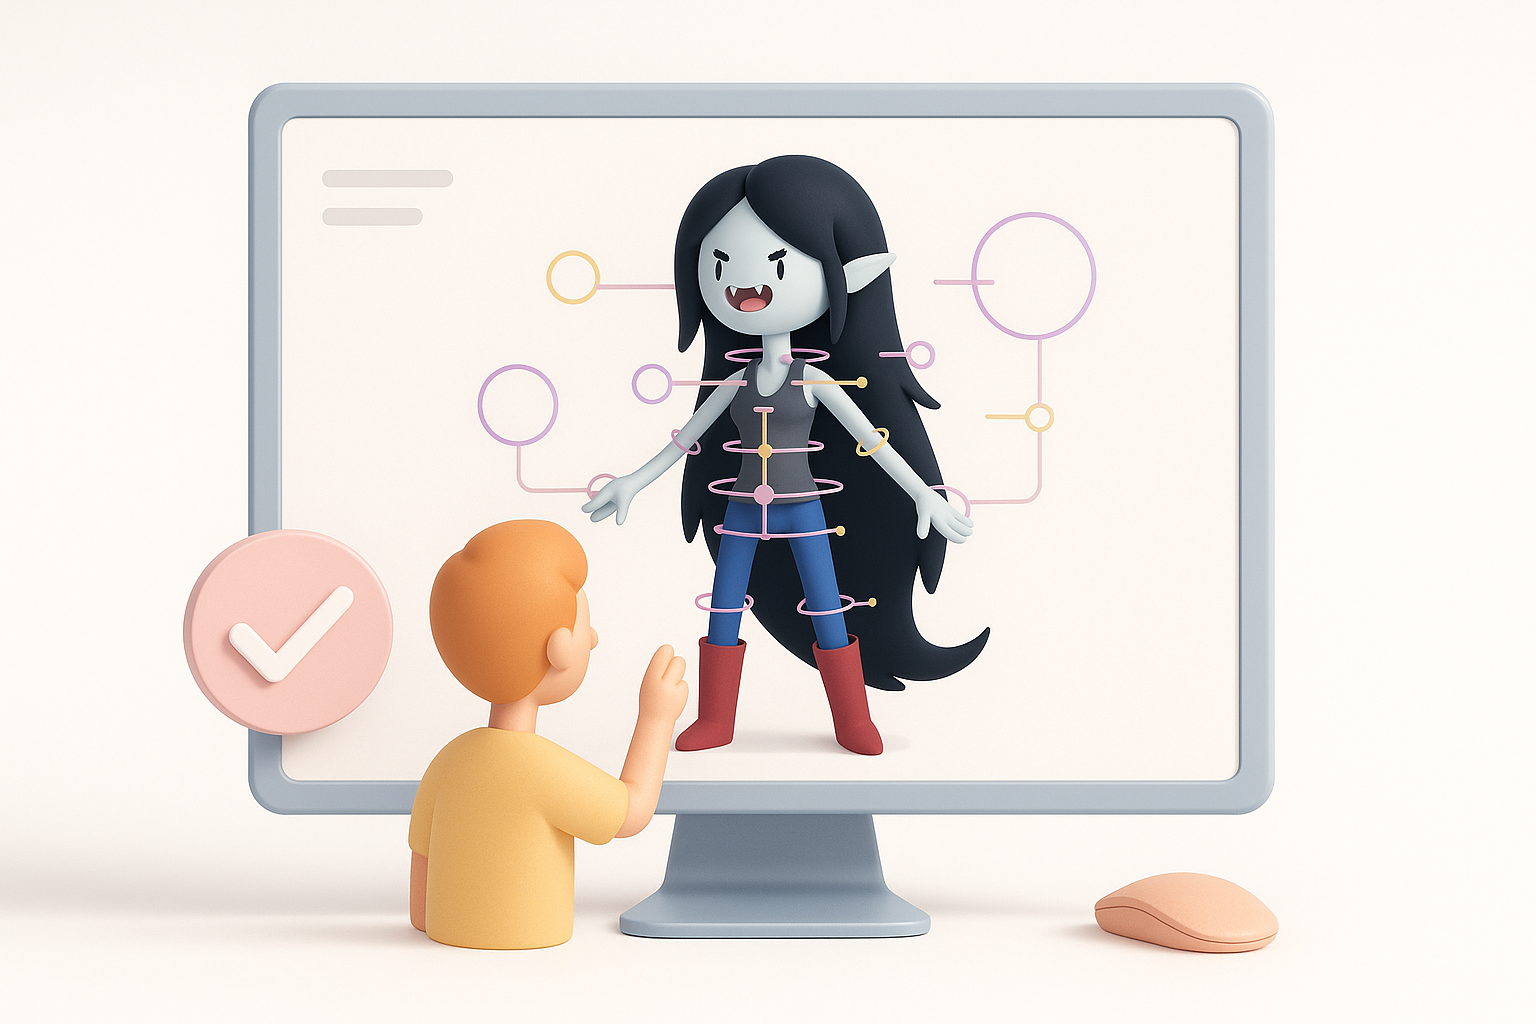
Rigging and Animation Preparation
Setting up a flexible rig for expressive poses
Expressiveness is key for characters like Marceline. My rigging process:
- Place joints for major body parts and facial features
- Add IK/FK switches for arms and legs
- Use blendshapes or bone-based facial rigs for expressions
Checklist:
- Are weight paints clean at joints?
- Can the rig handle extreme poses without artifacts?
Testing and refining animations
I create simple test animations (walk, idle, attack) to check deformations. Iteration is essential:
- Identify and fix skinning issues (e.g., collapsing elbows)
- Adjust rig controls for animator usability
- Export test animations to the engine for final verification
Exporting and Integrating the Model
Best practices for exporting to game engines
To ensure smooth import:
- Apply transforms and freeze scale/rotation
- Export in FBX or engine-preferred format
- Name meshes and bones clearly
I always test the export in a clean project to avoid surprises.
Troubleshooting common integration issues
Common problems I encounter:
- Inverted normals or broken UVs (check before export)
- Skeleton mismatches (ensure bone names match engine requirements)
- Material assignments lost (embed textures or use engine-specific material setups)
Tip: Keep a checklist for engine-specific export settings.
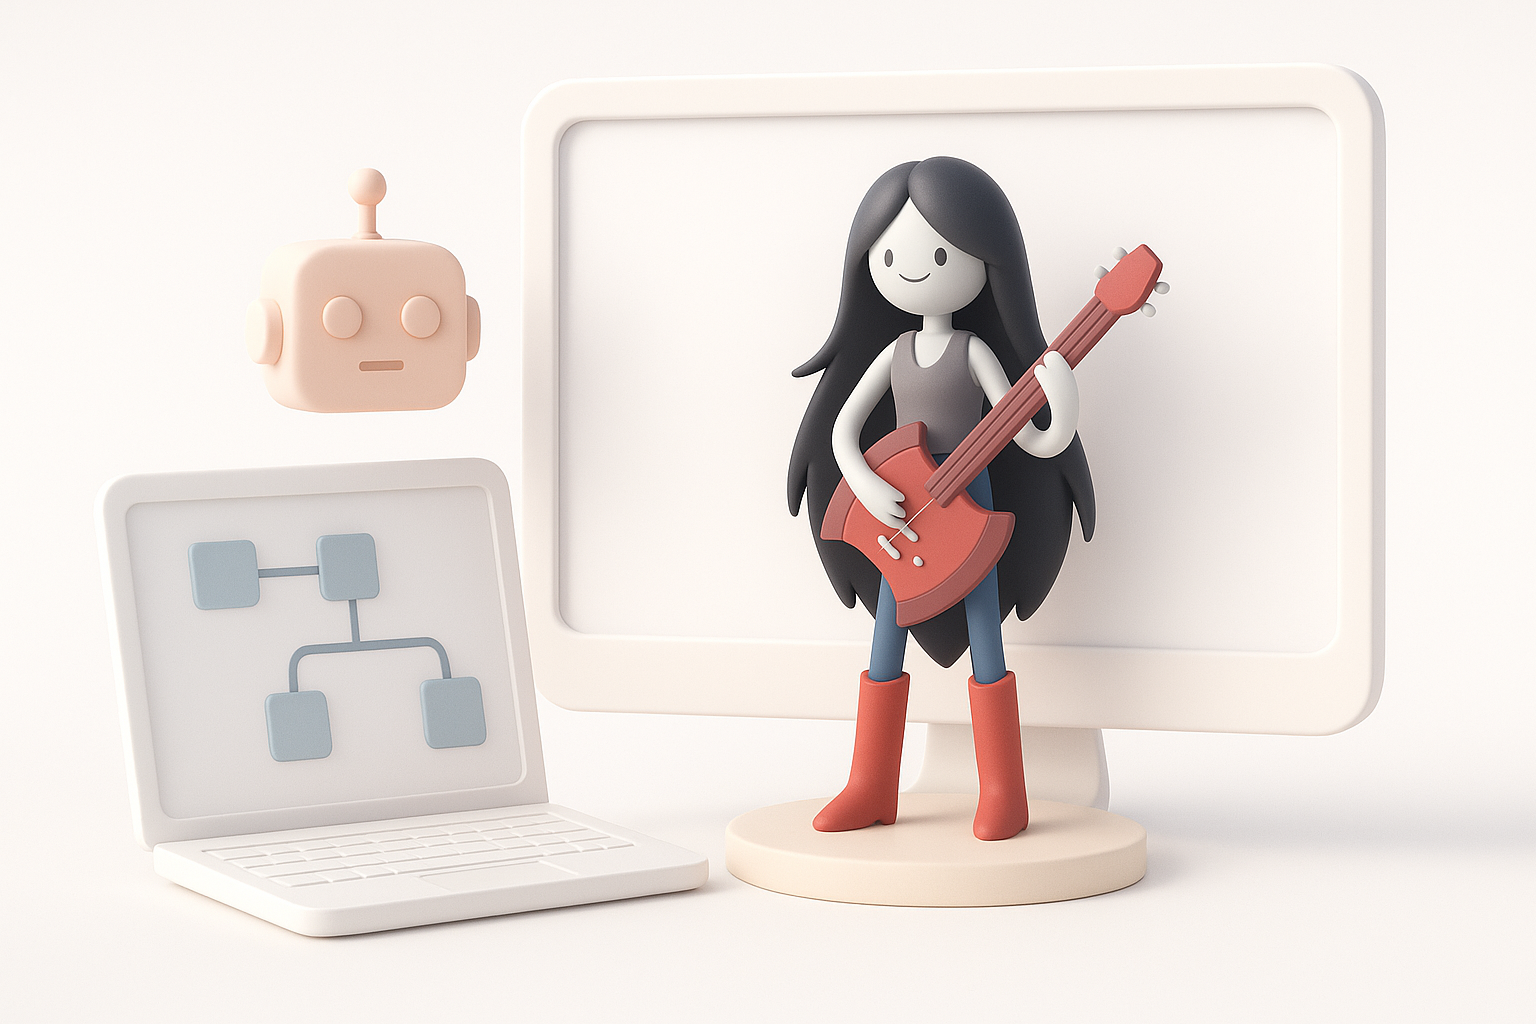
AI-Powered Tools and Workflow Enhancements
How I leverage Tripo for rapid prototyping
Tripo’s AI-driven generation speeds up my concept-to-blockout phase:
- Input text prompts or sketches to generate base meshes
- Use segmentation tools to separate character and props instantly
- Retopologize and texture in-app, then export for refinement
This allows me to iterate designs rapidly, especially under tight deadlines.
Comparing AI-driven and manual modeling methods
From my experience:
- AI tools excel at fast ideation and repetitive tasks (retopo, UVs)
- Manual methods still shine for final polish, custom details, and stylized features
Best practice: Use AI for speed, then refine manually for quality.
Lessons Learned and Expert Tips
What I’ve learned from real-world projects
- Early planning and strong references save time later
- Don’t skip topology and UV checks—fixing late-stage issues is costly
- AI tools are great accelerators, but not full replacements for hands-on artistry
Advice for aspiring 3D character artists
- Study both stylized and realistic anatomy
- Build a reference library for every project
- Embrace new tools, but master the fundamentals
- Always test your models in the final engine environment
By combining traditional skills with AI-powered workflows, I consistently deliver high-quality, game-ready character models—like Multiversus Marceline—faster and more reliably.