Creating a Metal Sonic 3D Model: Workflow, Tips, and Best Practices
Creating a Metal Sonic 3D model is a rewarding process that combines creative vision with technical precision. In this article, I’ll break down the full workflow I use—from planning and references to modeling, texturing, rigging, and final export. Whether you’re aiming for a game-ready asset or a portfolio piece, I’ll share practical tips and lessons learned that streamline production and help you avoid common pitfalls. This guide is for 3D artists, hobbyists, and developers who want to achieve professional results with efficient, modern tools.
Key takeaways
- Start with strong references and a clear scope to avoid wasted effort.
- Organize your project files early—this saves headaches later.
- Block out main shapes before adding details to maintain proportions.
- Use AI-powered tools like Tripo AI to accelerate segmentation, retopology, and texturing.
- Always check UVs and optimize meshes for your target platform.
- Balance automation with manual artistry for the best results.
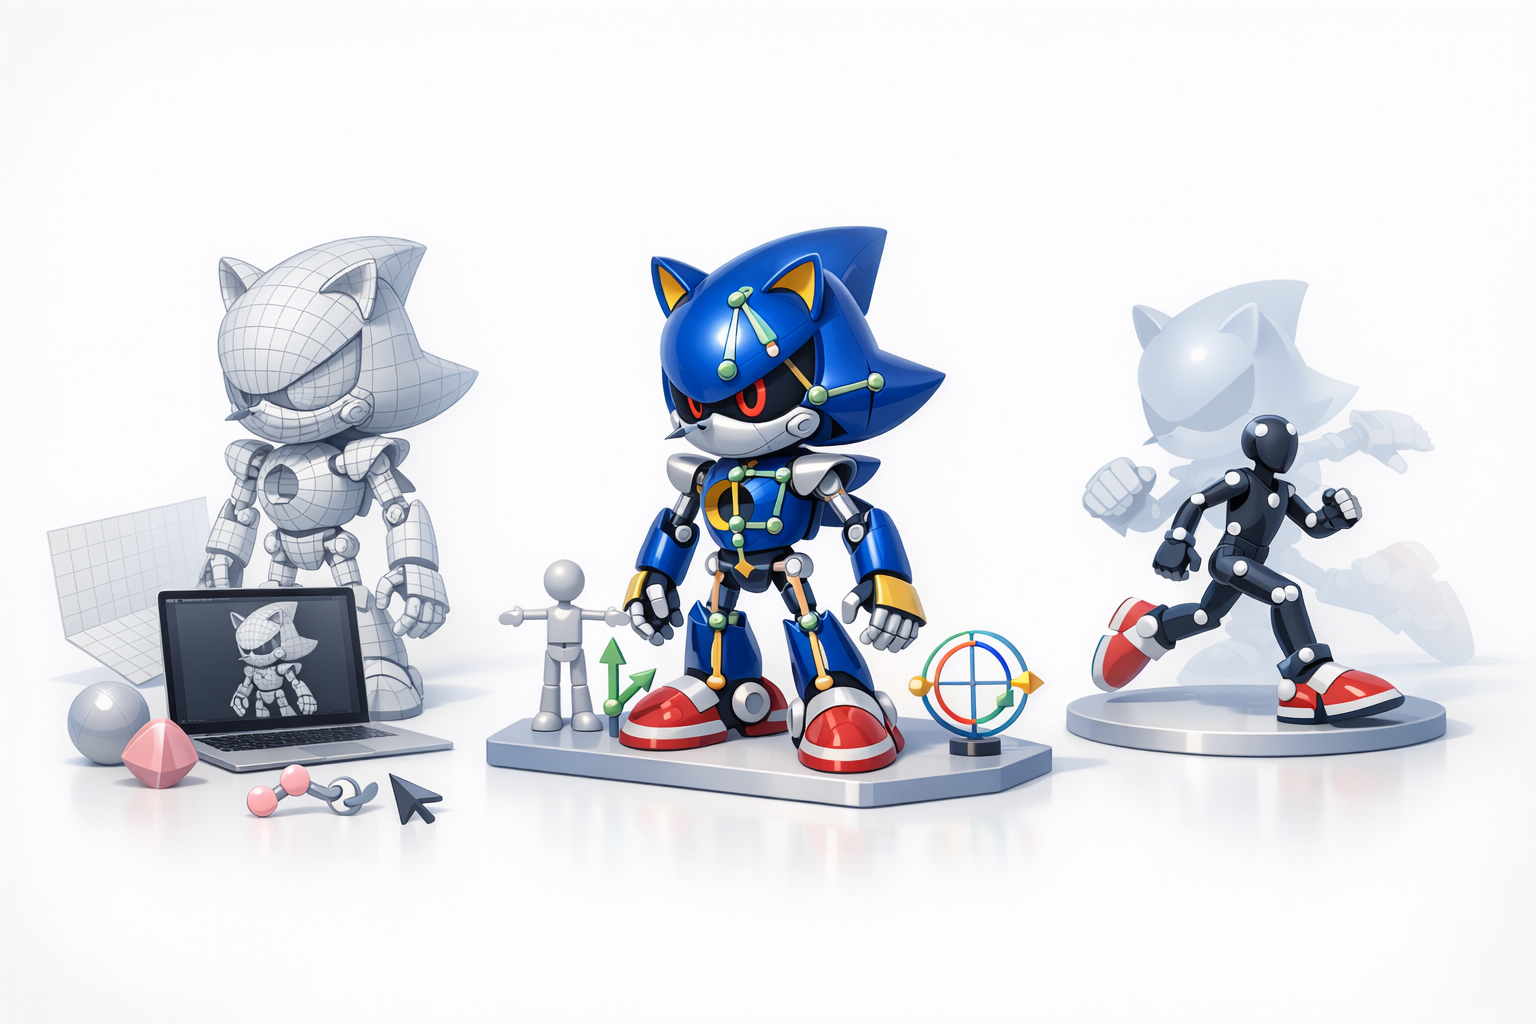
Overview: Metal Sonic 3D Model Creation

Key considerations before starting
Before I begin any character model, especially an iconic one like Metal Sonic, I clarify the end-use: is it for real-time rendering, animation, or static showcase? This decision affects polycount, rigging complexity, and texture resolution. I also consider the style (realistic vs. stylized) and whether I’ll need advanced materials like emissives for glowing parts.
Summary of recommended workflow
My typical workflow looks like this:
- Gather references and define model scope.
- Set up the project and choose the right tools.
- Block out primary forms, then refine details.
- Unwrap UVs and create textures/materials.
- Perform retopology for animation or optimization.
- Rig and prep for animation if needed.
- Export and run final checks.
I iterate between steps as needed, especially when refining shapes or textures.
Gathering References and Planning the Model
Collecting high-quality reference images
I always start by collecting as many reference images as possible—official artwork, in-game models, fan art, and even toy photos. Multiple angles are crucial for accuracy. I typically organize these in a reference board or folder, and use them as image planes in my 3D software.
Checklist:
- Front, side, and back views
- Close-ups of mechanical details
- Color and material references
Defining model scope and level of detail
I define the model’s scope early: will it be a full character, bust, or just the head? For Metal Sonic, I decide on the level of detail based on the target platform. Game assets require efficient geometry and textures, while showcase models can be higher poly.
Tips:
- Set a target polycount and texture size.
- Note which features must be animated (joints, eyes, mouth).
- List any special materials (metallic, emissive, etc.).
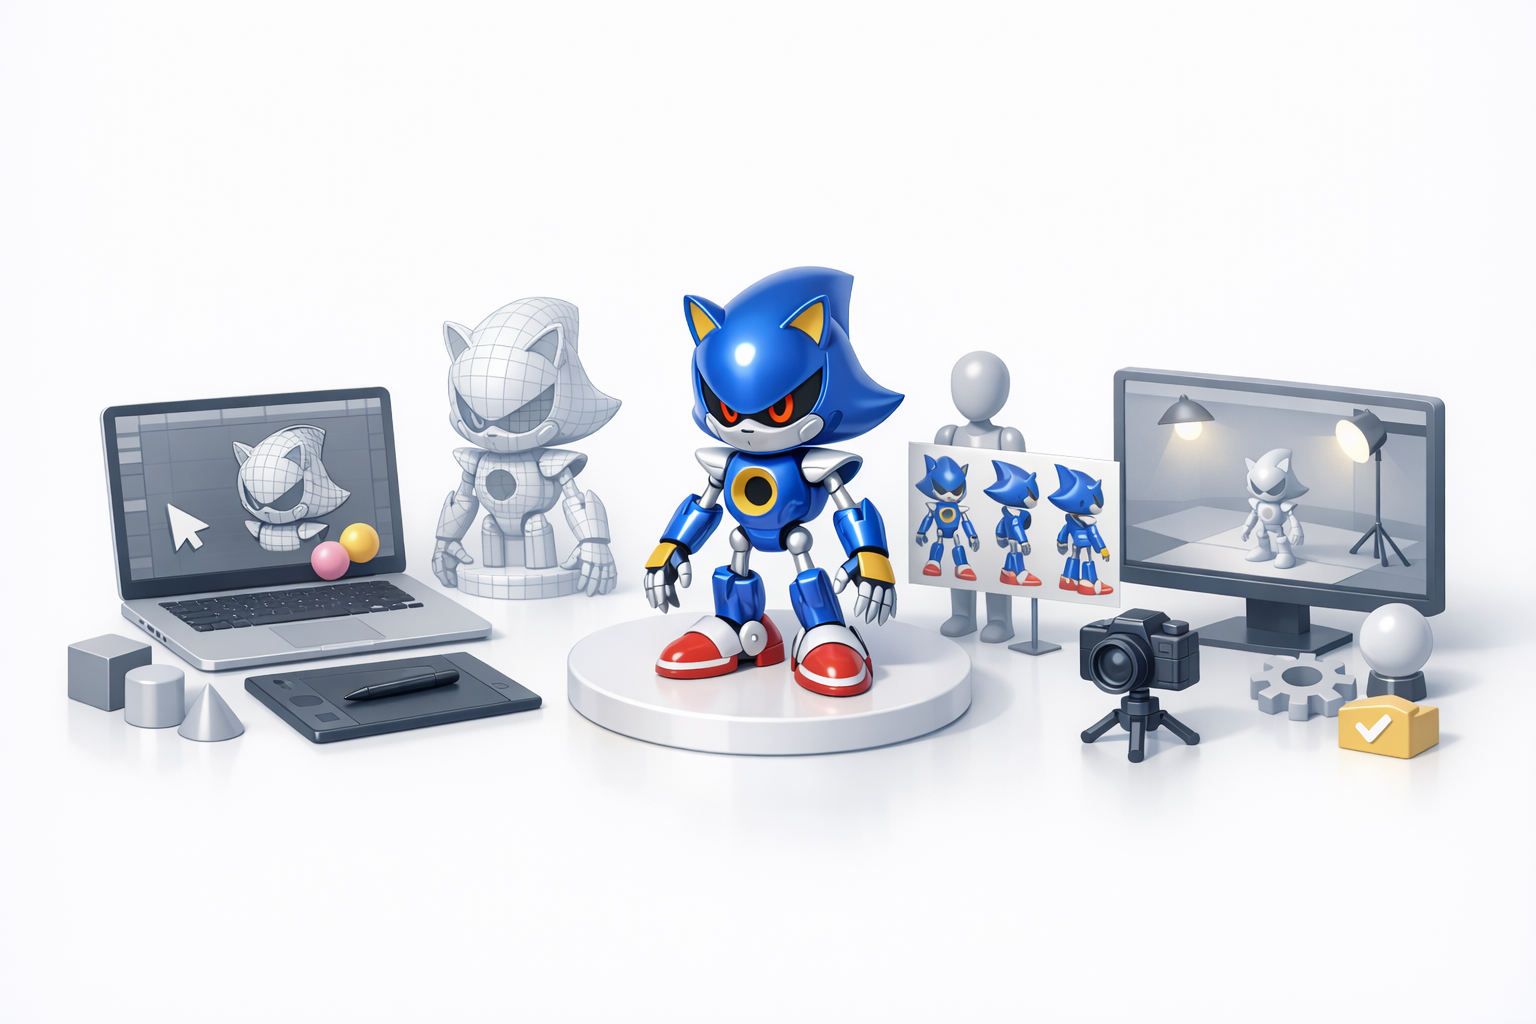
Choosing Tools and Setting Up the Project
Selecting 3D creation platforms and software
For this workflow, I use a combination of traditional 3D software and AI-powered tools. Tripo AI is particularly useful for rapid prototyping, segmentation, and texturing. I complement this with my main 3D suite for detailed modeling and rigging.
My tool setup:
- Tripo AI for initial mesh generation and UVs
- Traditional 3D software for sculpting and manual tweaks
- Texture painting software for custom maps
Project setup and file organization tips
I always create a clean folder structure: references, models, textures, exports. Naming conventions are critical—use clear, versioned file names. I also keep backups and incremental saves, especially before major changes.
Best practices:
- Use separate folders for WIP and final files.
- Document tool versions and settings for reproducibility.
- Set up project units and scale before modeling.
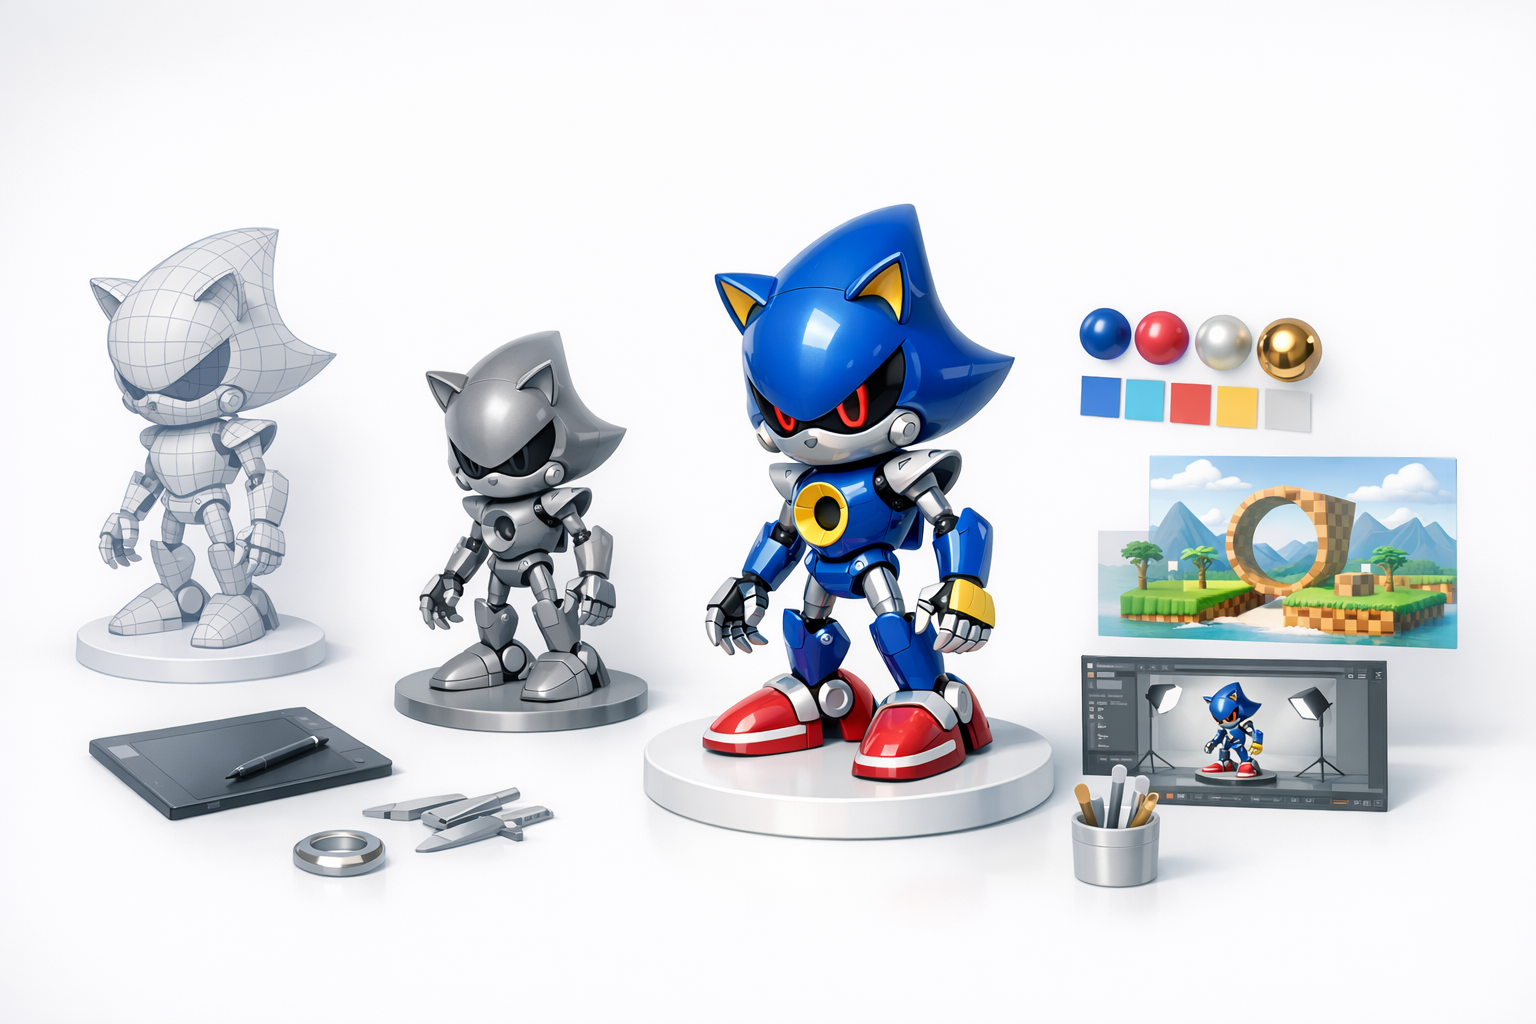
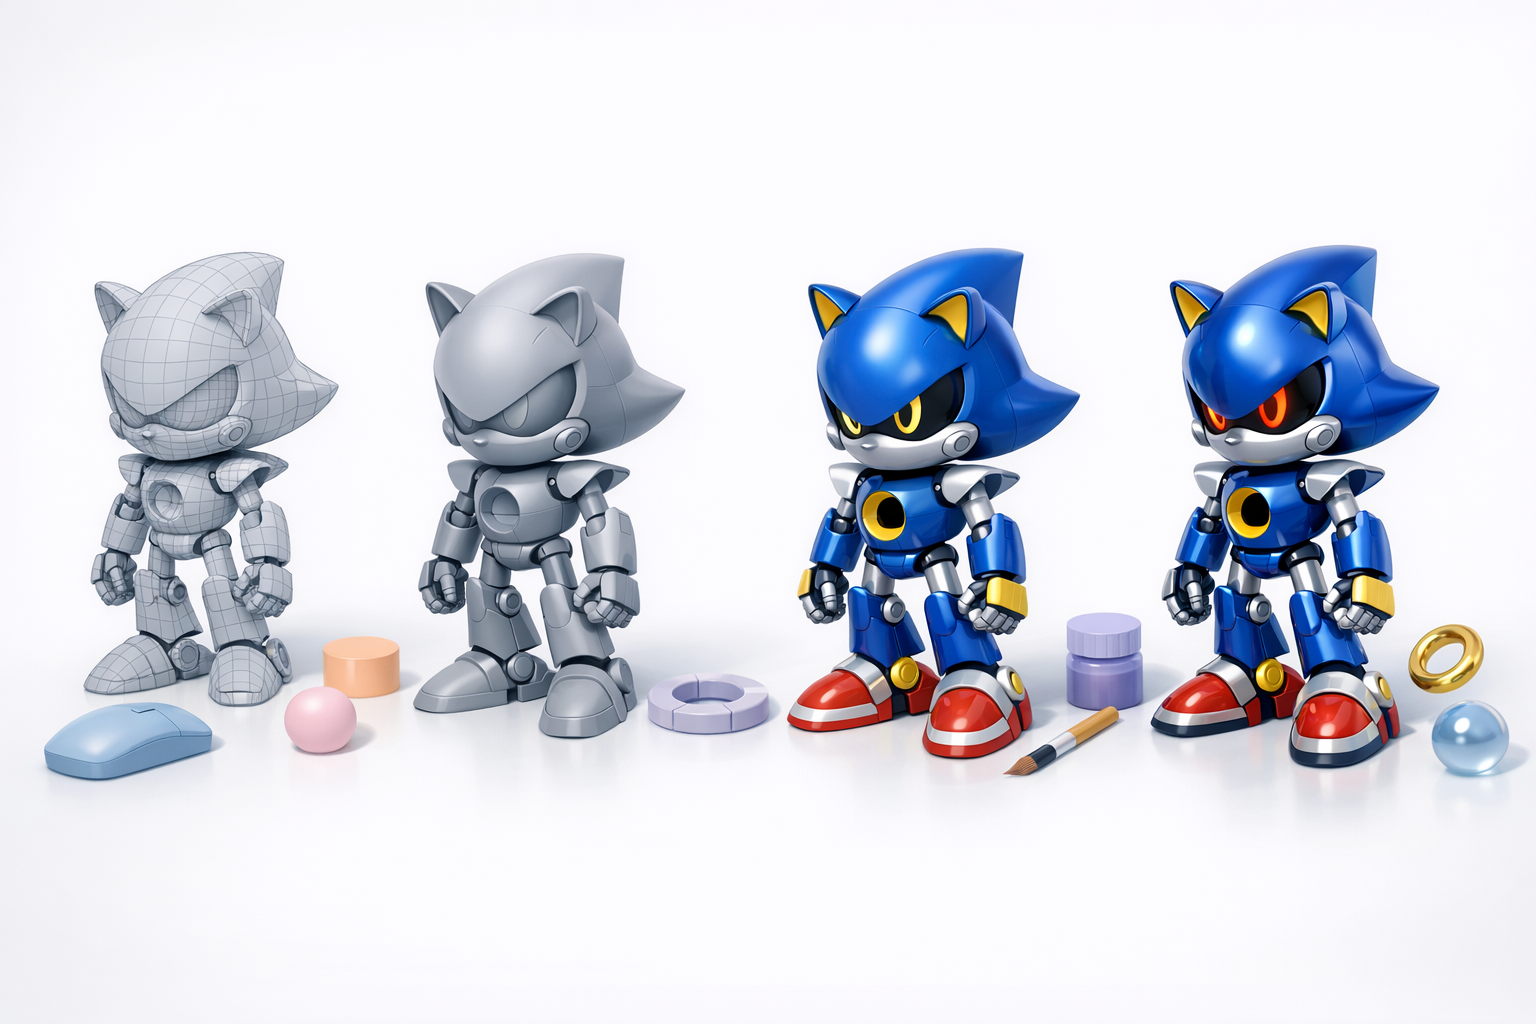
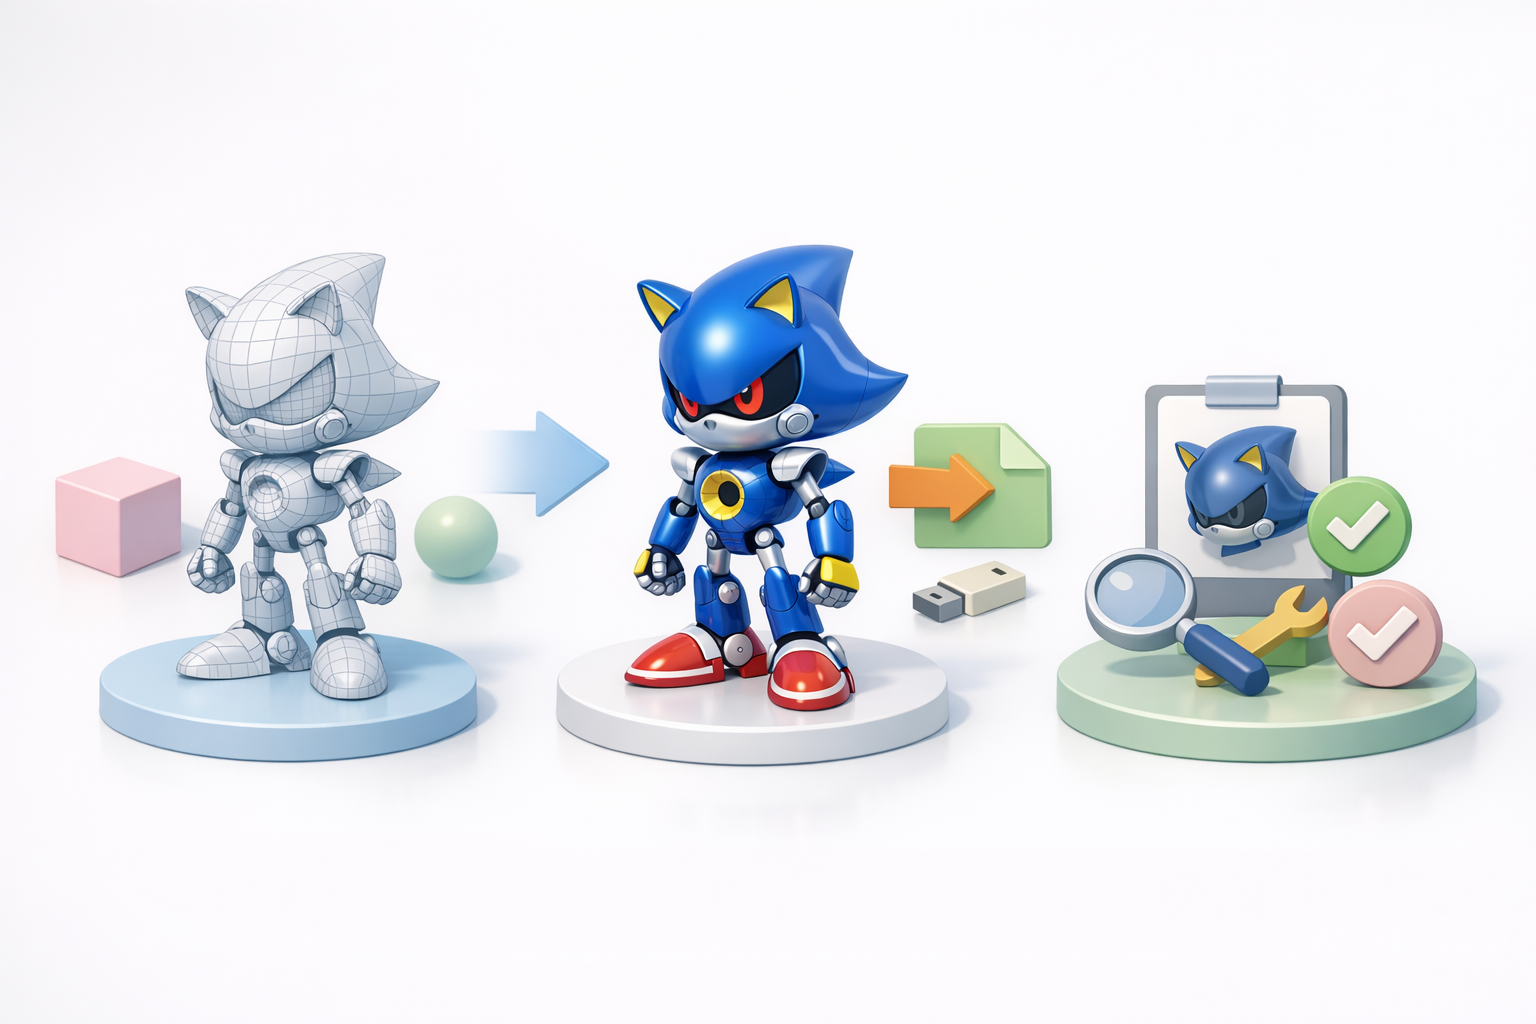
Modeling Metal Sonic: Step-by-Step Process
Blocking out primary shapes
I begin by blocking out the main forms: head, torso, limbs, and key features like spikes and joints. I use primitives (spheres, cylinders) and adjust proportions to match references. At this stage, I don’t worry about details—just silhouette and major volumes.
Steps:
- Place image planes for reference alignment.
- Use basic shapes to block in the silhouette.
- Check proportions from all angles.
Adding details and refining the mesh
Once the blockout feels right, I add secondary shapes: facial features, mechanical joints, and panel lines. I refine the mesh topology for smooth deformations, especially around joints. Edge flow is important for animation.
Tips:
- Use symmetry tools to speed up work.
- Add edge loops in high-deformation areas (knees, elbows).
- Don’t over-detail early—save fine features for later.
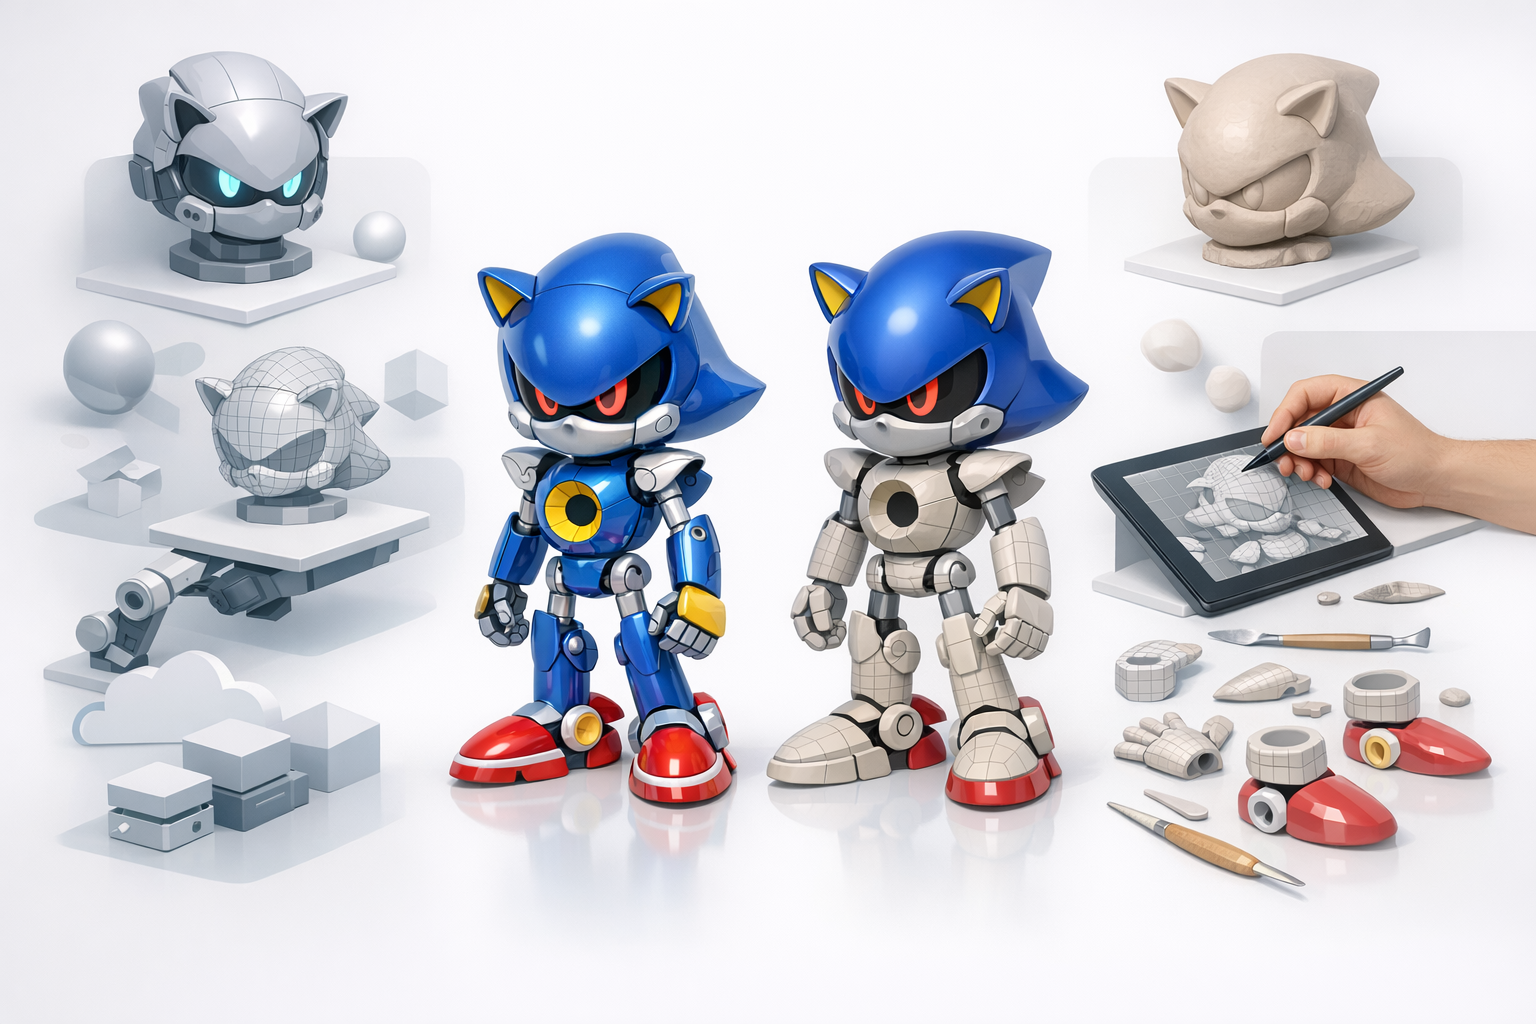
Texturing and Materials for Metal Sonic
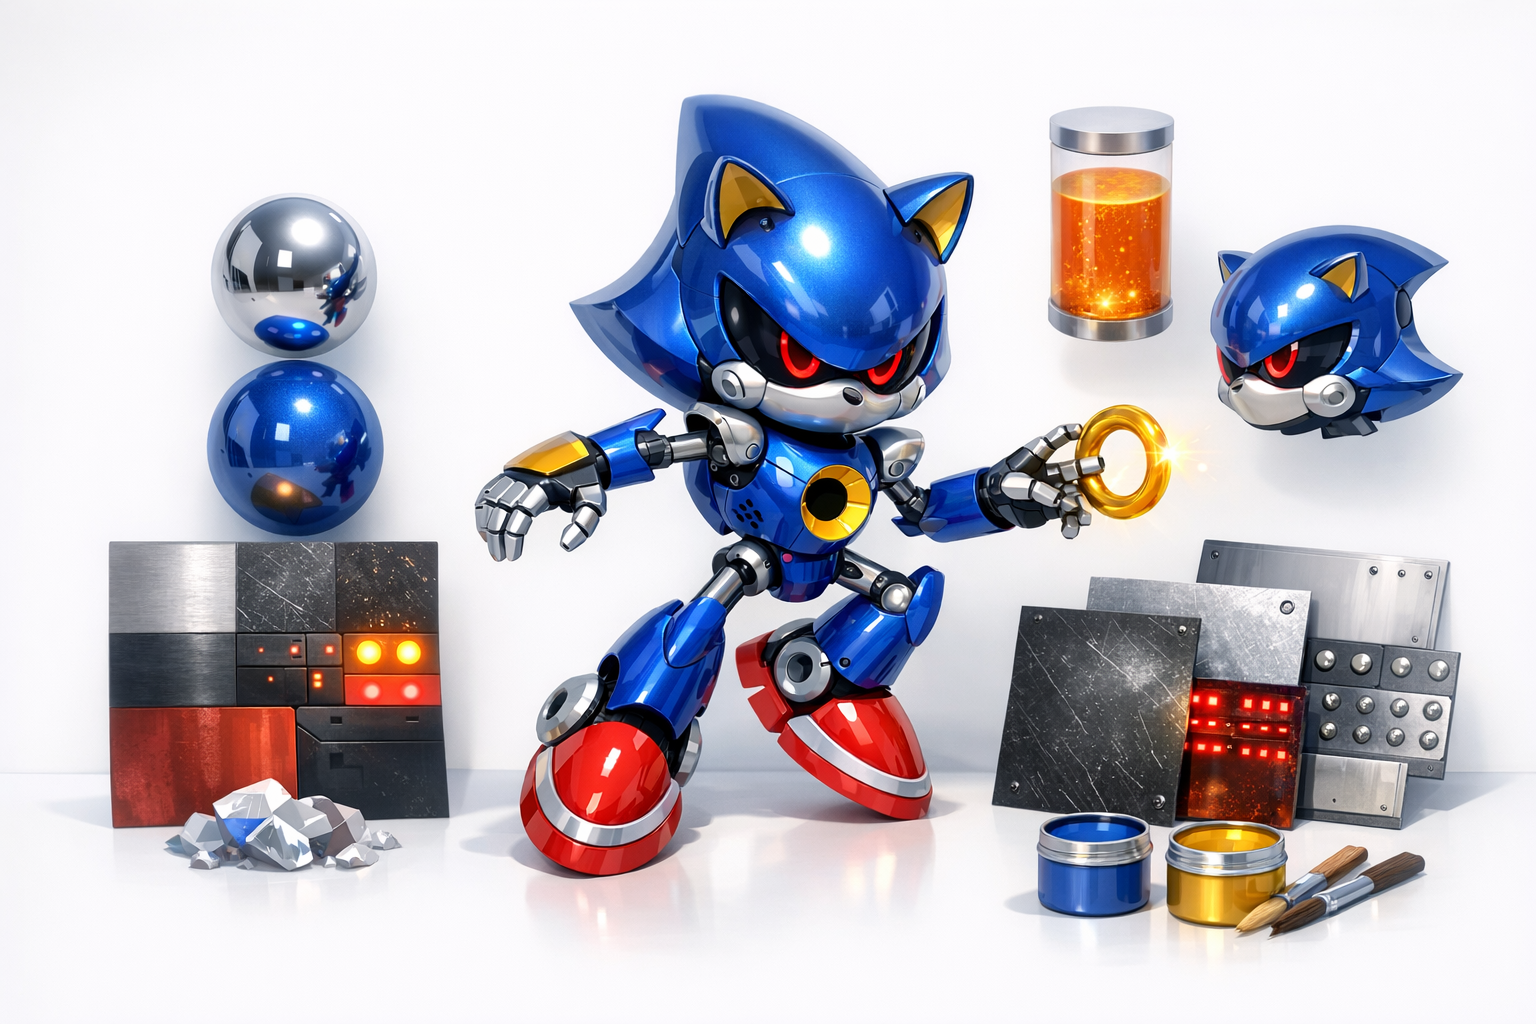
Creating metallic surfaces and emissive effects
Metal Sonic’s look depends on convincing metallic materials and glowing elements. I use PBR (Physically Based Rendering) workflows, creating separate maps for base color, metallic, roughness, and emissive parts. Tripo AI can auto-generate base textures, which I then tweak for realism.
Tips:
- Use reference photos for metal hues and reflections.
- Layer scratches and wear for believability.
- Separate emissive areas (eyes, chest) into distinct texture channels.
UV mapping and texture painting best practices
I always check UVs for stretching and overlaps. Automated UV tools can save time, but I often manually adjust seams for cleaner texture painting. I keep texture resolution consistent and use padding to avoid mipmap artifacts.
Mini-checklist:
- Unwrap UVs with minimal distortion.
- Pack UV islands efficiently.
- Test textures in-engine or renderer before finalizing.
Retopology, Rigging, and Animation Preparation
Efficient retopology workflows
For animation-ready models, clean topology is essential. I use retopology tools—Tripo AI’s auto-retopo is a good starting point, but I often make manual adjustments for edge flow around joints and facial features.
Steps:
- Retopologize high-poly mesh for animation.
- Ensure quads dominate key deformation zones.
- Reduce unnecessary edge loops for efficiency.
Rigging for animation and posing
I set up a basic skeleton, paying attention to joint placement. For Metal Sonic, mechanical joints need precise pivot points. I weight paint carefully to avoid mesh collapse during movement.
Tips:
- Test rig with simple poses before animating.
- Use control rigs for easier posing.
- Save rig presets for future projects.
Exporting, Optimization, and Final Checks
Export settings for different platforms
I export models in the format required by the target platform (FBX, OBJ, GLTF). I check scale, orientation, and texture paths. Some engines require specific settings—triangulate meshes if needed.
Checklist:
- Apply transforms before export.
- Embed or link textures as required.
- Test import in target engine or viewer.
Performance optimization and troubleshooting
I optimize by reducing polycount, baking normal maps, and compressing textures. I also check for non-manifold geometry and flipped normals. Performance profiling tools help spot bottlenecks.
Pitfalls to avoid:
- Overly dense meshes
- Huge texture files
- Broken UVs or missing textures
Comparing AI-Powered and Manual Workflows
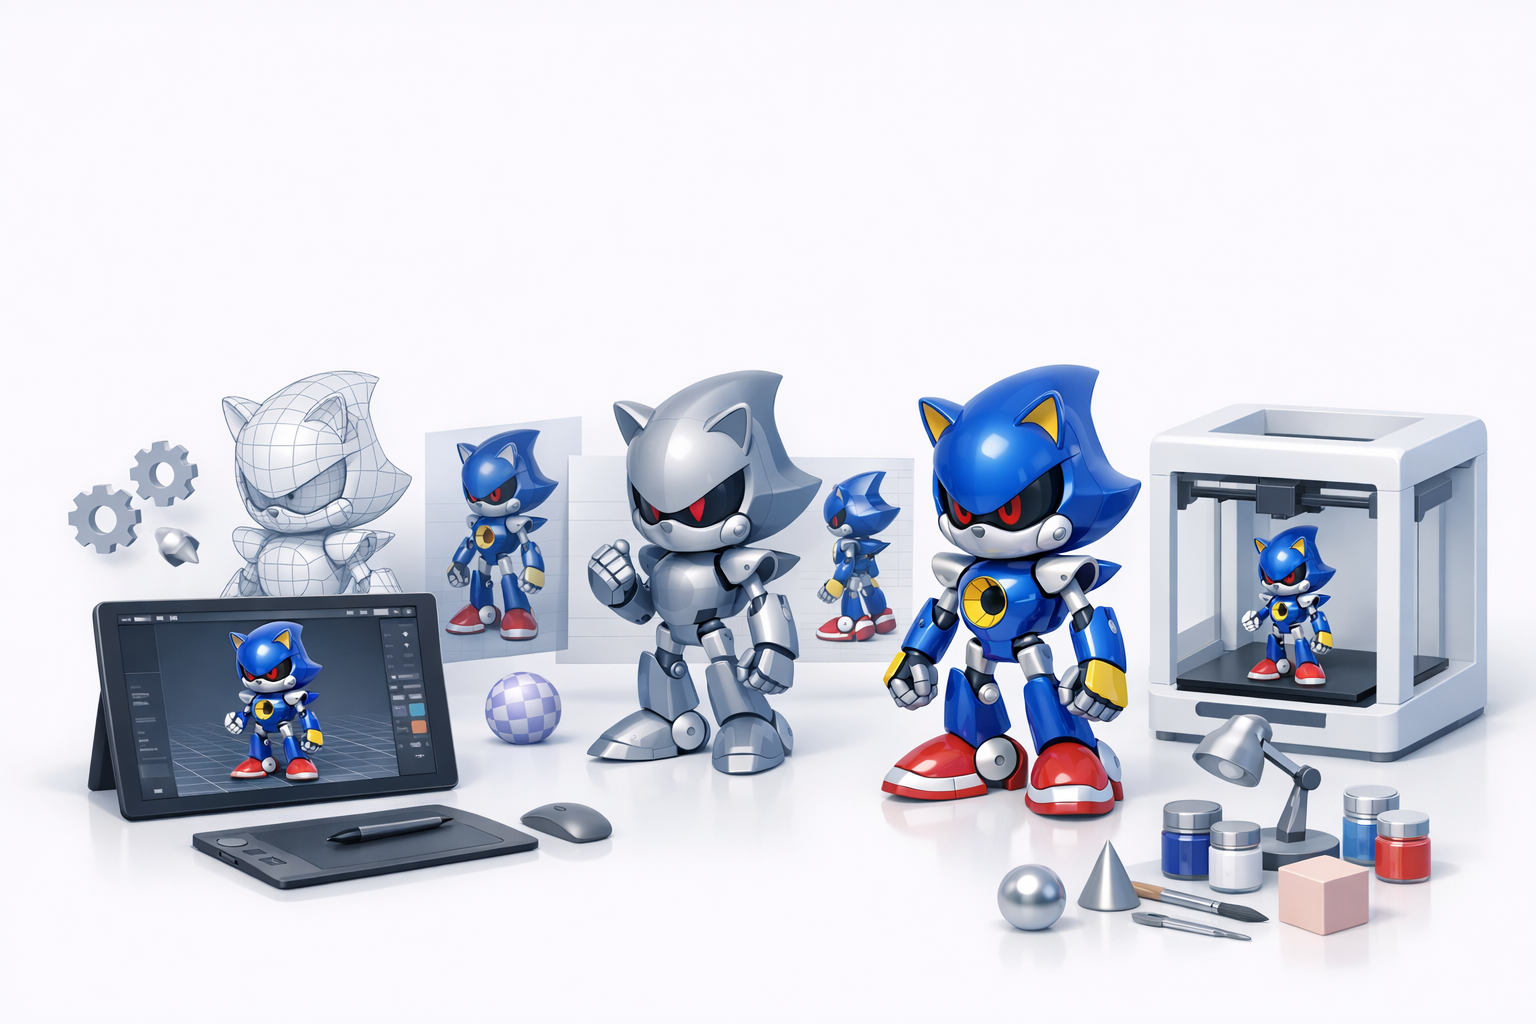
When to use AI-driven 3D tools
AI tools like Tripo AI are ideal for rapid prototyping, auto-segmentation, and generating base meshes or textures. I use them to accelerate repetitive tasks, freeing up time for creative decisions.
Best use cases:
- Fast blockouts and concept iterations
- Automatic retopology and UVs for time savings
- Generating texture variations
Personal insights: balancing automation and artistry
In my experience, the best results come from combining AI automation with manual craftsmanship. AI speeds up the basics, but final polish—especially for stylized or iconic characters—still requires a human touch.
Advice:
- Use AI for groundwork, then refine manually.
- Always review and tweak auto-generated results.
- Don’t let automation override your creative intent.
Tips, Lessons Learned, and Common Pitfalls
What I’ve learned from past Metal Sonic projects
Every Metal Sonic model I’ve made has taught me the value of planning and iteration. Rushing into details too soon usually means rework later. Consistent file organization and version control have saved me from losing hours of progress.
Lessons:
- Reference and proportion are everything.
- Test rigs and materials early, not just at the end.
- Keep backups—mistakes happen.
Avoiding common mistakes in character modeling
Common pitfalls include poor topology around joints, messy UVs, and over-reliance on auto-generated textures. I always double-check these areas before calling a model done.
Checklist:
- Clean, quad-based topology for animation.
- UVs with minimal stretching and efficient packing.
- Materials and textures tested in the target renderer.
By following this workflow and keeping best practices in mind, you can create a high-quality Metal Sonic 3D model that’s ready for games, animation, or showcase.