How to Create a MeepCity 3D Model: Expert Workflow & Tips
Creating a MeepCity-style 3D model for games or interactive experiences requires a blend of creativity, technical know-how, and the right tools. In my experience, leveraging AI-powered platforms like Tripo has dramatically accelerated my workflow, letting me focus more on design and less on repetitive tasks. This guide walks through my full process—from analyzing references to final animation—highlighting practical tips, common pitfalls, and best practices for game-ready assets. If you’re a 3D artist, developer, or designer aiming to create stylized, production-ready models efficiently, this article is for you.
Key takeaways
- Start with thorough reference analysis for accuracy and style consistency.
- Use AI-powered 3D tools to rapidly generate and refine base meshes.
- Optimize topology and details early to avoid issues later in the pipeline.
- Prioritize clean UVs and efficient textures for game performance.
- Rig and animate with simplicity in mind for smooth integration.
- Test compatibility with your target game engine throughout the process.
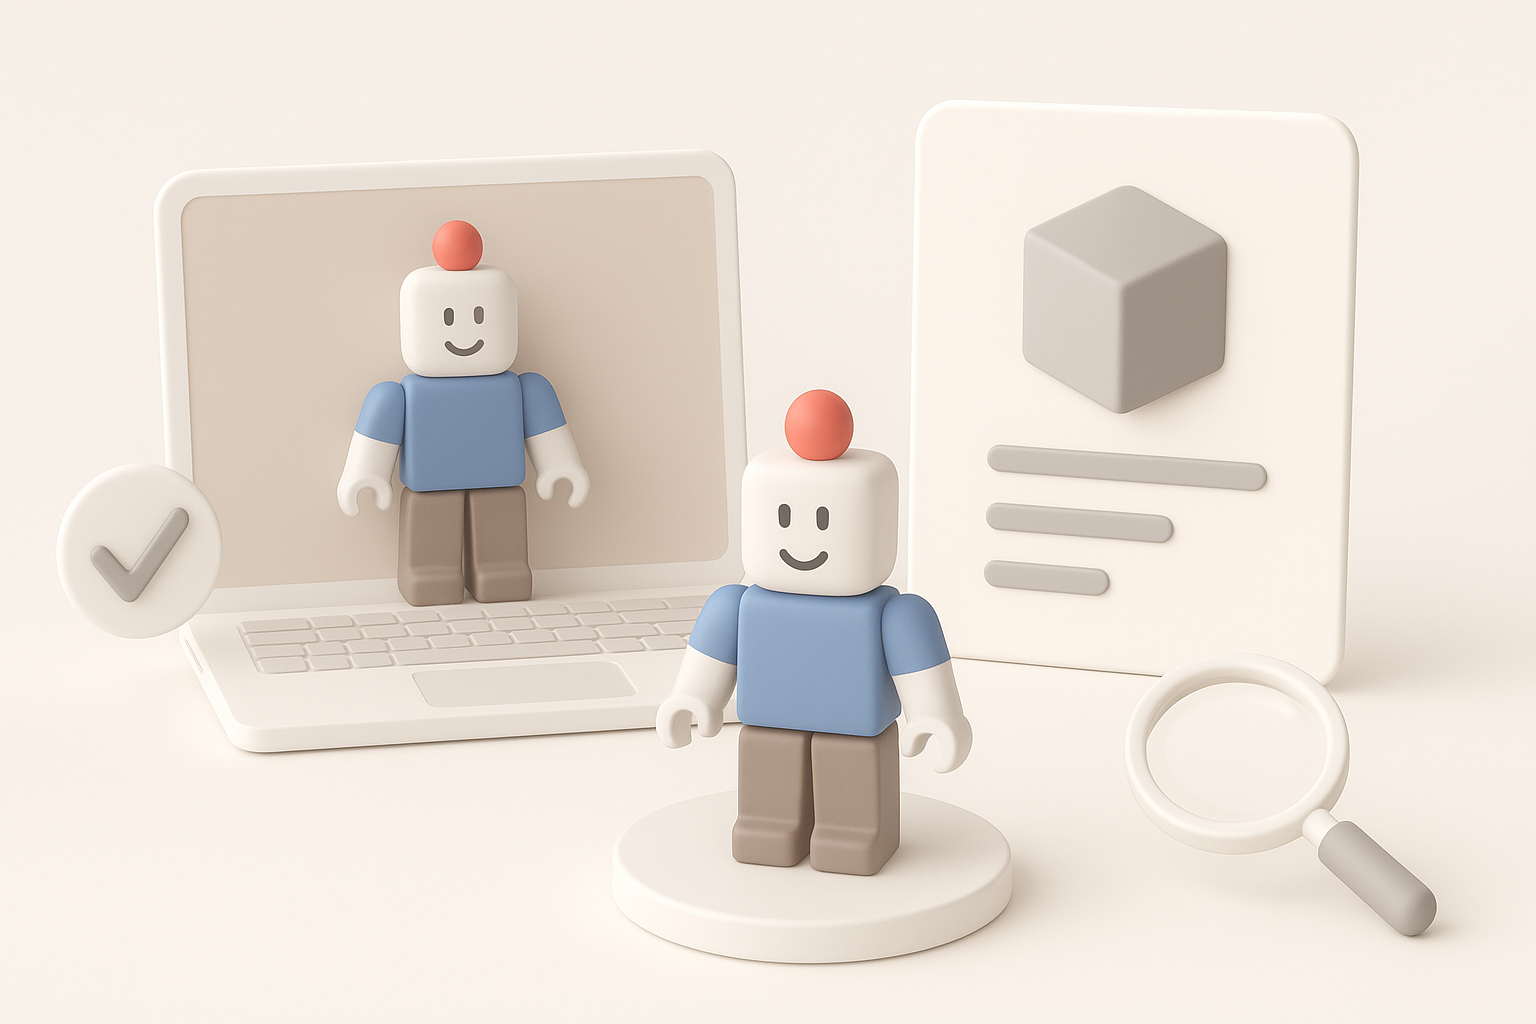
Understanding MeepCity 3D Model Requirements
Analyzing Reference Images and Game Assets
Before modeling, I always gather as many references as possible from MeepCity itself and similar games. Screenshots, fan art, and in-game assets help me nail down proportions, color palettes, and stylization cues. I organize these references in a mood board for quick access during modeling.
Checklist for reference analysis:
- Collect images from multiple angles
- Note signature shapes and proportions
- Observe color blocking and material styles
Identifying Key Features for Accuracy
MeepCity models have distinct, cartoon-like features—rounded forms, bold outlines, and simplified details. Accuracy here isn’t about photorealism but about capturing the playful essence. I pay special attention to facial features, accessory shapes, and overall silhouette.
Key points:
- Exaggerate proportions as needed (e.g., large heads, small bodies)
- Keep details minimal but expressive
- Match the model’s scale to in-game standards
Choosing the Right Tools for MeepCity 3D Modeling
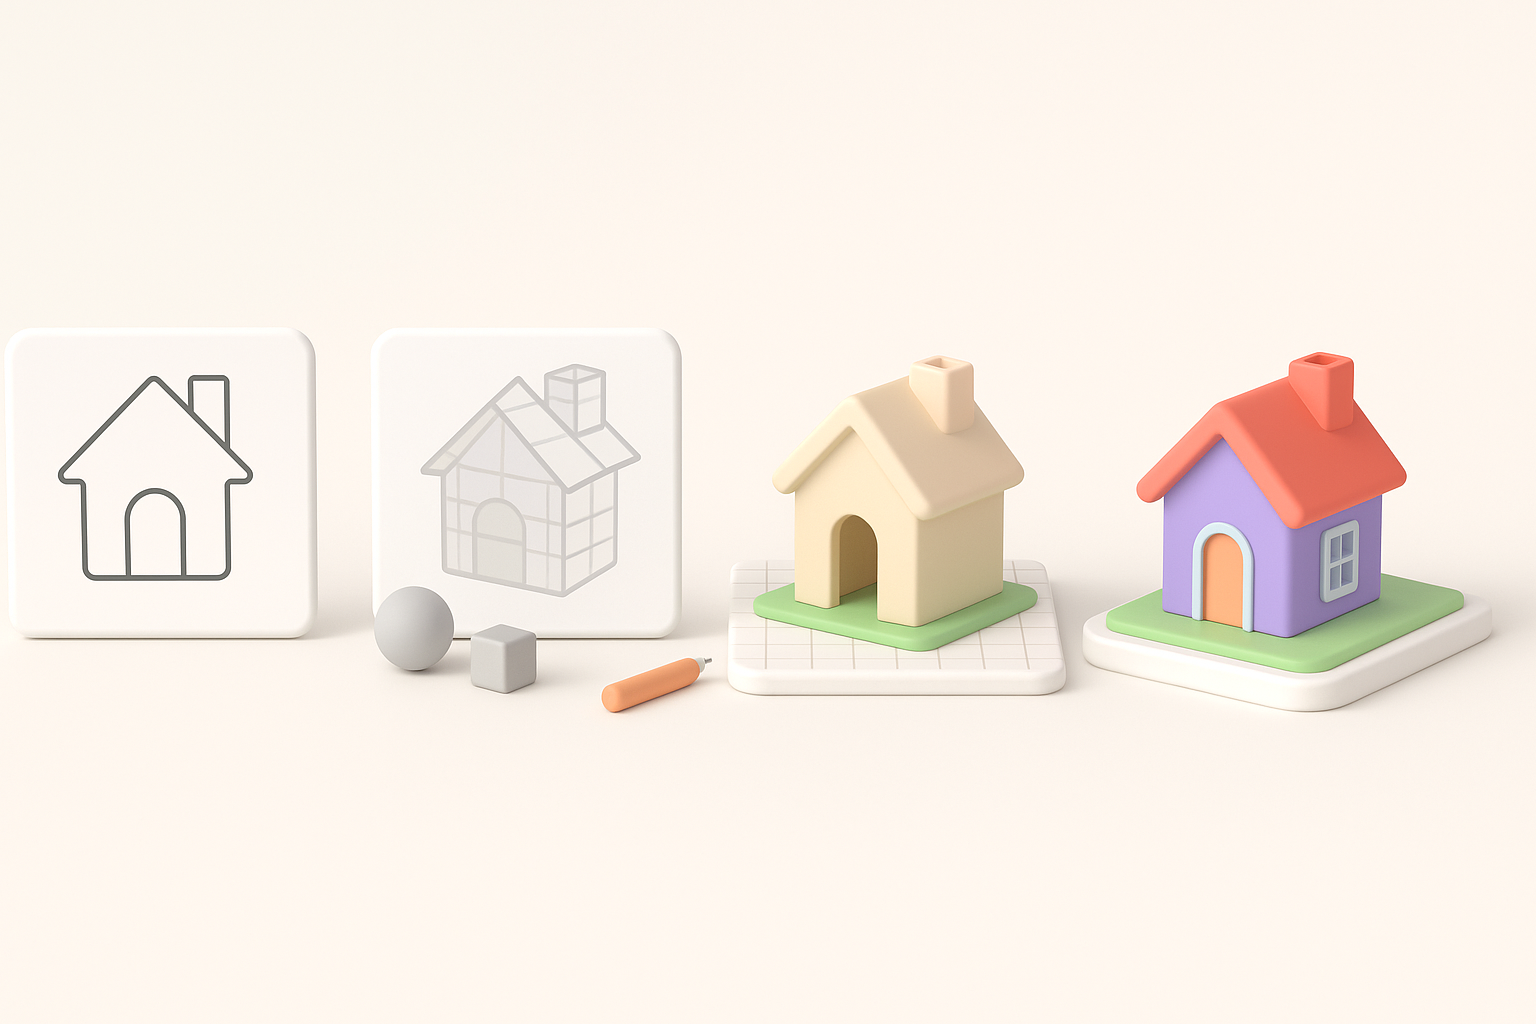
Why I Use AI-Powered Platforms for Speed
Traditional modeling can be time-consuming, especially for blocking out shapes. I use Tripo AI to generate a base mesh from sketches or text prompts, which gets me 80% of the way there in seconds. This lets me focus my time on creative refinement instead of manual setup.
What I input to Tripo:
- Clear text prompts describing the character or object
- Reference images or quick sketches for visual guidance
Comparing Manual and Automated Workflows
Manual workflows offer granular control but are slower and more tedious for repetitive shapes. Automated tools like Tripo handle segmentation, retopology, and basic UVs, drastically reducing setup time. I still do manual tweaks for stylization and polish, but automation covers the heavy lifting.
My approach:
- Use AI for rapid prototyping and base mesh creation
- Switch to manual sculpting and retopology for final adjustments
- Regularly export and test in the target engine to catch issues early
Step-by-Step MeepCity 3D Model Creation Process
Blocking Out the Base Mesh
I start by generating a rough base mesh using Tripo AI—either from a text description or a quick sketch. This gives me a solid foundation with correct proportions and basic topology.
Steps:
- Input prompt/sketch into Tripo
- Review and adjust the generated mesh for silhouette and scale
- Block in major shapes (head, torso, limbs) if needed
Refining Details and Optimizing Topology
Once the base mesh is in place, I move to refinement. I clean up the topology, making sure edge loops follow the form—especially around joints and facial features. This step is crucial for animation and game performance.
Tips:
- Use quad-based topology for smooth deformation
- Simplify geometry where possible to keep polycount low
- Regularly check the model in a neutral pose
Texturing, Rigging, and Animating the Model

Applying Game-Ready Textures
I unwrap UVs early, using Tripo’s automated UV tools as a starting point. For texturing, I stick to simple, hand-painted styles to match MeepCity’s aesthetic. Keeping textures compact and clean is key for performance.
Texture workflow:
- Bake ambient occlusion and basic lighting if needed
- Use a 256x256 or 512x512 texture map for efficiency
- Test textures on the model in-engine for color accuracy
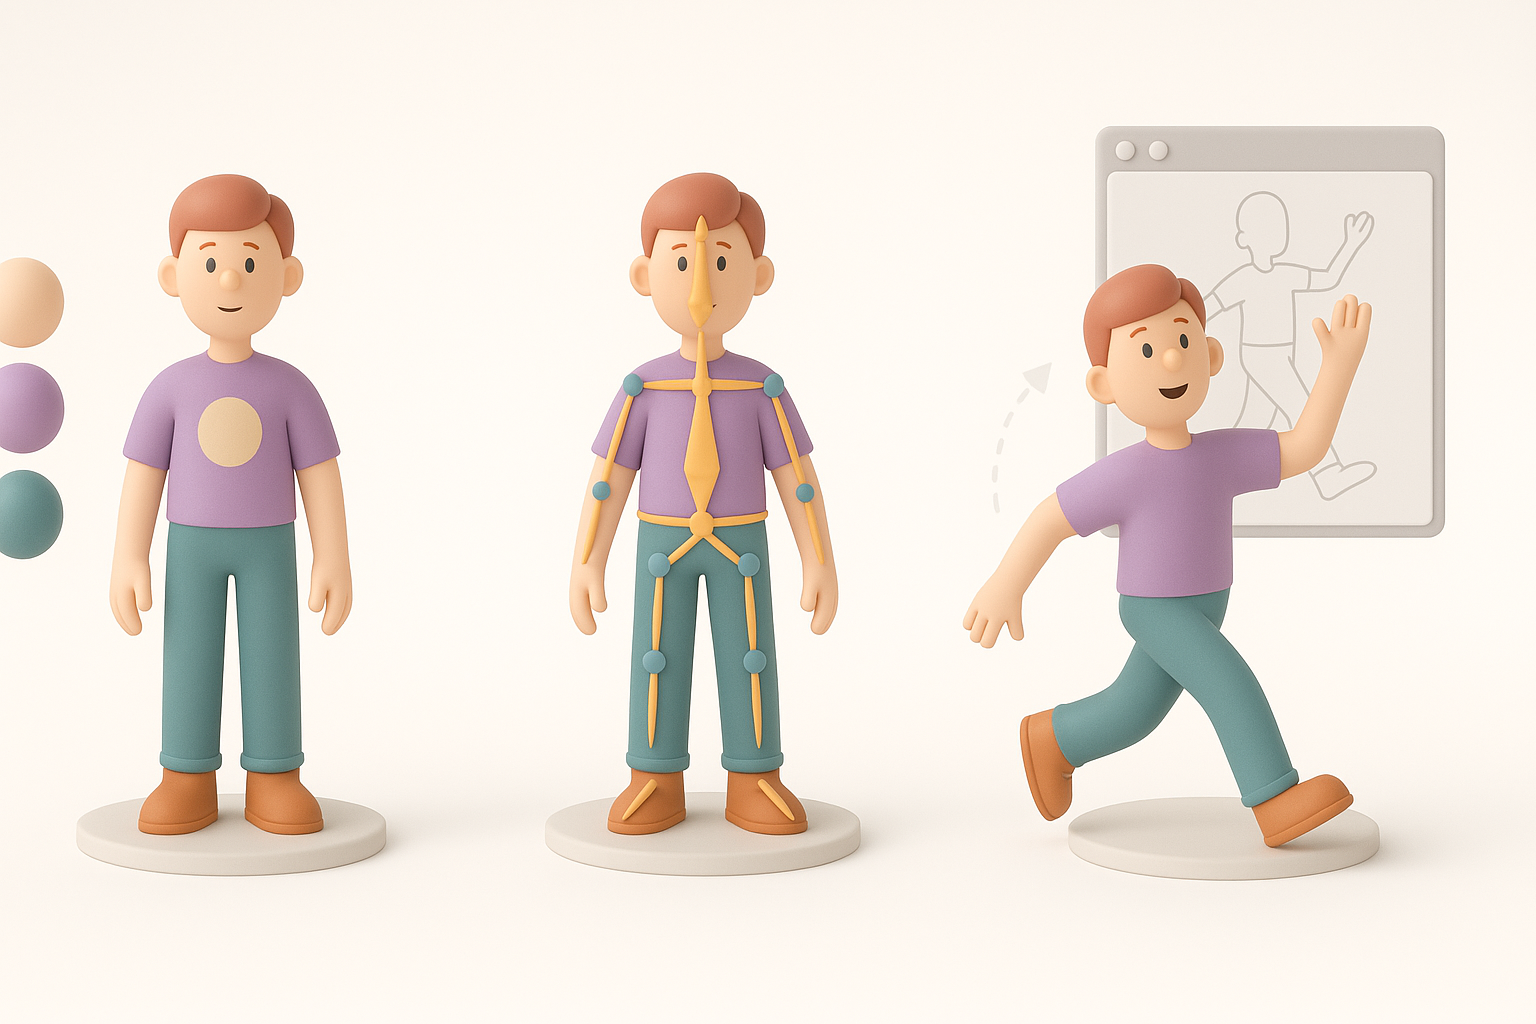
Adding Basic Rigging and Animation Loops
For rigging, I use Tripo’s built-in auto-rigging to quickly set up bones and weights. I keep animation loops simple—idle, walk, jump—matching the game’s style. Testing these animations in the engine ensures smooth playback and correct scaling.
My rigging/animation checklist:
- Assign clear bone names and hierarchy
- Limit joint count for performance
- Export and preview animations in the game editor
Best Practices and Lessons Learned
Ensuring Compatibility with Game Engines
I constantly test exports in the target game engine to catch issues with scale, normals, or animation. Exporting in standard formats (.fbx, .obj) and using engine-friendly naming conventions saves headaches down the line.
Best practices:
- Use consistent units (meters or centimeters)
- Check for flipped normals or broken UVs on import
- Keep texture and mesh files organized
Common Pitfalls and How I Avoid Them
Overcomplicating the model or skipping early optimization leads to problems later. I’ve learned to always start simple, iterate with feedback, and avoid adding unnecessary detail.
Pitfalls to watch for:
- High polycounts that slow down performance
- Overly complex rigs causing animation glitches
- Inconsistent style breaking visual cohesion
By following these steps and leveraging AI-powered tools like Tripo, I streamline MeepCity 3D model creation—delivering game-ready assets quickly, without sacrificing creativity or accuracy.