How to Create a Realistic Mars 3D Model: Expert Workflow
скачать 3d модель для chicken gun
Creating a realistic Mars 3D model is now faster and more accessible than ever. In my experience, the right workflow blends solid research, efficient modeling, and smart use of AI-powered tools like Tripo to deliver production-ready results for science, games, or XR. Whether you’re after scientific accuracy or dramatic visuals, understanding Mars’s unique features and using the right references is critical. Below, I’ll share my full workflow, practical tips, and lessons learned from building Mars models for both interactive and cinematic projects.
Key takeaways
- Reference quality is crucial—use official space agency data and organize it well.
- Start broad, then add detail: Block out the planet first, then focus on topography and textures.
- AI tools can accelerate modeling, but manual tweaks are often needed for realism.
- Optimize for your target platform: Retopology and export settings matter for games, film, and XR.
- Lighting and atmosphere effects make or break realism—don’t skip them.
Overview: Why Build a Mars 3D Model?
Key Applications in Science, Games, and XR
I’ve built Mars models for a range of uses—planetary visualizations, game environments, cinematic shots, and XR experiences. In science, accuracy is non-negotiable; in entertainment, visual impact often leads. XR projects demand lightweight yet detailed assets for performance.
Typical uses:
- Scientific simulations and education
- Game levels and cutscenes
- VR/AR planetary exploration
What Makes Mars Modeling Unique
Mars’s surface is highly distinctive—think dramatic canyons, ancient riverbeds, and cratered plains. Unlike generic rocky planets, Mars has color variations (reds, ochres, grays) and a thin, dusty atmosphere that influences lighting.
Unique challenges:
- Capturing subtle color gradients and albedo
- Reproducing real topography (e.g., Valles Marineris, Olympus Mons)
- Simulating the thin, reddish atmosphere
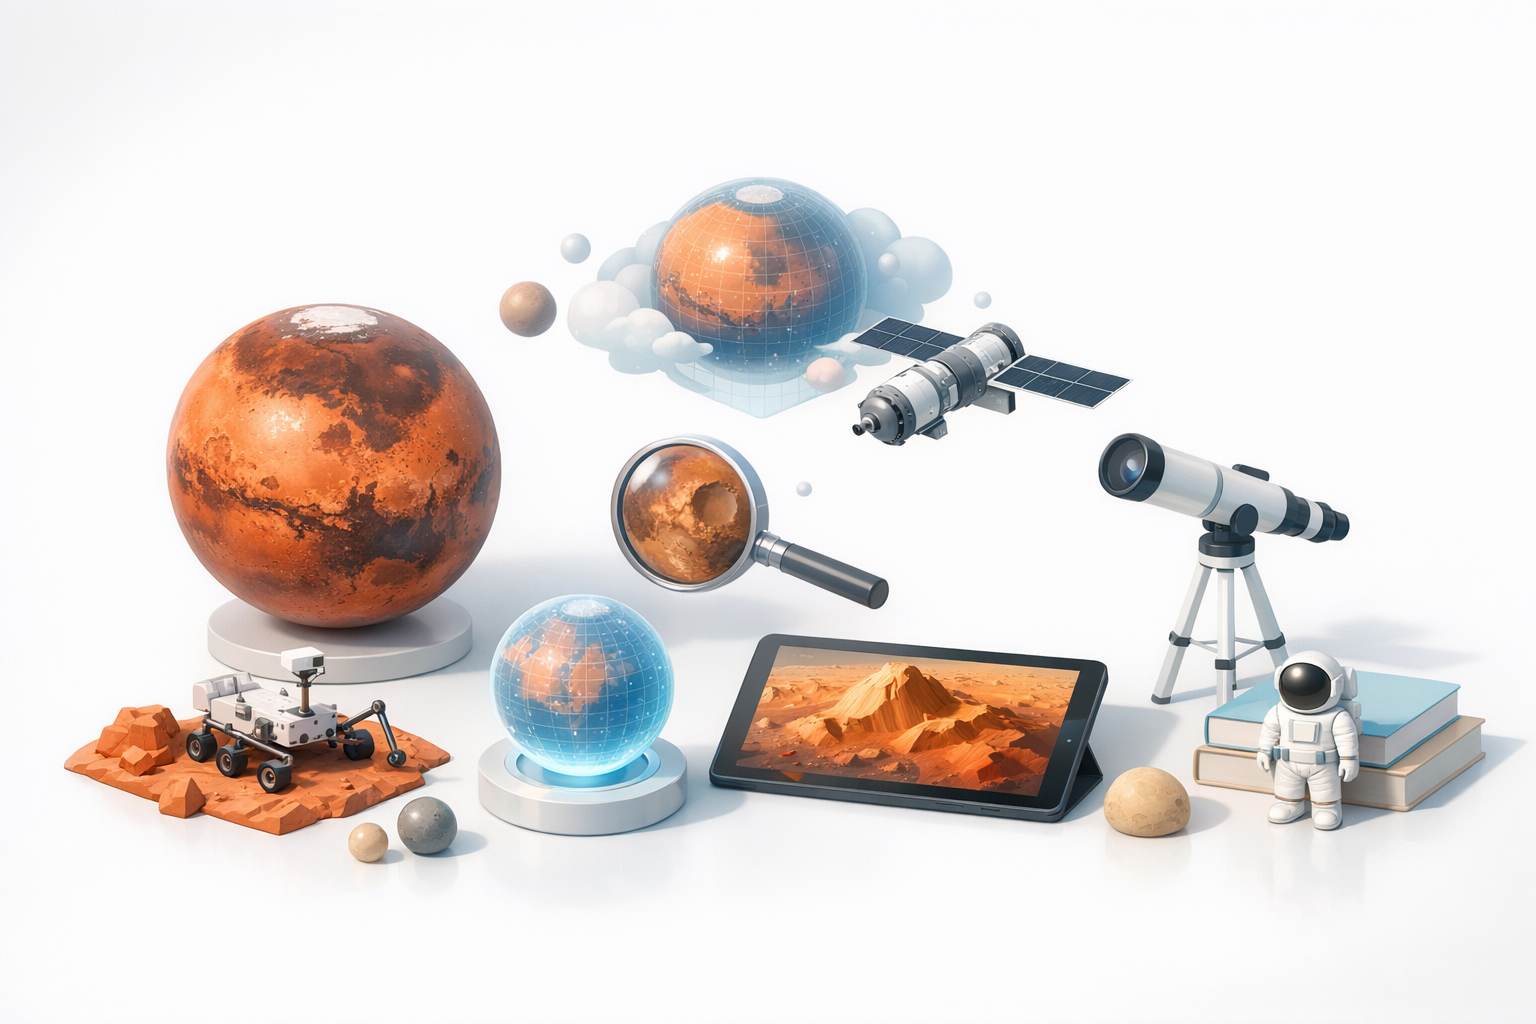
Essential Reference Gathering and Research
Finding Accurate Mars Data and Imagery
I always start with official sources like NASA, ESA, and USGS for heightmaps, satellite imagery, and scientific maps. These provide the accuracy needed for both realism and credibility.
My go-to sources:
- NASA’s Mars Trek and HiRISE image archives
- USGS Astrogeology Science Center
- ESA Mars Express datasets
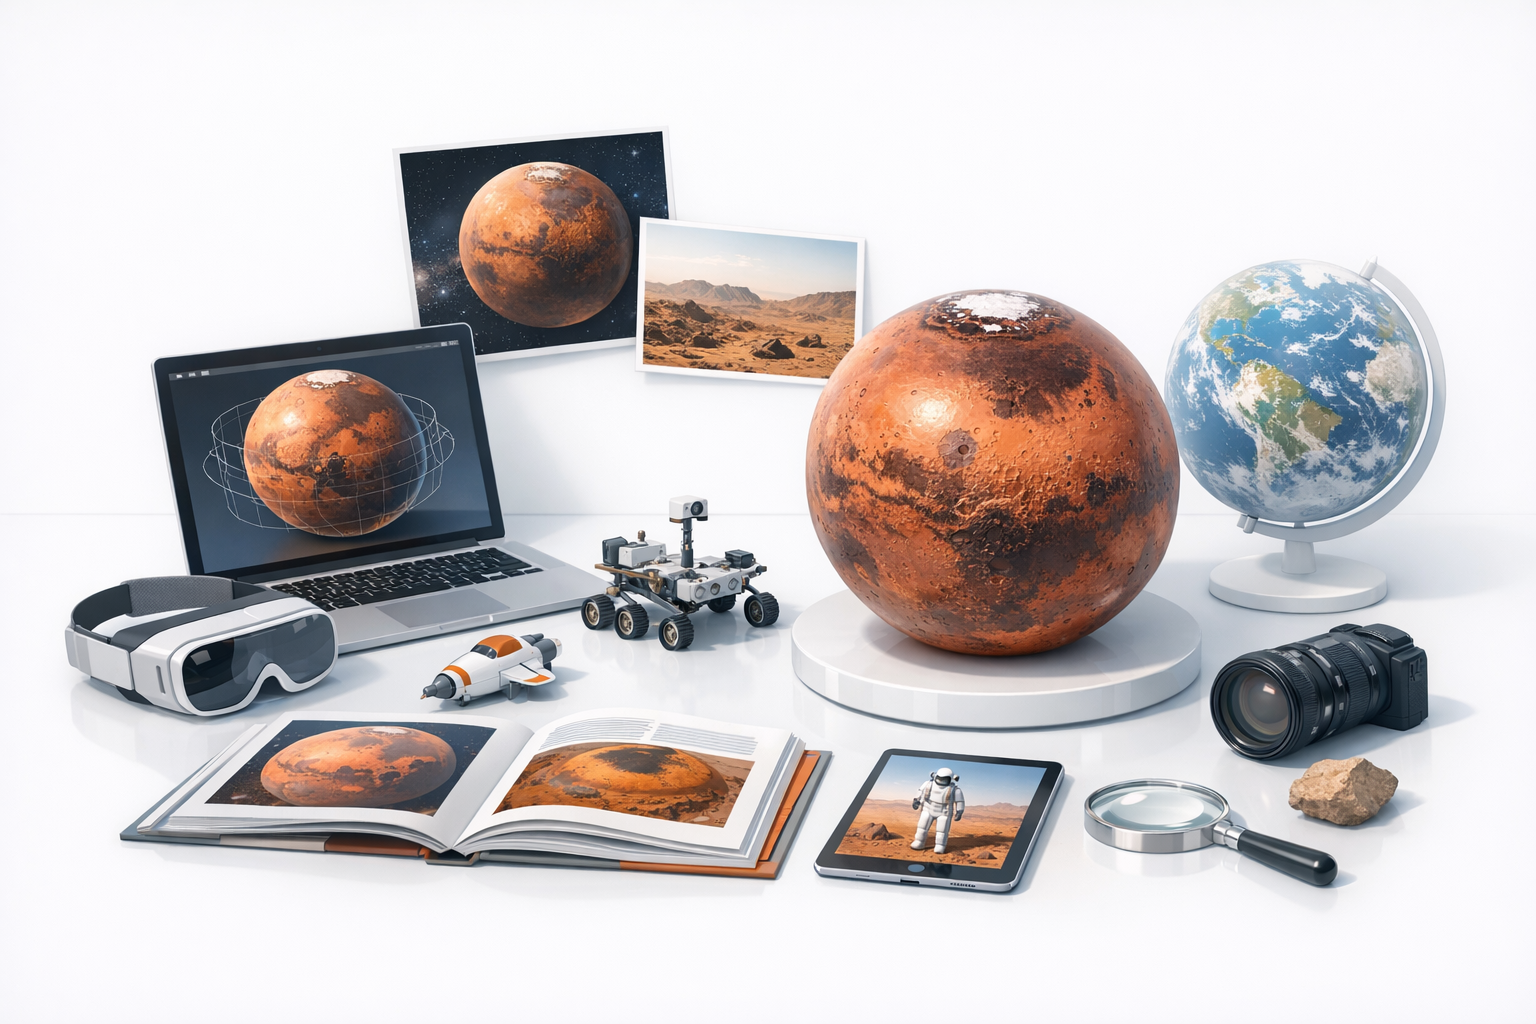
My Approach to Reference Organization
Once I’ve gathered data, I organize it by region and type (elevation, color, features). I use cloud folders and reference boards to keep everything accessible during modeling.
Checklist:
- Download high-res imagery and DEMs (digital elevation models)
- Create a folder for each region or feature (e.g., Olympus Mons, polar caps)
- Annotate key features for quick recall
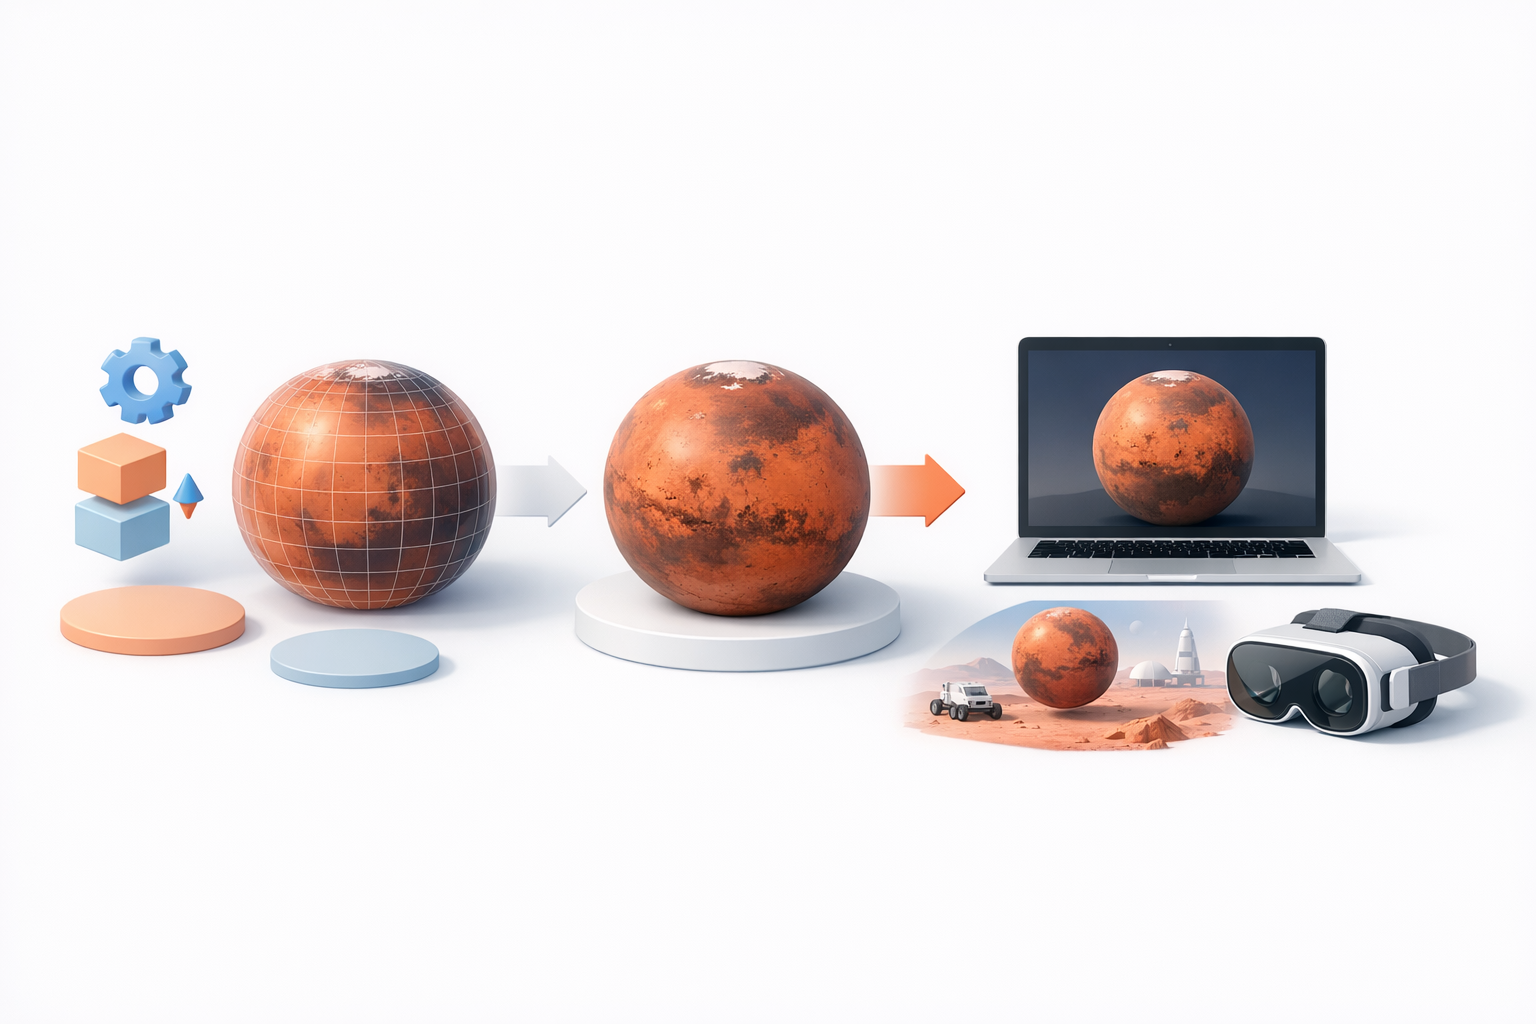
Step-by-Step Mars 3D Model Creation Workflow
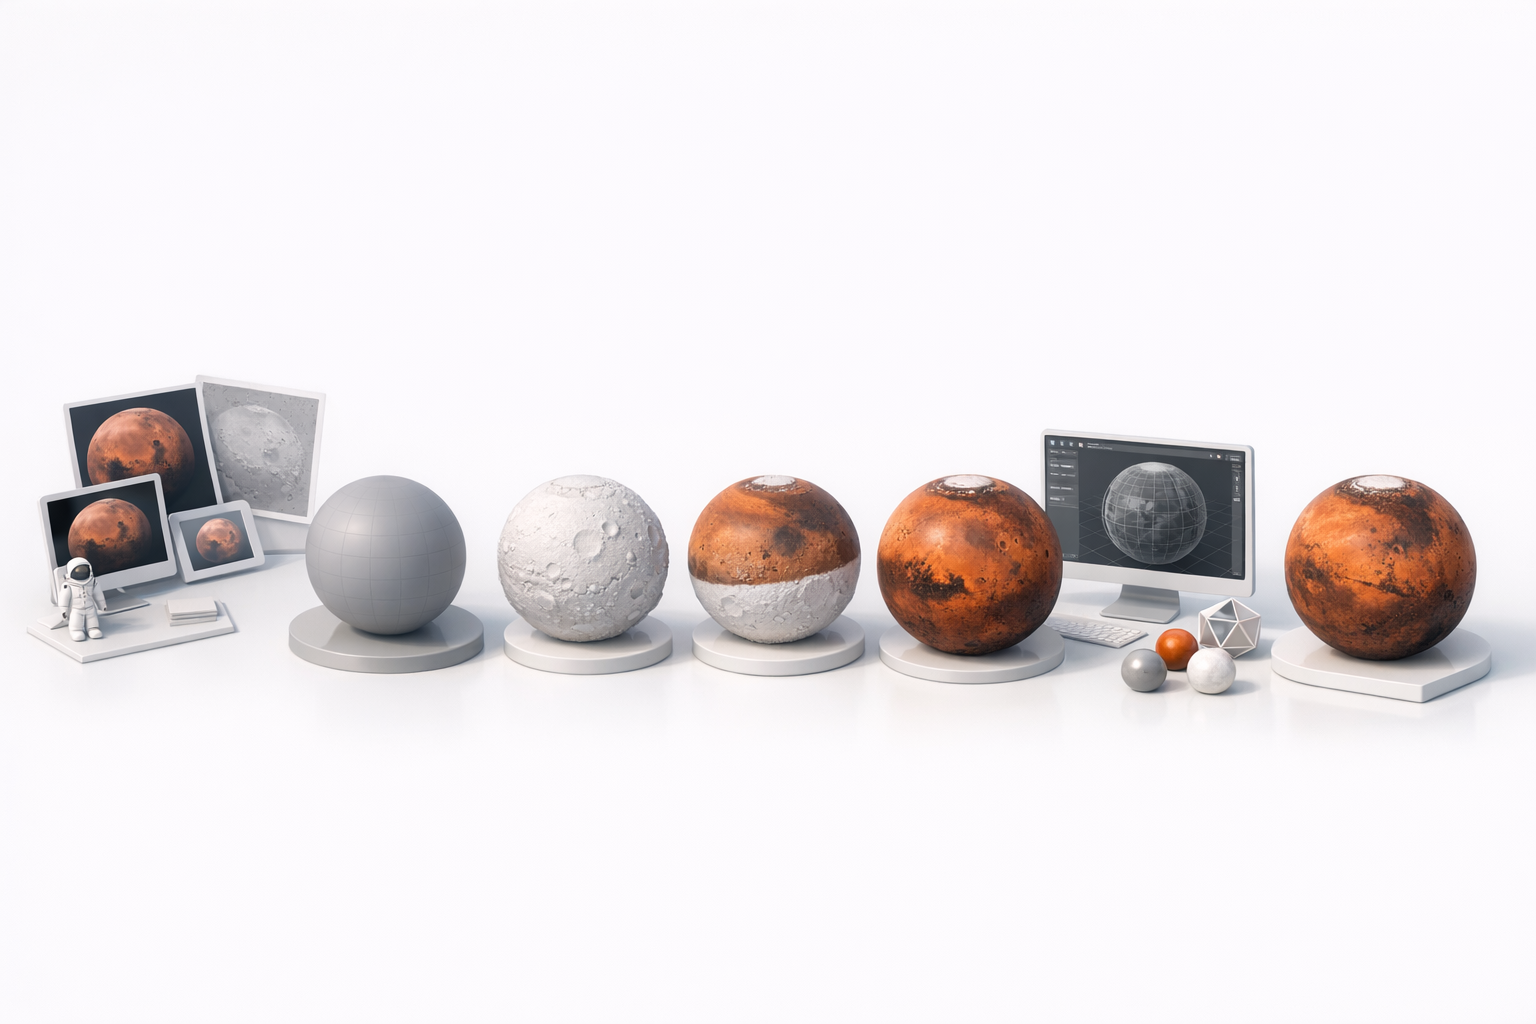
Blocking Out the Basic Shape
I always begin with a simple sphere as my Mars base. If I’m using Tripo, I input a text prompt like “realistic Mars planet with accurate topography,” and optionally upload a reference map for even better results.
Steps:
- Generate or sculpt a base sphere
- Align scale to real Mars (optional for scientific use)
- Import or project elevation data if available
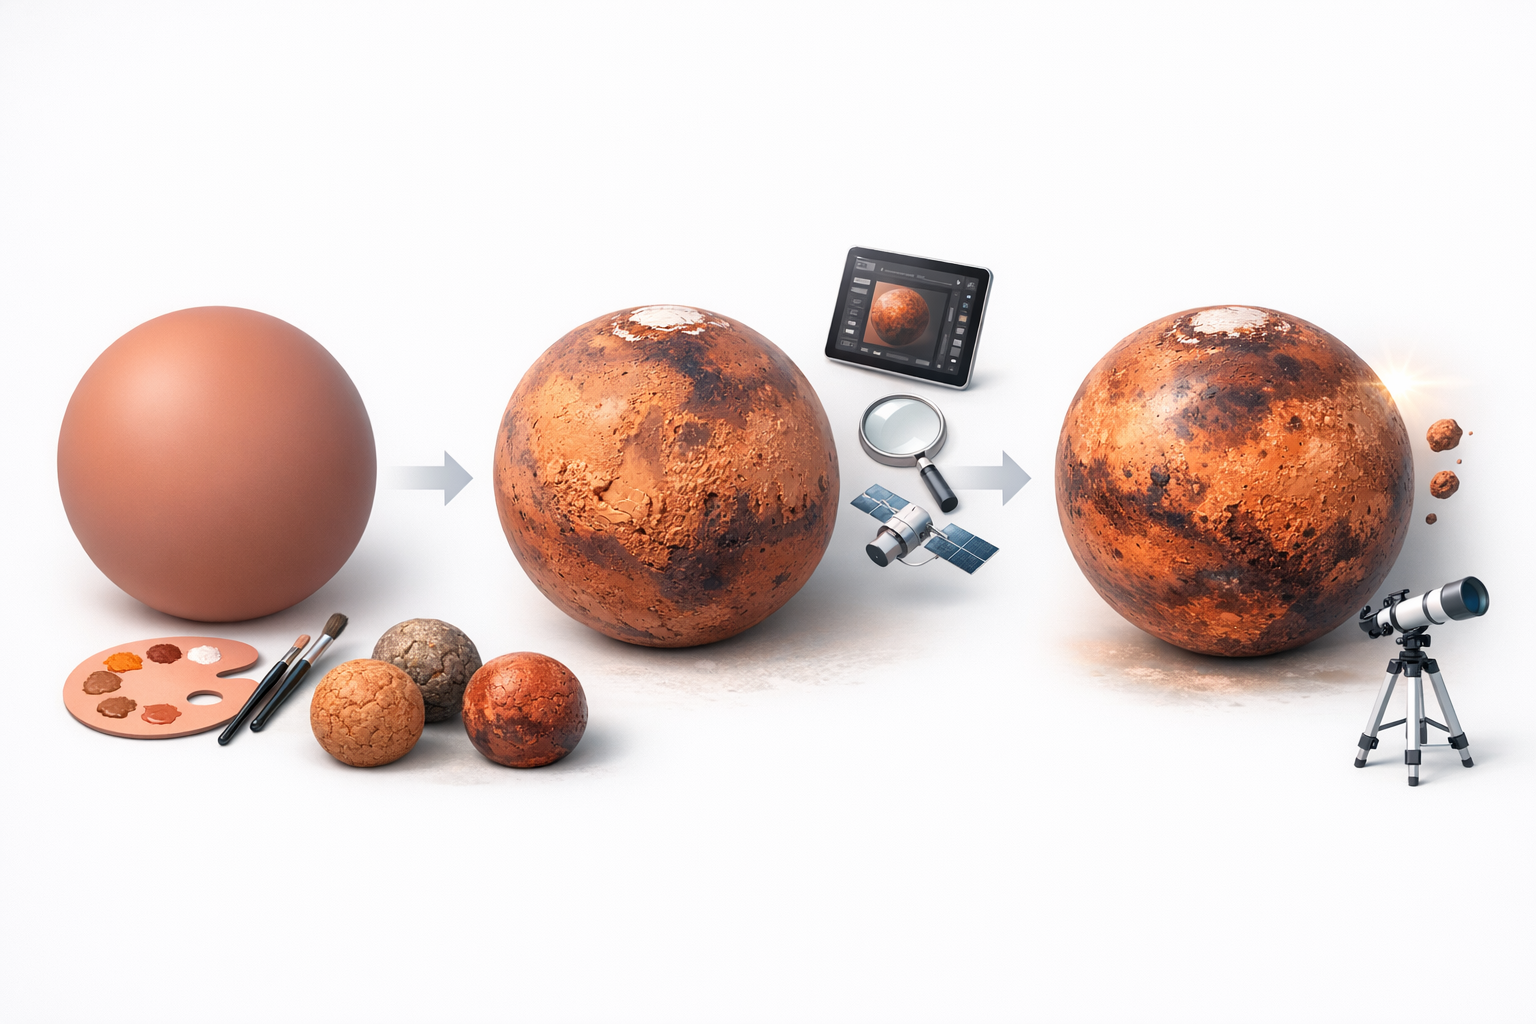
Adding Surface Details and Topography
For realism, I overlay DEM data or hand-sculpt major features. AI tools can rapidly generate convincing surface detail, but I often refine these areas manually.
Tips:
- Use displacement or normal maps for topography
- Focus on iconic features (e.g., Valles Marineris, Hellas Basin)
- Use Tripo’s segmentation to isolate and refine regions
Texturing and Enhancing Realism
Sourcing and Applying Mars Surface Textures
High-res Mars textures are available from space agency archives. I usually blend these with procedural layers for dust, rocks, and subtle color variation.
Workflow:
- Apply satellite color maps as base
- Add procedural noise for dust and small craters
- Use Tripo’s texturing tool for quick material generation
Tips for Atmospheric and Lighting Effects
Mars’s atmosphere is thin and dusty, which affects how light scatters. I simulate this with a subtle, reddish fog layer and directional lighting.
What works for me:
- Use a faint volumetric fog or shell around the planet
- Set sunlight angle low for dramatic shadows
- Slightly desaturate and tint highlights toward orange-red
Optimizing, Exporting, and Using Your Mars Model
Retopology and Performance Considerations
For games and XR, I always retopologize to reduce polycount while keeping detail in normals or displacement maps. Tripo’s built-in retopology is fast and reliable for this.
Checklist:
- Decimate or retopologize high-res meshes
- Bake detail into textures where possible
- Test in target engine for performance
Export Settings for Games, Film, and XR
Different platforms need different exports. I tailor settings for each use case.
Settings I use:
- Games/XR: FBX or GLB, 2–8K textures, normal maps
- Film: OBJ/FBX, full-res textures, 32-bit displacement if needed
- Always check coordinate system and scale
Best Practices and Lessons Learned
Common Pitfalls and How I Avoid Them
I’ve learned to avoid over-detailing (which hurts performance), mismatched color maps, and ignoring scale. Testing early in the target platform saves headaches.
Pitfalls to watch for:
- Unrealistic color or exaggerated features
- Too many polygons for real-time use
- Ignoring the impact of lighting on final look
My Favorite Tools and Workflow Tips
My core toolkit includes Tripo for fast base generation and texturing, plus traditional DCCs for tweaks. I keep a modular workflow—easy to swap out or update parts as needed.
What I rely on:
- Tripo for text-to-3D and segmentation
- Standard 3D apps for sculpting and UVs
- Reference boards for quick visual checks
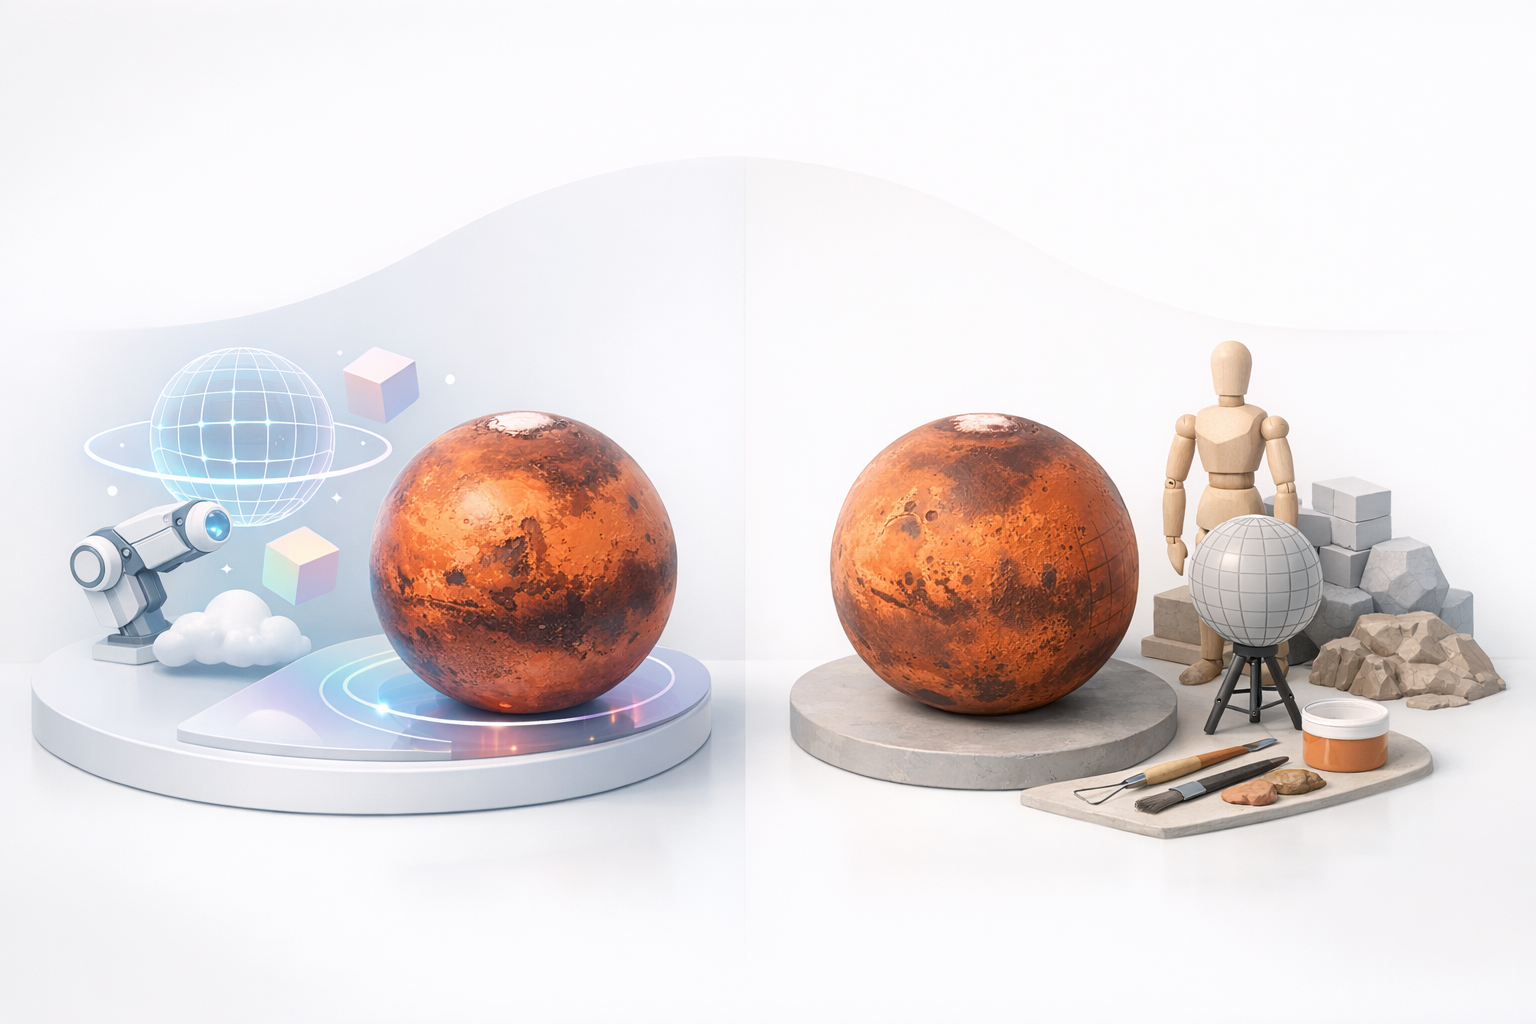
Comparing AI-Powered and Traditional 3D Modeling Methods
When to Use AI Tools for Mars Models
If speed is a priority or I need a quick base for iteration, I use AI-powered tools. For final polish or scientific accuracy, I often combine AI outputs with manual adjustments.
Use AI when:
- Prototyping or ideation
- Generating variants fast
- Automating repetitive tasks (e.g., retopology, basic texturing)
Integrating AI Workflows with Manual Techniques
In my workflow, AI tools like Tripo handle the heavy lifting, while I focus on refinement, accuracy, and creative direction. This hybrid approach gives me the best of both worlds.
Integration tips:
- Start with AI-generated base models
- Refine topography and textures manually as needed
- Use AI for batch tasks, manual for unique features
If you want a fast, realistic Mars 3D model, blend quality references, smart use of AI, and careful attention to detail. This workflow keeps you efficient and ensures your Mars model is ready for any platform—science, games, or XR.