How to Create a Mario Kart 3D Model: Expert Workflow & Tips
Creating a Mario Kart 3D model is a rewarding challenge that blends creative design with technical skill. In this guide, I’ll walk you through my full workflow—from gathering references to leveraging AI-powered tools—so you can produce a production-ready kart for games, animation, or XR projects. Whether you’re a hobbyist or a seasoned 3D artist, you’ll find actionable advice, practical checklists, and lessons learned from real-world experience. My focus is on efficiency, quality, and making the process as smooth as possible.
Key takeaways:
- Start with strong reference material and a clear plan for detail.
- Block out shapes first, then refine geometry for accuracy.
- Use AI-powered tools to accelerate modeling, segmentation, and texturing.
- Optimize models with retopology for smooth performance in engines.
- Texture and material choices are crucial for a polished, game-ready look.
- Blend manual and AI methods for the best speed-to-quality balance.
Executive Summary: Key Takeaways for Mario Kart 3D Modeling
What to Expect from This Guide
This guide covers my end-to-end Mario Kart modeling process, including planning, modeling, texturing, optimization, and export for real-world production. I’ll share how I use both manual and AI-assisted techniques, with clear, experience-based tips at each stage. You’ll learn how to avoid common pitfalls and speed up your workflow without sacrificing quality.
Essential Tools and Approaches
I rely on a mix of established 3D software, AI-powered modeling platforms like Tripo AI, and traditional hand-modeling when precision is needed. My approach is modular: I break down the process into manageable steps, using the right tool for each task. This flexibility is key to balancing speed, control, and final model quality.
Planning and References: Setting Up for Success
Gathering Reference Images and Concept Art
A strong reference library is the foundation of any good 3D model. For a Mario Kart, I gather:
- Official game art and screenshots from multiple angles
- Fan-made blueprints or orthographic sketches
- Close-ups of details like wheels, decals, and cockpit
I keep these references organized in a folder or on a second monitor for quick access. Having clear front, side, and top views speeds up blocking and ensures accuracy.
Defining Model Scope and Level of Detail
Before opening any 3D software, I define:
- The intended use (game, animation, XR, etc.)
- Polygon budget and texture resolution
- Which details to model vs. bake into textures
For real-time use, I target a mid-poly count and plan to use normal maps for fine details. I make a checklist of must-have features (e.g., steering wheel, exhaust, logo decals) to avoid scope creep.
Modeling the Mario Kart: Step-by-Step Process
Blocking Out the Basic Shapes
I always begin with simple primitives—cubes, cylinders, and planes—to block out the main body, wheels, and accessories. This helps me nail proportions before diving into details.
Blocking steps:
- Import reference images into the viewport as guides
- Create rough shapes for chassis, wheels, and major parts
- Adjust scale and position for correct silhouette
Using Tripo AI, I can quickly generate a rough base mesh from a sketch or text prompt, then refine it manually if needed.
Adding Details and Refining Geometry
Once the base is right, I move on to:
- Extruding and beveling for fenders, spoilers, and seats
- Adding edge loops for sharper features
- Modeling unique Mario Kart elements (e.g., cartoonish exhausts, decals)
I save detail work for last—this keeps the mesh clean and makes changes easier. I check the model from all angles to catch proportion issues early.
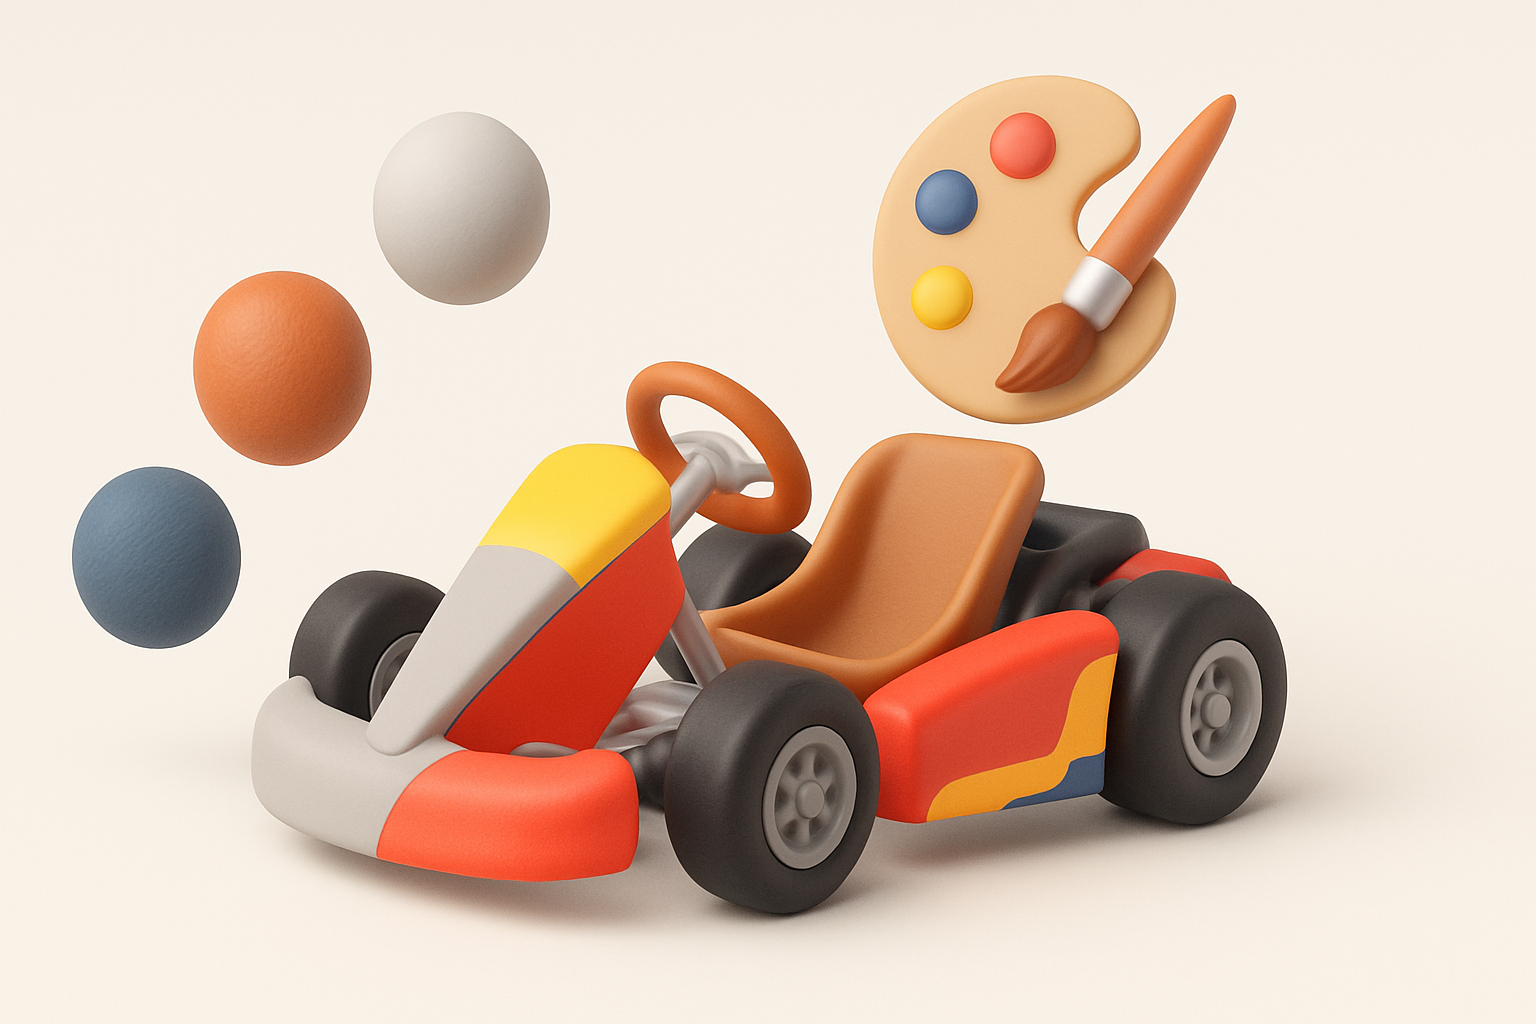
Texturing and Materials: Bringing the Kart to Life
UV Unwrapping and Texture Painting
Clean UVs are essential for sharp textures. My process:
- Unwrap major parts separately (body, wheels, accessories)
- Minimize stretching and seams in visible areas
- Use a checker map to check for distortion
For texture painting, I use hand-painted or procedural techniques, depending on the style. Tripo AI’s texture generation tools can quickly create base maps, which I then tweak for custom details.
Material Setup and Color Choices
Mario Kart models rely on bold, saturated colors and simple materials. I:
- Assign base colors for each part (red chassis, yellow wheels, etc.)
- Add subtle roughness or metallic effects for realism
- Apply decals and emblems as separate texture layers
A quick test render helps me spot any color or material issues before moving on.
Optimizing for Production: Retopology and Export
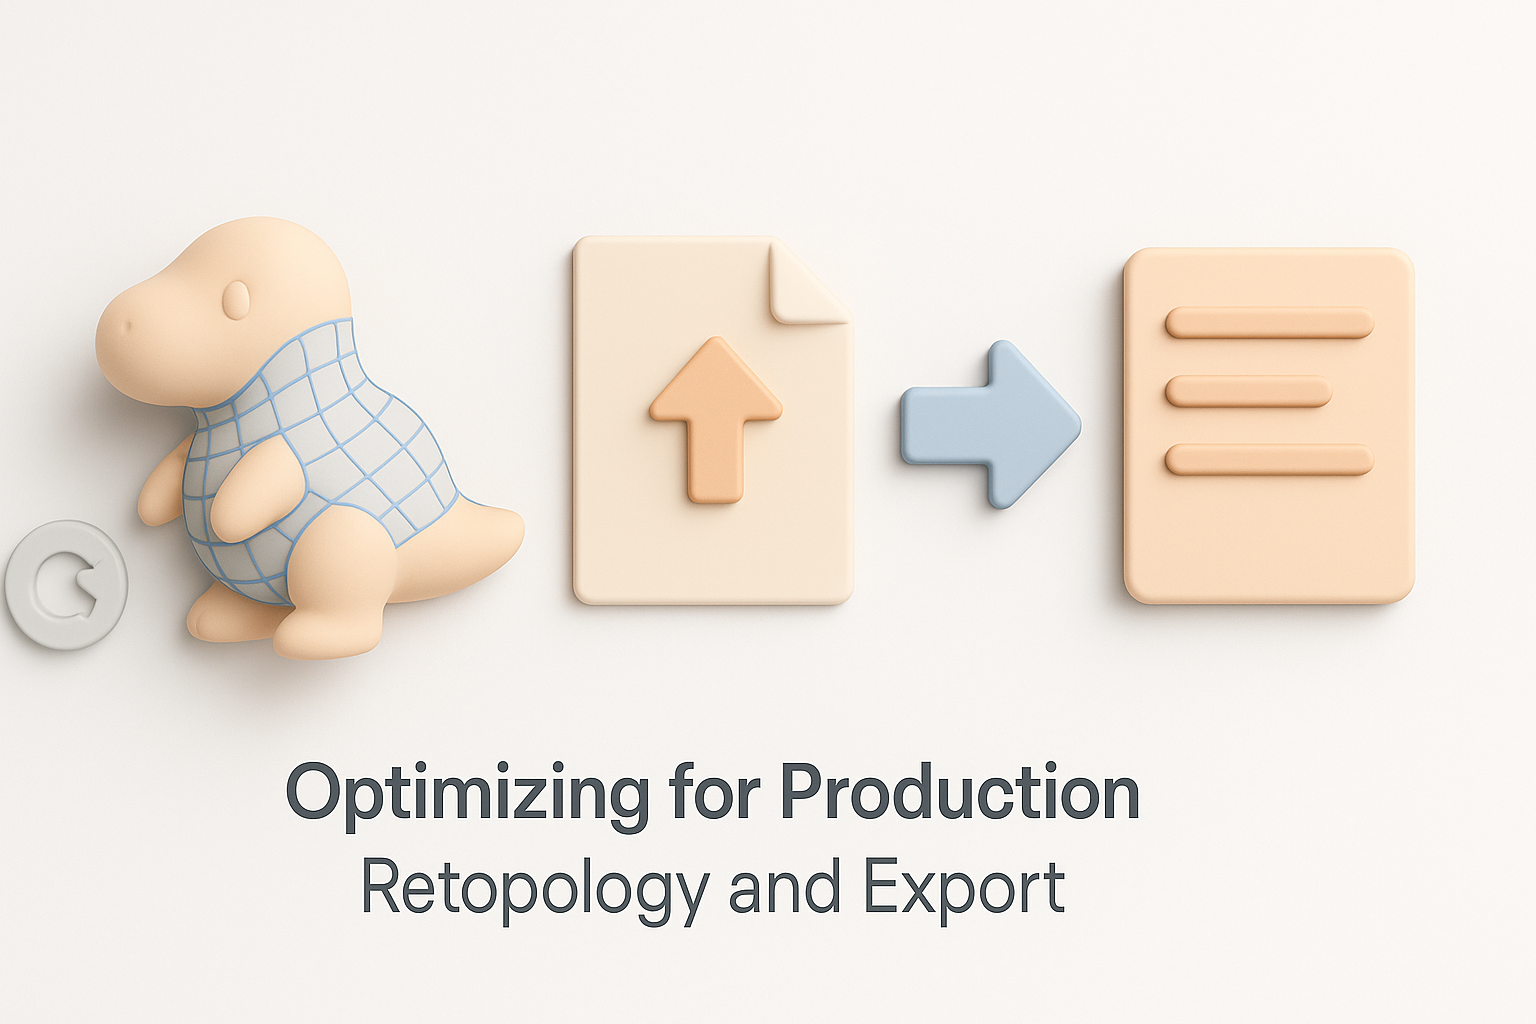
Retopology Best Practices
For game-ready models, clean topology is non-negotiable. My checklist:
- Remove unnecessary edge loops and n-gons
- Maintain even quad distribution for smooth deformations
- Use AI-assisted retopology tools to automate repetitive cleanup
I always check edge flow around moving parts (like wheels) to prevent animation issues later.
Exporting for Game Engines or Animation
I export in formats compatible with my target engine (FBX, OBJ, GLTF). Before export, I:
- Apply transforms and freeze scale
- Bake normal and AO maps if needed
- Test import in the engine to verify scale and materials
Tripo AI’s export presets simplify this, ensuring all maps and meshes are packaged correctly.
AI-Powered Workflows: Accelerating 3D Model Creation
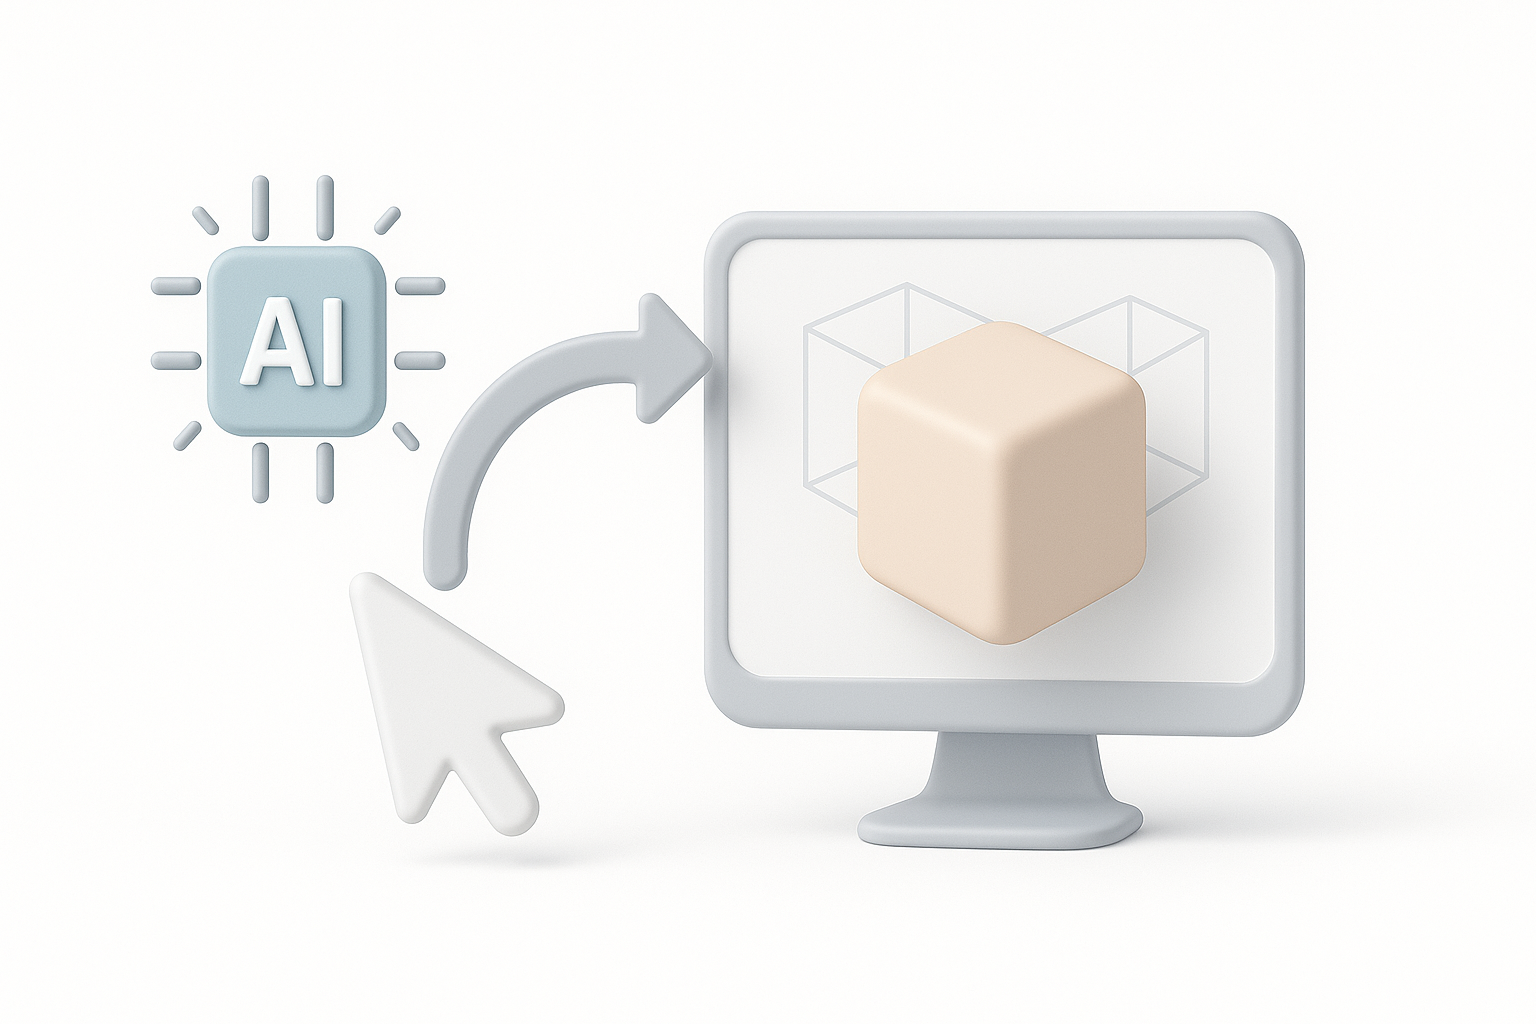
Using AI Tools for Faster Results
AI-powered platforms have changed how I approach modeling. With Tripo AI, I can:
- Generate base meshes from text or sketches in seconds
- Auto-segment and retopologize complex parts
- Quickly texture and rig for animation
This lets me focus on creative tweaks rather than repetitive setup, especially for stylized models like Mario Karts.
Integrating AI with Traditional Techniques
I rarely rely on AI alone. My hybrid workflow:
- Use AI to handle blocking, segmentation, and initial UVs
- Refine geometry, add unique details, and polish textures manually
- Leverage AI for repetitive tasks, but finish by hand for quality control
This blend gives me both speed and creative control.
Personal Insights: Lessons Learned and Pro Tips
Common Pitfalls and How I Avoid Them
Some traps I’ve learned to sidestep:
- Rushing through reference gathering—always leads to proportion errors
- Over-modeling small details instead of using textures—hurts performance
- Ignoring topology until the end—creates headaches during rigging or animation
I now set aside time for planning and check topology at each milestone.
My Favorite Shortcuts and Workflow Enhancements
What’s made my workflow smoother:
- Using symmetry and instancing for wheels and mirrored parts
- Saving incremental versions to backtrack if needed
- Batch-generating textures with AI, then tweaking the best results
- Keeping a “kitbash” library of Mario Kart parts for reuse
These steps save hours and help maintain consistency across models.
Comparing Methods: Manual vs. AI-Assisted Modeling
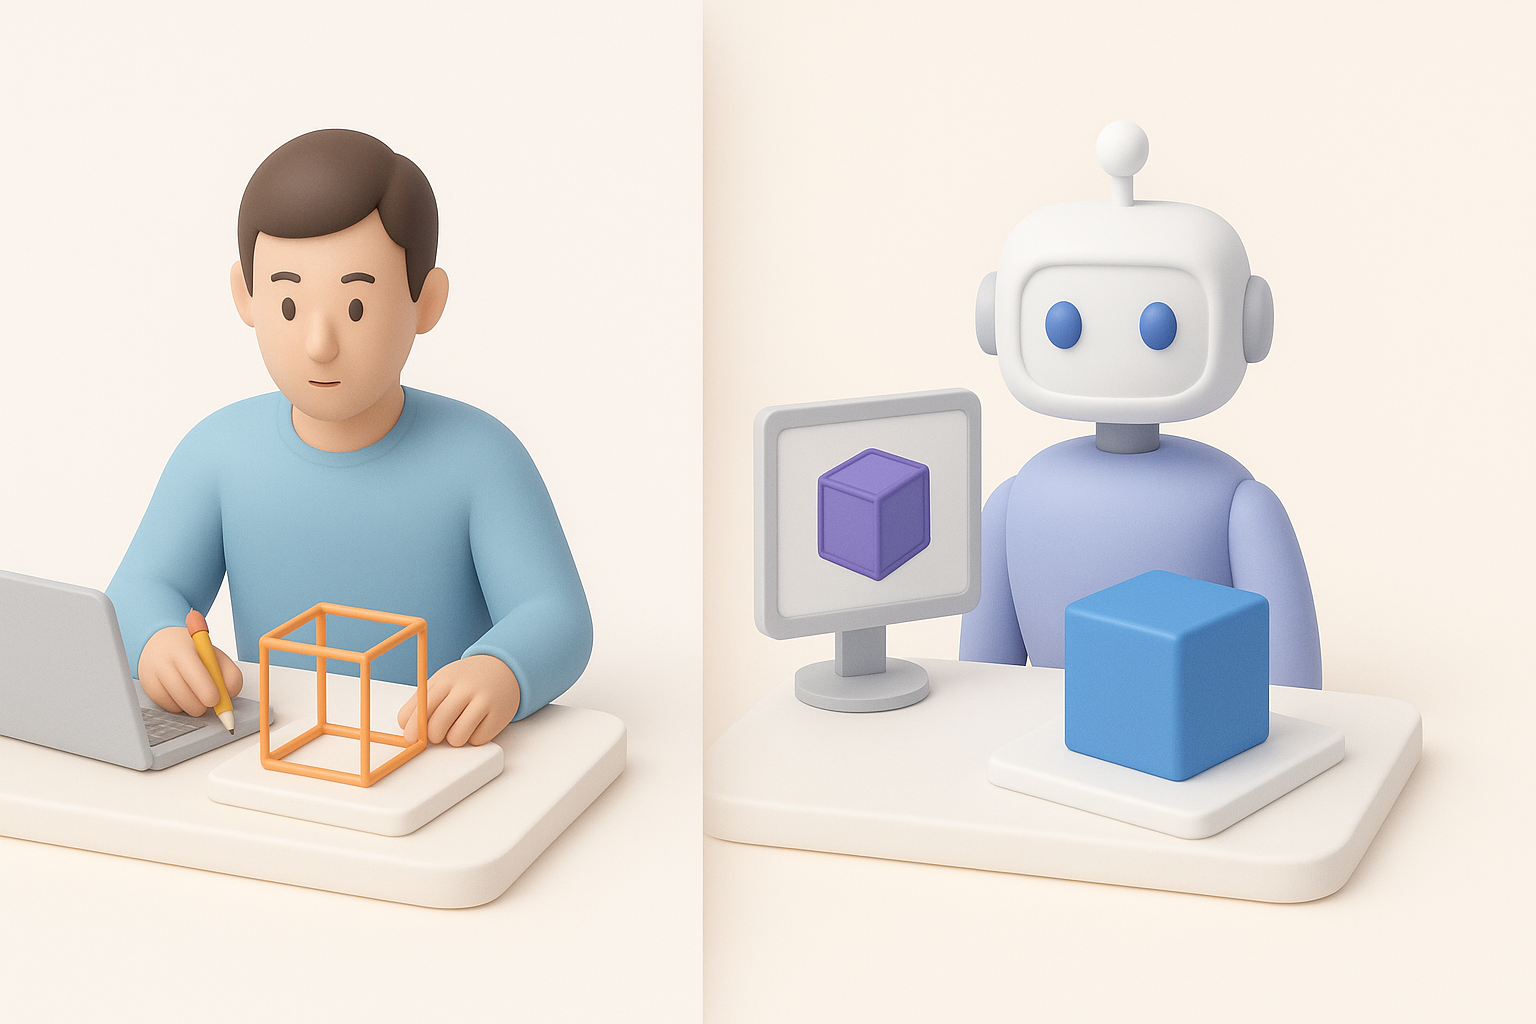
When to Use Each Approach
From experience:
- Manual modeling is best for highly custom, unique assets or when learning fundamentals.
- AI-assisted workflows shine for rapid prototyping, stylized models, or when deadlines are tight.
I often start with AI for the base and switch to manual for polish and unique features.
Quality, Speed, and Flexibility Considerations
- Quality: Manual allows for pixel-perfect control; AI covers 80% quickly, but may need cleanup.
- Speed: AI tools drastically reduce initial modeling and texturing time.
- Flexibility: Hybrid workflows offer the best of both—speed from AI, finesse from manual editing.
The key is knowing when to switch gears: use AI for what it does best, and rely on traditional techniques for the finishing touches.
In summary: Building a Mario Kart 3D model is faster and more accessible than ever with modern tools. By combining careful planning, AI-powered acceleration, and hands-on artistry, you can create production-ready models that stand out—whether for games, animation, or XR projects.