Creating and Using Limbo 3D Models: Expert Workflow & Tips
скачать 3d модель для chicken gun
When I work with limbo 3D models—clean, isolated assets with neutral backgrounds—I’m aiming for maximum flexibility and usability across projects. These models are a staple in my workflow for games, XR, and design, thanks to their adaptability and ease of integration. In this article, I’ll break down how I conceptualize, create, and optimize limbo models using both manual and AI-powered approaches, including practical steps, best practices, and real-world tips for seamless production. This guide is for 3D artists, developers, and designers looking to speed up their workflow while maintaining high-quality results.
Key takeaways
- Limbo 3D models are isolated, production-ready assets ideal for flexible use in multiple contexts.
- AI-powered tools like Tripo AI can drastically speed up creation, segmentation, and texturing.
- Optimizing topology and geometry is crucial for performance and downstream compatibility.
- Clean presentation—neutral lighting, proper UVs, and seamless textures—makes limbo models stand out.
- Export settings and file formats matter for smooth integration into games, XR, and design pipelines.
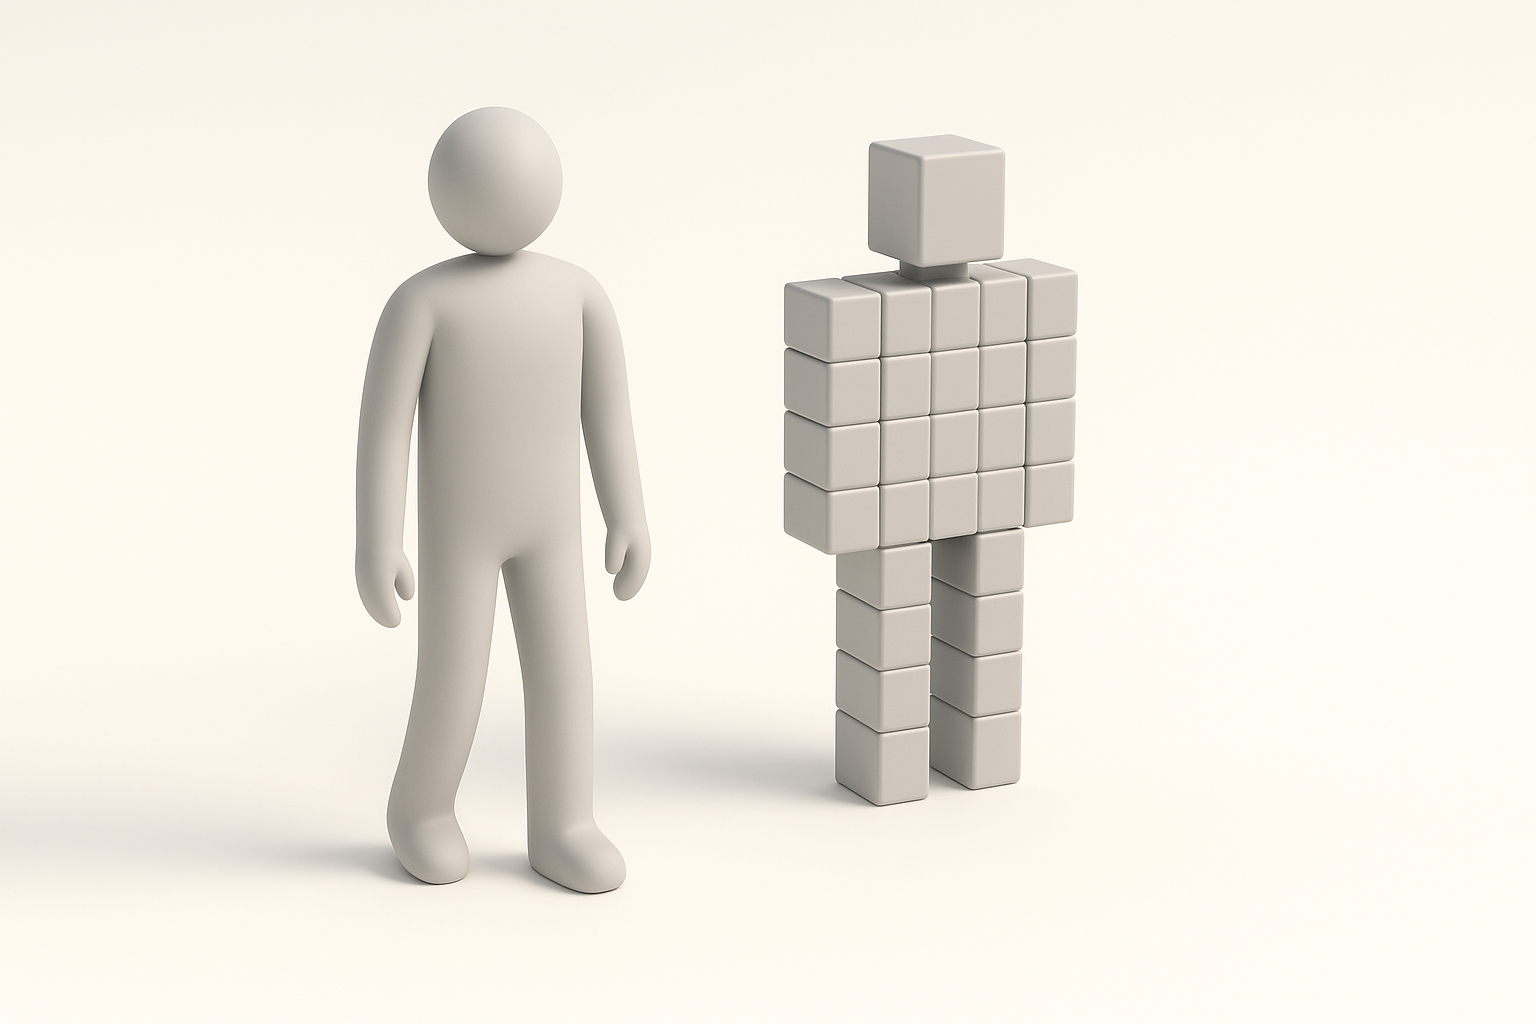
What Is a Limbo 3D Model?
Definition and Common Uses
A limbo 3D model is an asset presented against a neutral, usually white or gray, background—completely isolated from any scene or environment. In my experience, these models are used for asset libraries, marketplaces, product visualization, and rapid prototyping. The “limbo” presentation makes it easy to drop the model into any project without extra cleanup.
Why Limbo Models Are Popular in 3D Workflows
Limbo models save time because they’re ready to use, easy to preview, and don’t require reworking to fit into new scenes. I rely on them for quick iterations, client approvals, and as modular components in larger projects. Their neutrality also means fewer distractions during review and asset selection.
My Process for Creating Limbo 3D Models
Conceptualizing and Planning the Model
I start by defining the asset’s purpose—game prop, product, or character—then gather references and sketch rough concepts. Planning the silhouette and key details early helps avoid scope creep and wasted effort.
Checklist:
- Define end use (game, XR, product viz, etc.)
- Gather visual references
- Sketch or block out the main forms
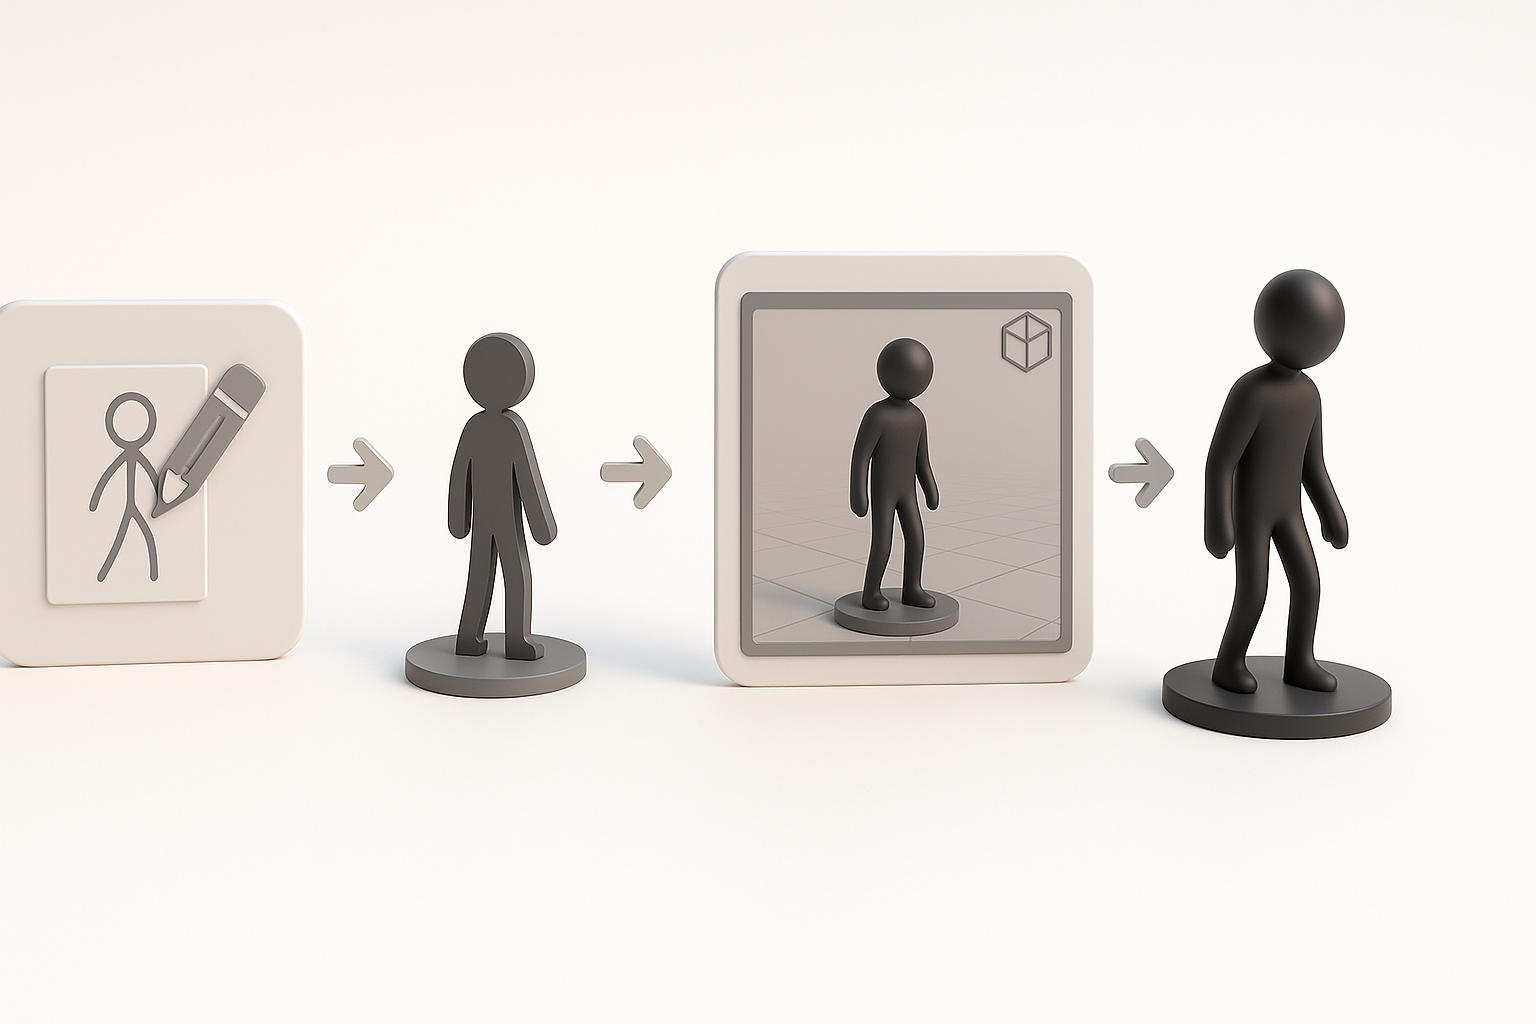
Step-by-Step Creation Using AI-Powered Tools
For speed and consistency, I often use AI platforms like Tripo AI. I input a text prompt, image, or sketch, and let the tool generate a base model. I then refine segmentation, retopology, and textures within the same environment.
Typical workflow:
- Input prompt/image/sketch into Tripo AI
- Review and adjust segmentation (separating model parts)
- Run automated retopology for clean geometry
- Apply or tweak generated textures and materials
- Export for further editing or direct use
Tips:
- Always check the model’s proportions and key details after AI generation.
- Use built-in preview tools to evaluate lighting and presentation.
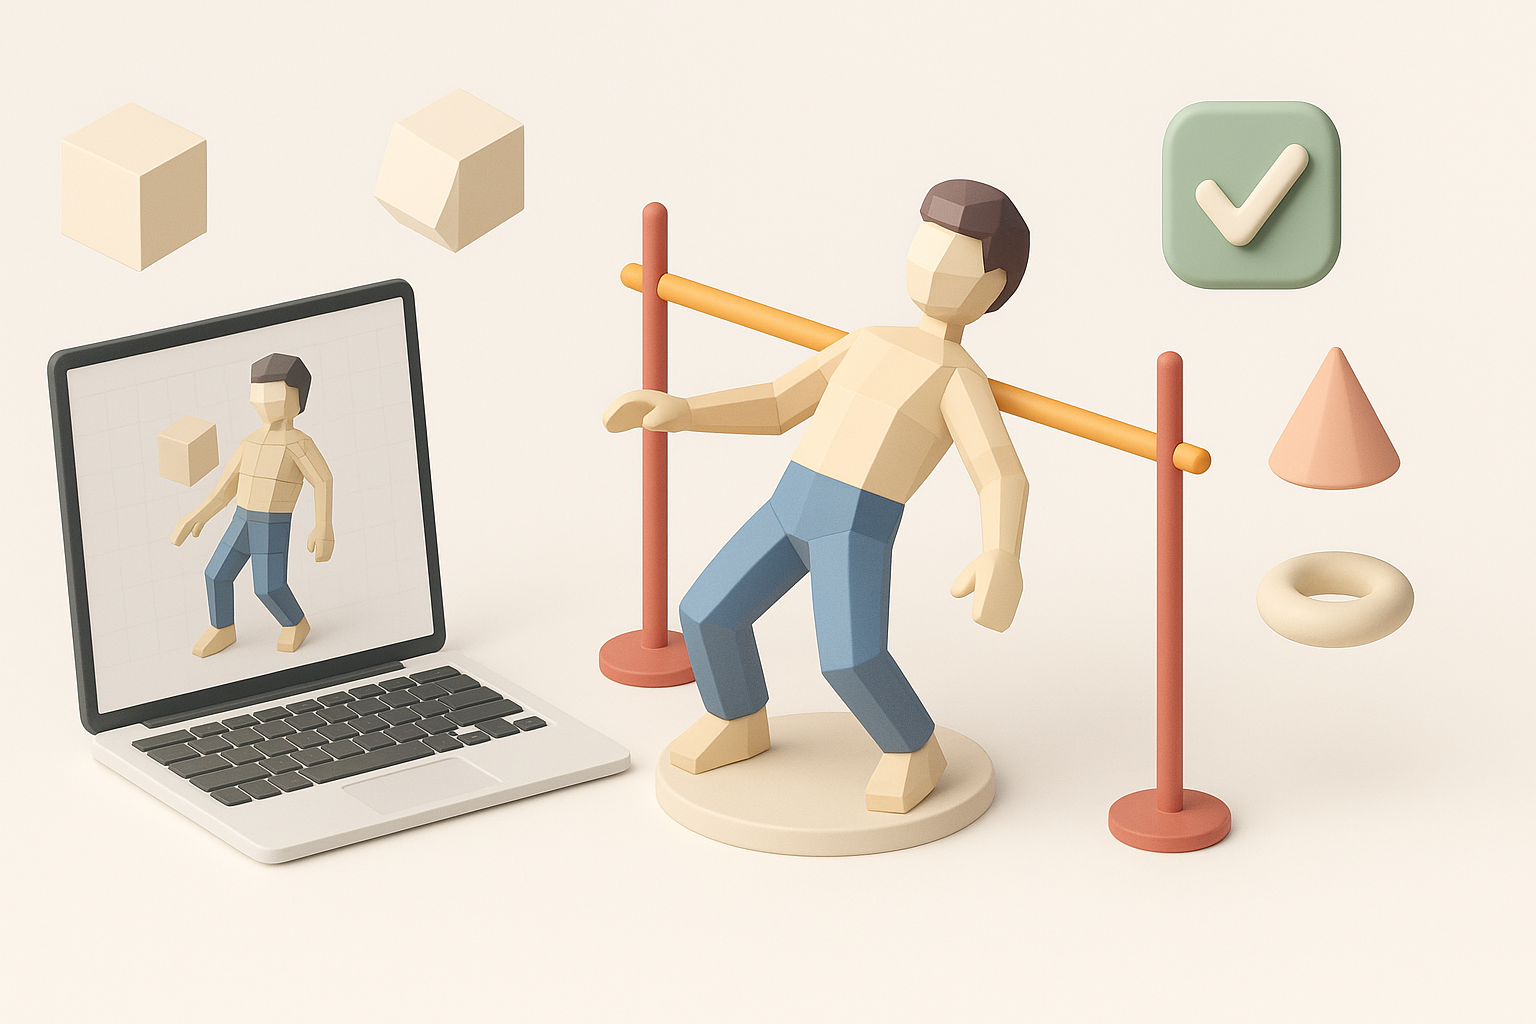
Best Practices for Limbo 3D Model Production

Optimizing Geometry and Topology
Clean topology is non-negotiable for limbo models, especially if they’ll be animated or used in real-time engines. I always inspect edge flow and polygon density, simplifying where possible but preserving form.
Pitfalls to avoid:
- Overly dense meshes that slow down rendering
- Non-manifold geometry or hidden faces
Quick checks:
- Use wireframe view to spot topology issues
- Run auto-retopology, then manually clean up problem areas
Texturing, Lighting, and Presentation Tips
Neutral, even lighting is key—think three-point lighting or a simple HDRI. I make sure textures are seamless and UVs are unwrapped efficiently. For presentation, I use a flat, shadow-catching plane or pure white background.
Mini-checklist:
- Check for texture seams and stretching
- Use neutral lighting setups
- Export preview renders for client or team review
Integrating Limbo 3D Models into Projects
Exporting and Compatibility Considerations
I always match export formats to the target platform (FBX, OBJ, GLB, etc.) and verify scale and orientation. Tripo AI and similar tools usually offer direct export to common formats, but I double-check settings to avoid import issues later.
Common steps:
- Set correct units and axis orientation
- Bake textures and pack UVs if needed
- Test import in target application (Unity, Unreal, WebGL, etc.)
Real-World Applications in Games, XR, and Design
Limbo models are my go-to for asset kits, rapid prototyping, and AR/VR previews. Their clean presentation means I can quickly assemble scenes, test ideas, or deliver assets to clients without extra prep.
Applications:
- Game asset libraries
- XR/AR interactive objects
- Product visualization and web configurators
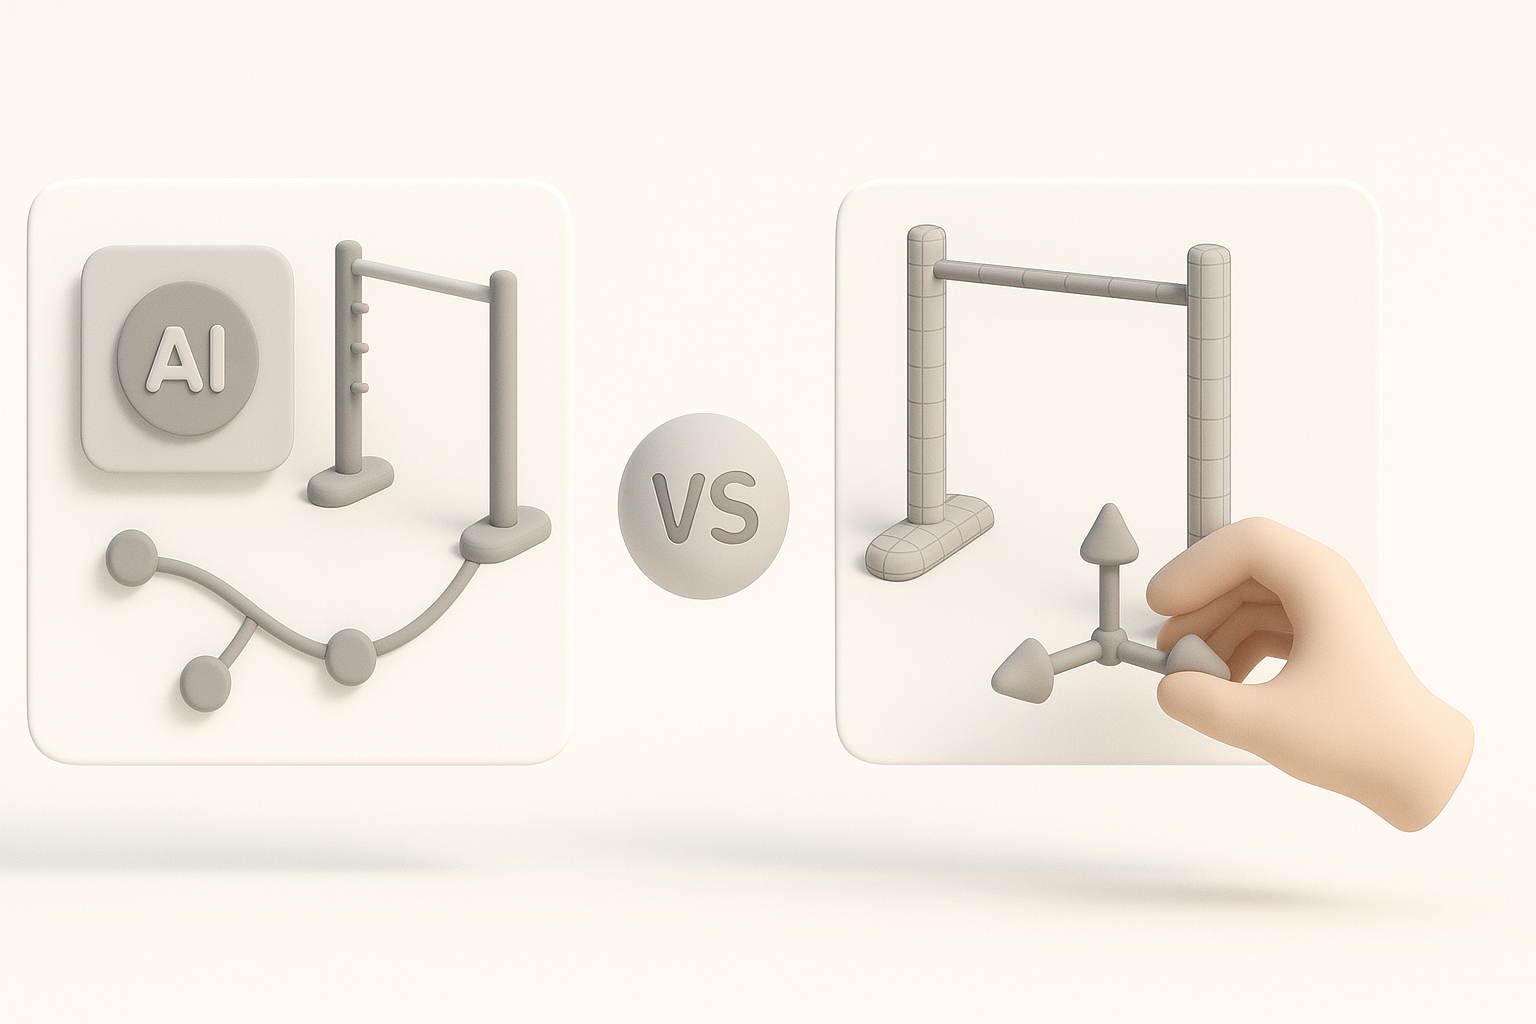
Comparing AI and Manual Limbo 3D Modeling Workflows
Advantages of AI-Powered Platforms
AI tools like Tripo AI have transformed my workflow by automating tedious steps—segmentation, retopology, and basic texturing. For standard props and quick iterations, they’re a huge time-saver and let me focus on creative decisions.
Benefits:
- Rapid prototyping and iteration
- Consistent output quality
- Lower technical barrier for new artists
When to Use Alternative Methods
I still use manual modeling or sculpting for highly stylized, complex, or unique assets where AI outputs aren’t precise enough. Manual workflows give me full control over every detail, which is essential for hero assets or intricate designs.
Guidelines:
- Use AI for standard, repeatable assets and early-stage concepts
- Switch to manual methods for custom, high-detail, or animated models
By combining AI-powered tools with hands-on expertise, I’ve found that creating limbo 3D models can be both efficient and high-quality—perfect for today’s fast-paced production environments.