Creating Lethal Company 3D Models: Expert Workflow & Tips
Creating production-ready 3D models for Lethal Company requires a focused workflow that balances creativity with technical precision. Over years of building game assets, I’ve developed a streamlined process—leveraging AI-powered tools like Tripo for rapid prototyping while ensuring models meet the demands of real-time environments. This guide is for artists, developers, and teams looking to produce high-quality, optimized 3D assets for Lethal Company or similar games, from concept to integration. Below, I’ll share actionable steps, best practices, and practical tips to help you deliver models that look great and perform reliably in-game.
Key takeaways:
- Reference gathering and clear concepting are crucial for consistency and efficiency.
- AI tools like Tripo can dramatically accelerate model generation and iteration.
- Retopology, mesh optimization, and clean UVs are non-negotiable for game-ready assets.
- Proper texturing, rigging, and animation prep ensure assets are versatile and performant.
- Choosing the right export settings and formats prevents integration headaches.
- Always test and optimize for real-time performance in your target engine.
Overview: Lethal Company 3D Model Creation
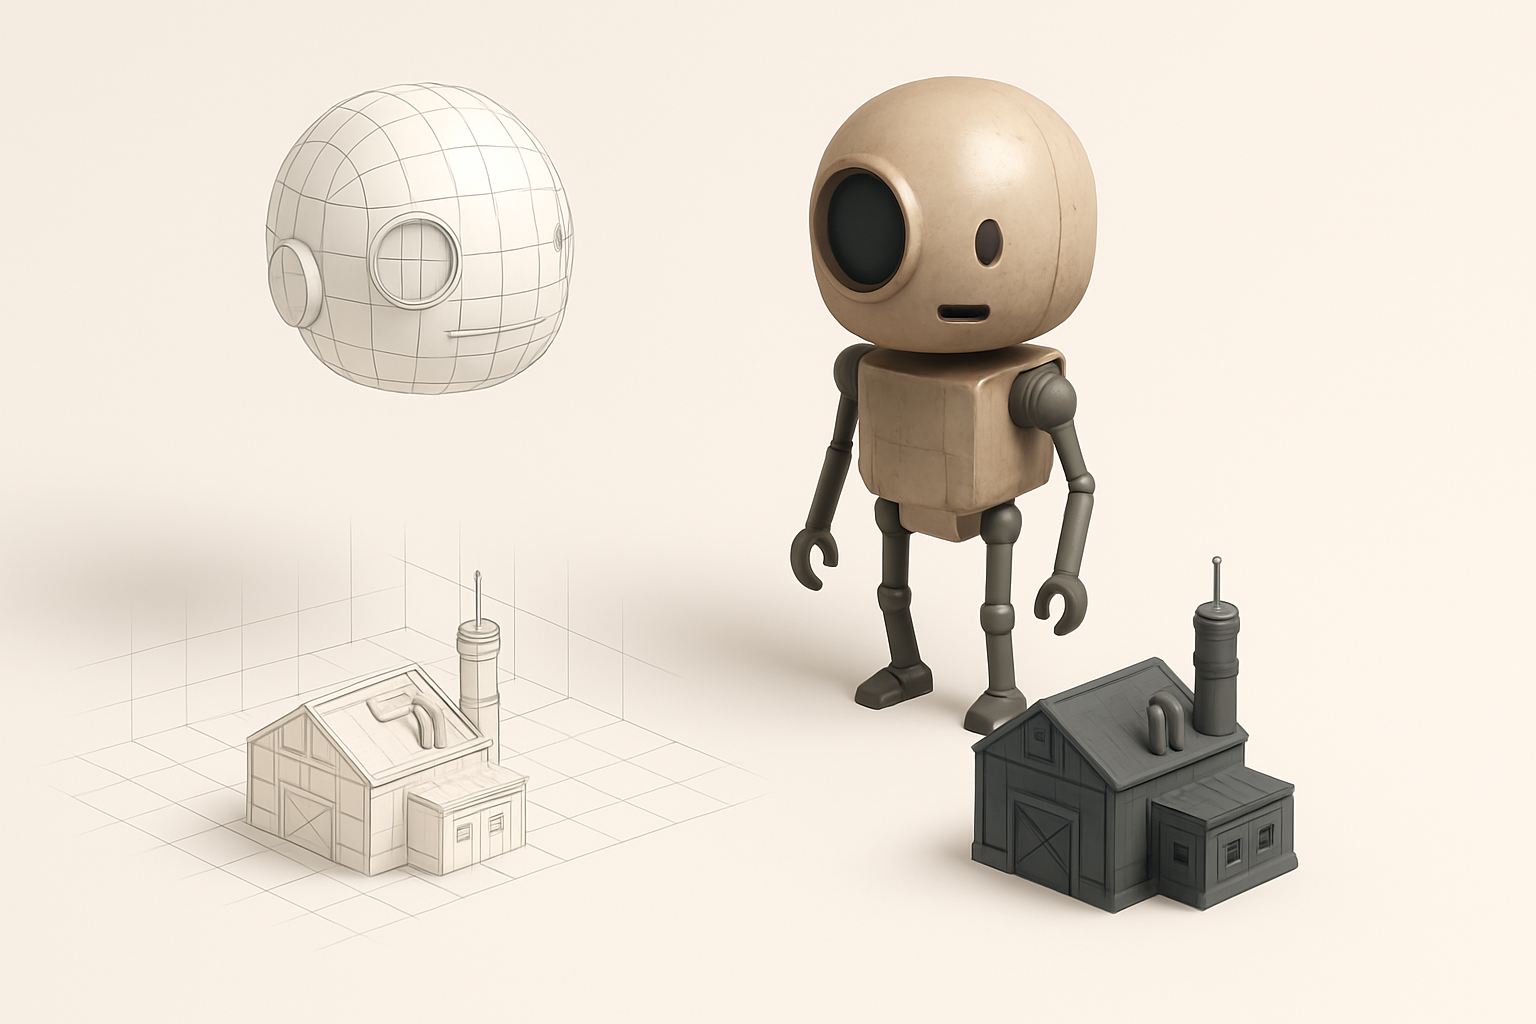
What makes a great Lethal Company 3D model
In my experience, a standout Lethal Company 3D model strikes a balance between visual appeal and technical efficiency. The style should match the game’s aesthetic—typically stylized, with readable silhouettes and clear material separation. Models must also be optimized for real-time rendering, with clean topology and efficient texture usage.
Checklist:
- Strong silhouette and readable proportions
- Cohesive materials and textures
- Consistent scale and style
- Optimized polycount for target platform
Key requirements and use cases
Lethal Company assets often serve multiple roles: player characters, enemies, props, and environmental pieces. Each use case has different requirements:
- Player/enemy models: Need rigging and animation-ready topology.
- Props/environment: Prioritize low polycount and efficient UVs.
- All assets: Must support real-time rendering and be easily integrated into game engines.
My Step-by-Step Workflow for Lethal Company 3D Models
Concepting and reference gathering
I always start with a clear concept phase. Gathering references—screenshots, concept art, mood boards—helps align my vision with the project’s needs. For Lethal Company, I focus on iconic shapes and details that define the game’s look.
Steps:
- Collect references (official art, in-game screenshots, fan concepts).
- Sketch variations or block out silhouettes.
- Align with the team or client for feedback before modeling.
Tip: Over-investing in reference gathering upfront saves hours of rework later.
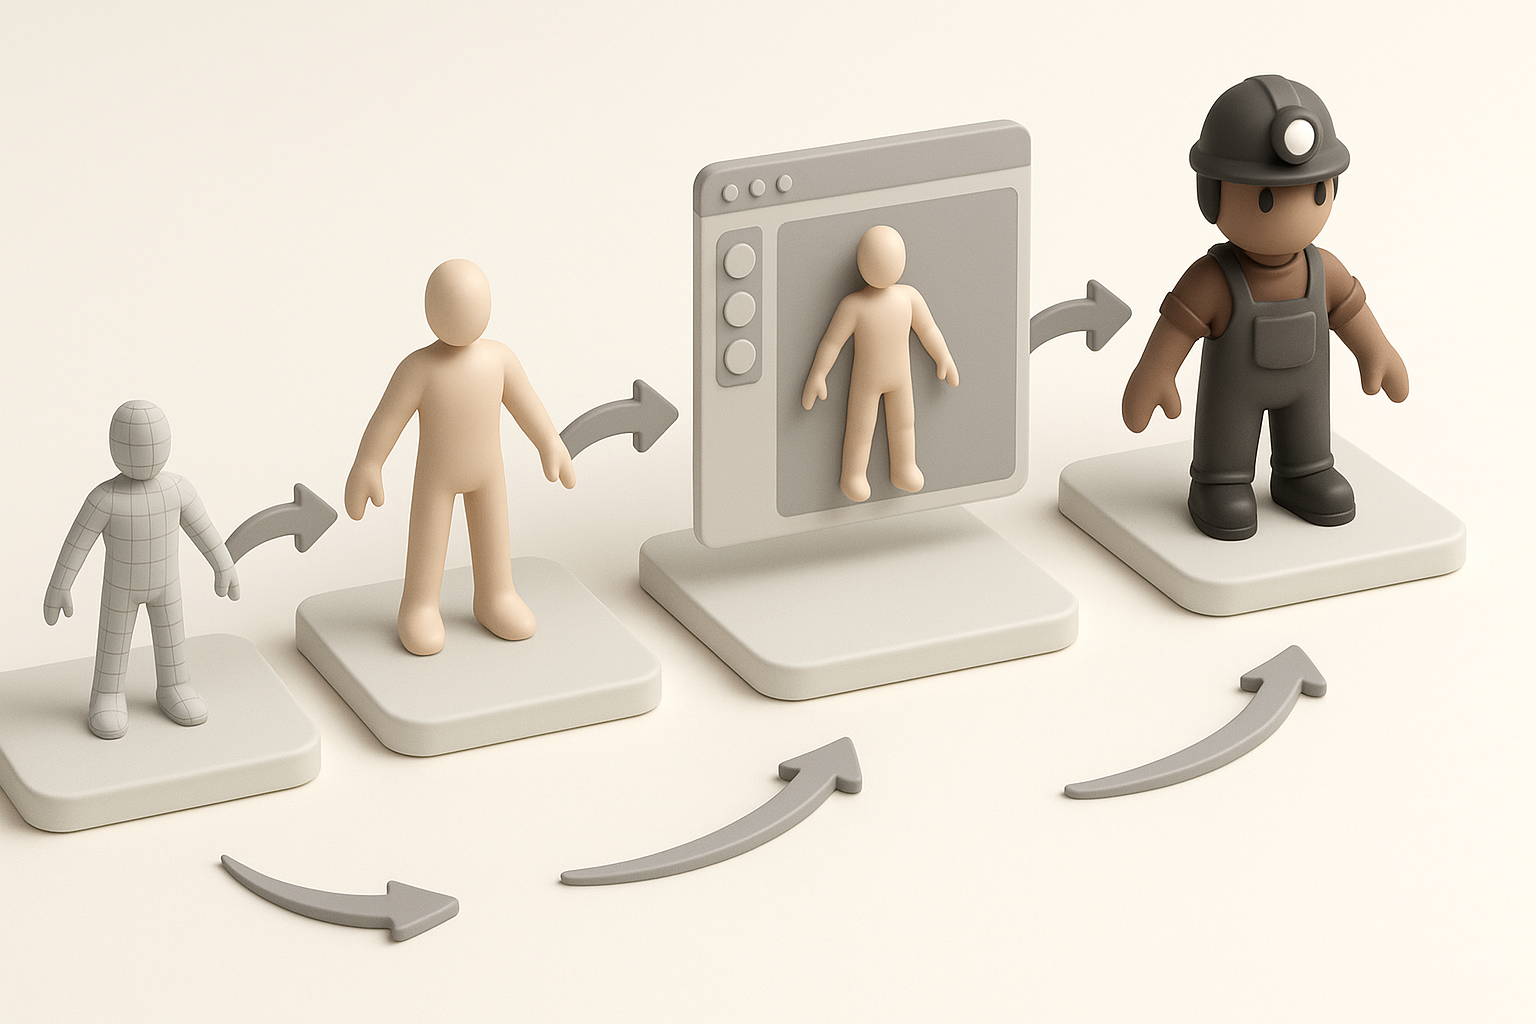
Model generation from text, images, or sketches
With references in hand, I use AI-driven tools like Tripo to generate base meshes from text prompts, image uploads, or quick sketches. This accelerates the blockout phase, letting me iterate rapidly.
My process:
- Input a detailed prompt or upload a sketch to Tripo.
- Review and tweak the generated mesh—adjusting proportions or features as needed.
- Export the base model for further refinement.
Pitfall: Don’t rely solely on the first AI output. Always refine and validate against your references.
Best Practices for Production-Ready 3D Assets
Retopology and mesh optimization
Even with strong AI-generated bases, I always retopologize for clean, animation-friendly geometry. Efficient meshes improve performance and ease rigging.
Checklist:
- Quads over triangles for deformable areas
- Even edge flow, especially at joints
- Remove unnecessary edge loops and vertices
Tip: Use Tripo’s built-in retopology if available; otherwise, manual cleanup is essential.
Texturing, rigging, and animation essentials
For texturing, I stick to PBR workflows, ensuring all maps (albedo, normal, roughness, etc.) are packed efficiently. For characters, I test joint deformation early to catch rigging issues.
Steps:
- Unwrap UVs with minimal seams and distortion.
- Bake and paint textures—keep sizes power-of-two for engine compatibility.
- Rig with clean weight painting; test simple animations for deformation.
- Export with animation-ready skeletons if needed.
Pitfall: Avoid high-res textures unless truly necessary; optimize for your platform.
Comparing AI-Powered and Traditional 3D Creation Methods
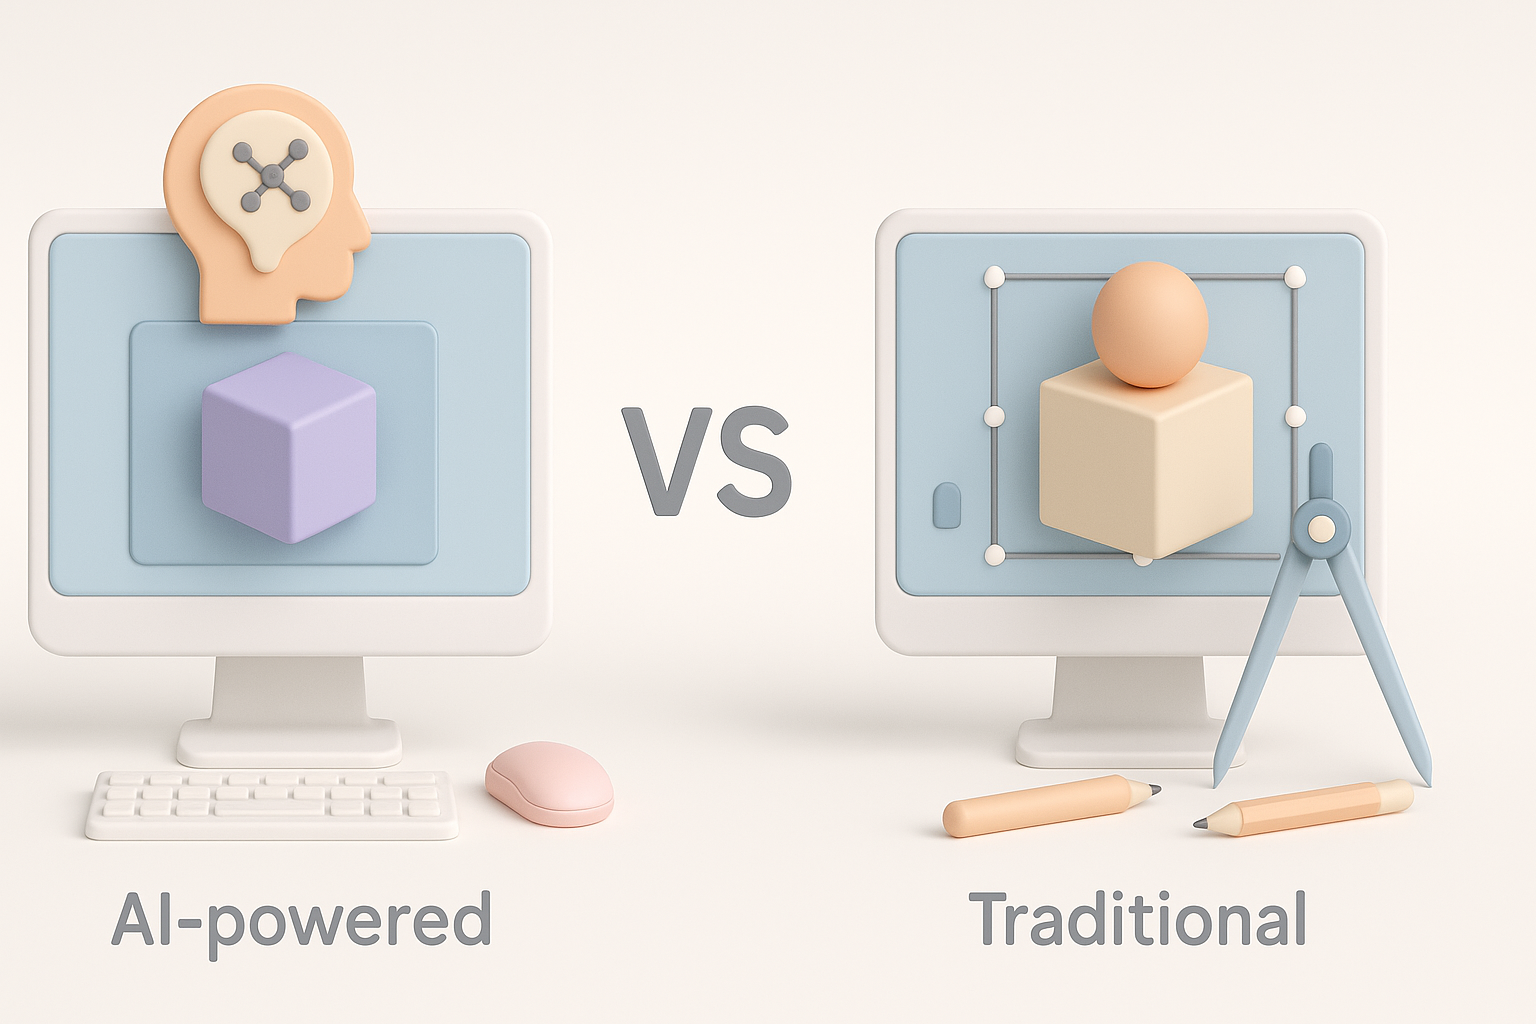
Speed, quality, and flexibility differences
In my workflow, AI tools like Tripo offer unmatched speed for initial model creation, especially for prototyping or generating variations. Traditional manual modeling, however, still excels in precision and full artistic control.
Comparison:
- AI tools: Rapid iteration, great for blockouts and base meshes.
- Manual modeling: Superior for fine detail, custom topology, and unique designs.
Tip: I blend both—using AI for the heavy lifting, then refining manually.
When to use AI tools versus manual modeling
I recommend AI tools when time is tight, or for assets with clear references and repeatable features. For hero assets or highly stylized pieces, manual modeling remains essential.
Decision guide:
- Use AI: For props, background assets, quick iterations.
- Go manual: For main characters, complex rigs, or highly specific art direction.
Tips for Integrating Lethal Company Models into Games and XR
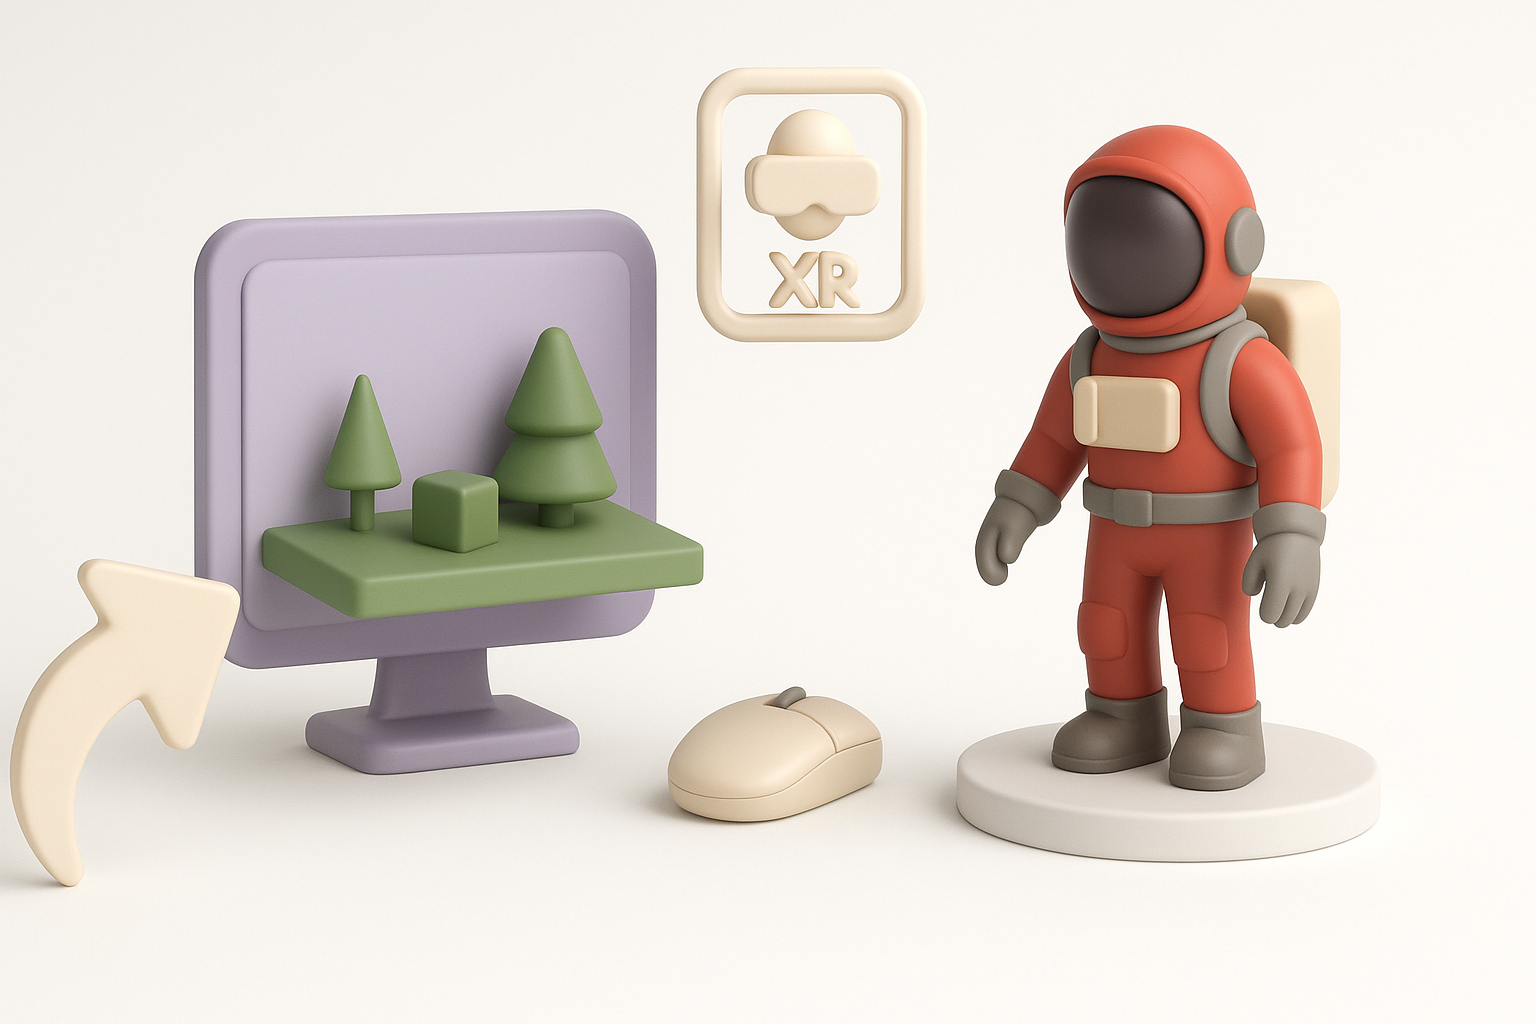
Export formats and compatibility
I always check the target engine’s requirements before export. Common formats include FBX (for animation support) and OBJ (for static meshes). Tripo and similar tools usually support these directly.
Checklist:
- Match scale and unit settings to your engine (e.g., Unity, Unreal).
- Use FBX for animated/rigged models; OBJ for static assets.
- Test imports in-engine early to catch issues.
Performance optimization for real-time use
To ensure smooth gameplay, I always optimize polycount, texture sizes, and material complexity. LODs (Levels of Detail) are essential for distant objects.
Steps:
- Limit polycount based on asset importance.
- Use texture atlases to minimize draw calls.
- Create LODs for performance scaling.
- Profile in-engine and iterate as needed.
Pitfall: Overly complex shaders or large textures can kill frame rates—keep it lean.
By following this workflow and applying these best practices, you’ll be well-equipped to create Lethal Company 3D models that are not only visually compelling but also optimized for real-time performance. Whether you’re leveraging AI tools like Tripo or building by hand, the key is a disciplined, iterative approach from concept to integration.