Creating and Using Left 4 Dead 2 3D Models: Expert Workflow
скачать 3d модели для chicken gun
As someone who’s spent years building and optimizing 3D assets for games, I know the unique challenges and rewards of working with Left 4 Dead 2–style models. In this guide, I’ll walk you through my proven workflow for creating, optimizing, and deploying these models, whether you’re working from scratch or leveraging AI-powered tools. This article is for game developers, modders, and XR creators who want efficient, production-ready results while maintaining authenticity and quality.
Key takeaways:
- Left 4 Dead 2 models have distinctive art direction and technical constraints
- Authentic references and legal clarity are essential for quality and compliance
- Combining manual and AI-assisted workflows speeds up production without sacrificing control
- Optimization and export settings are critical for real-time game use
- Tripo AI can dramatically accelerate base mesh and texturing stages
- Choose workflow steps based on project needs: speed vs. custom detail
Overview of Left 4 Dead 2 3D Models
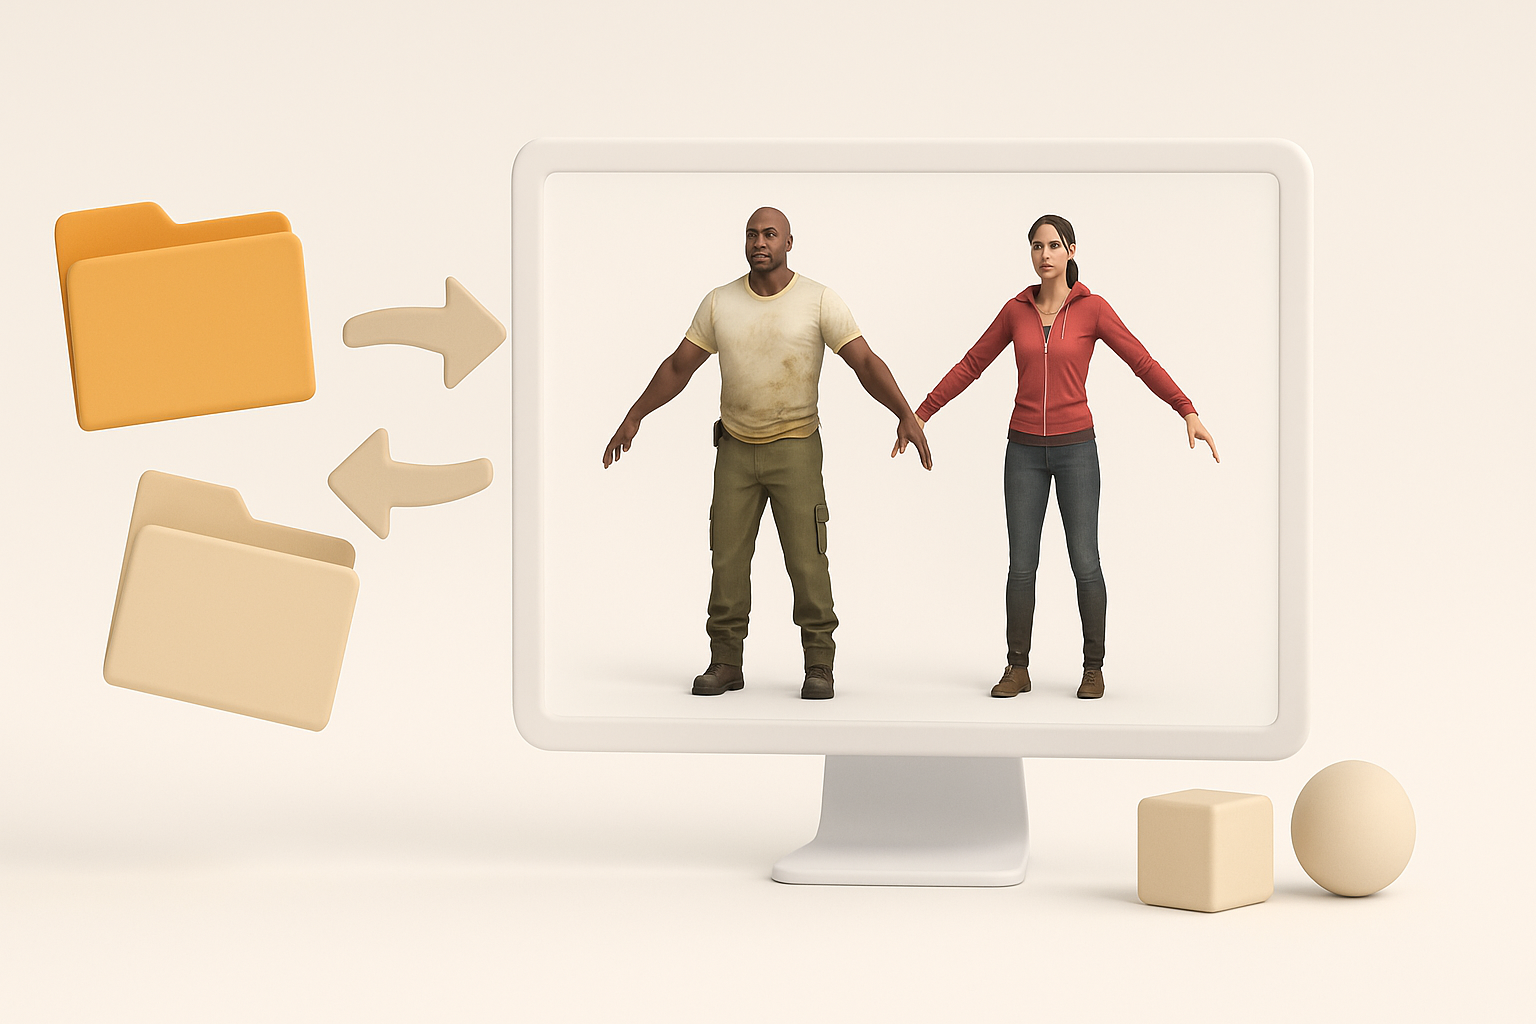
What Makes Left 4 Dead 2 Models Unique
Left 4 Dead 2’s 3D models stand out for their stylized realism—striking a balance between gritty detail and performance-friendly geometry. I’ve noticed their proportions and texturing are tailored for clarity in fast-paced, multiplayer environments. Expect clean silhouettes, readable shapes, and textures that pop under dynamic lighting.
Tips for matching the style:
- Study in-game models for scale, edge sharpness, and wear patterns
- Use mid-poly counts (not ultra-high), focusing on strong silhouettes
- Prioritize texture work: dirt, blood, and damage are part of the signature look
Common Use Cases in Games and XR
I’ve used Left 4 Dead 2–style assets for:
- Game mods and fan projects
- Cinematic cutscenes and machinima
- XR experiences needing recognizable, readable models
Pitfalls to avoid:
- Overcomplicating geometry (hurts performance)
- Ignoring the importance of readable textures in dark or chaotic scenes
Sourcing and Preparing Left 4 Dead 2 3D Models
Finding Authentic Model References
Authentic references are non-negotiable for accuracy. I typically:
- Capture in-game screenshots from multiple angles
- Search for official art books and concept sheets
- Use community forums for breakdowns and wireframe views
Checklist:
- Gather references for both characters and props
- Note animation poses and deformation zones
Legal and Ethical Considerations
Using or recreating Left 4 Dead 2 models comes with IP restrictions. My approach:
- Never redistribute original game assets
- For mods, adhere to the game’s EULA and community guidelines
- When creating from scratch, ensure all textures and meshes are original or properly licensed
What I’ve learned:
Always clarify licensing if you plan to publish or monetize your work. It saves headaches later.
My Workflow: Creating Left 4 Dead 2 3D Models from Scratch

Concept to Base Mesh: Tools and Techniques
I start with a clear concept, using reference boards for consistency. My base mesh process:
- Block out forms in Blender or similar DCC tools
- Focus on primary shapes and proportions
- Use symmetry and mirroring for efficiency
Pro tips:
- Keep the base mesh simple; details come later
- Save iterations for easy backtracking
Texturing, Retopology, and Optimization
Once the mesh is approved:
- Retopology: I use auto-retopology tools for initial passes, then clean up manually
- UV Unwrapping: Prioritize efficient, non-overlapping UVs
- Texturing: Layer dirt, blood, and wear using Substance Painter or similar
- Optimization: Remove hidden faces, check poly count, and bake normal maps
Pitfalls:
Skipping manual cleanup after auto-retopology leads to deformation issues in animation.
Leveraging AI Tools for Rapid 3D Model Generation

Using Tripo AI for Efficient Model Creation
When speed is crucial, I leverage Tripo AI:
- Input: Text prompts, sketches, or reference images
- Output: Base meshes with auto-segmented parts and draft textures
How I use it:
- Rapid prototyping for props or background assets
- Generating variants for crowd scenes
Checklist:
- Review and refine AI outputs before final use
- Always check for UV and topology issues
Integrating AI-Generated Assets into Pipelines
I import AI-generated assets into my DCC tool for:
- Manual cleanup (fixing geometry, improving UVs)
- Customizing textures to match Left 4 Dead 2’s style
- Rigging and animation prep
Lessons learned:
AI tools are great for speed, but human oversight is essential for polish and consistency.
Best Practices and Lessons Learned

Quality Control and Troubleshooting
My QC process includes:
- Checking mesh integrity (no flipped normals, non-manifold edges)
- Verifying texture alignment and resolution
- Testing deformations with simple rigs
Troubleshooting tips:
- Use wireframe overlays to spot bad topology
- Test assets in-engine early to catch scale or shading issues
Exporting and Using Models in Game Engines
For game-ready exports:
- Apply correct scale and axis orientation
- Use FBX or OBJ formats, depending on the engine
- Pack textures efficiently (preferably in power-of-two sizes)
Checklist:
- Test import in-engine (lighting, animation, collision)
- Document export settings for repeatability
Comparing Manual and AI-Assisted Workflows

Speed, Quality, and Flexibility
Manual workflow:
- Best for hero assets and maximum creative control
- Slower, but results are fully custom
AI-assisted workflow:
- Ideal for rapid prototyping, crowds, or background objects
- Faster, but may require more cleanup
When to Use Each Approach
My rule of thumb:
- Use manual methods for key characters or assets with unique requirements
- Use AI tools for volume production, early visualization, or when deadlines are tight
Pitfalls to avoid:
- Relying solely on AI for final assets—always review, refine, and optimize
By combining disciplined manual techniques with strategic use of AI tools like Tripo, I consistently deliver Left 4 Dead 2–style 3D assets that meet both creative and technical standards. The right workflow depends on your project’s needs, but quality and efficiency don’t have to be mutually exclusive.